


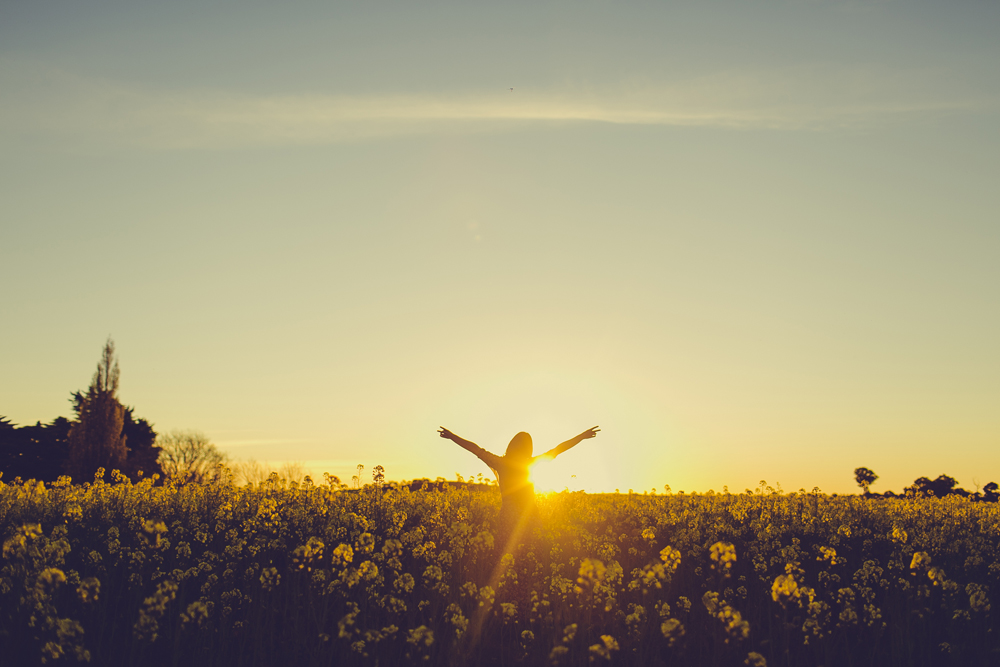
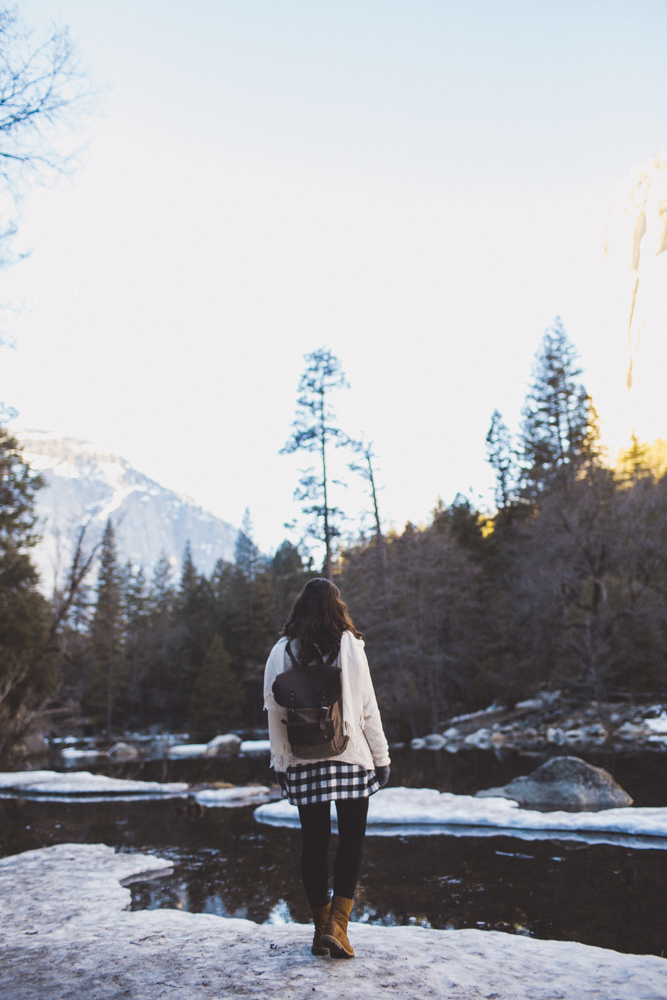
We are so close.
It's one of our favourite places in the world.
Why don't we just go?
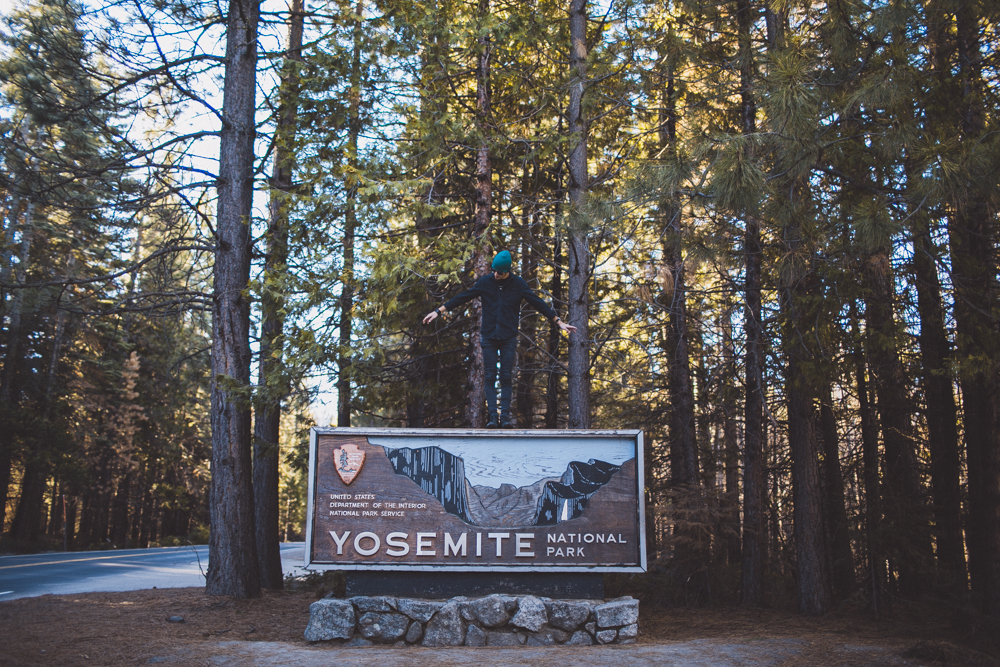
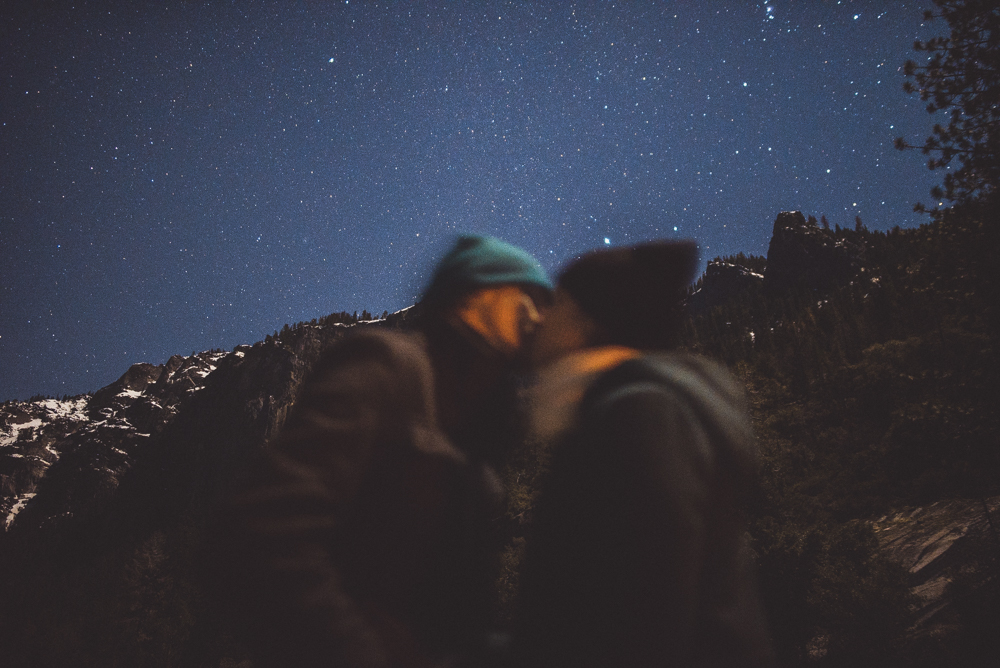
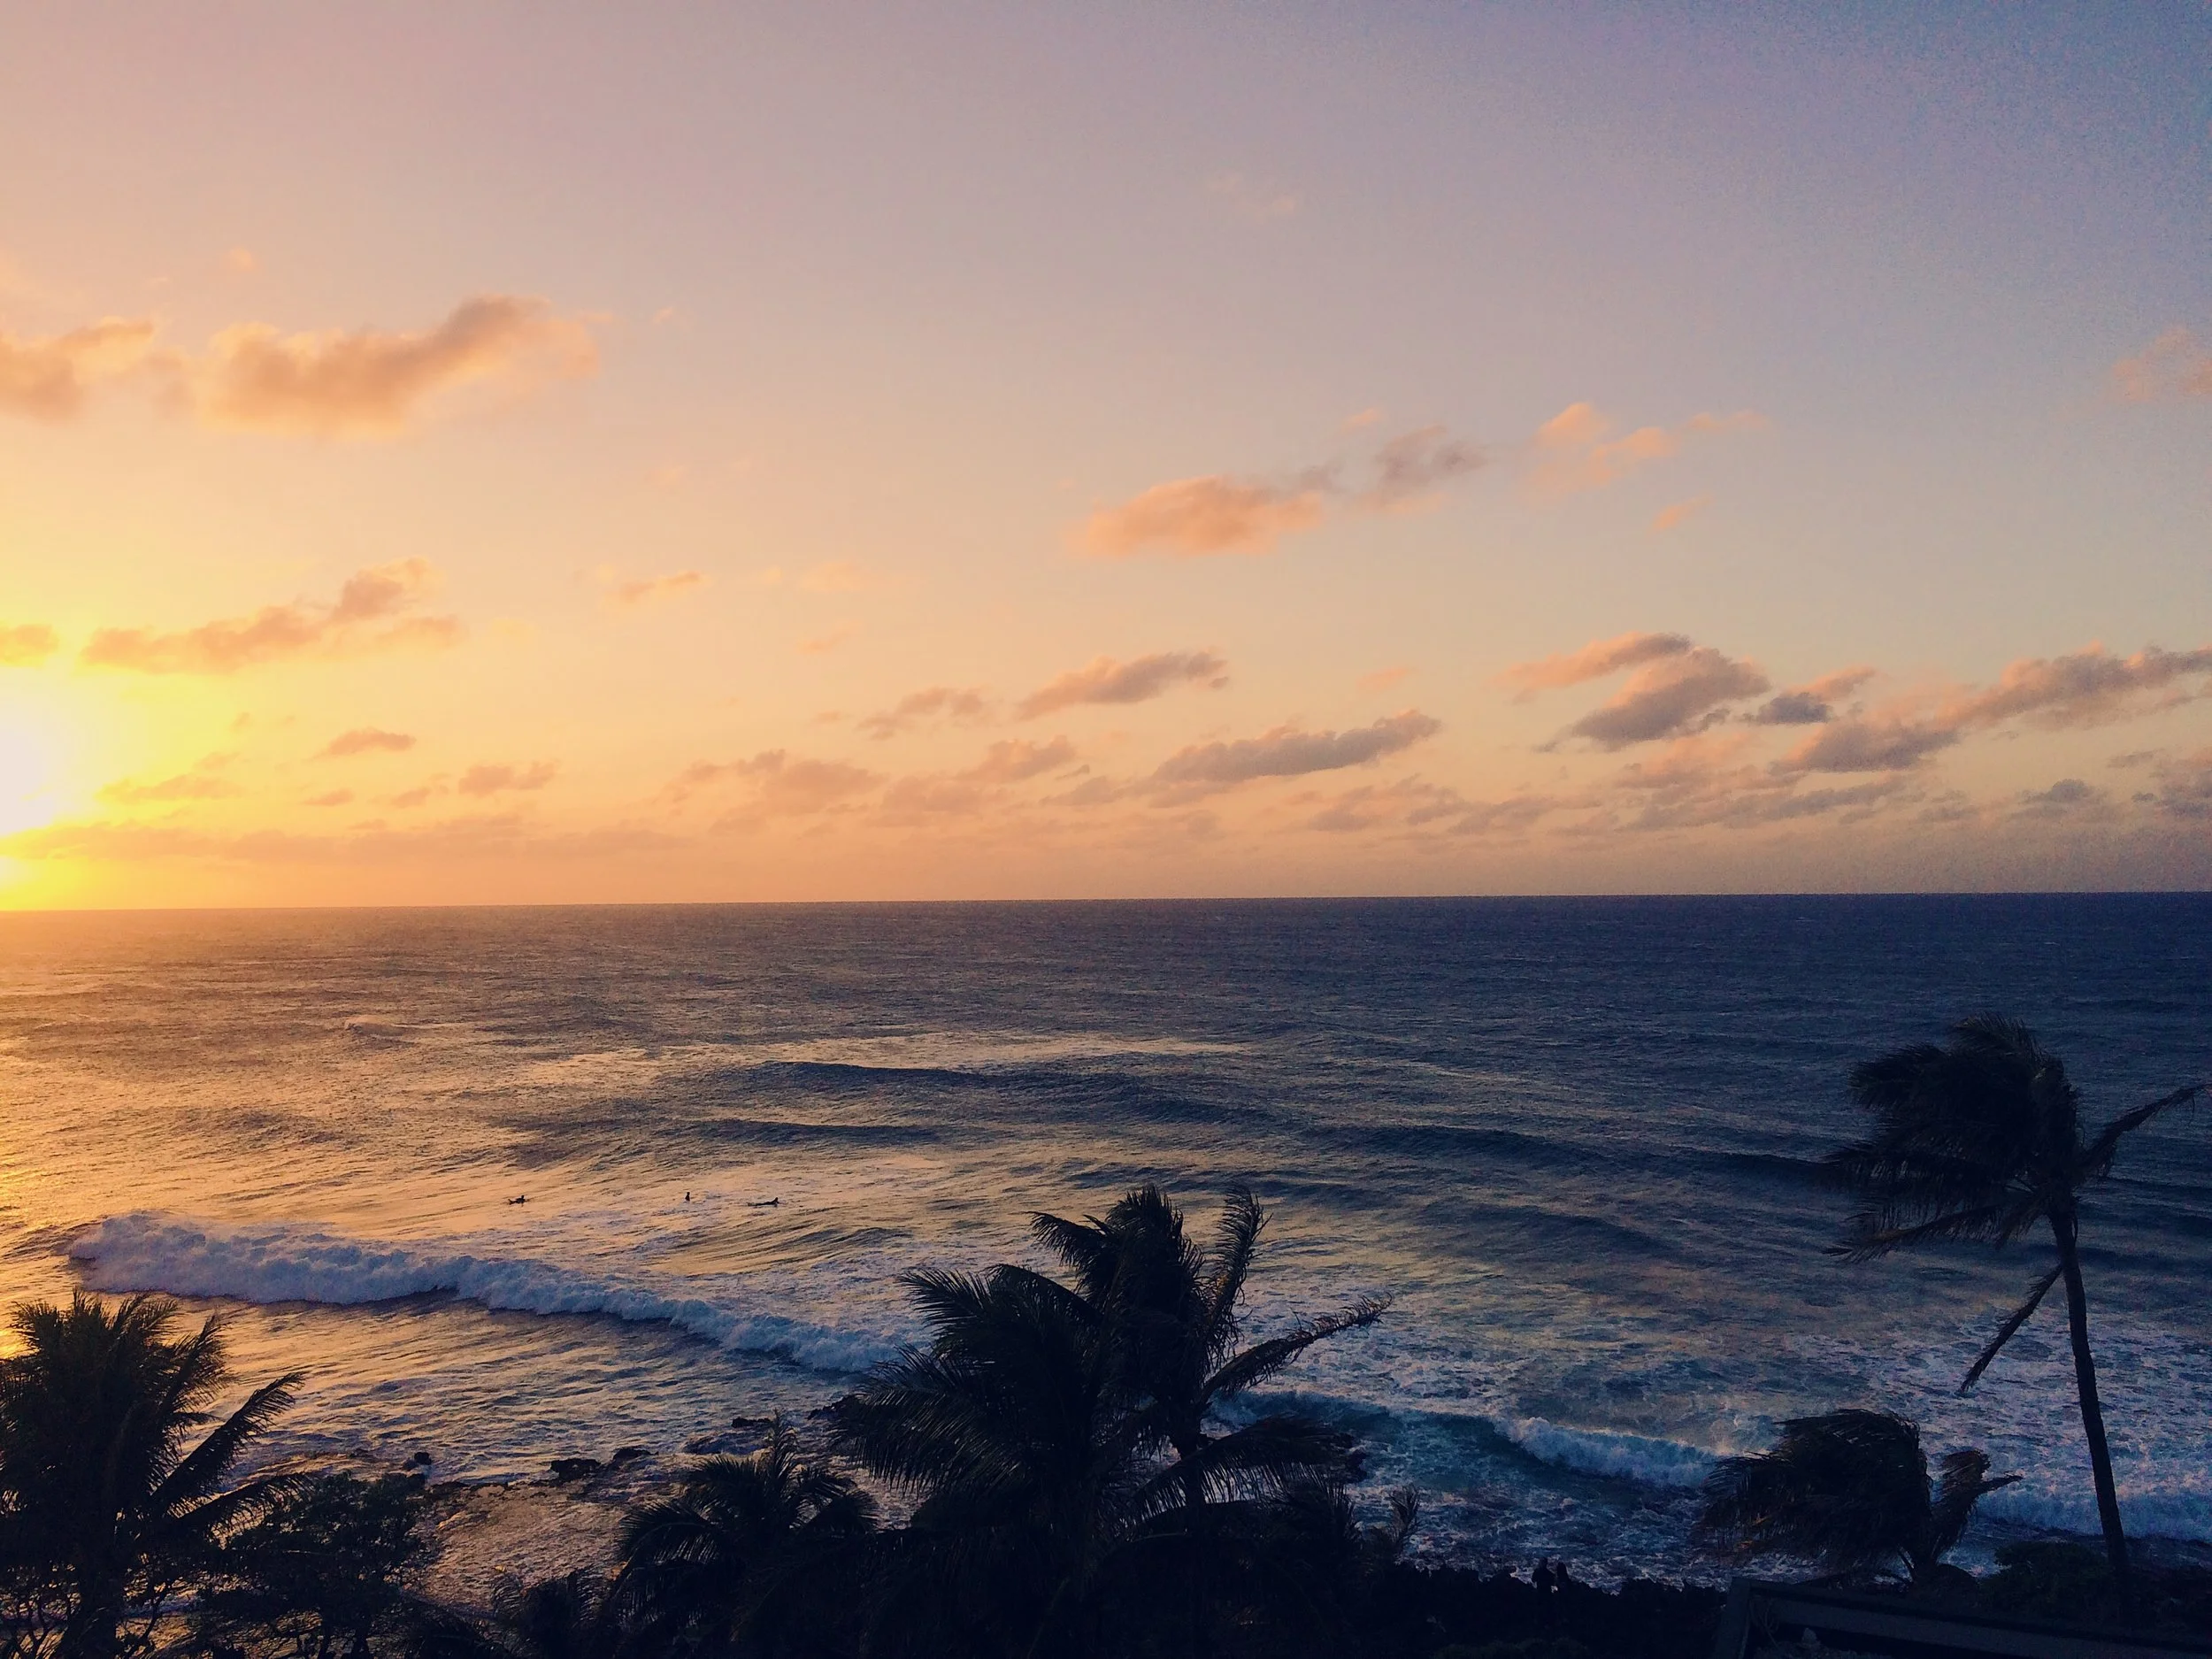
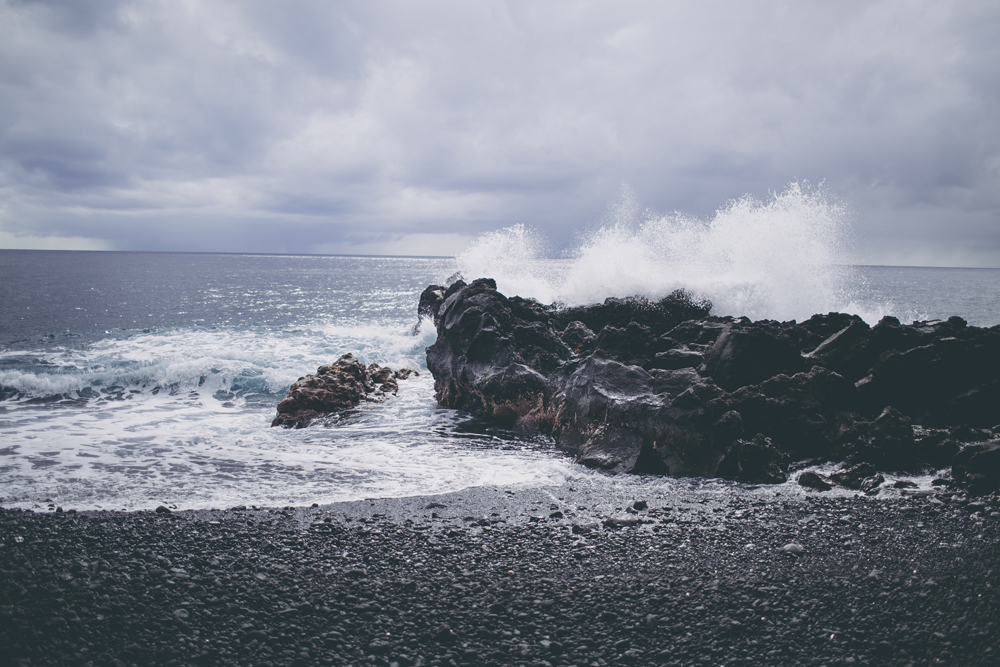
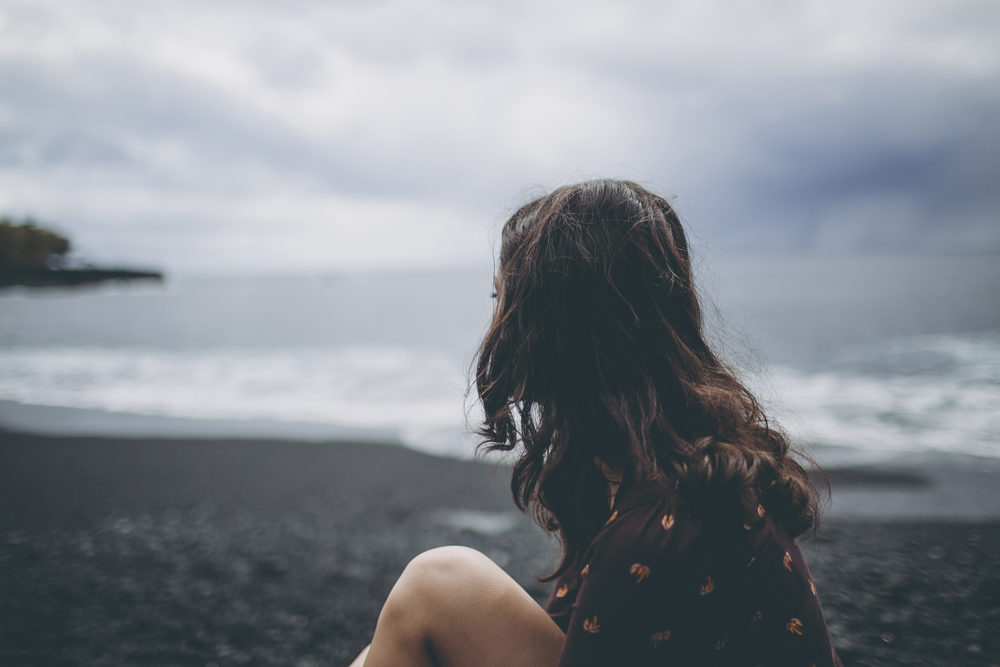
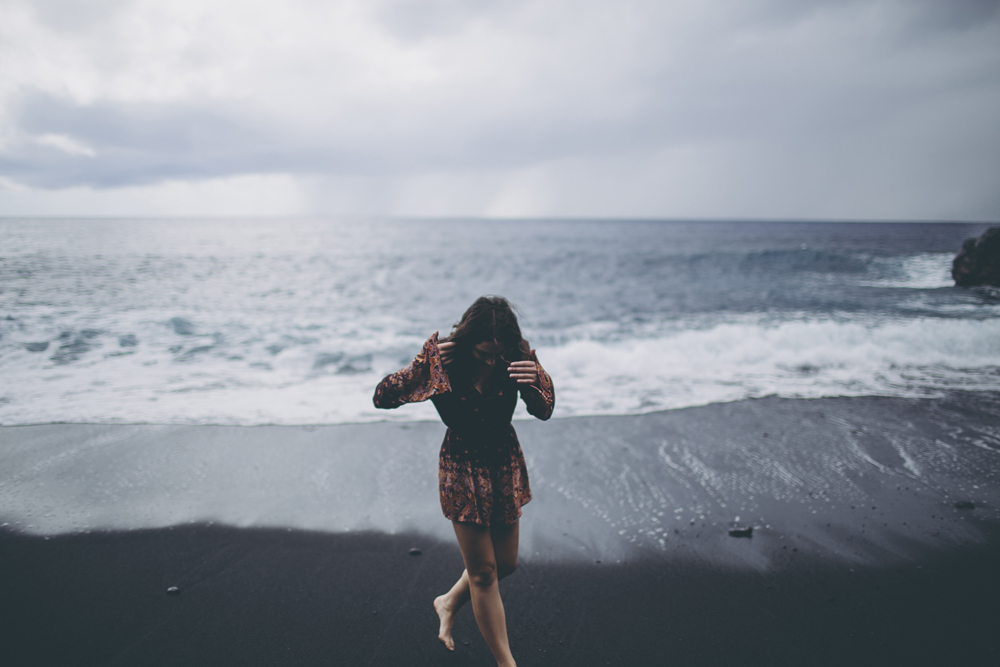
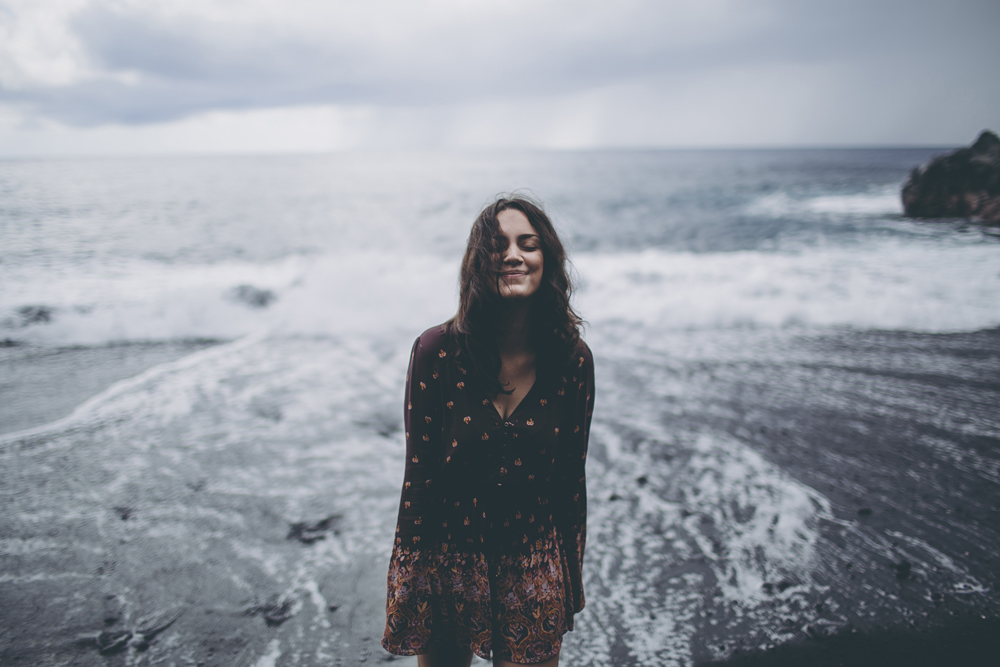
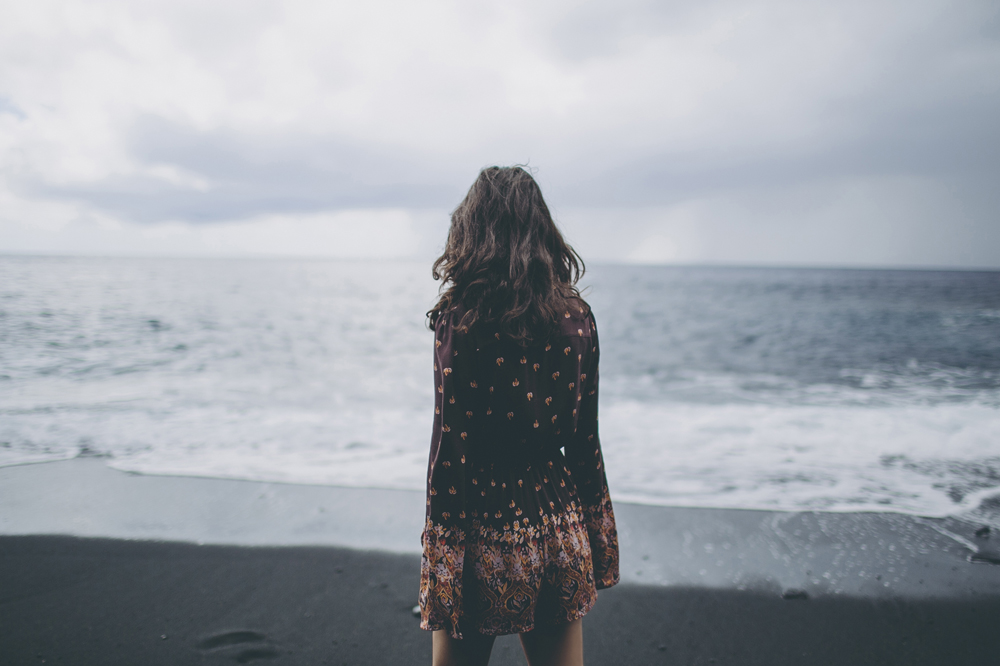
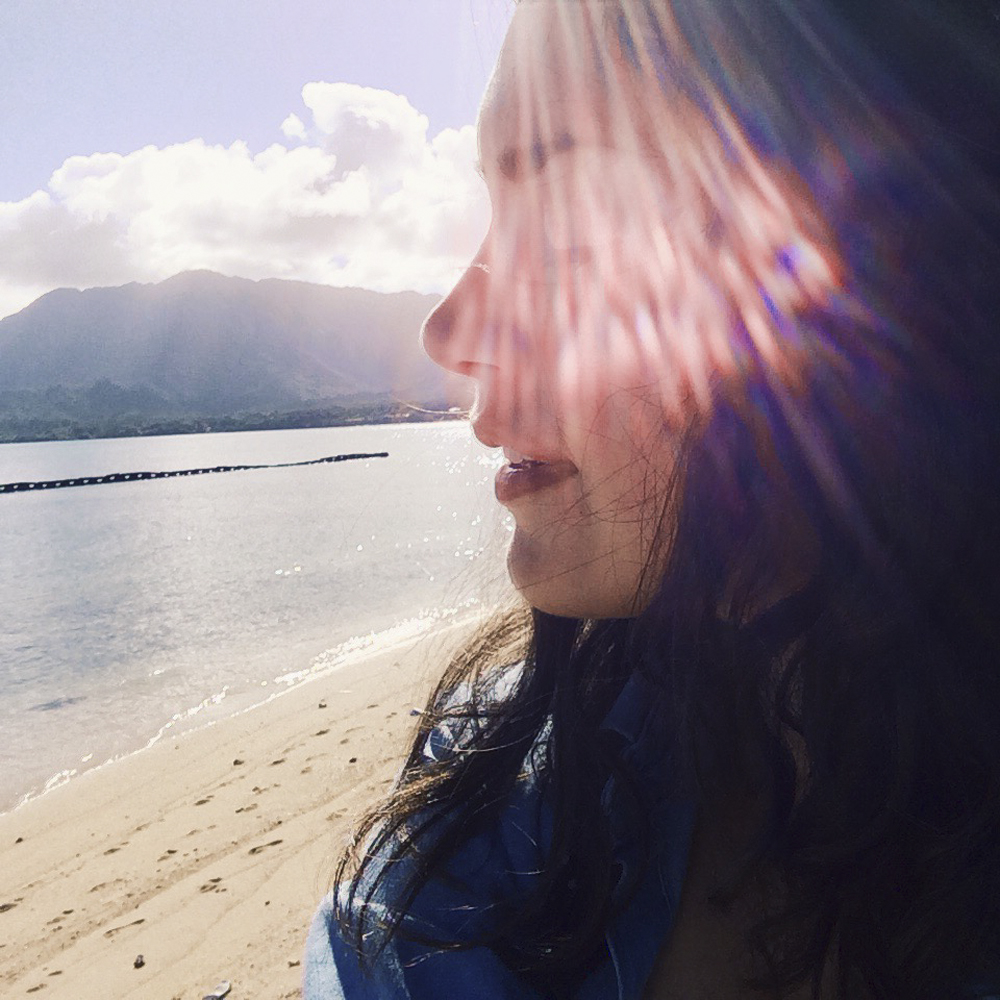
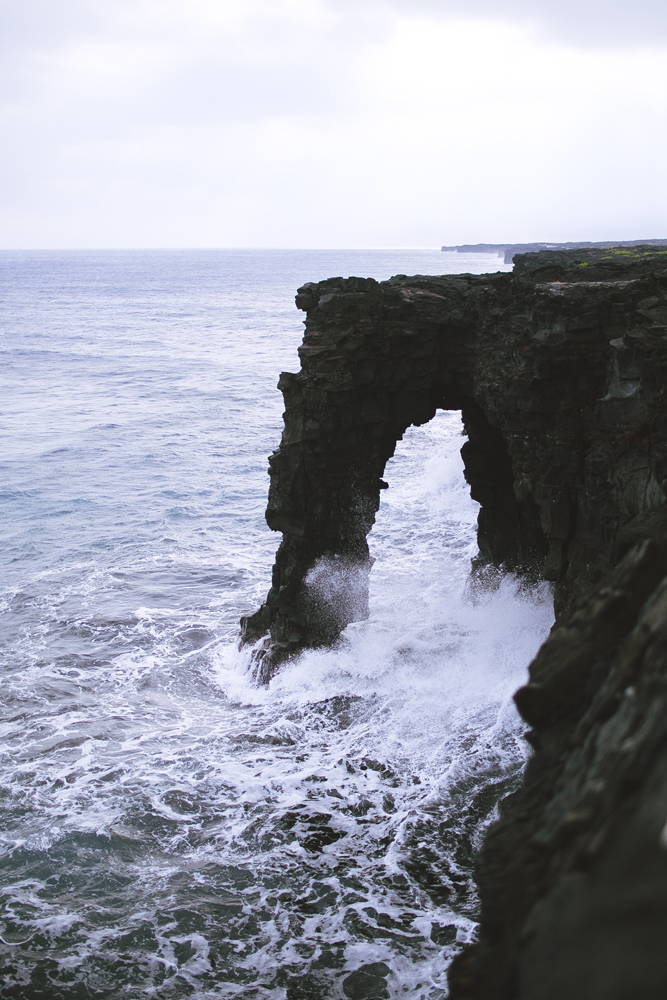
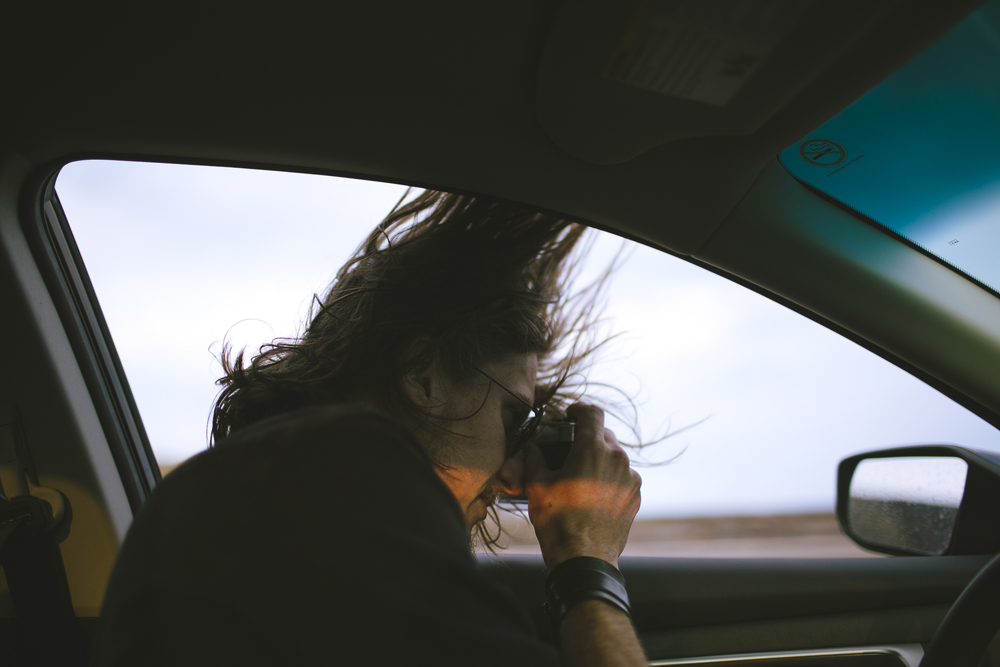
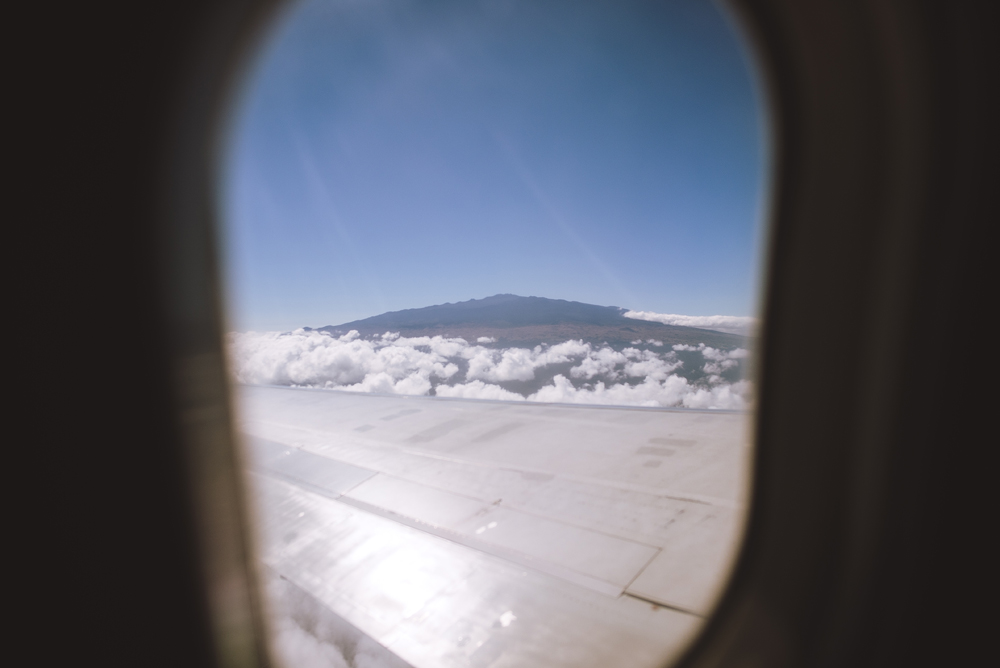
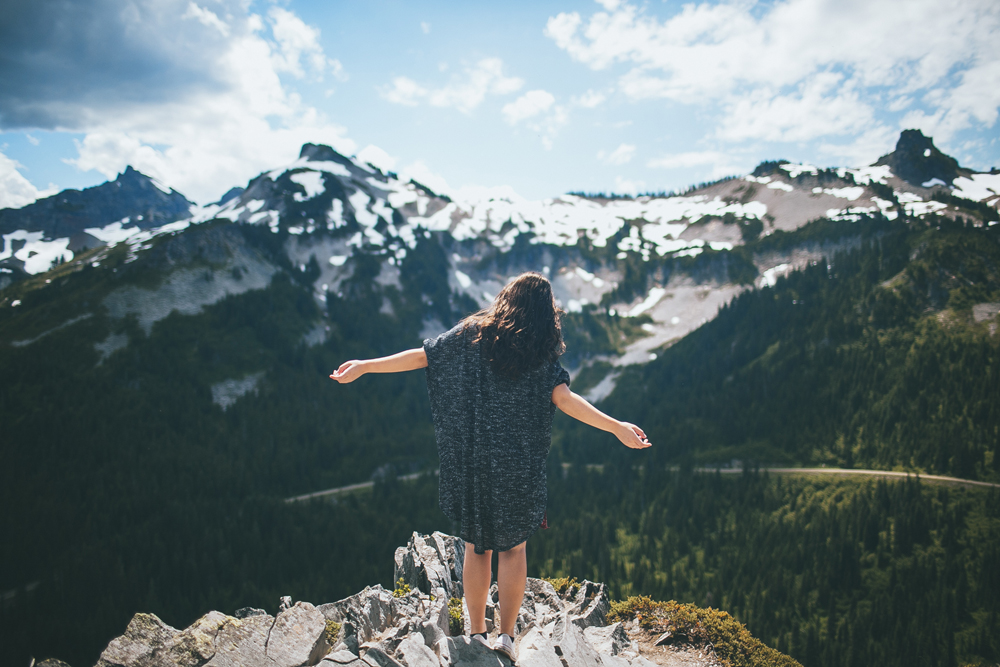
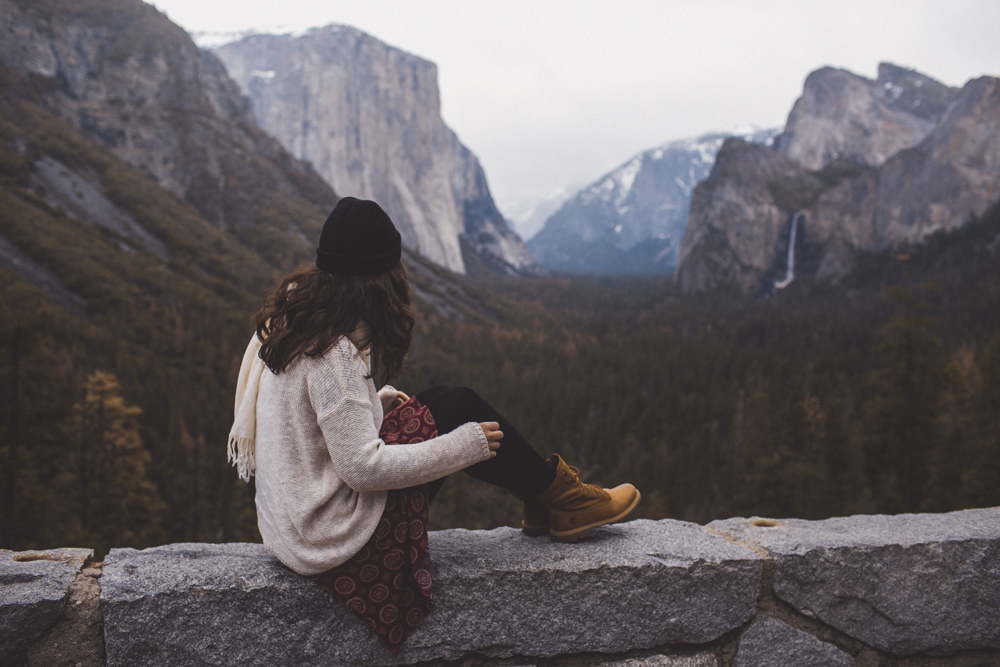
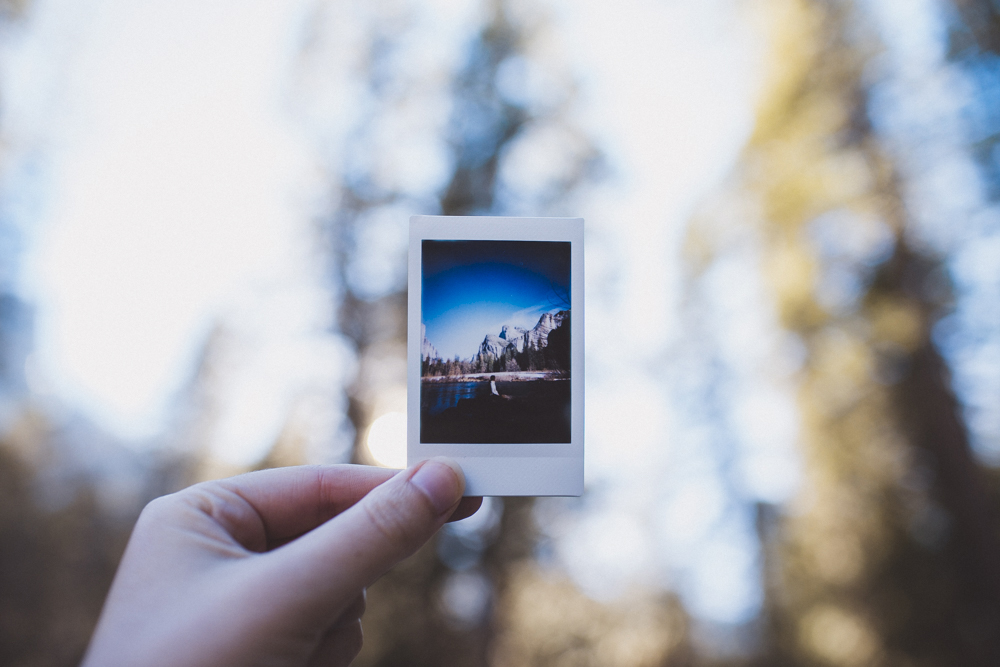
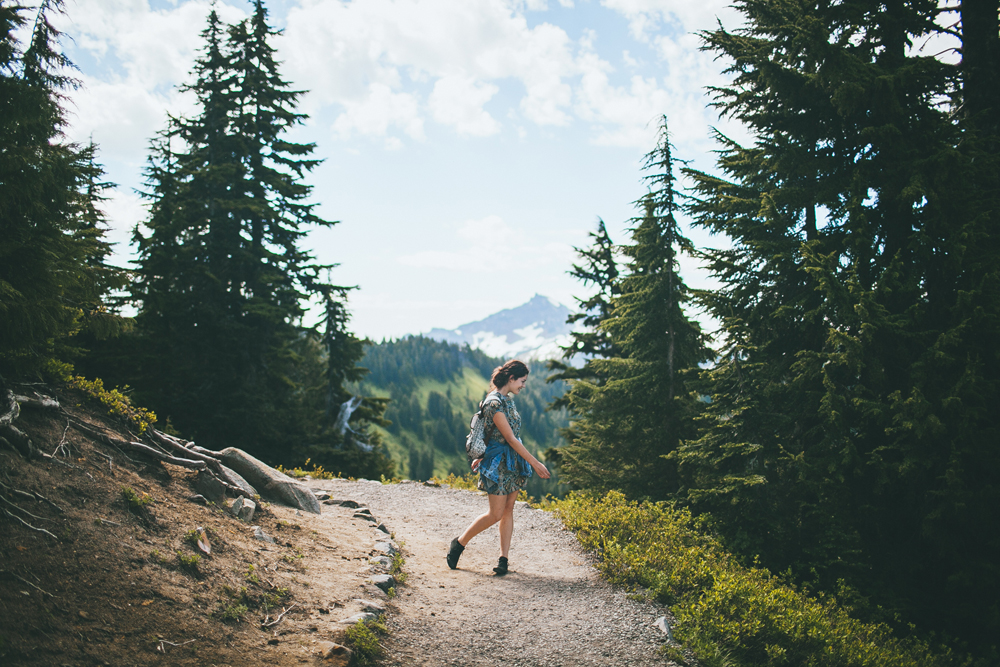
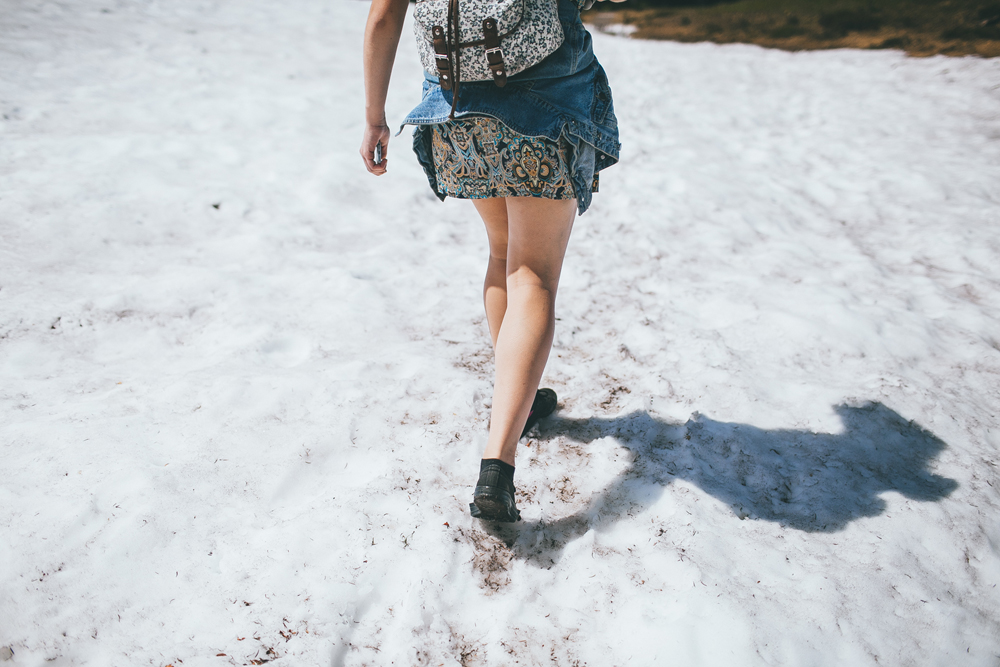
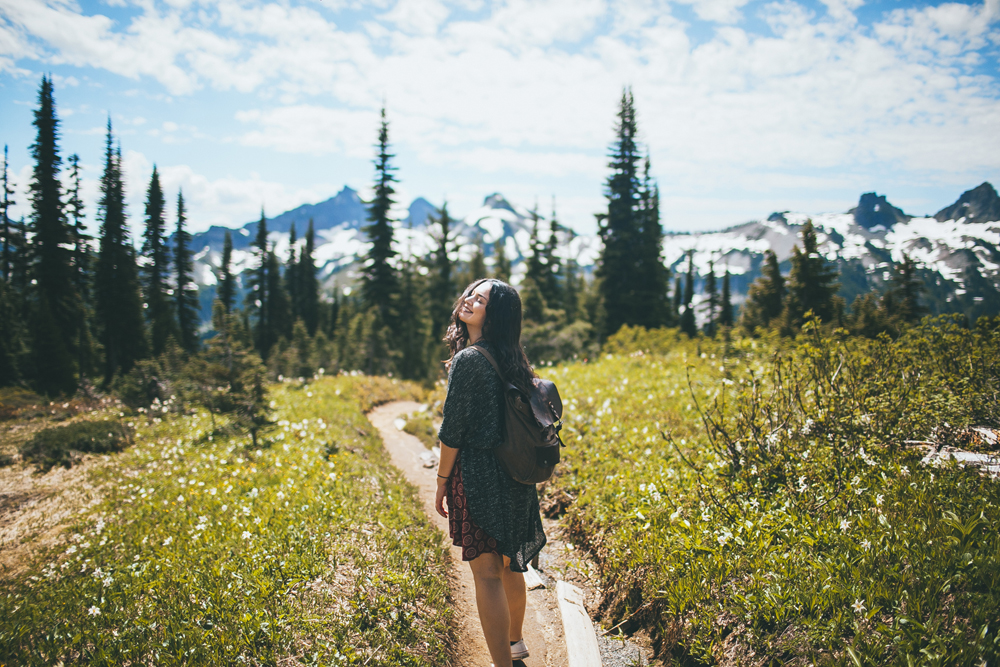
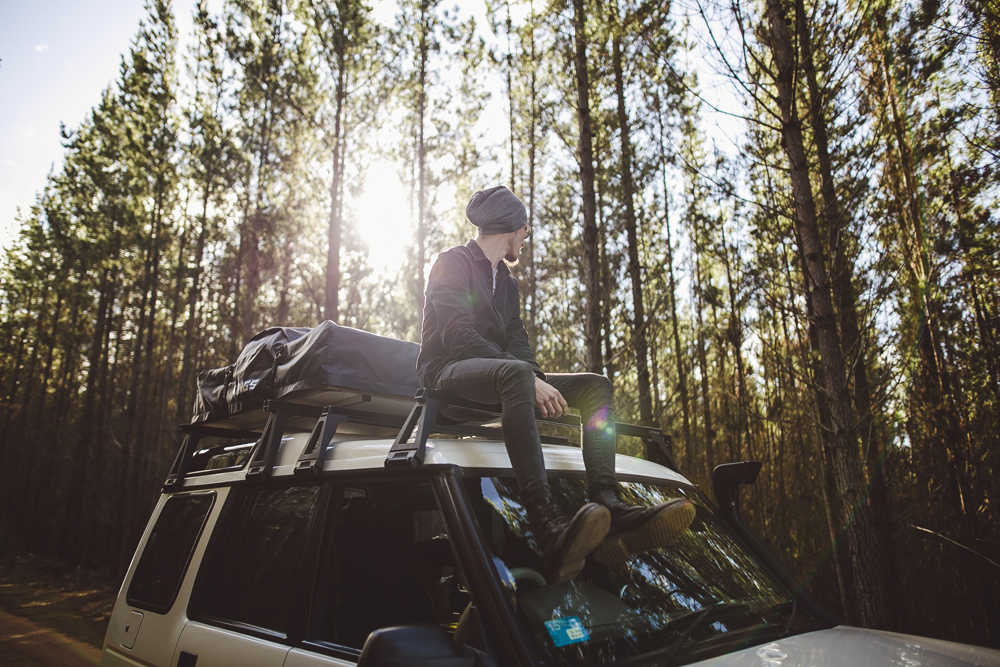
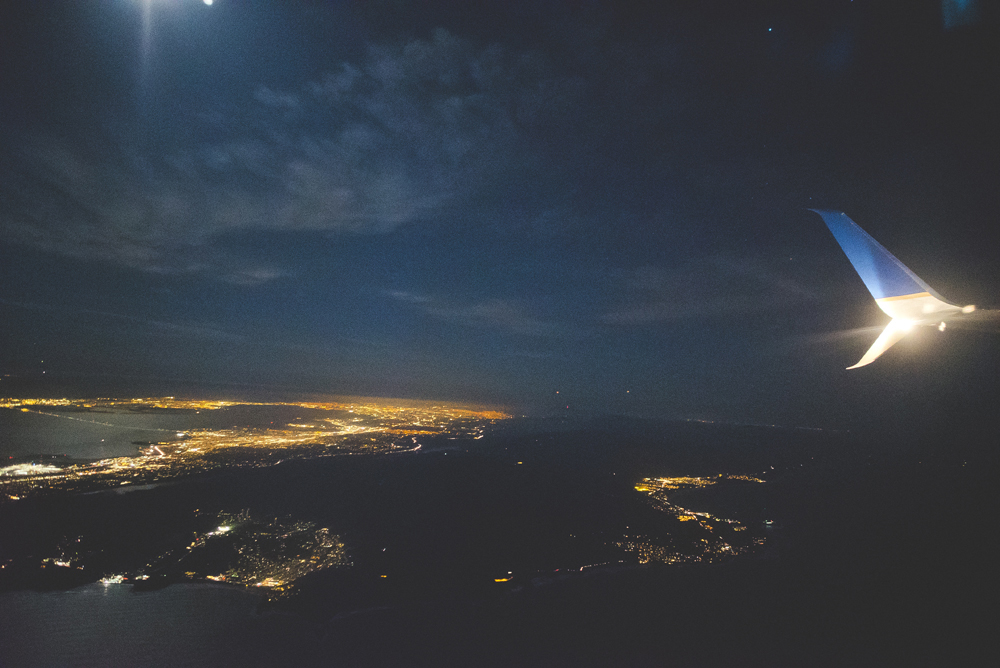
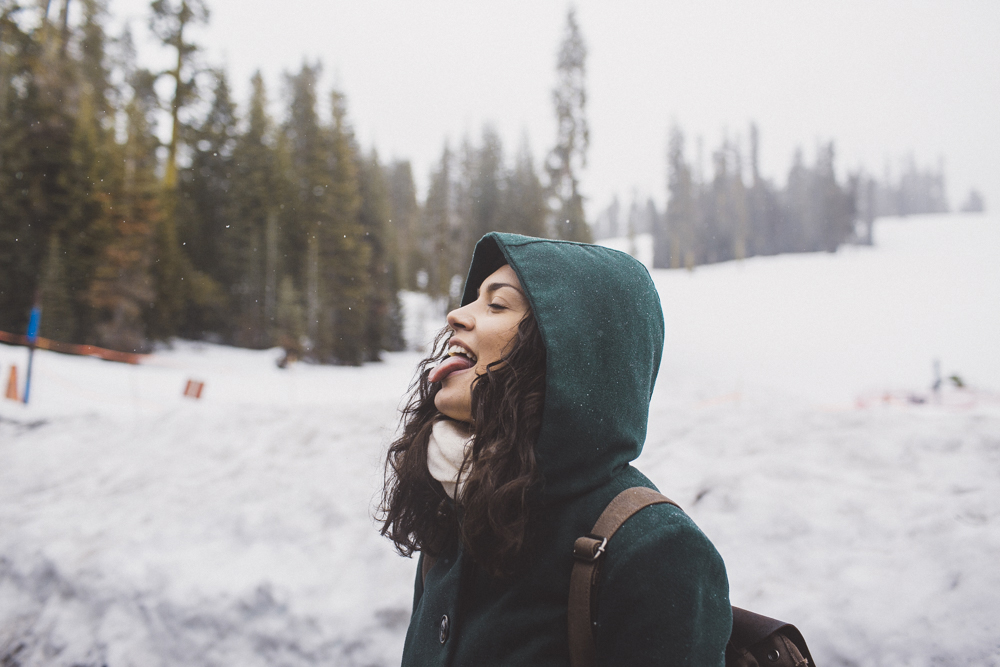
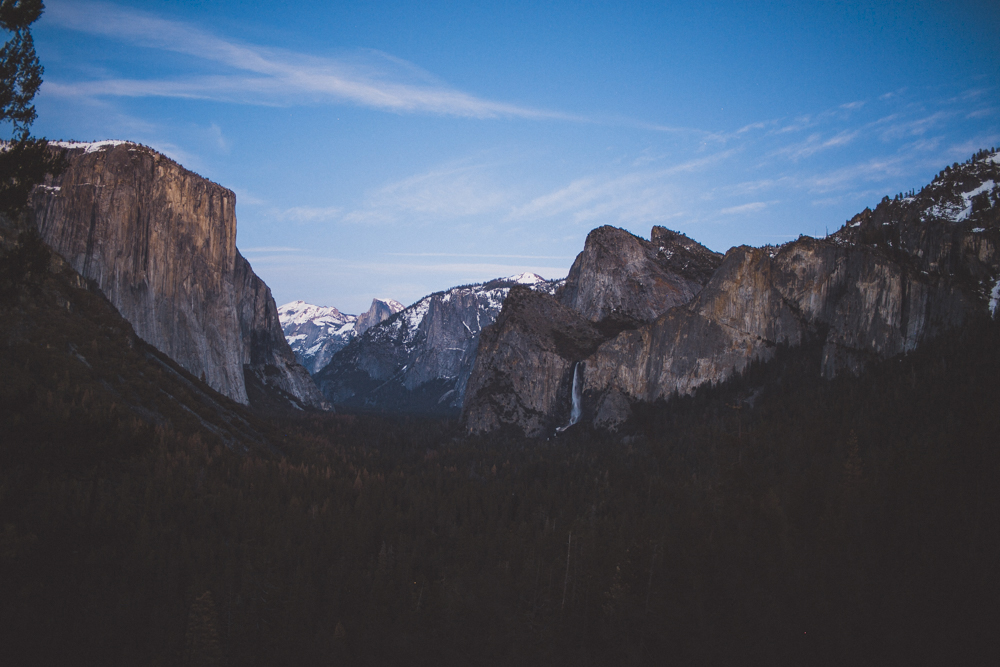
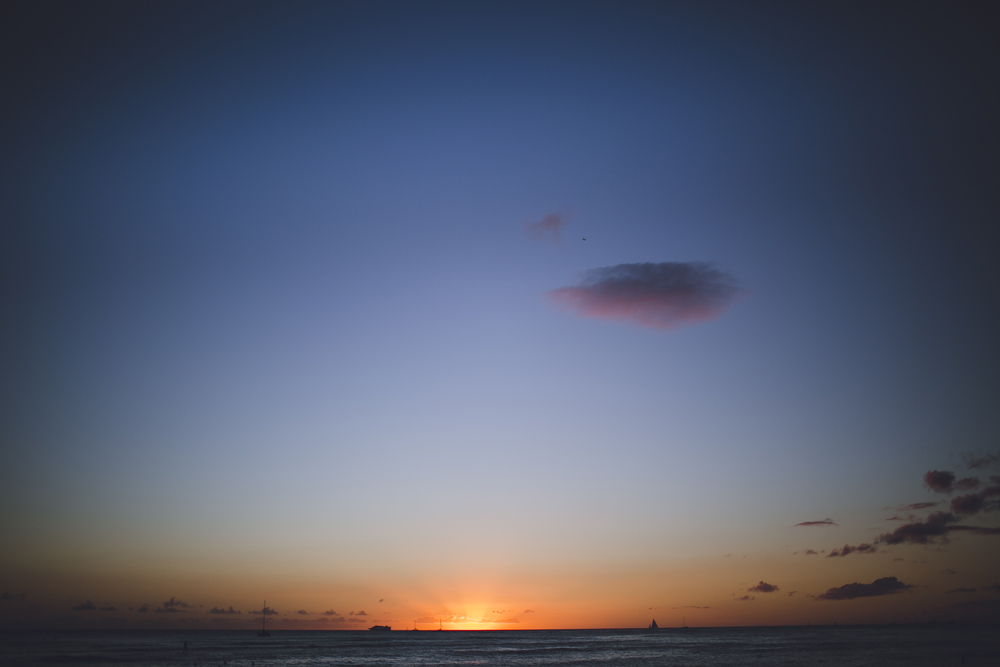
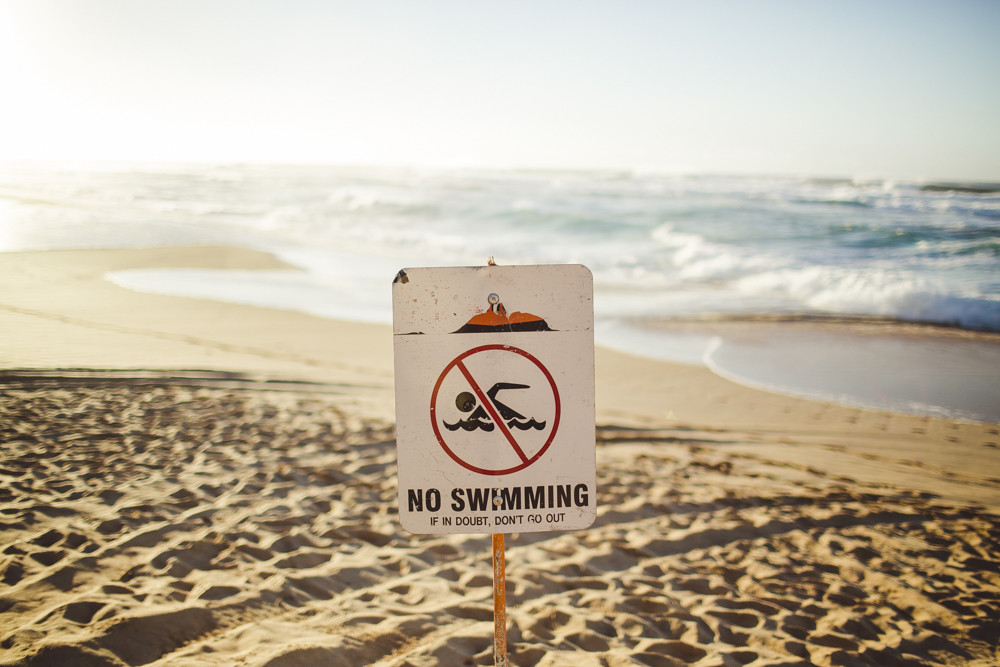
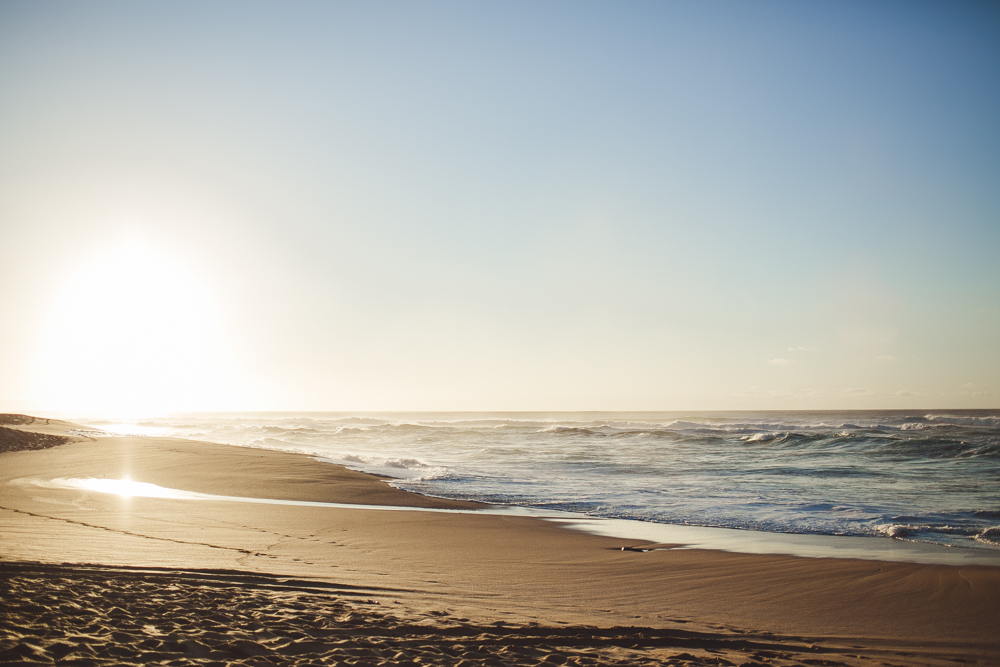
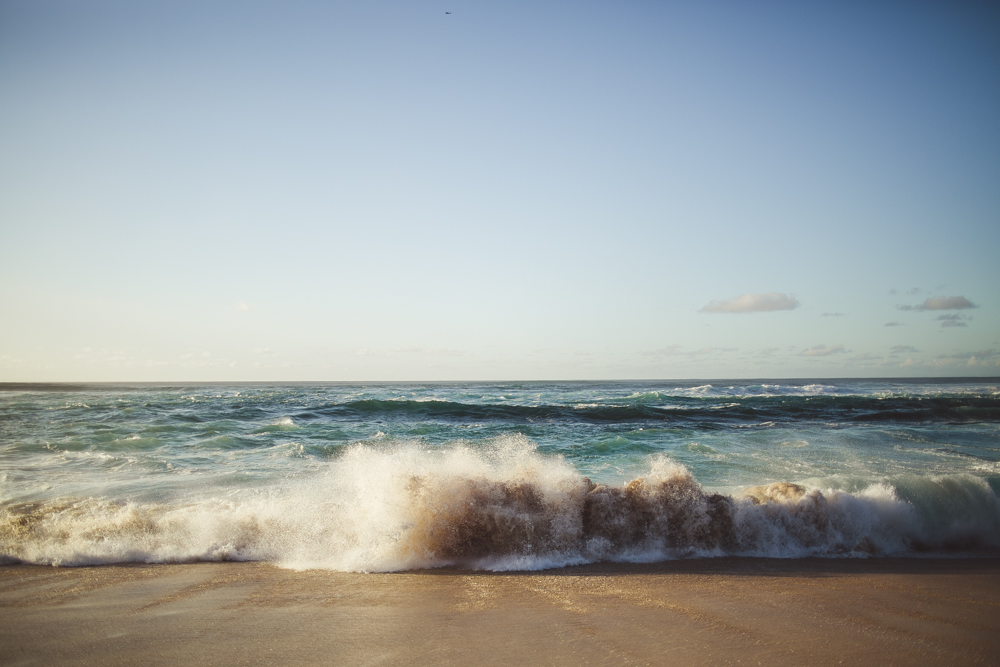
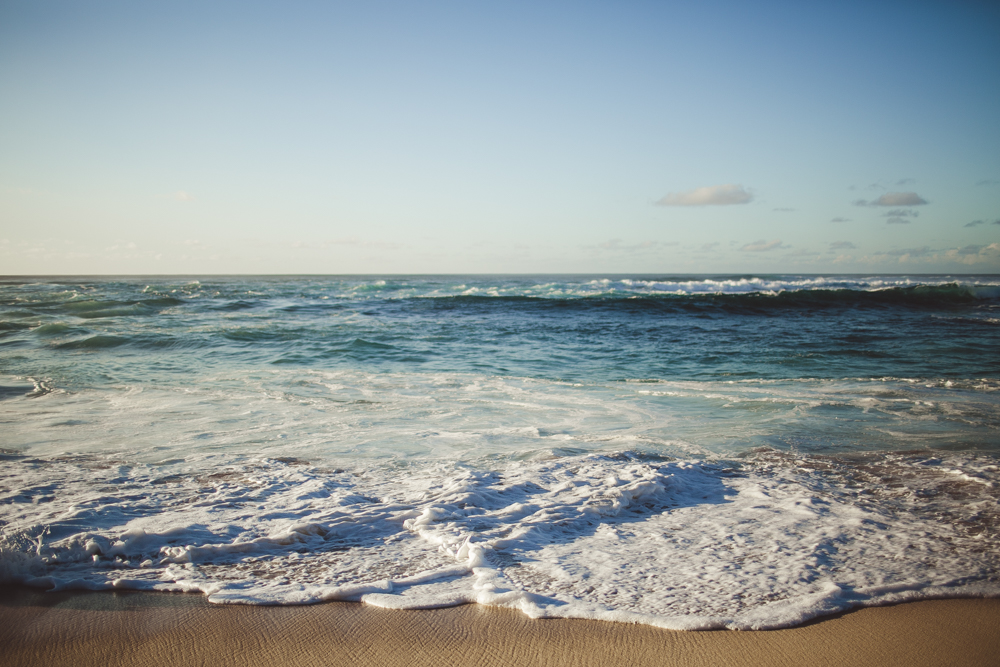
Dan and I had spent the morning watching the waves crash on the black sand beach on the Big Island in Hawaii. We were waiting at our gate to board our flight to Honolulu when we started talking about Yosemite National Park. We spent the rest of the time we had waiting at the airport and on our flight doing some research and trying to plan out our trip if we were to make it happen. With a smiles we couldn't wipe off our faces, my hands shaking and crazy eyes of "should we" we cancelled our flight back home.
[ AND SO WE WENT ]
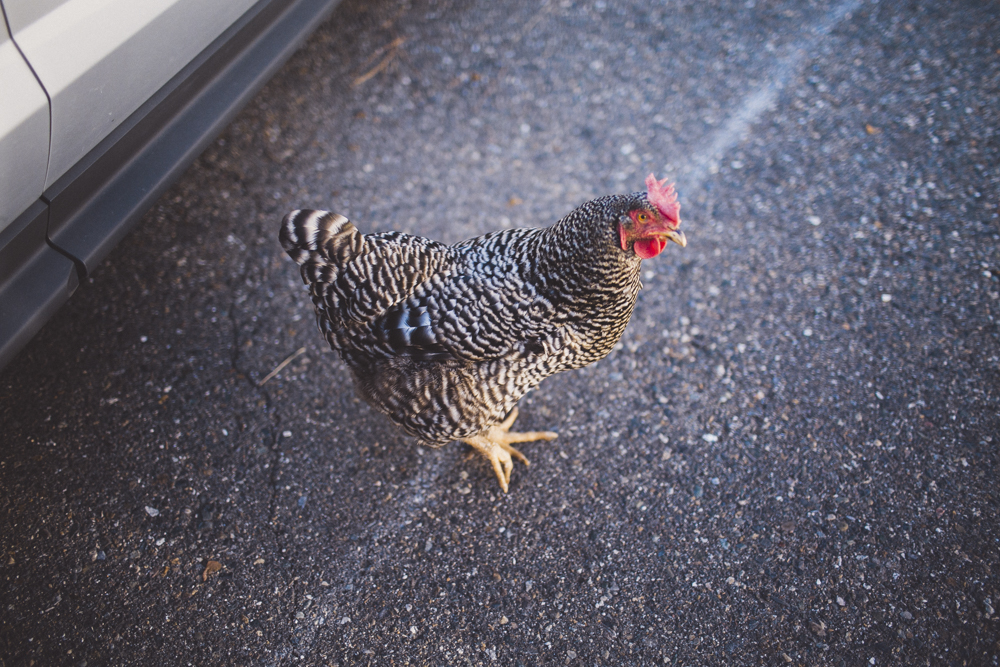
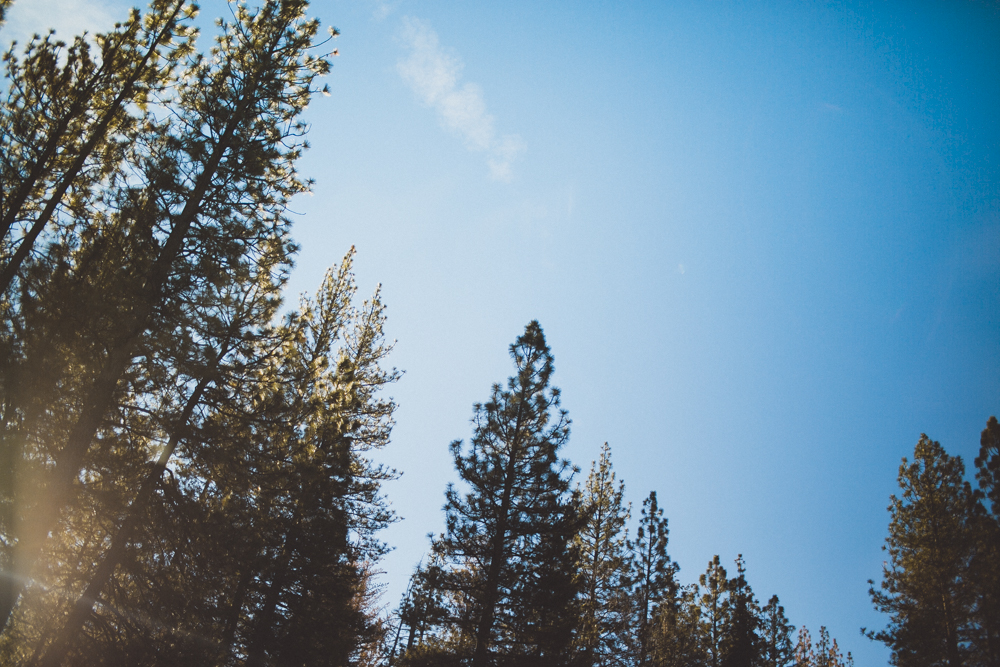
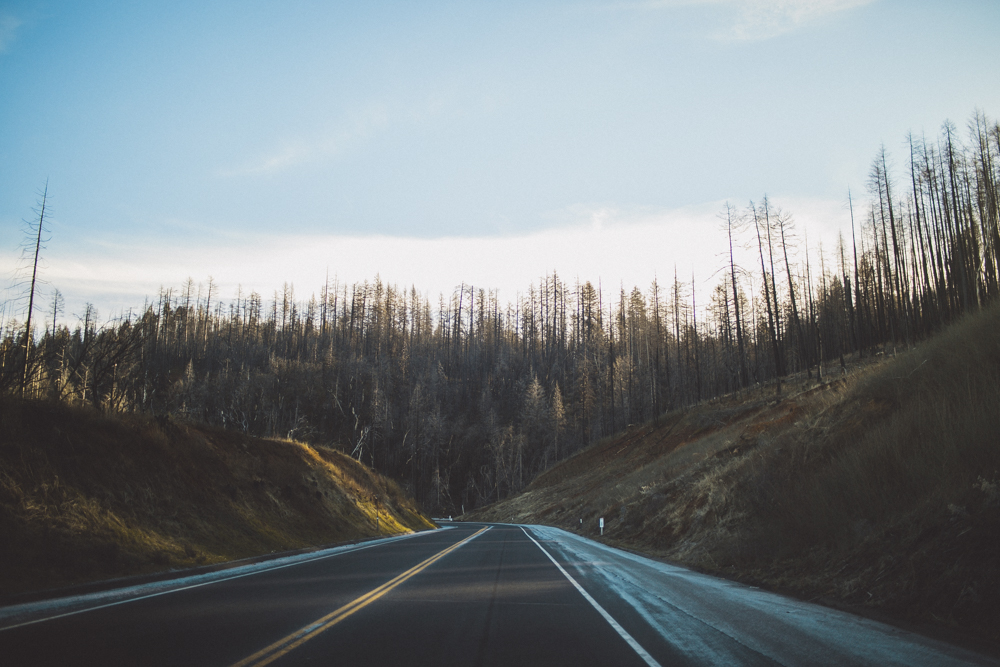
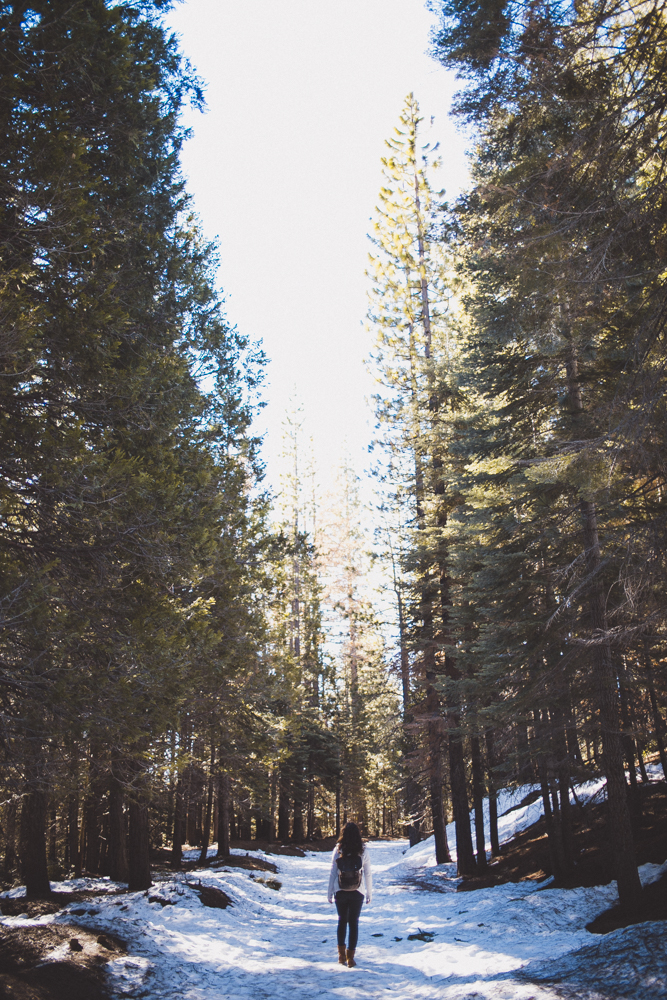
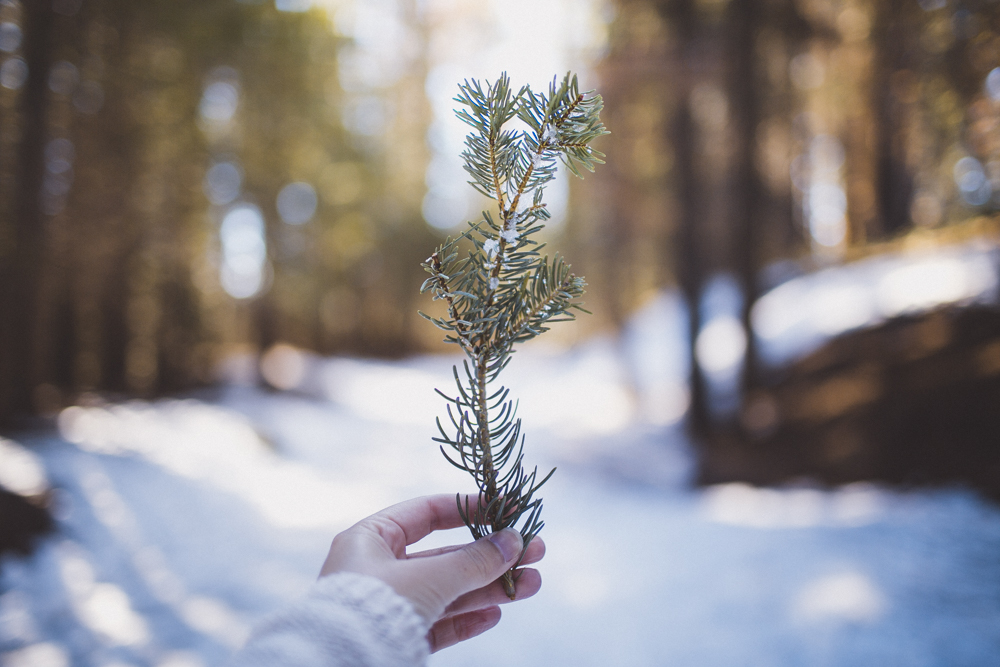
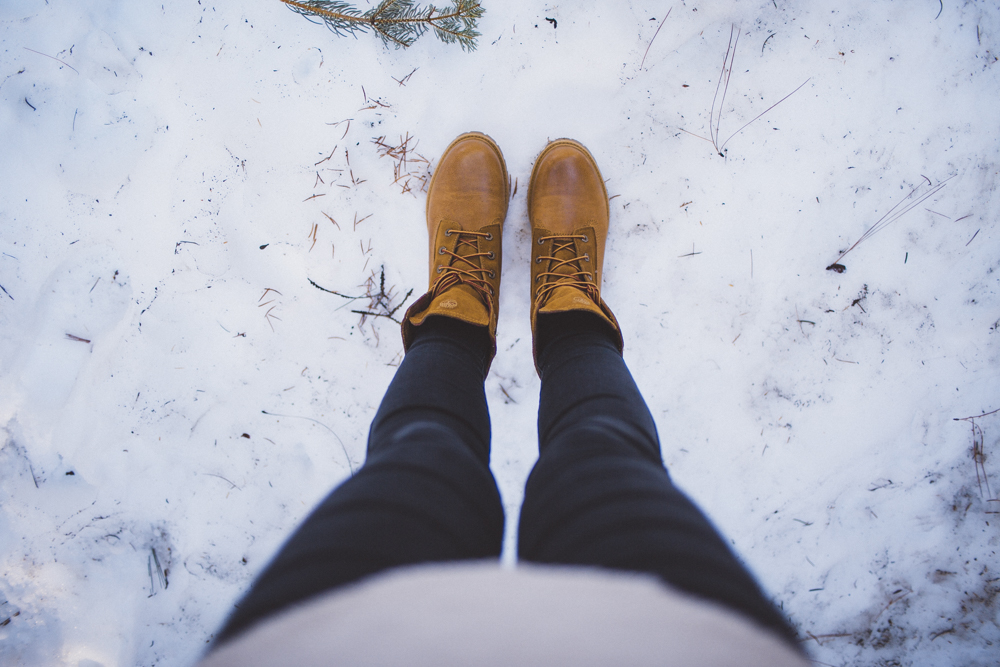
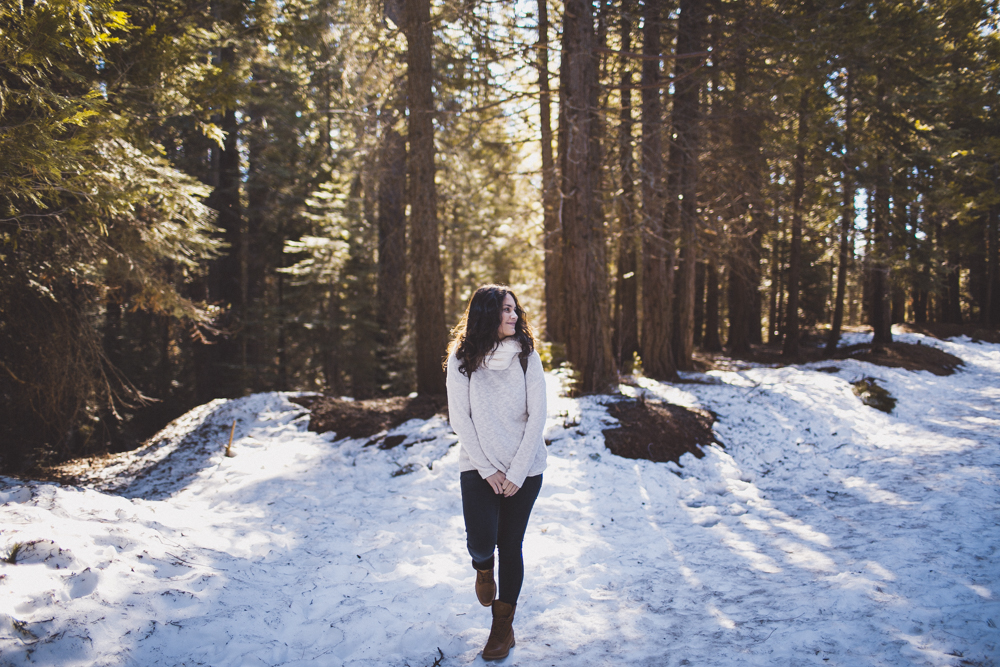
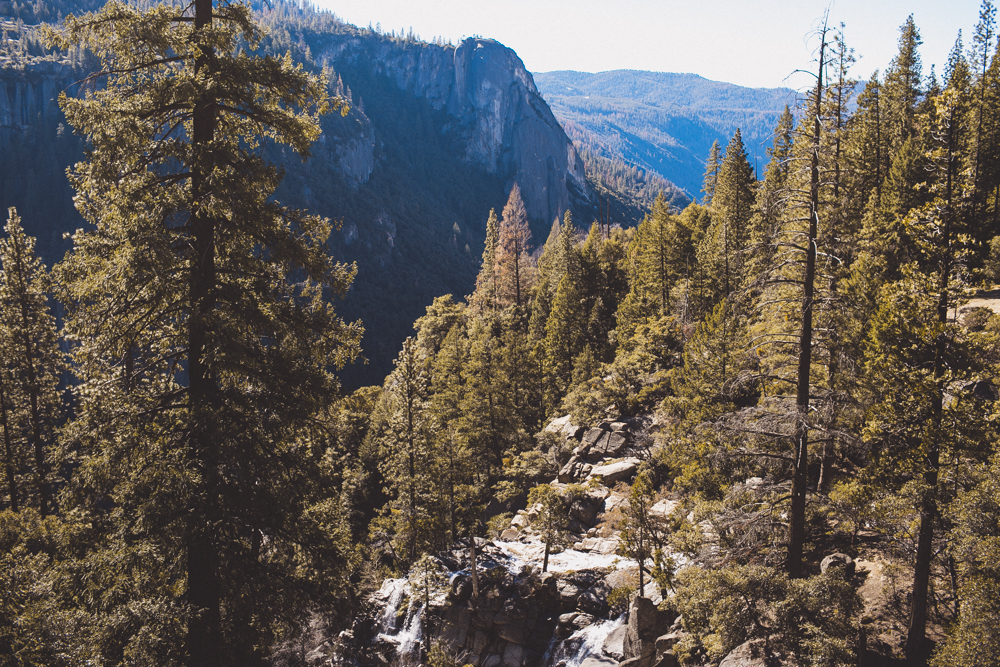
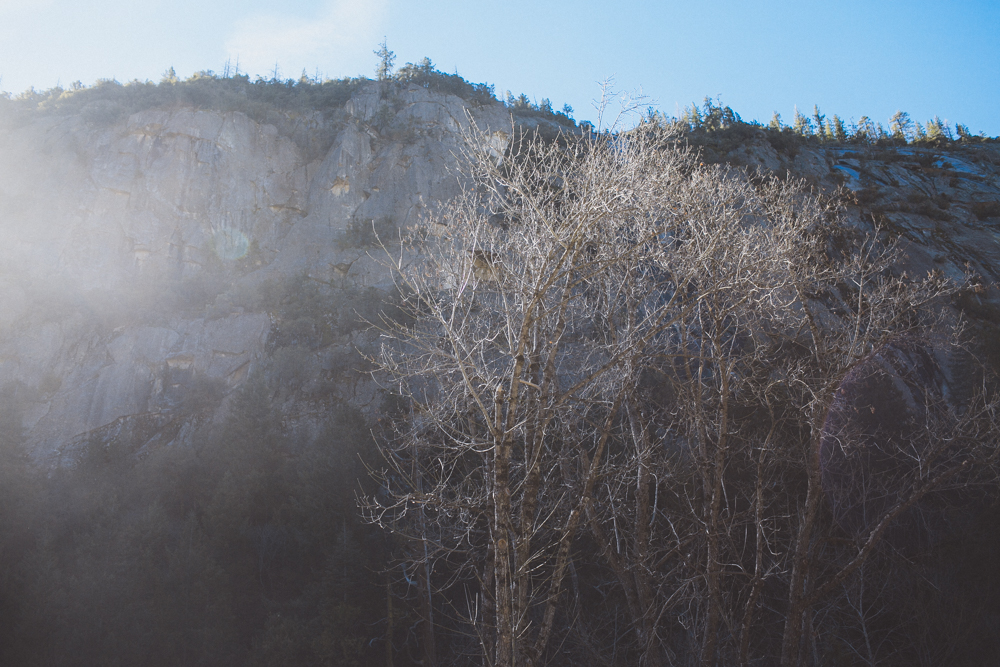
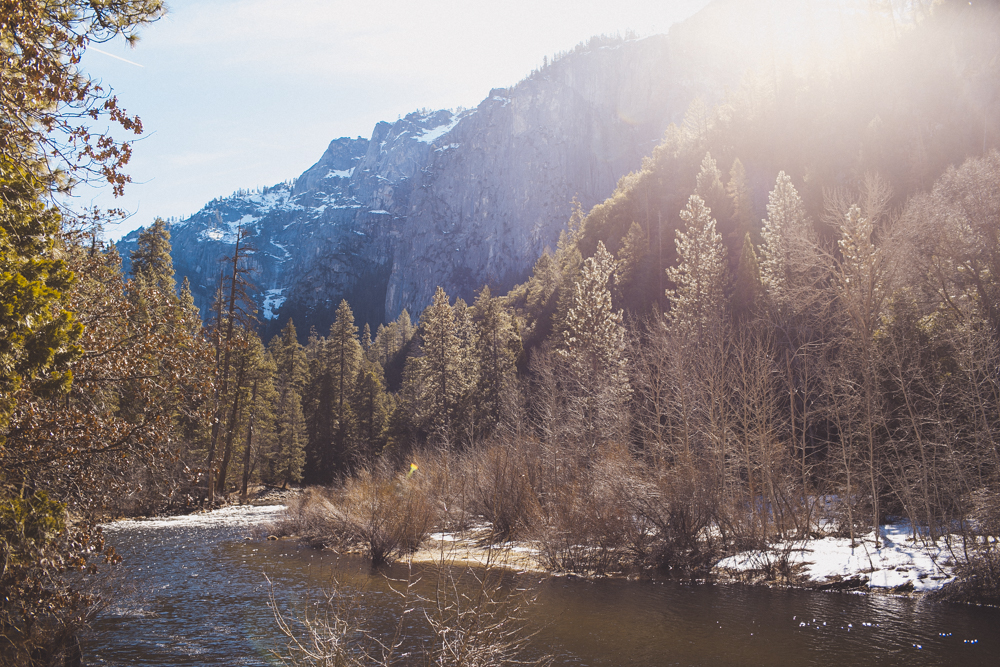
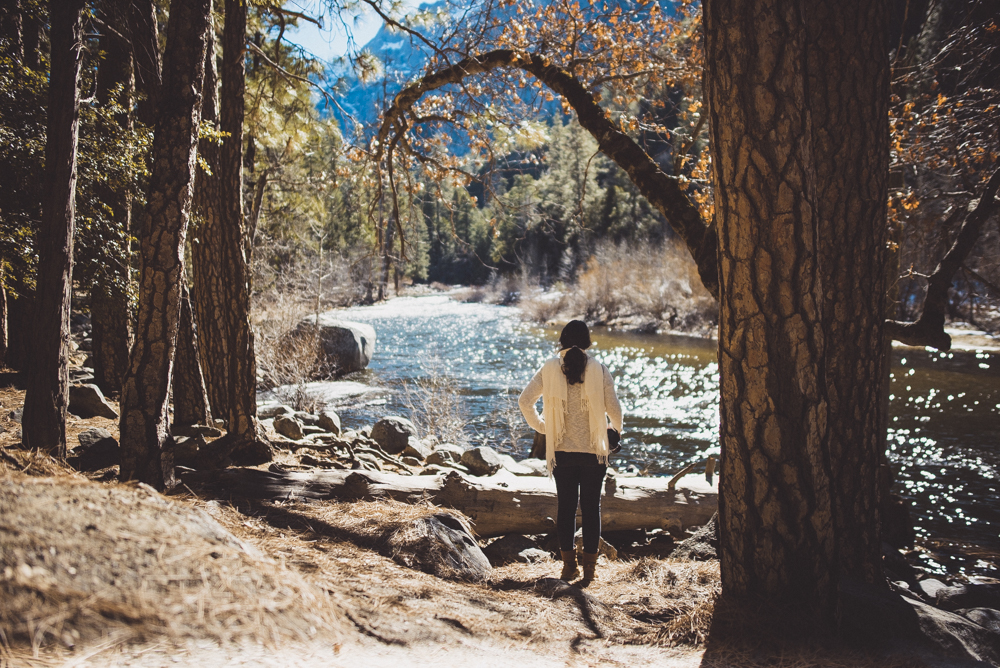
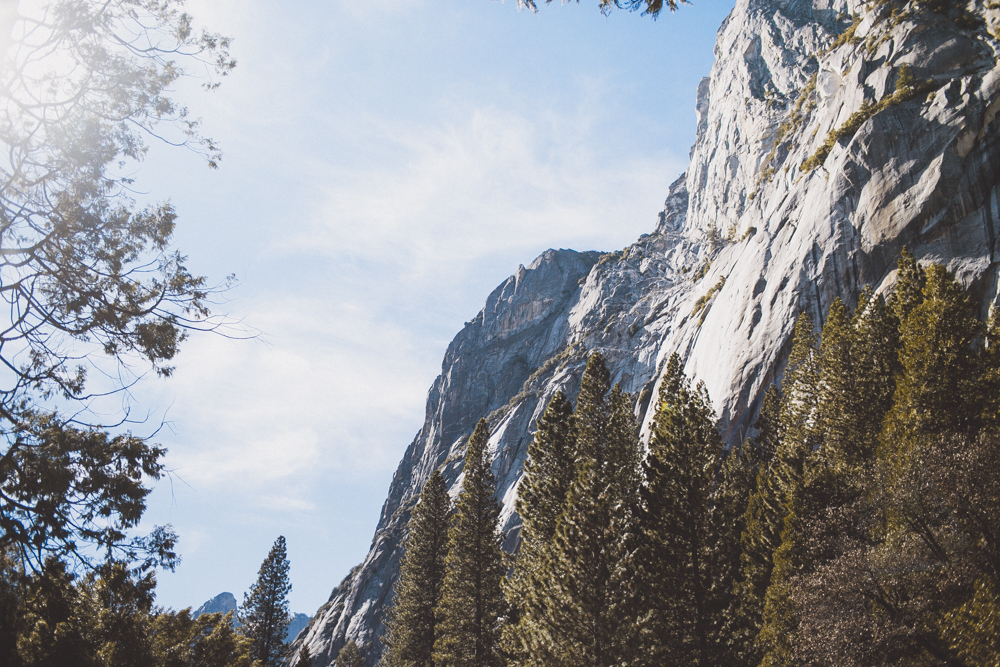
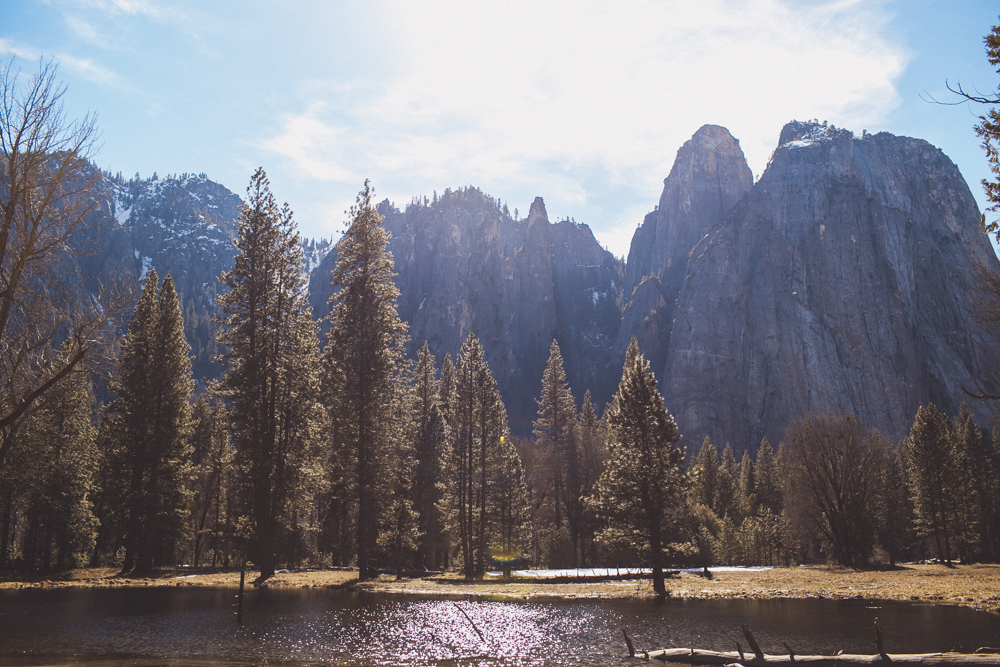
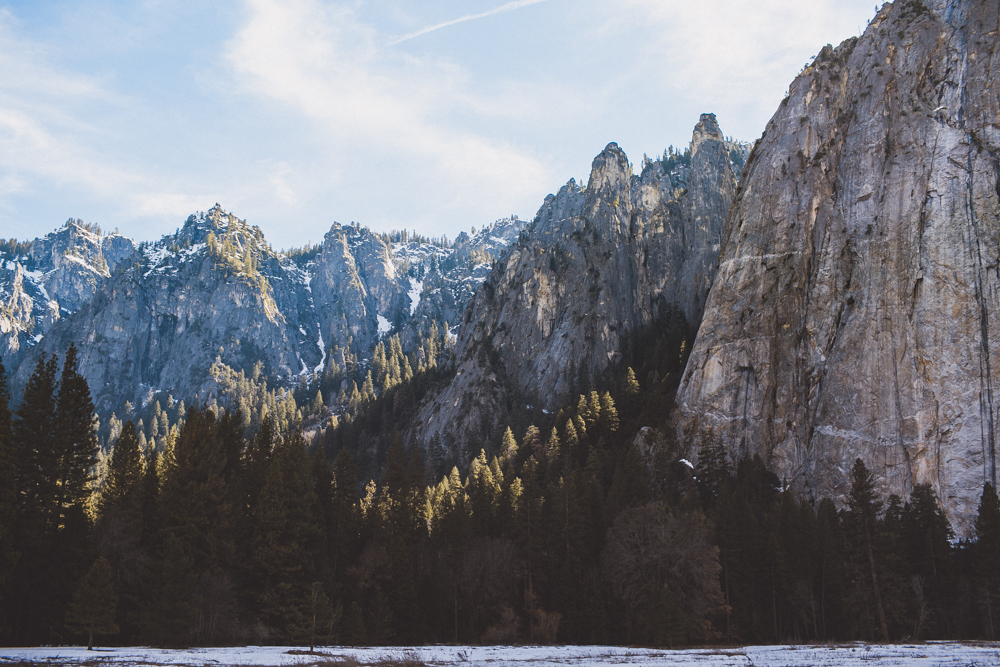
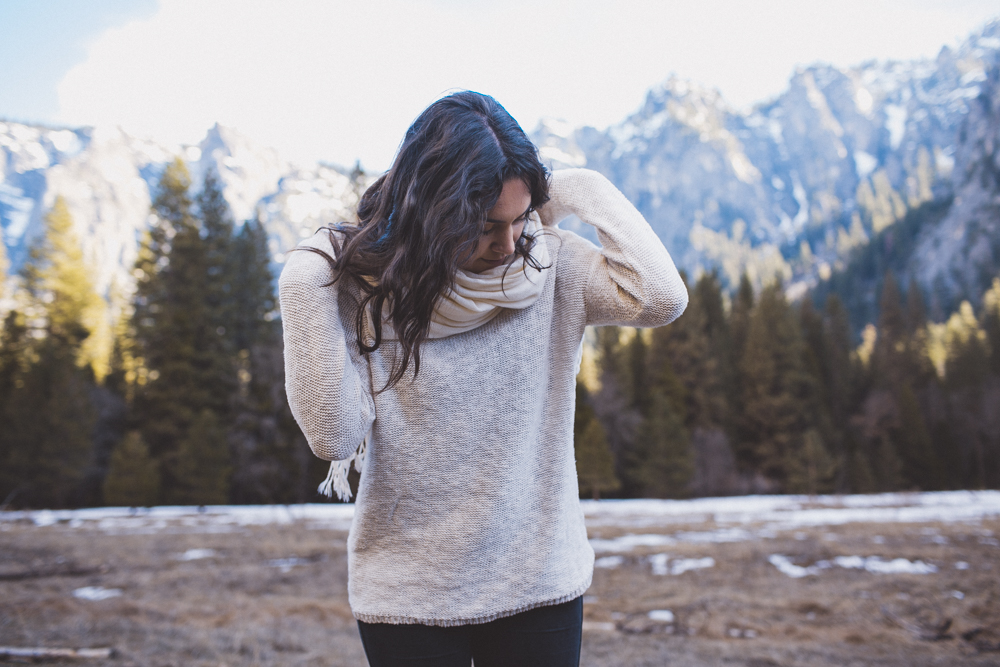
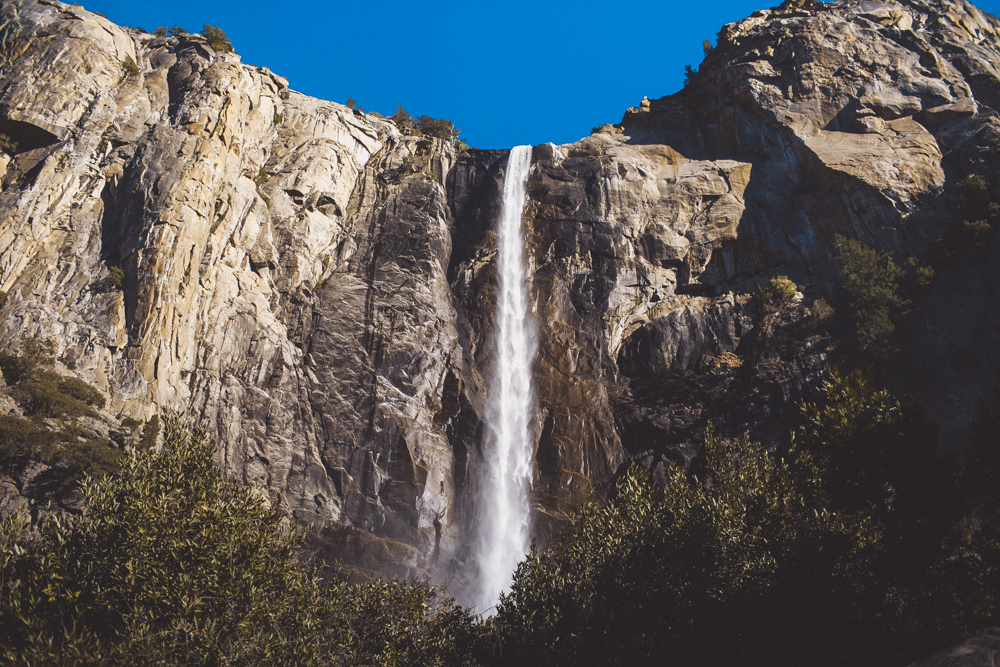
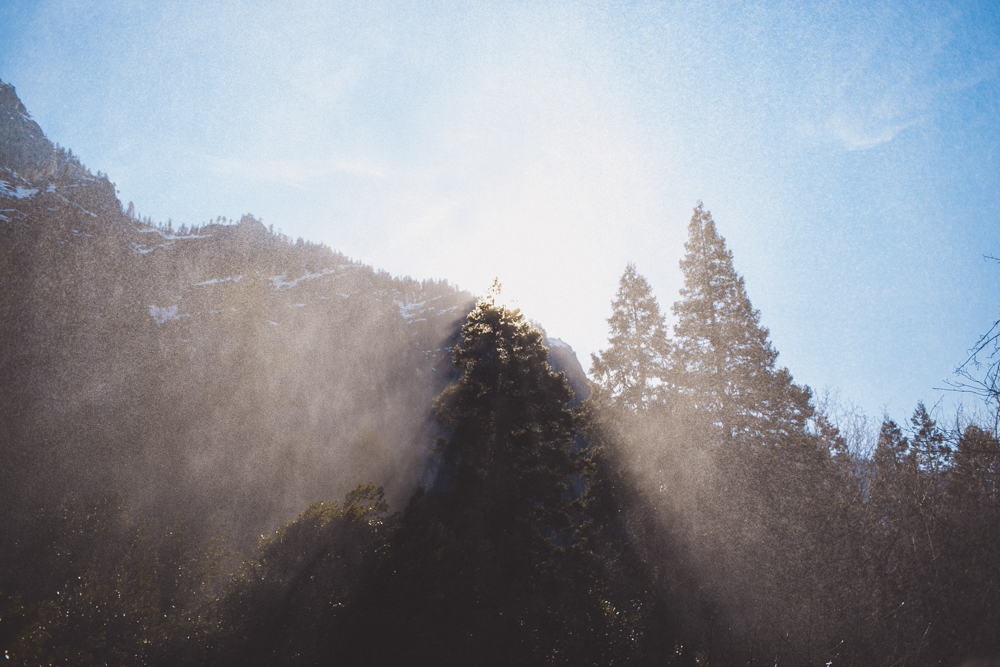
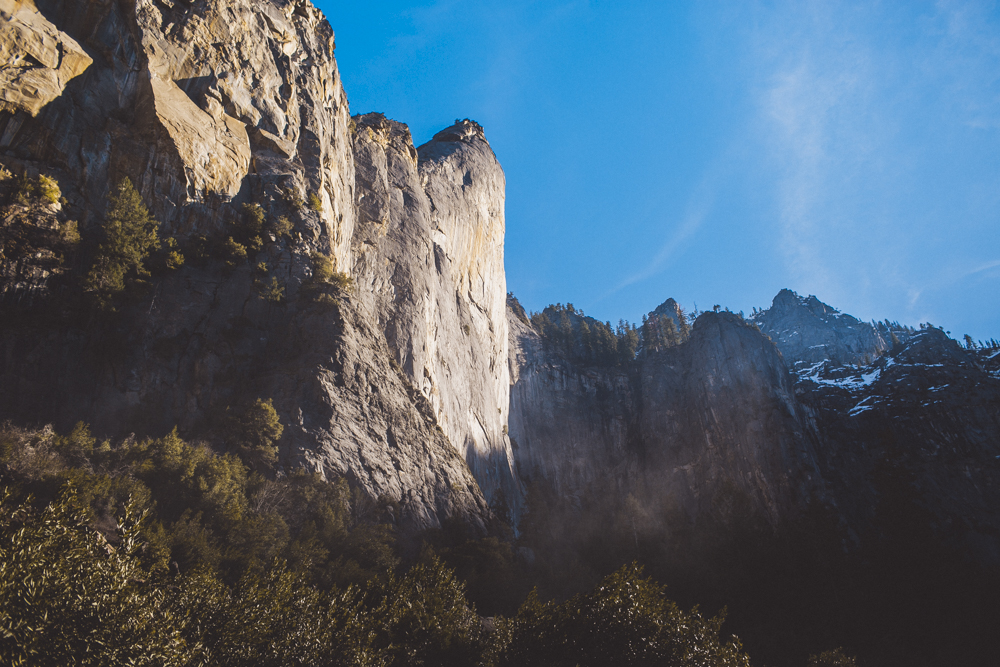
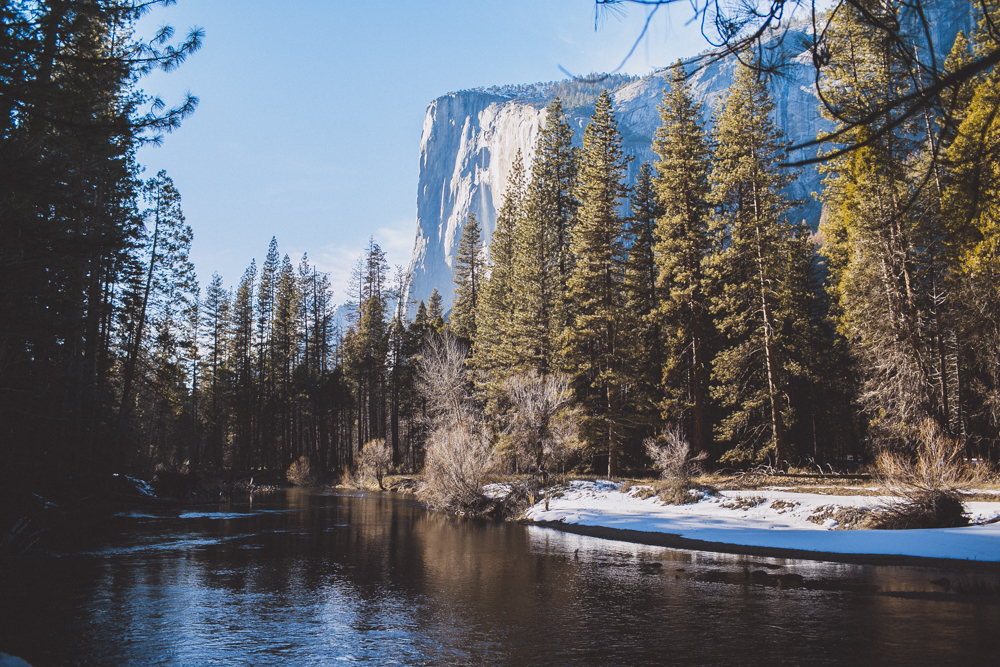
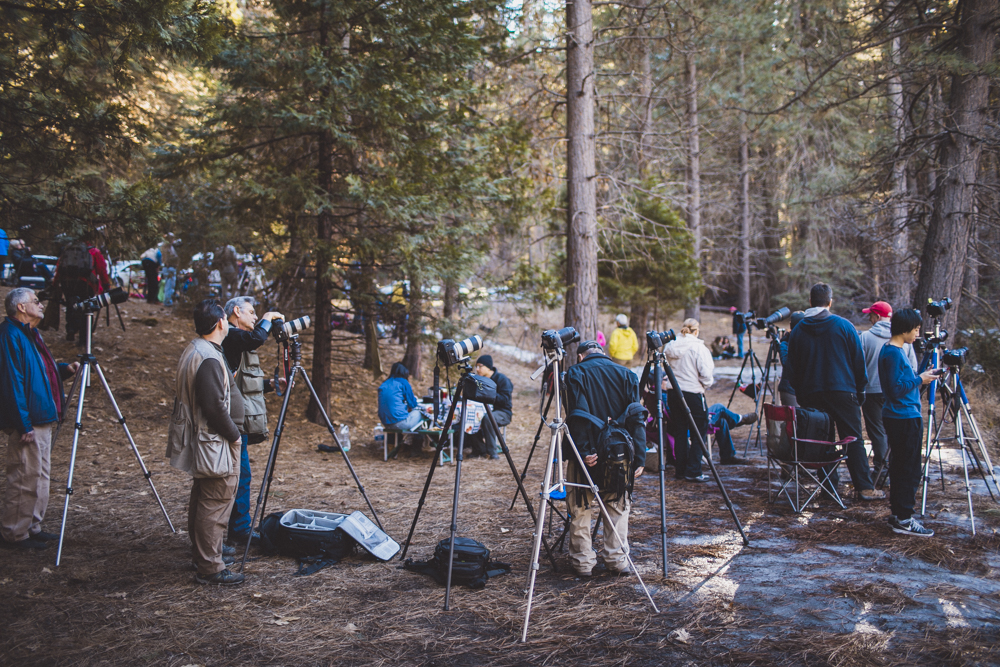
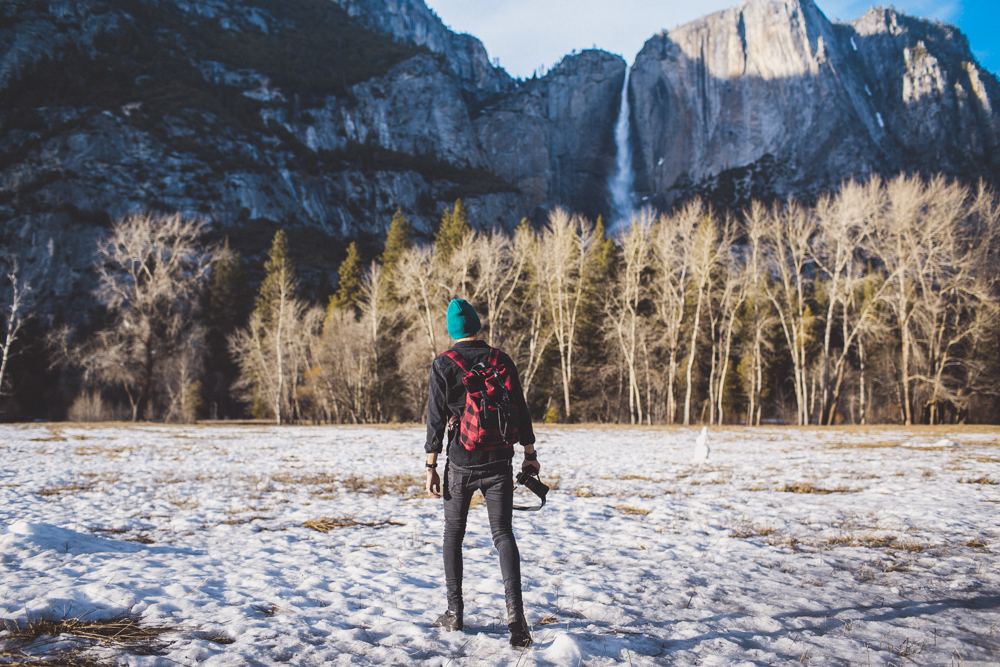
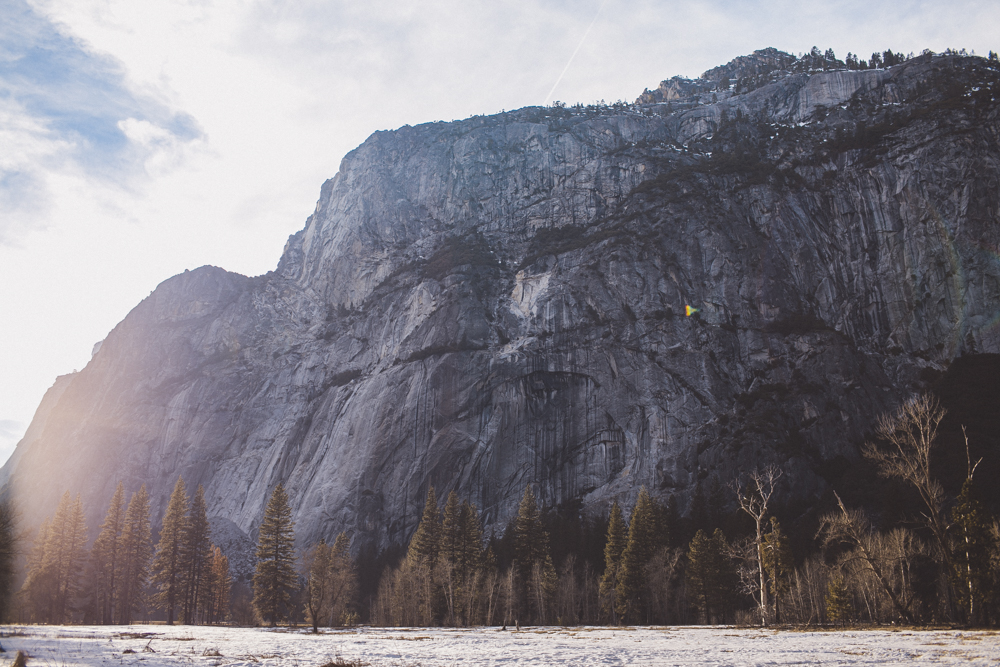
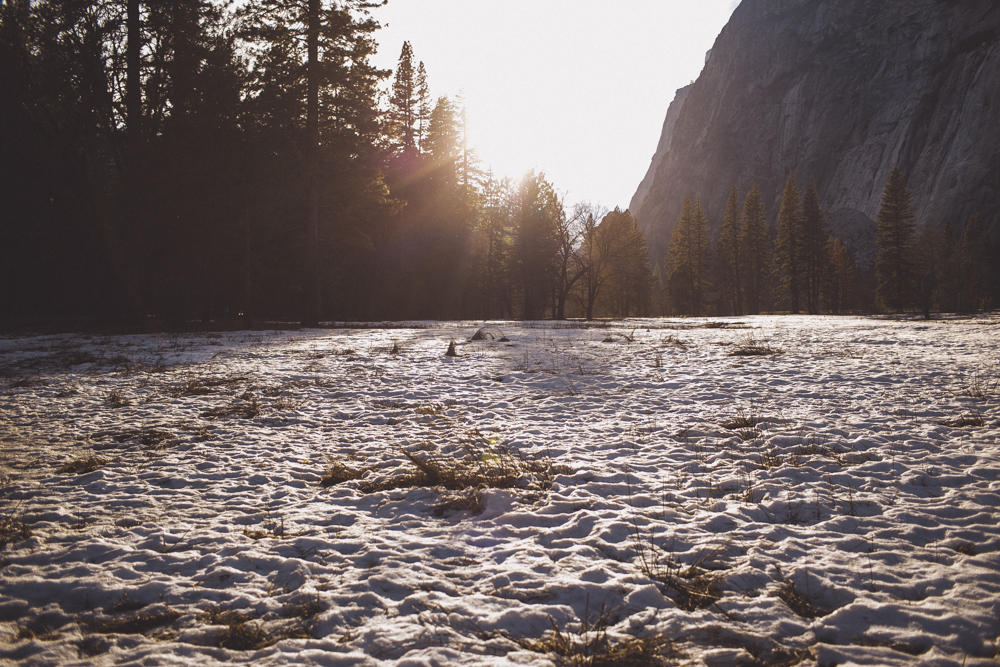
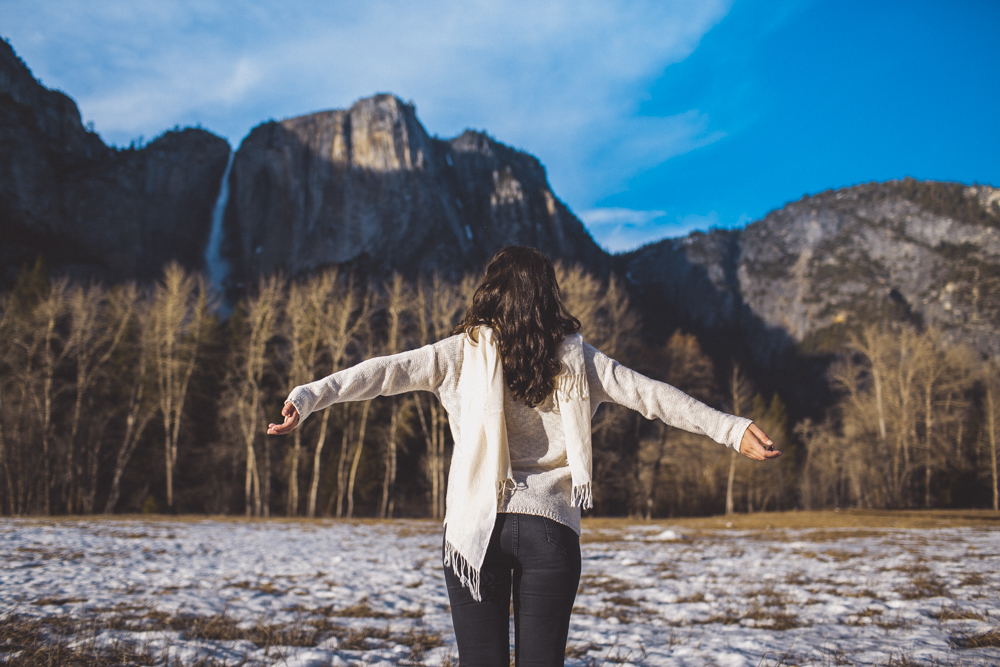
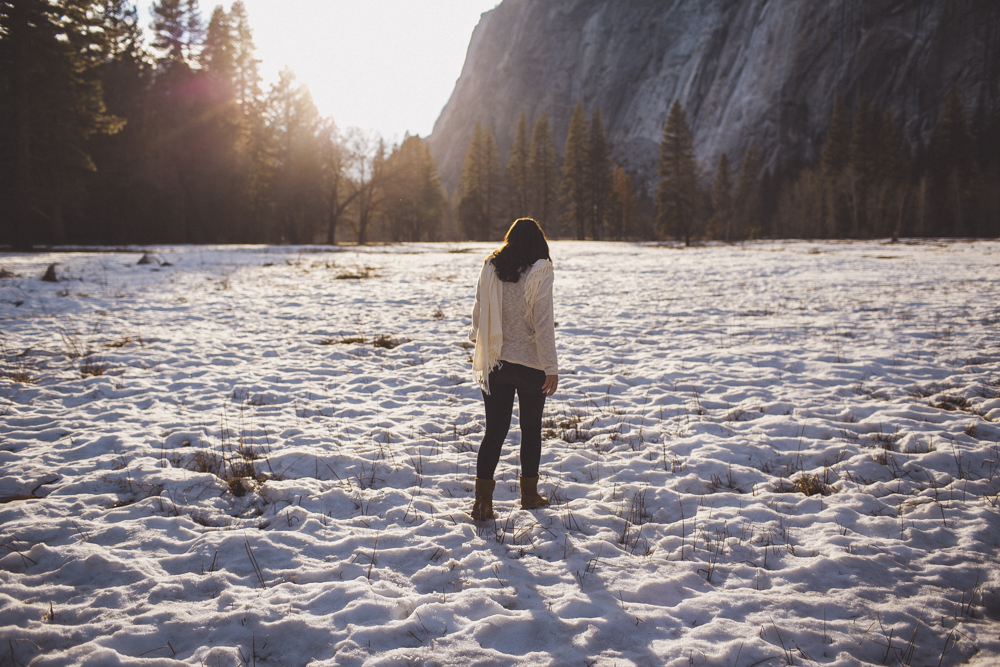
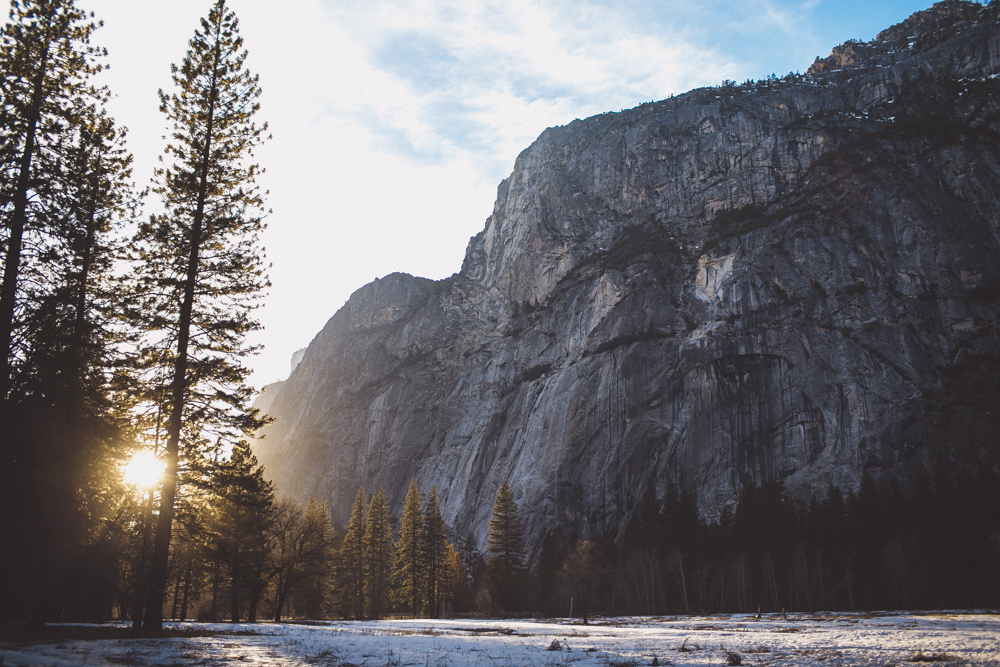
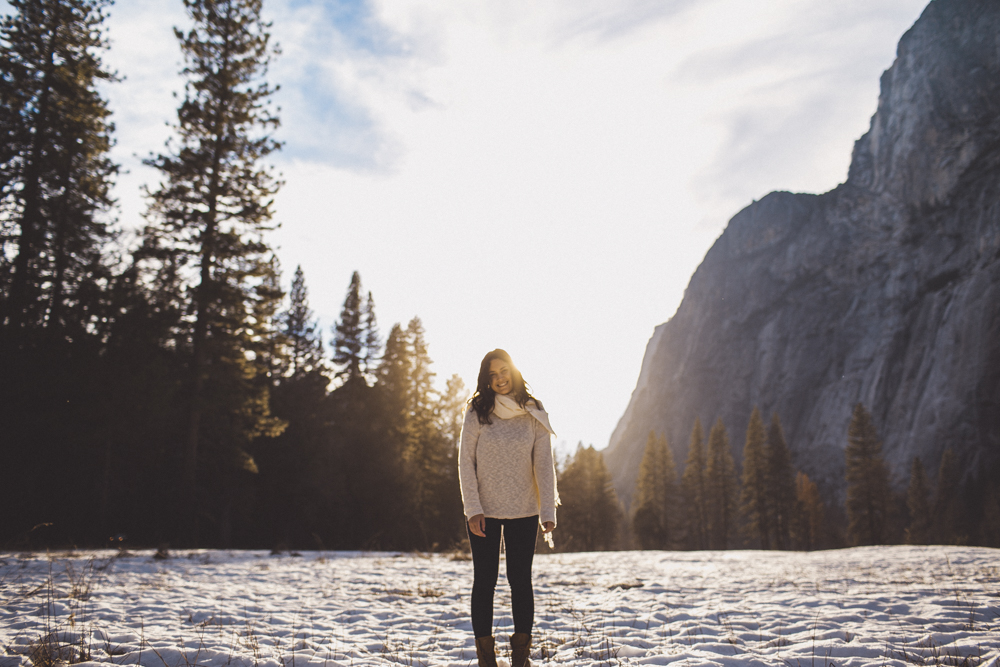
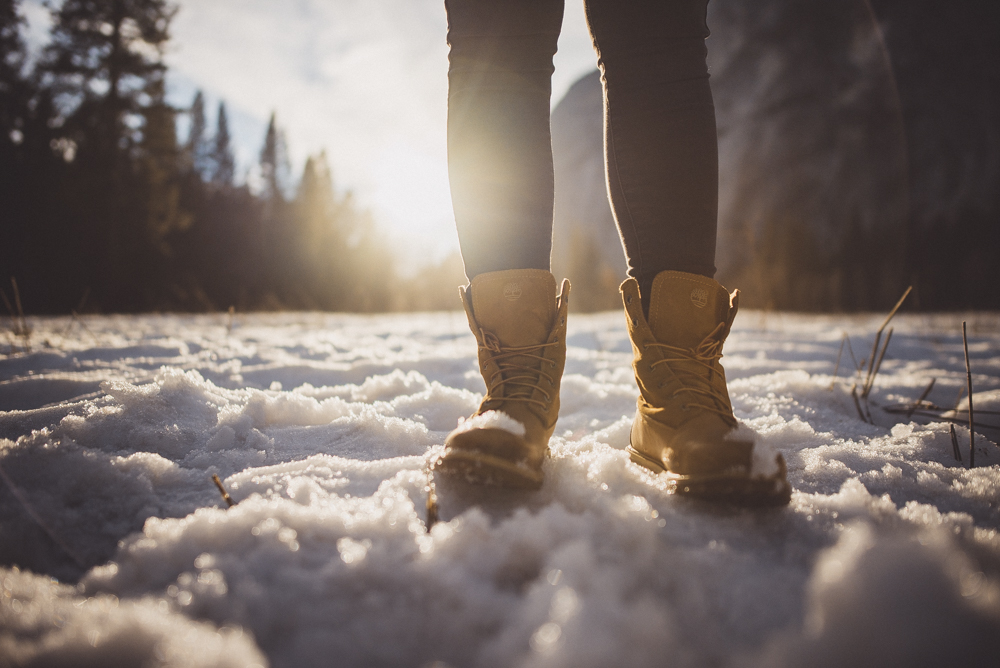
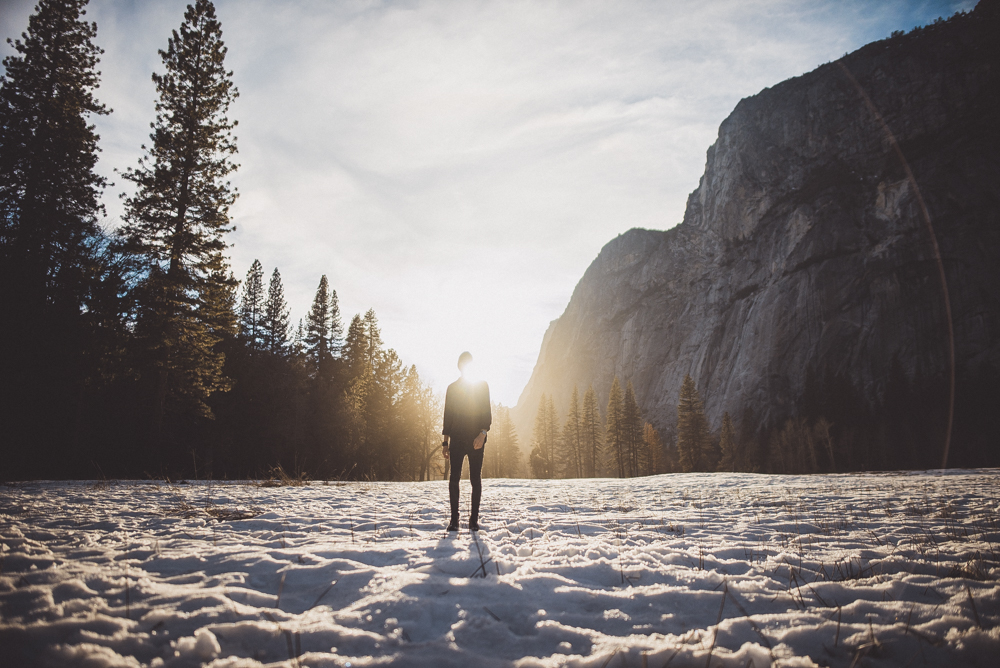
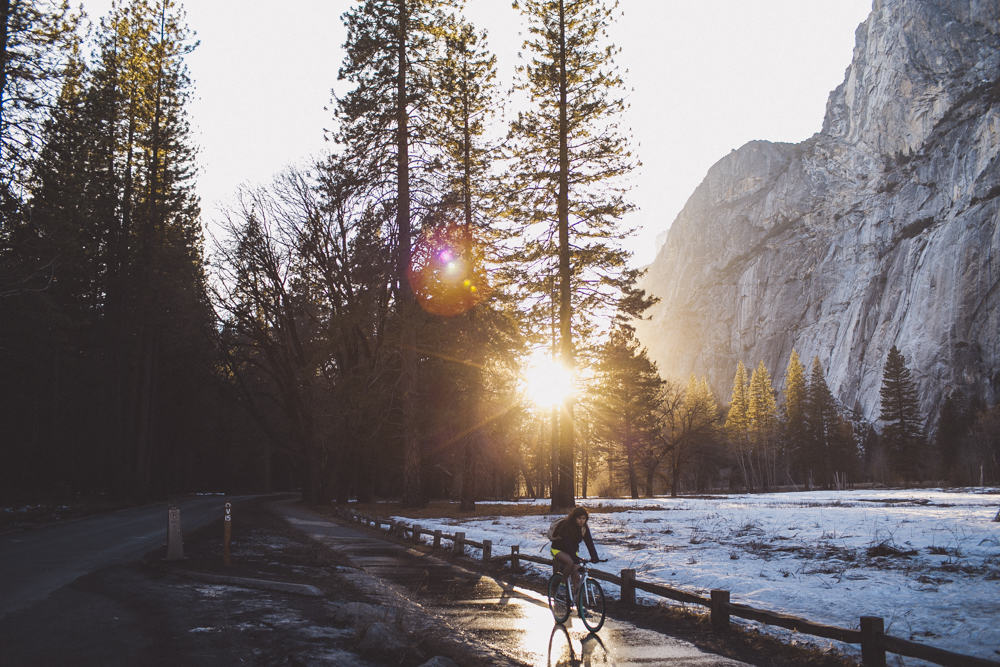
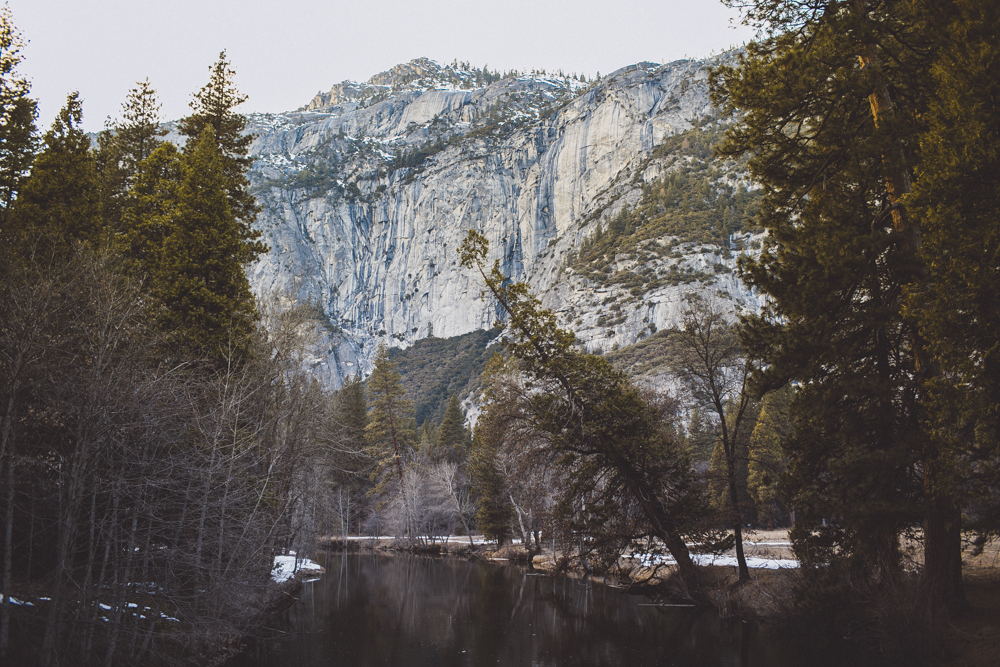
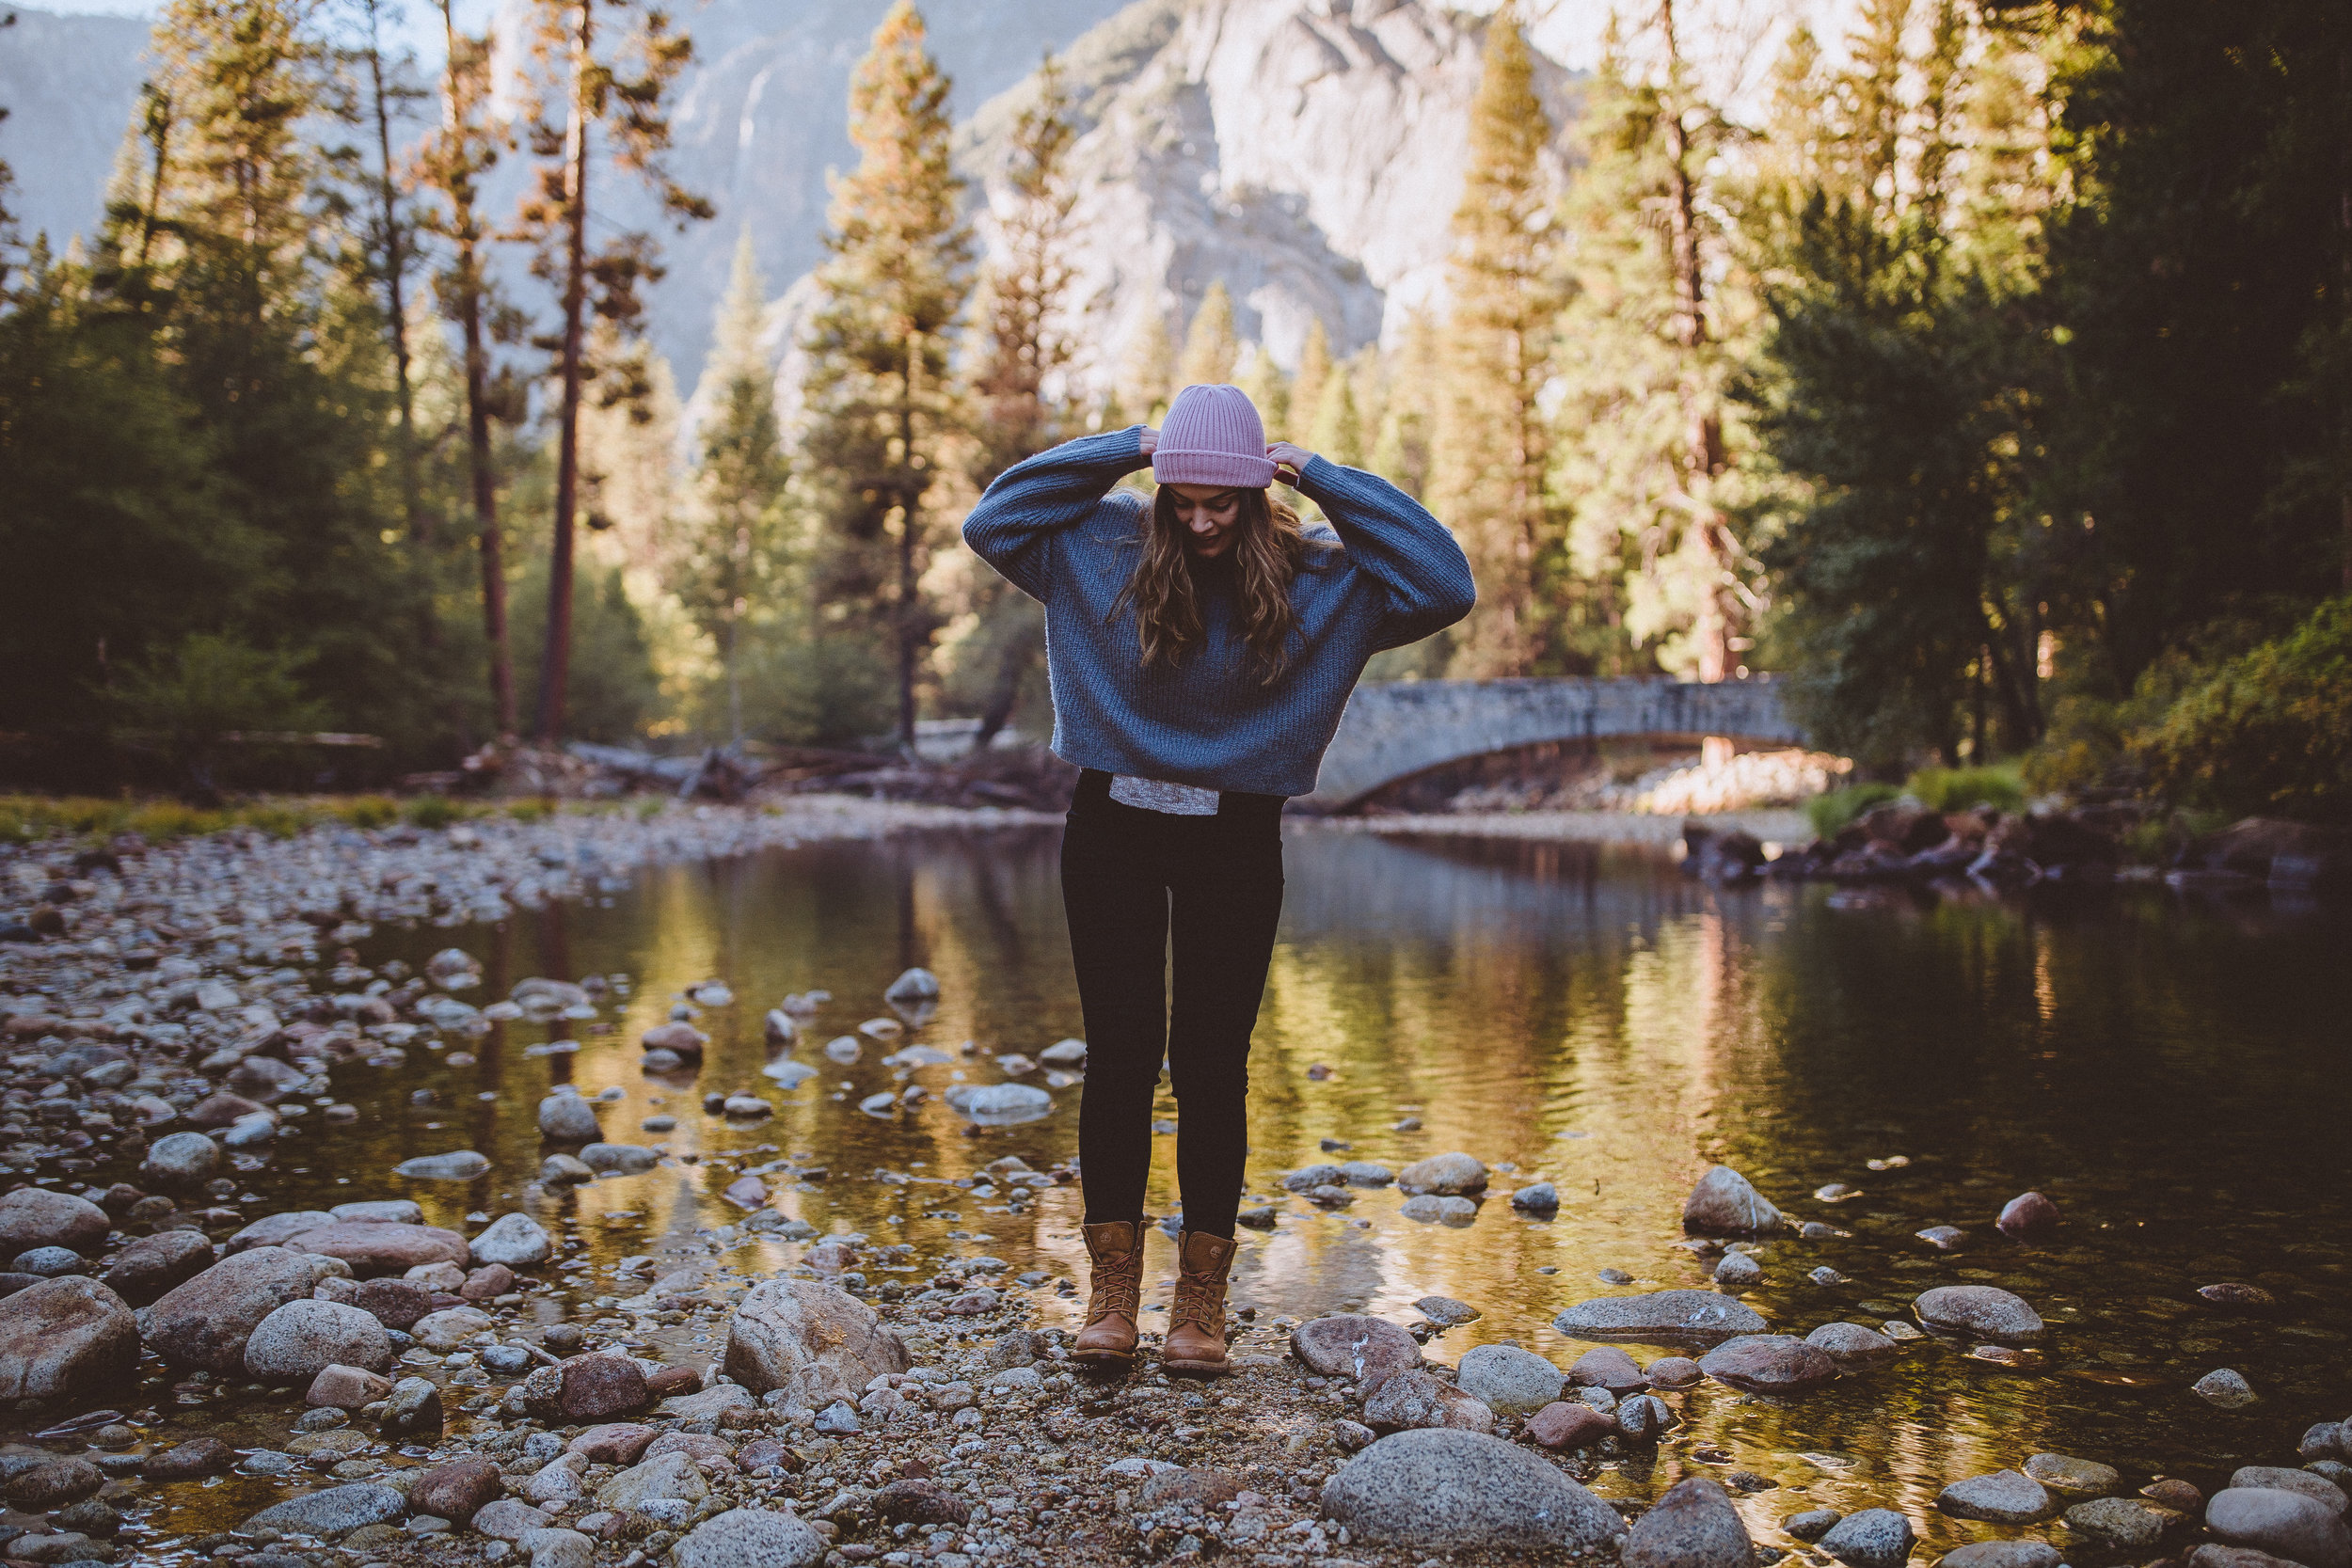
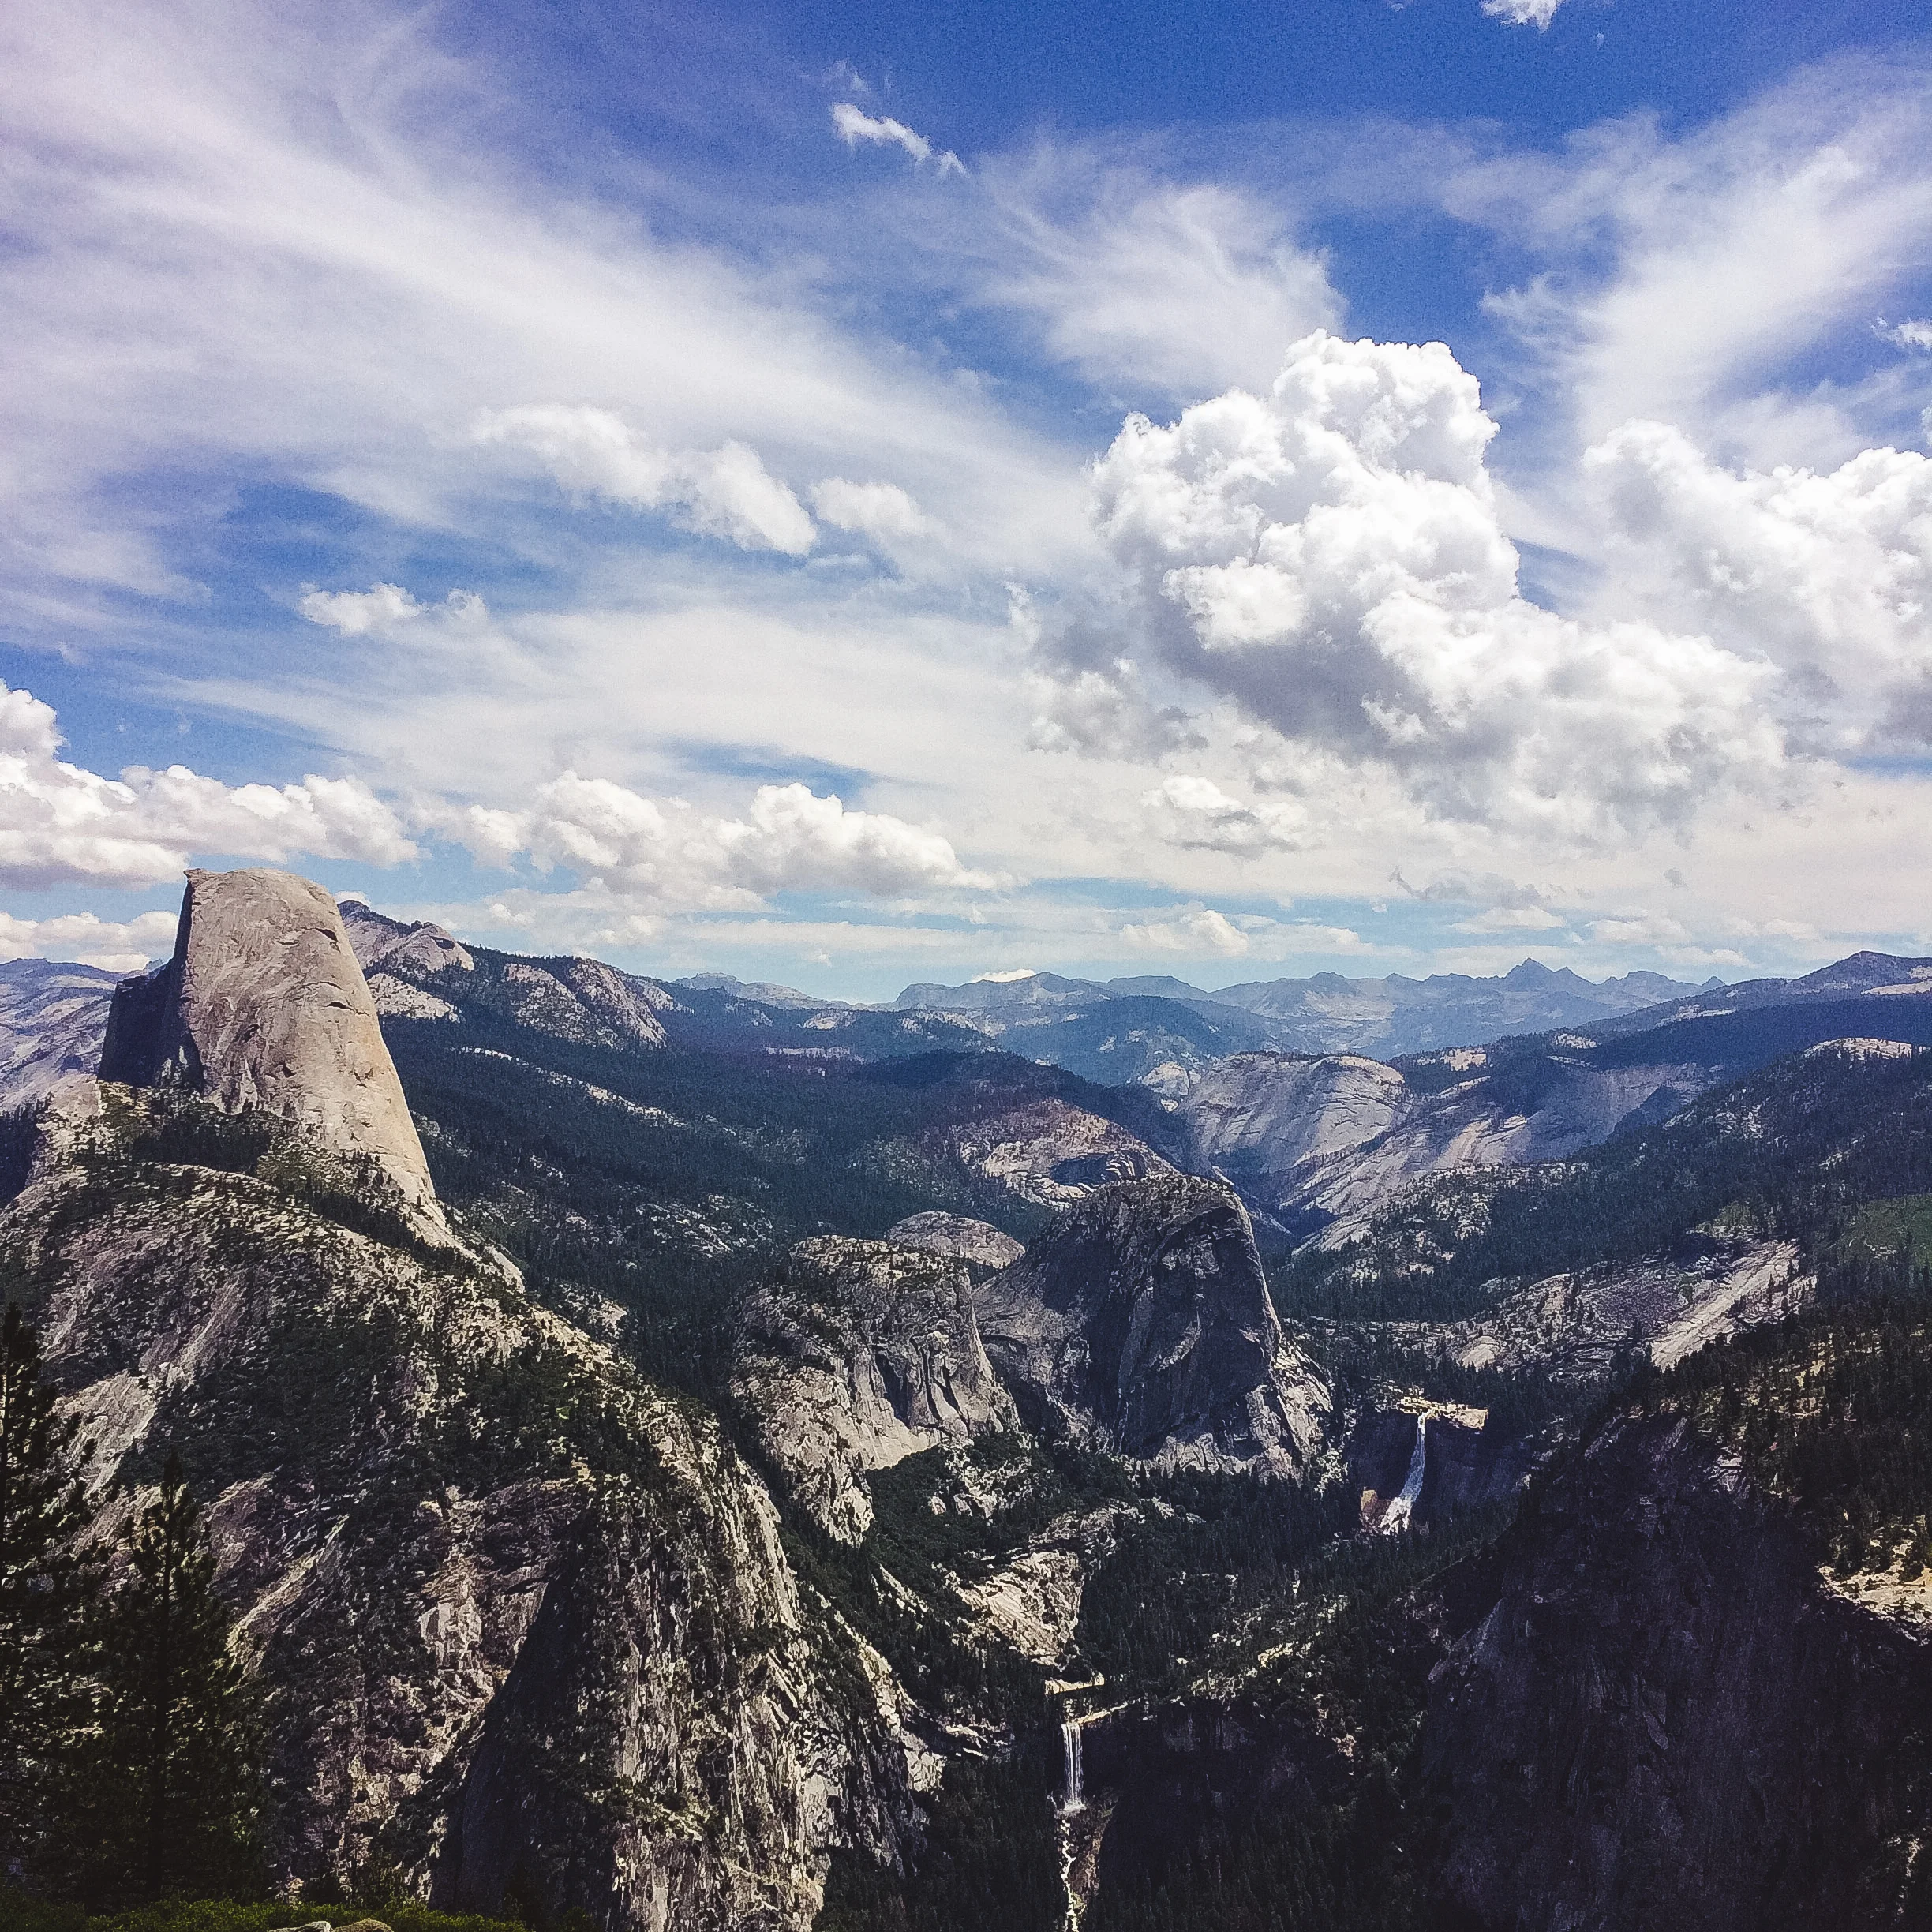
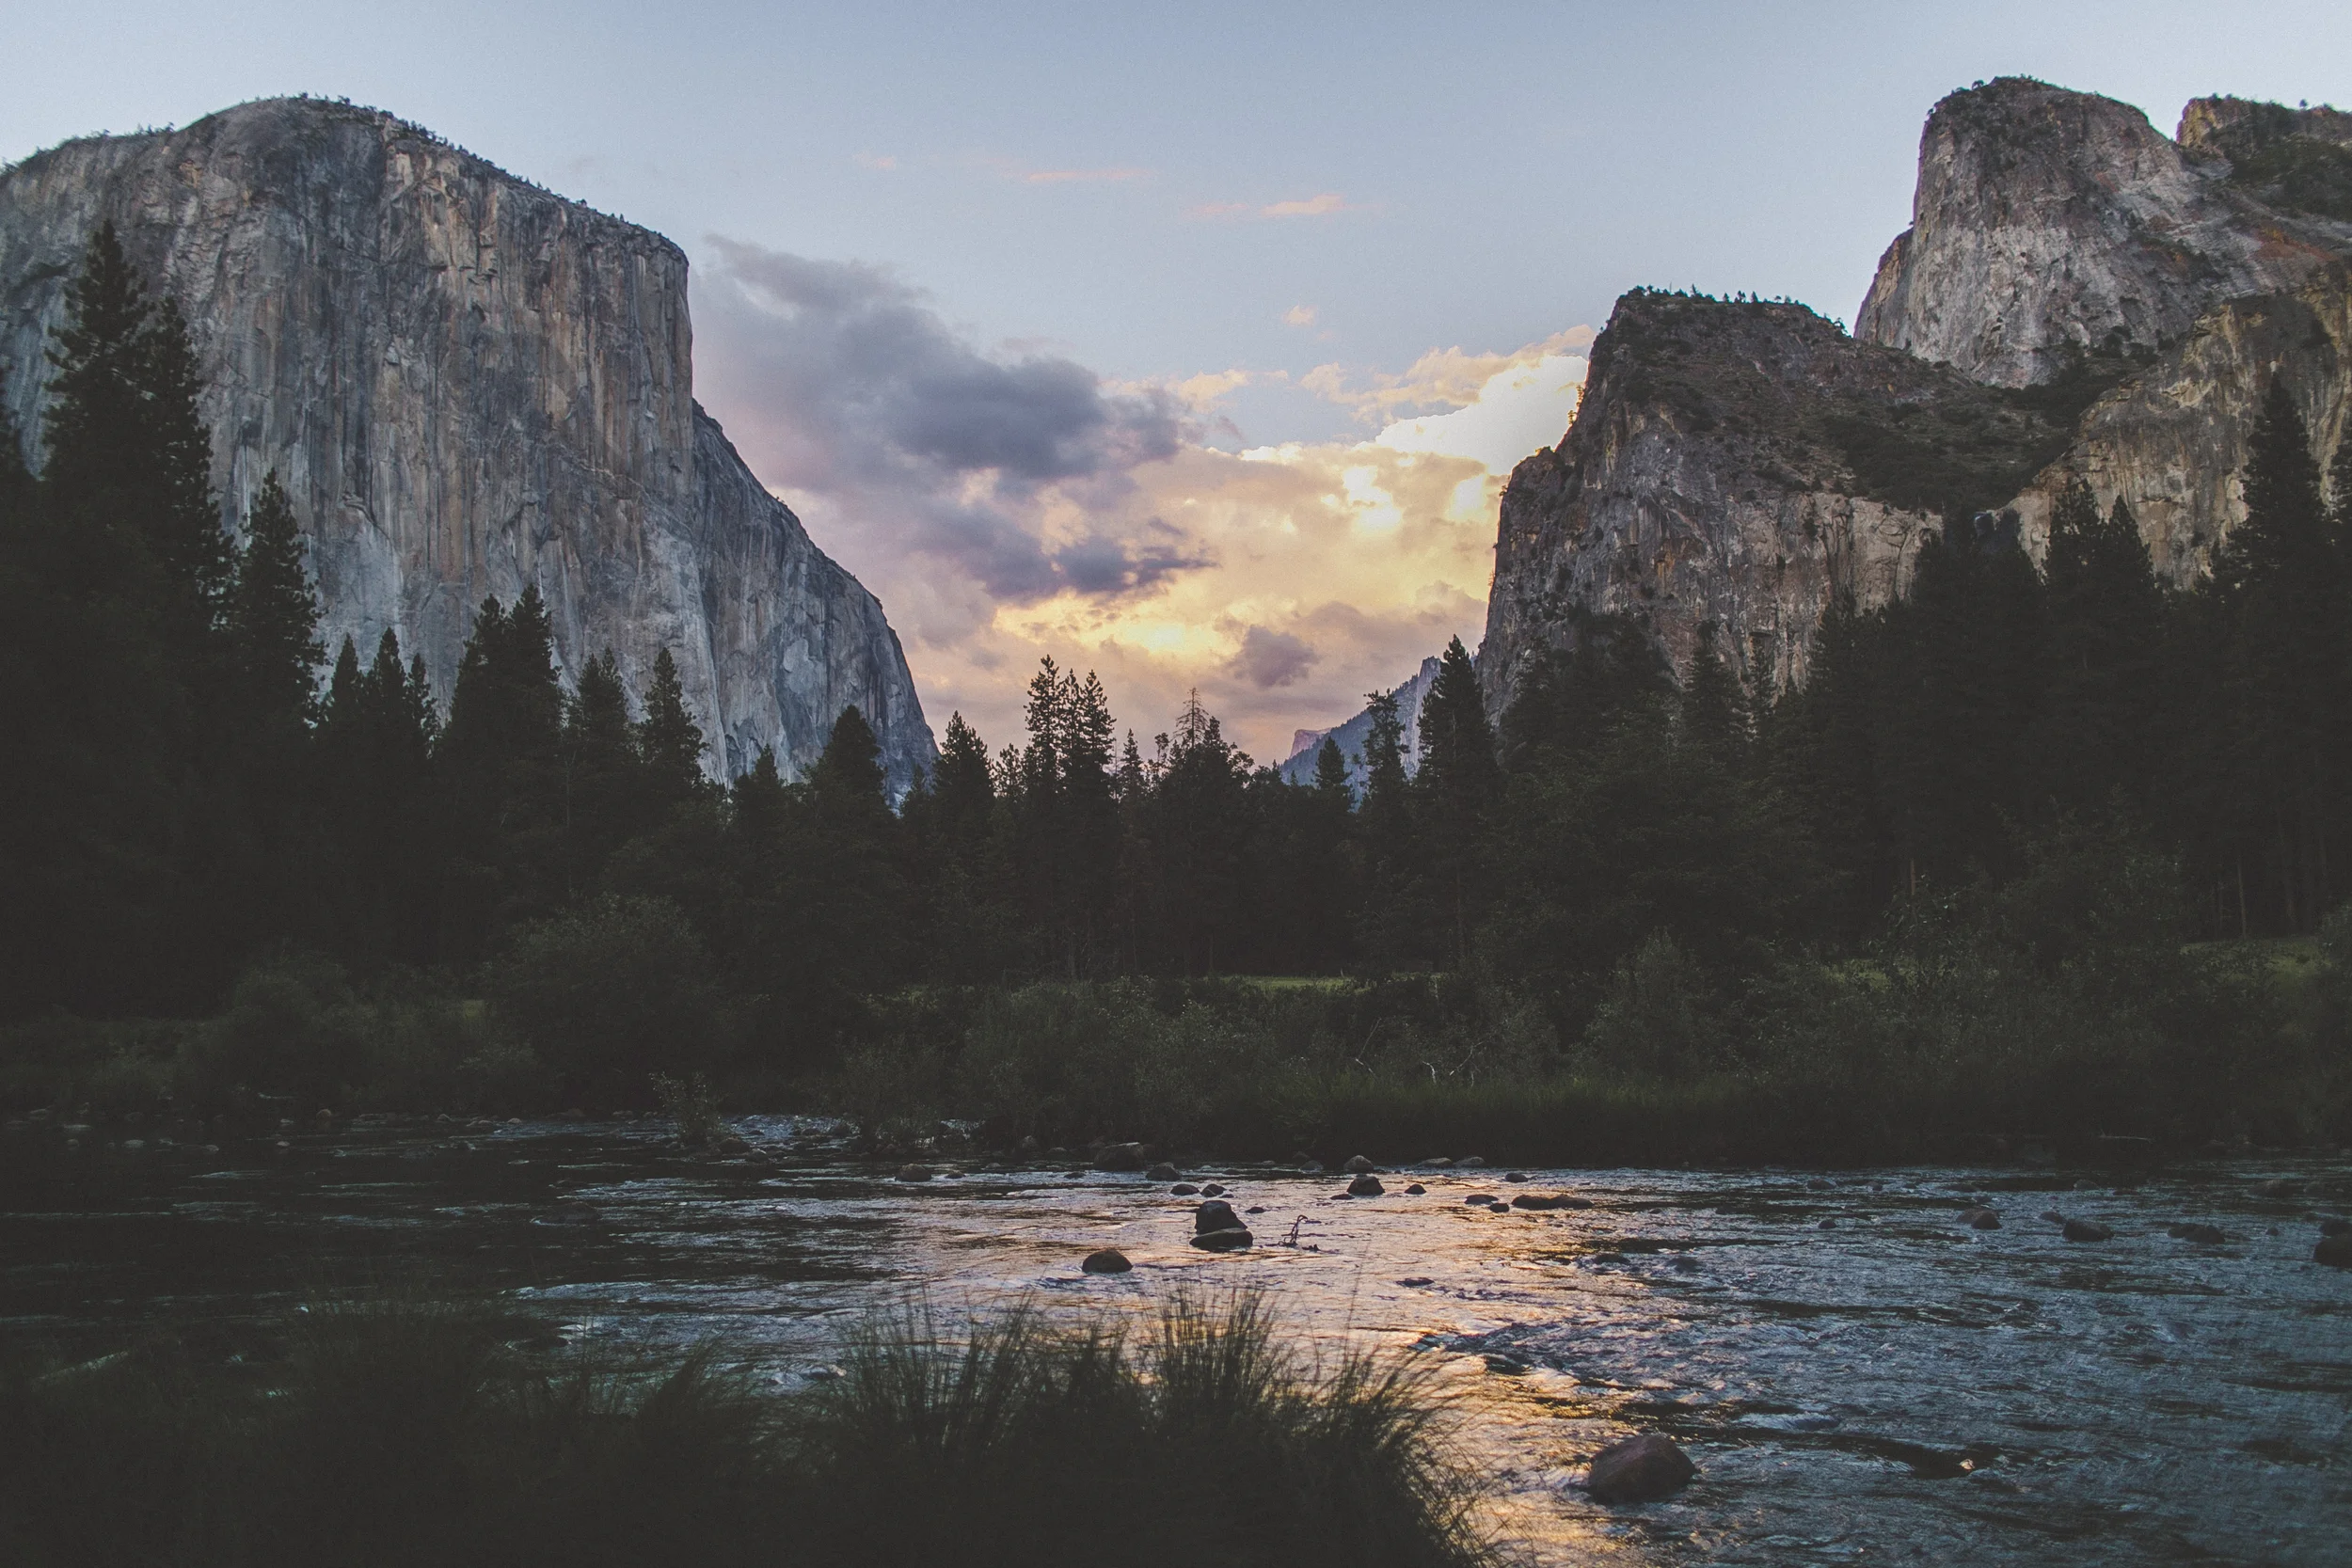
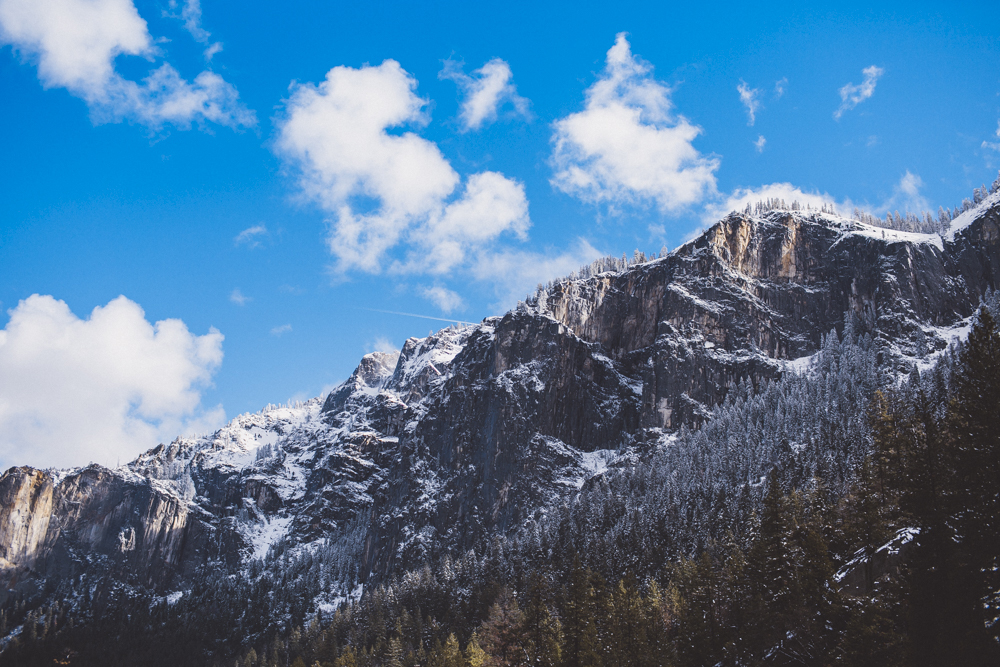
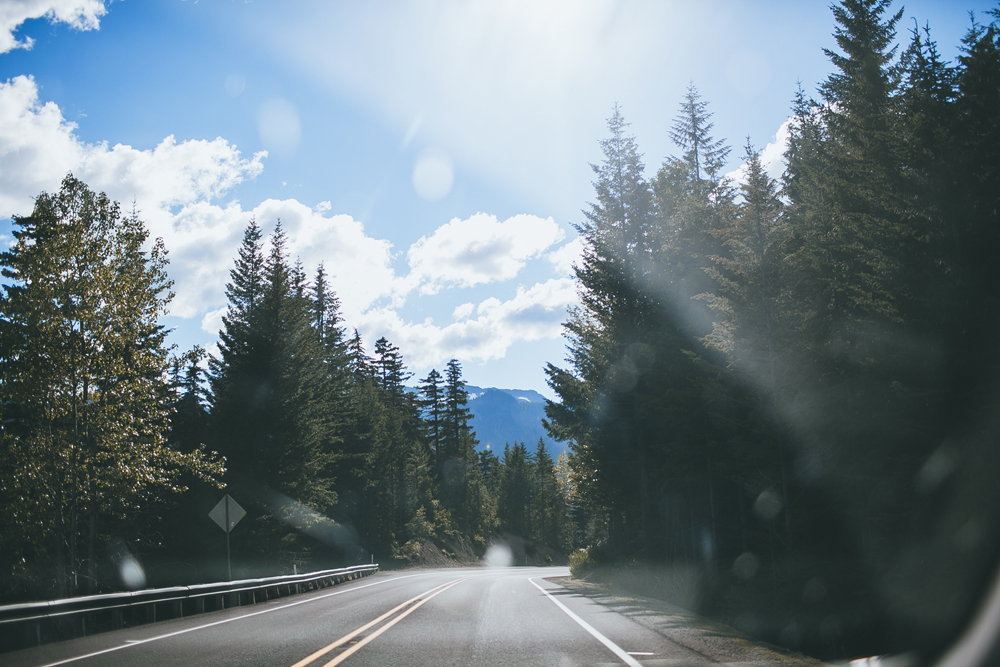
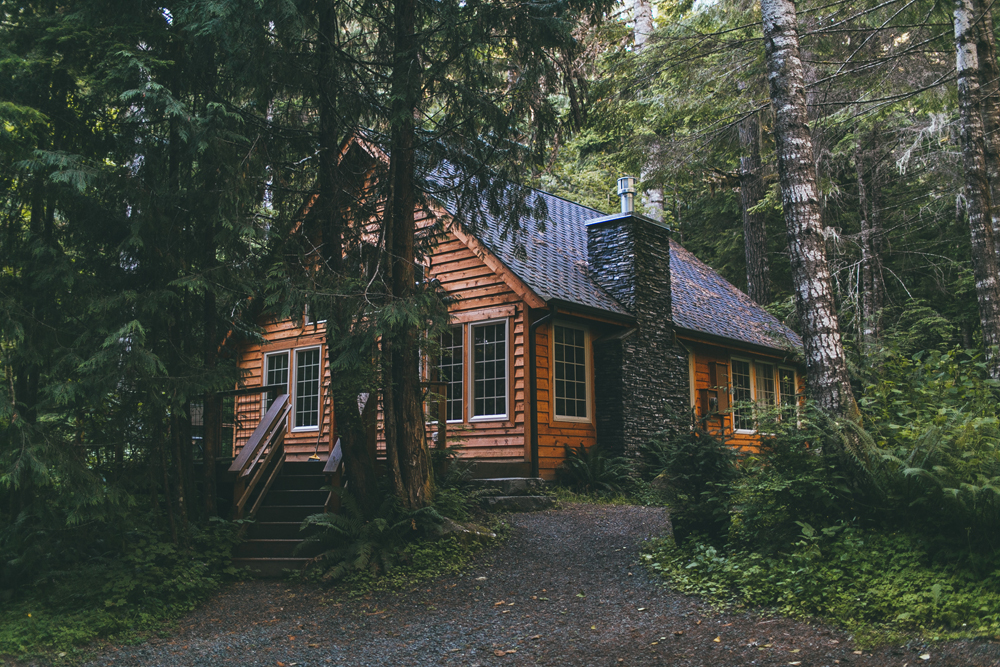
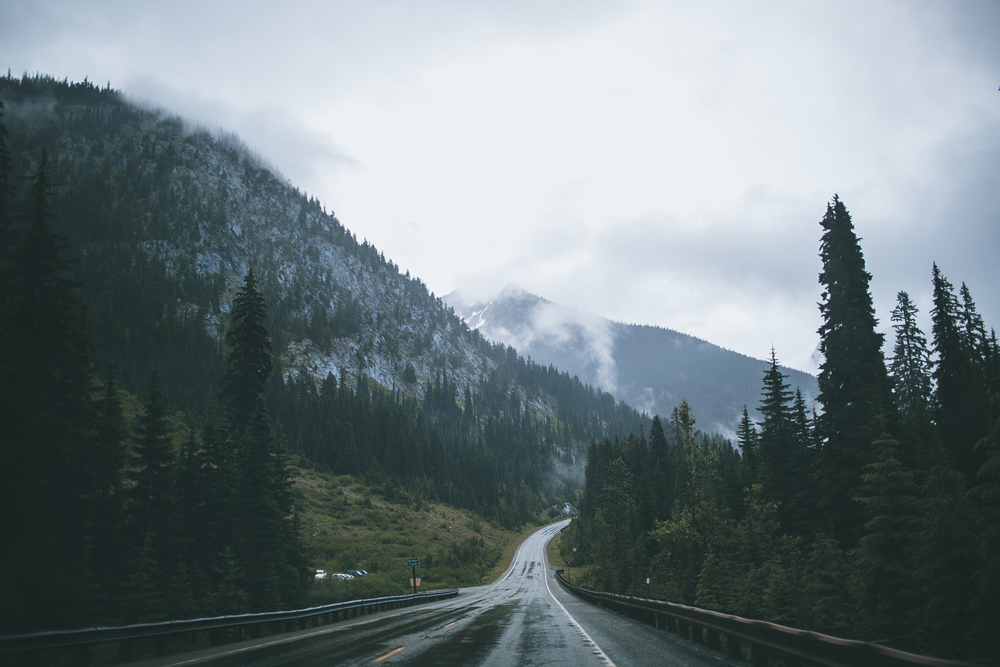
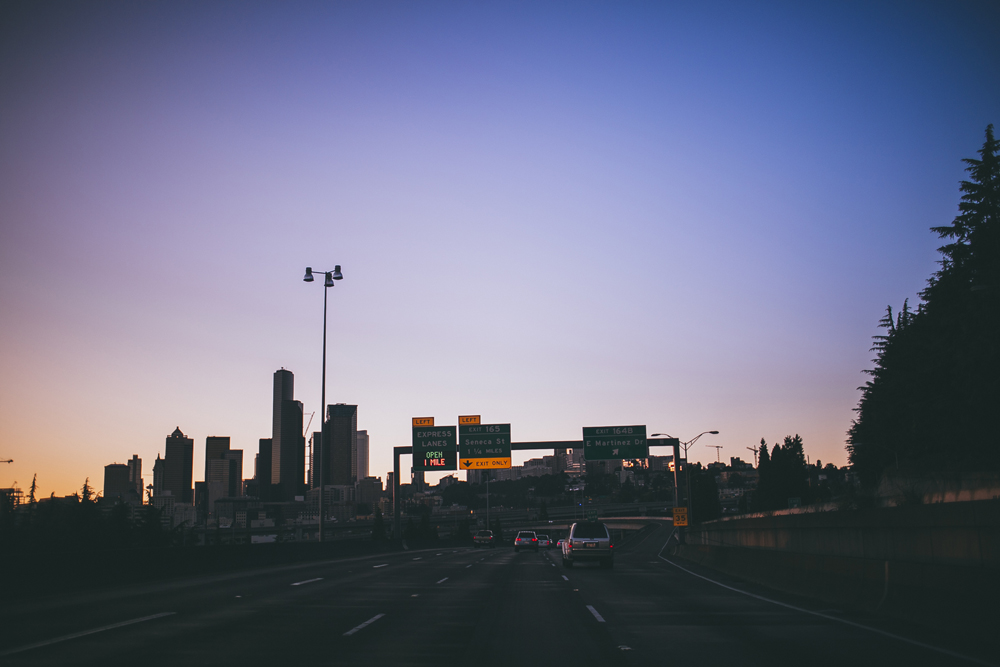
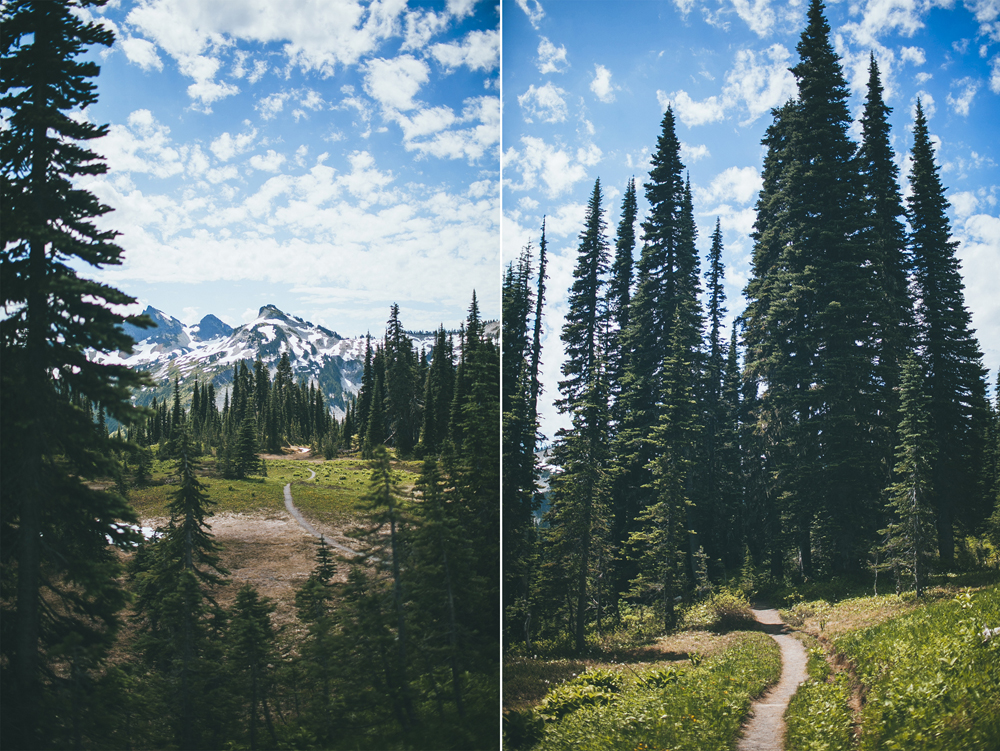
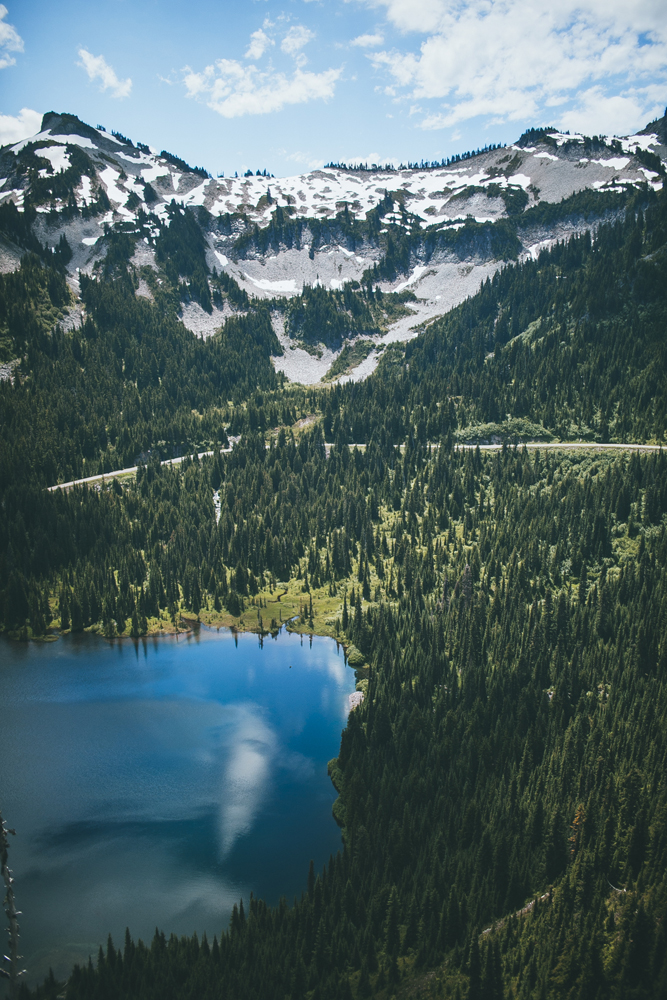
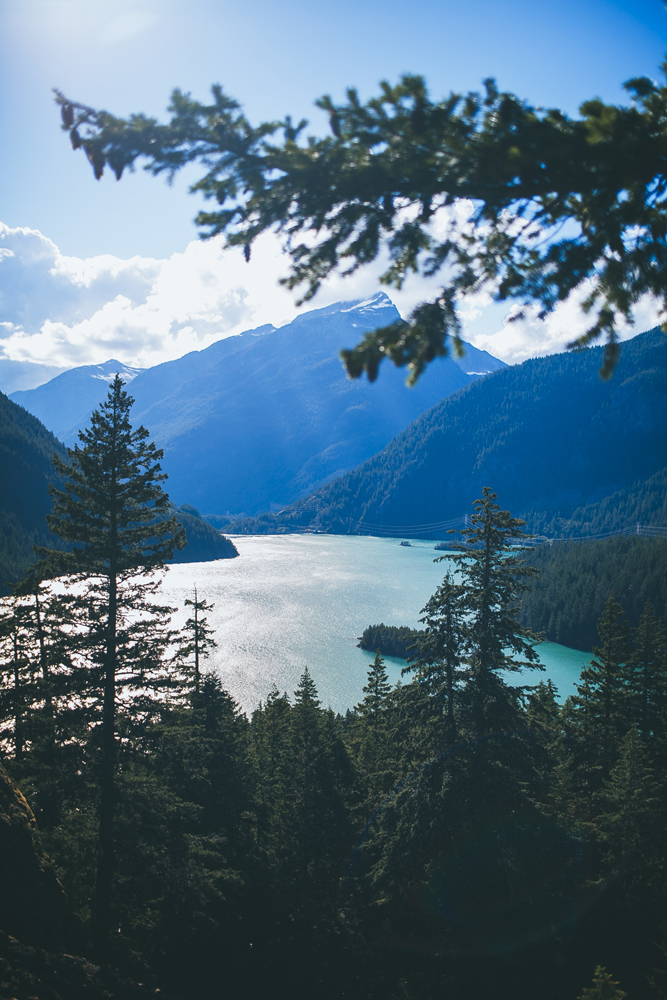
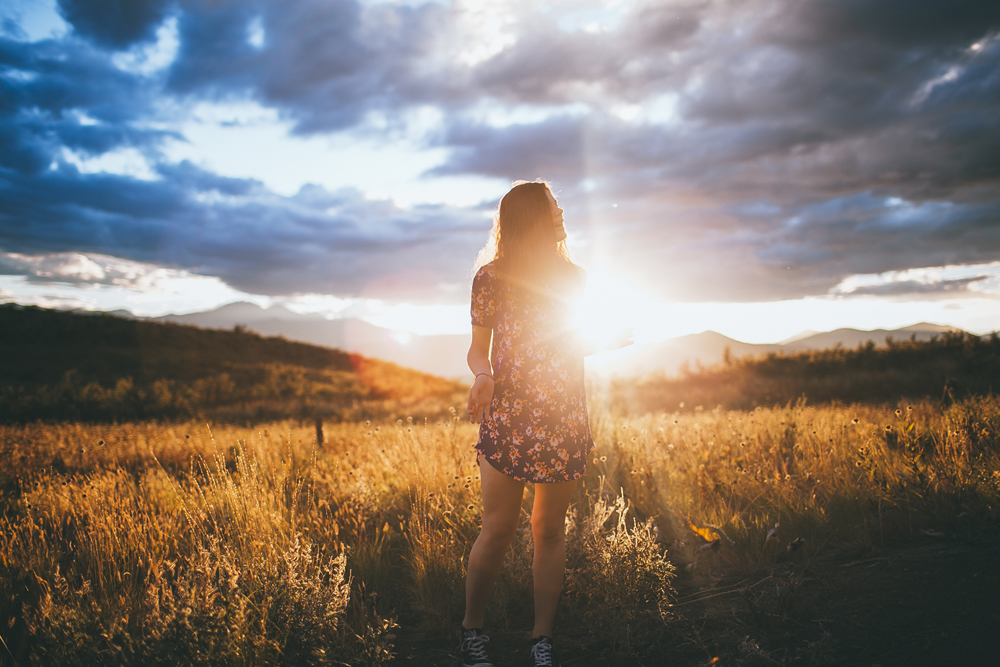
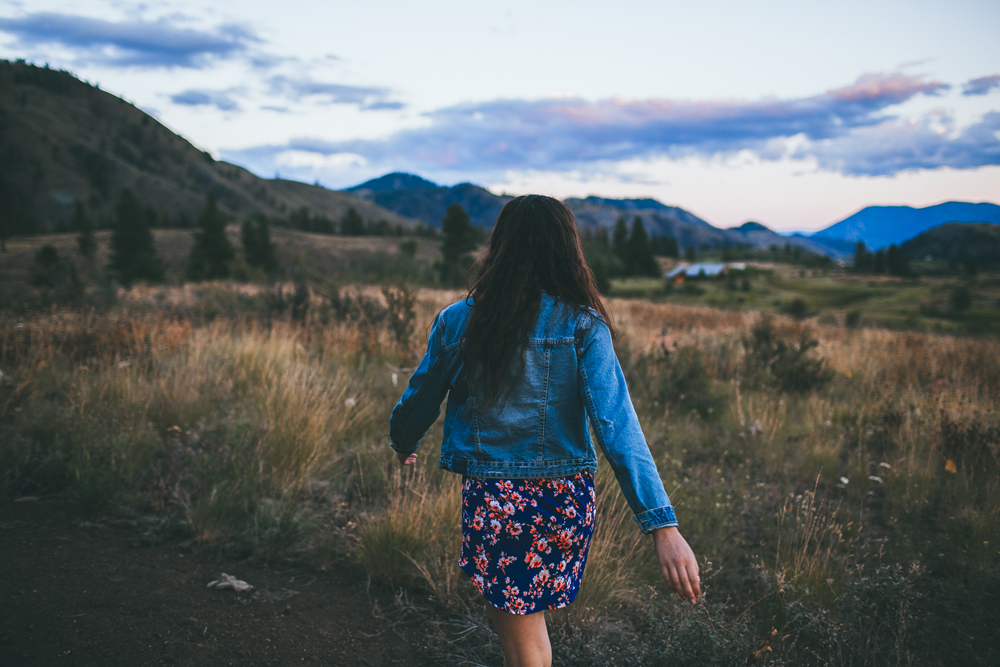
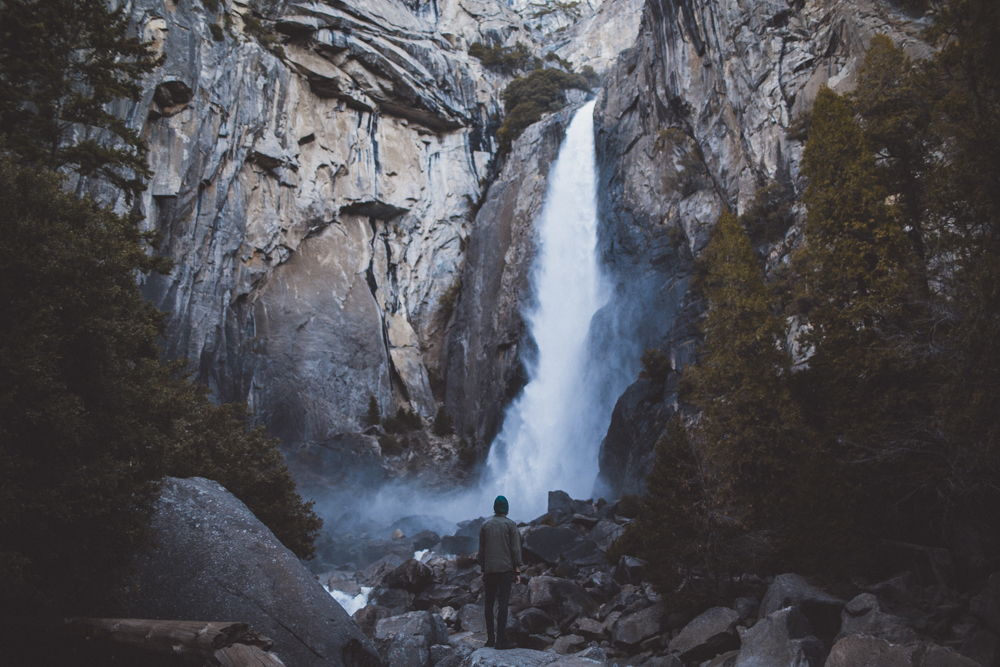
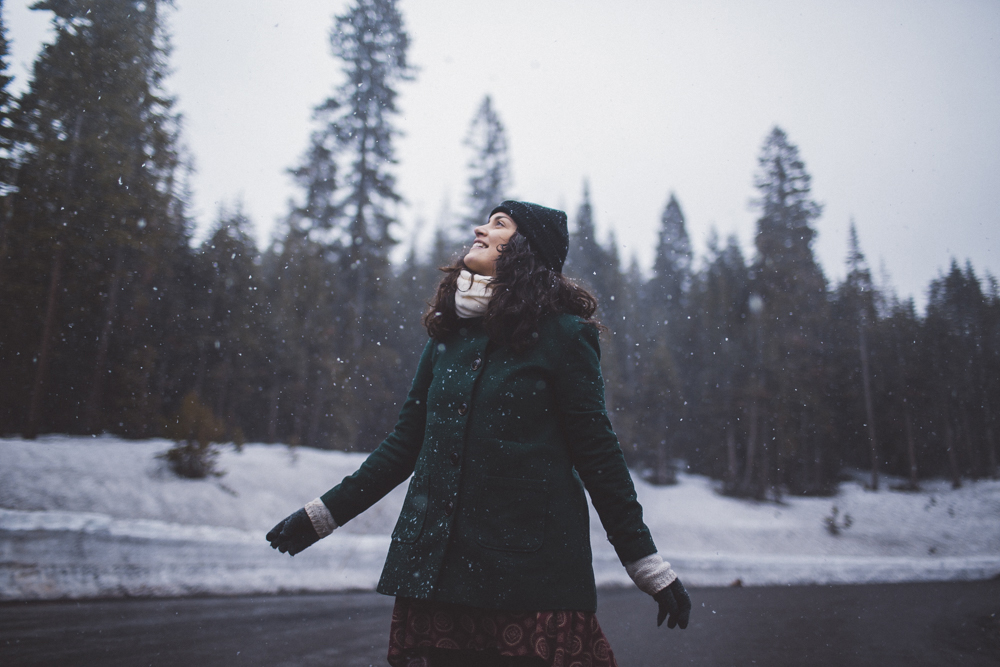
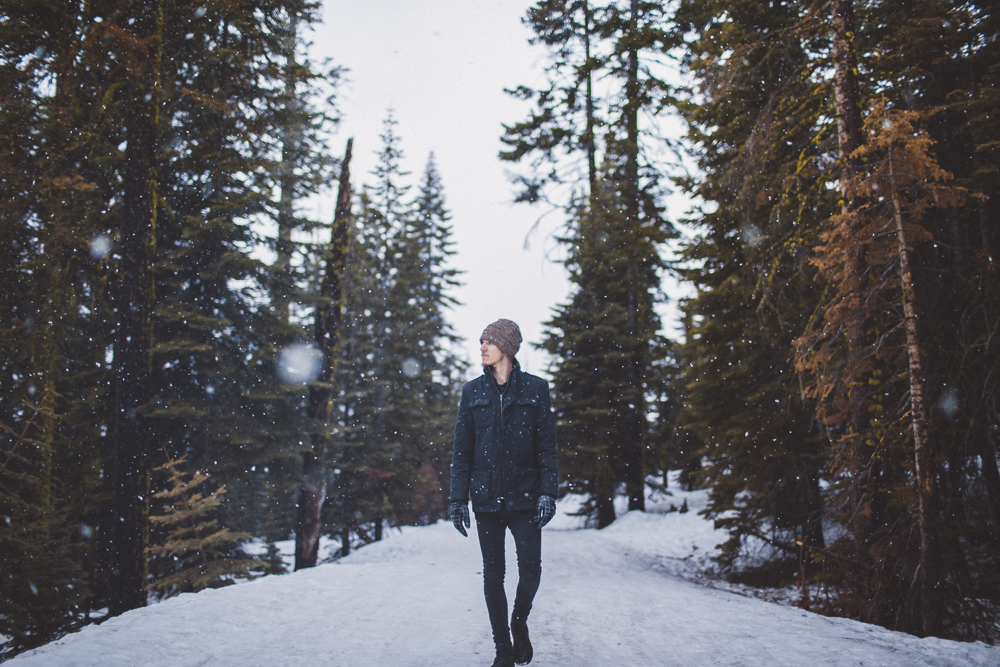
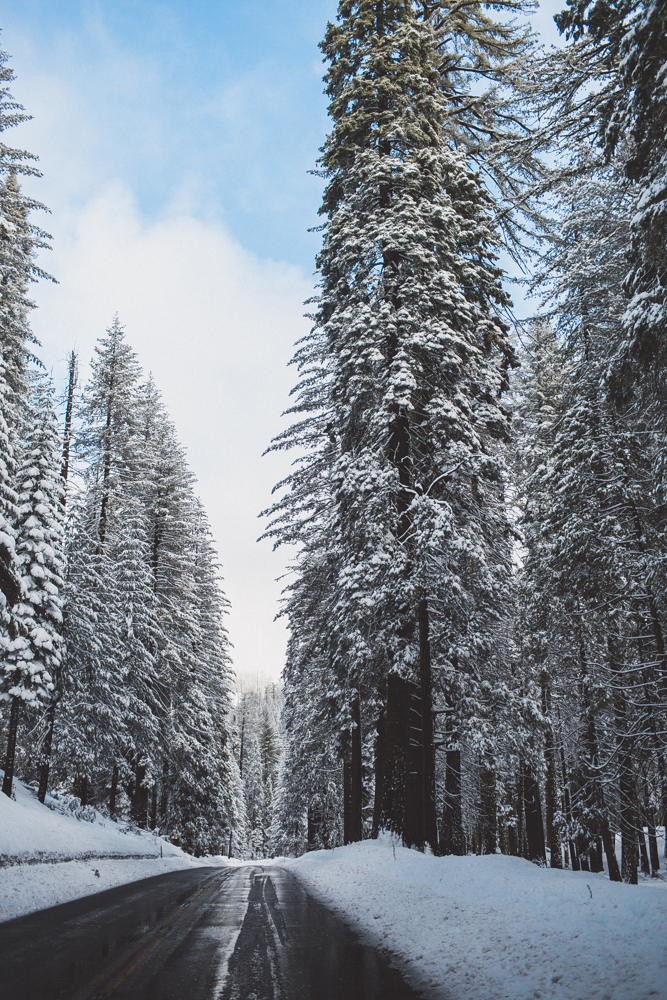
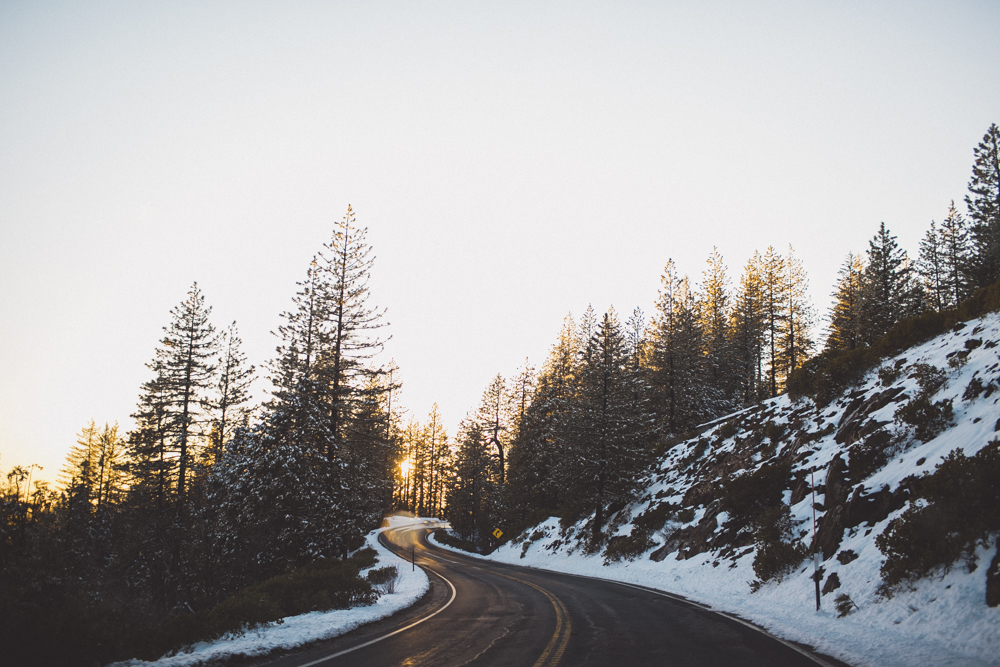
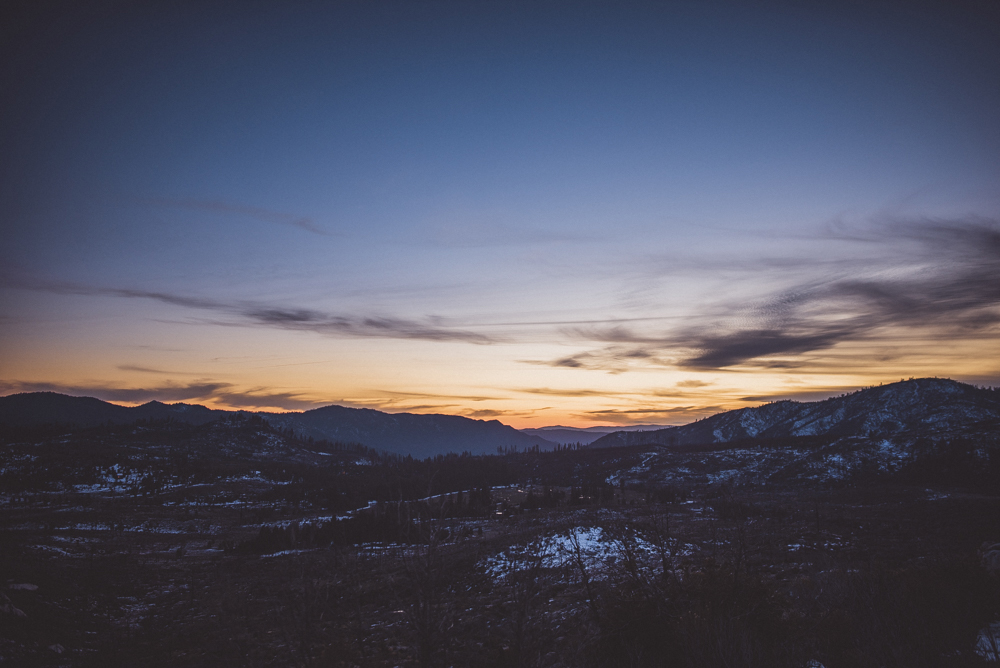
Instead of catching an 8am flight the next morning to Sydney, we were boarding a 10pm flight that same night to San Francisco instead. I couldn't believe we were doing it and I couldn't believe how easy it was. One second I was ready to go home and the next I was just travelling further away. After a quick five hours on a plane, that made me feel sick from the turbulence - I squeezed Dan's hand so tightly almost the whole way there - we landed just before sunrise. We picked up our hire car and drove into the San Francisco sunrise, headed for snowy Yosemite National Park with a suitcase packed full of summer clothes. Our first day in San Fransisco was spent driving around the suburbs of Stanford shopping for winter clothes and boots.When we were ready for the snow, Dan drove towards Yosemite while I was on the phone calling a few different places to try and book our accommodation! Worst case scenario, we decided we could always sleep in the car. Luckily the third place I called picked up my call at 6pm and said they had a room available. The next morning we woke up at sunrise again out of excitement and set off on our drive to the park. This is our first couple of days spent exploring this magical place again.
I also have some exciting news because I've started sharing more fashion shoot behind the scenes videos + Lightroom & Photoshop Tutorials on my YouTube Channel! Be sure to subscribe as I upload 2 new videos every week x


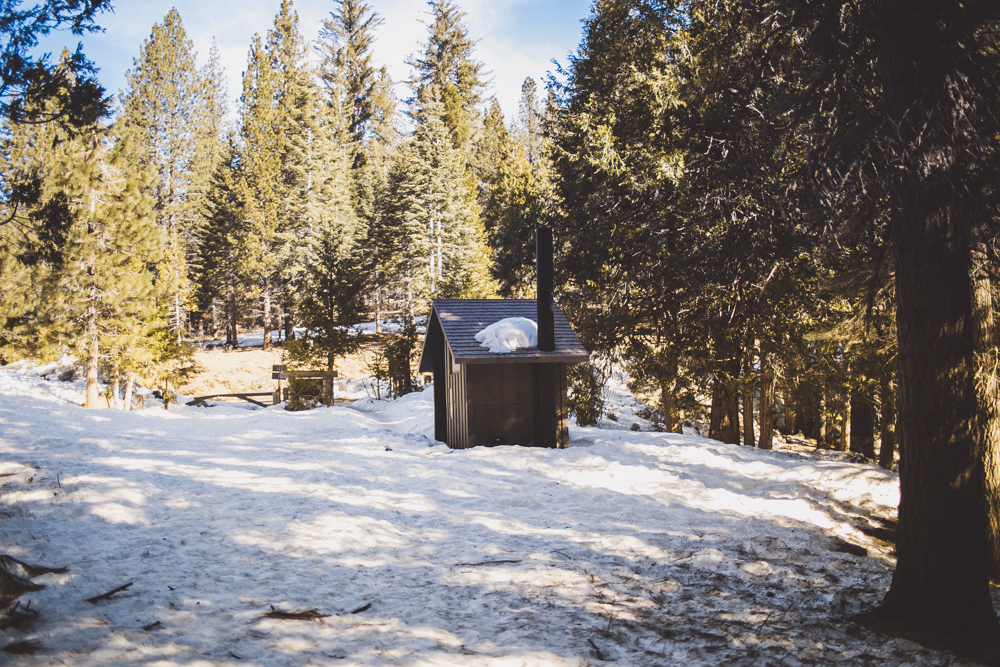
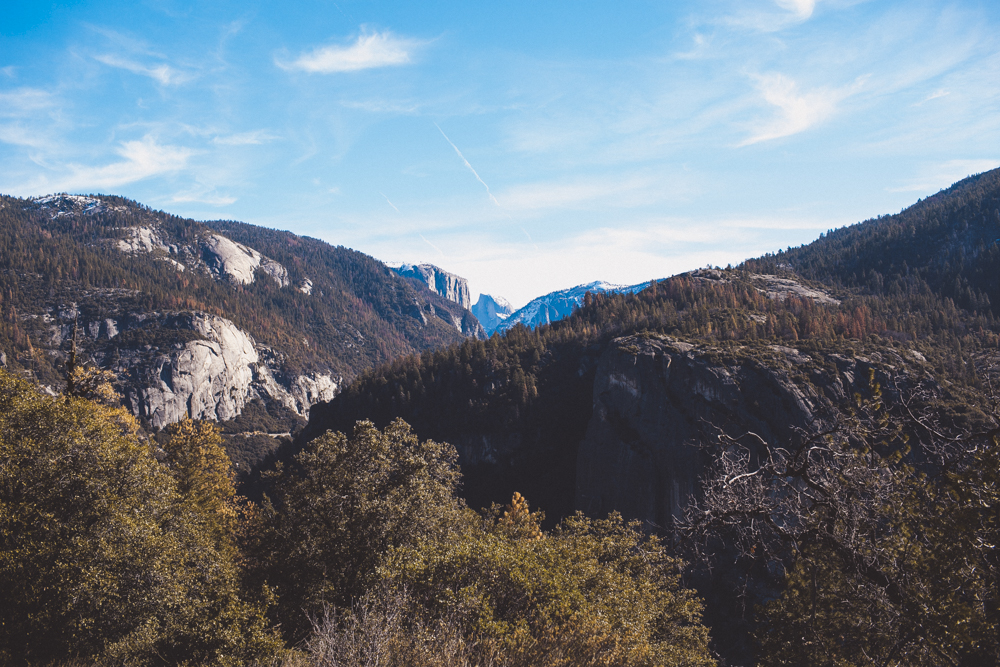
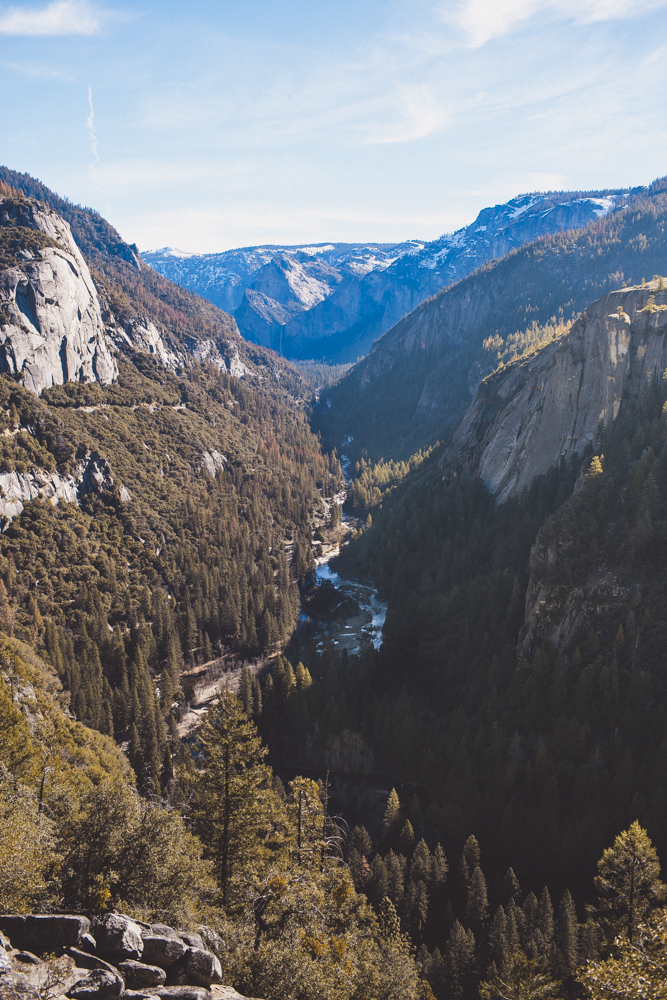
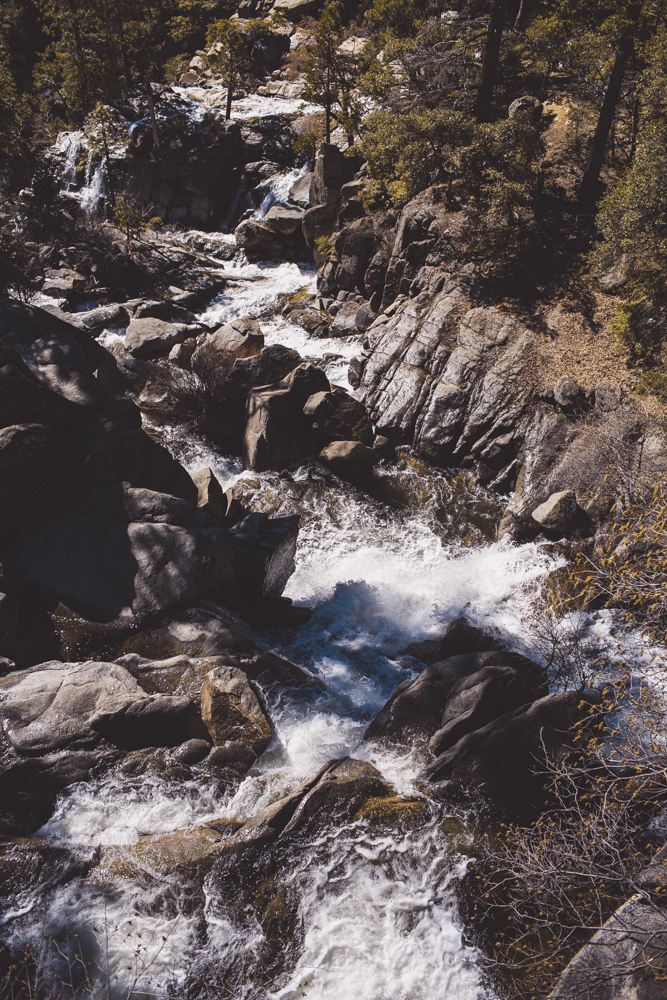
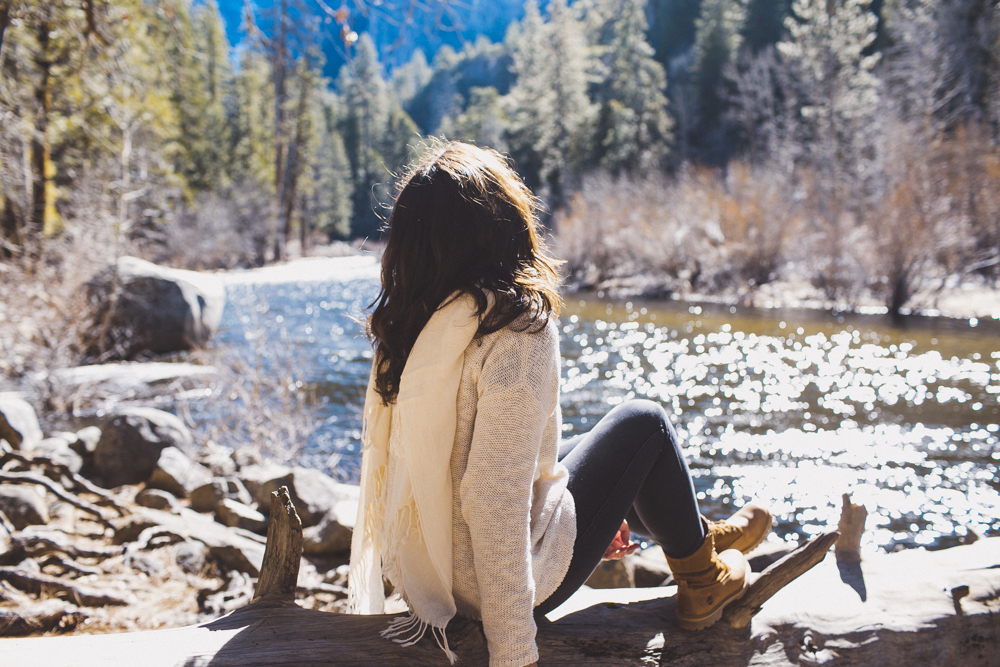
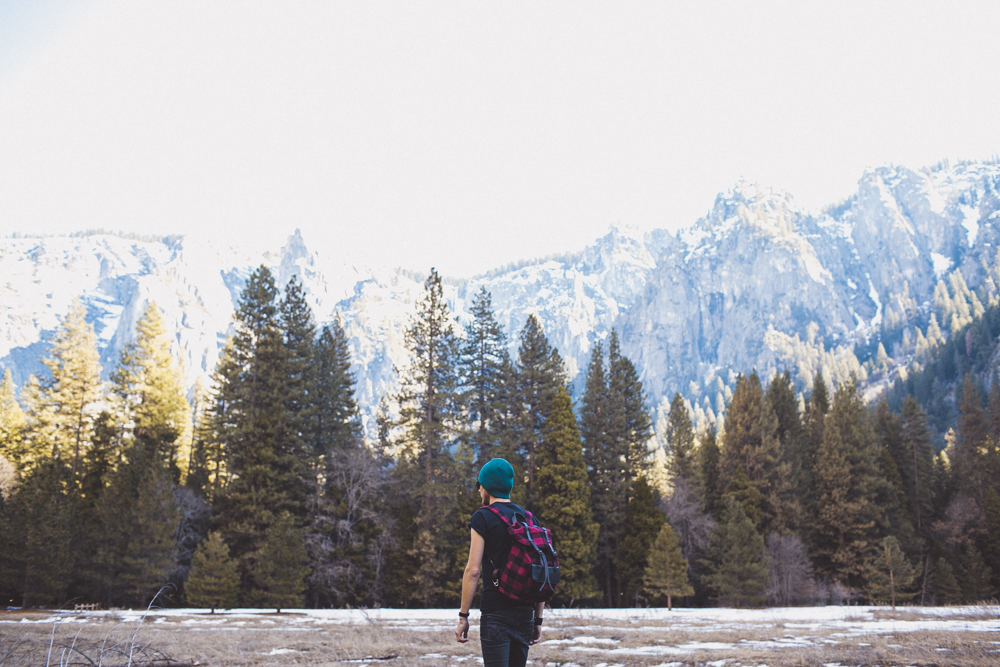
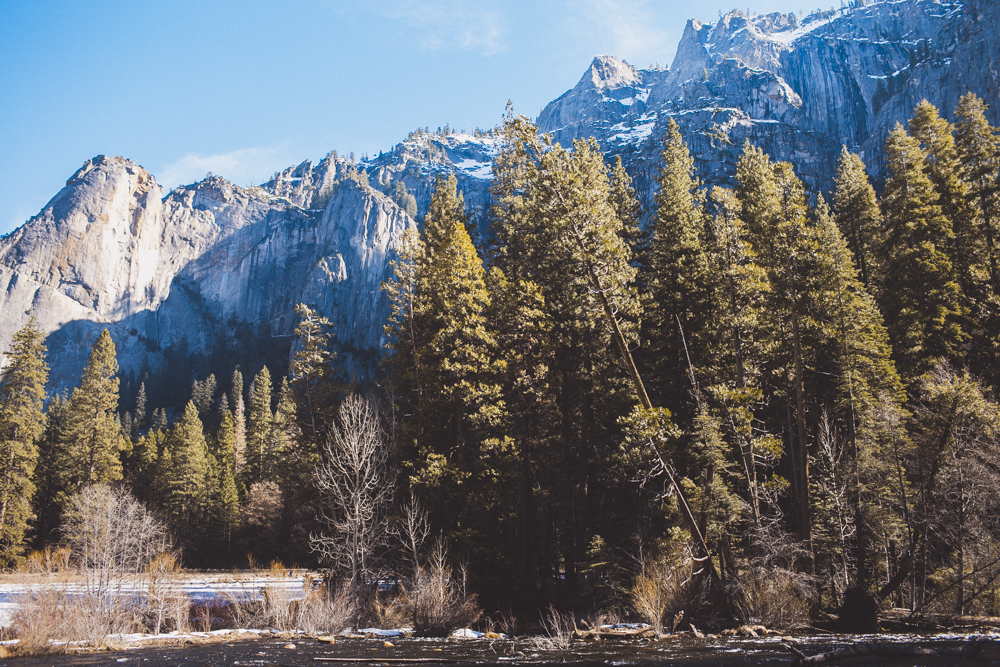
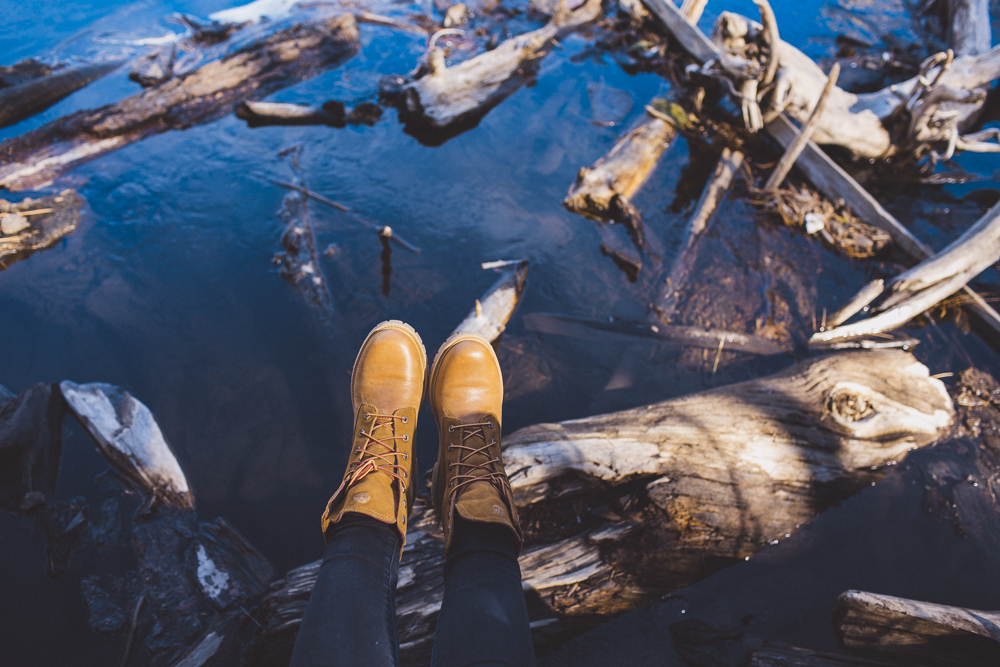

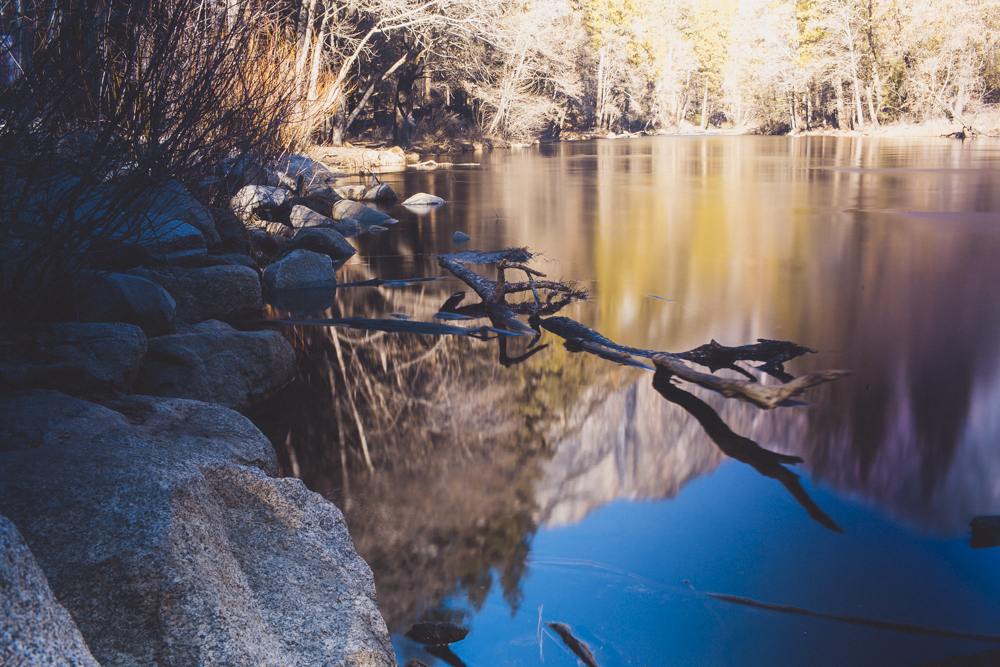
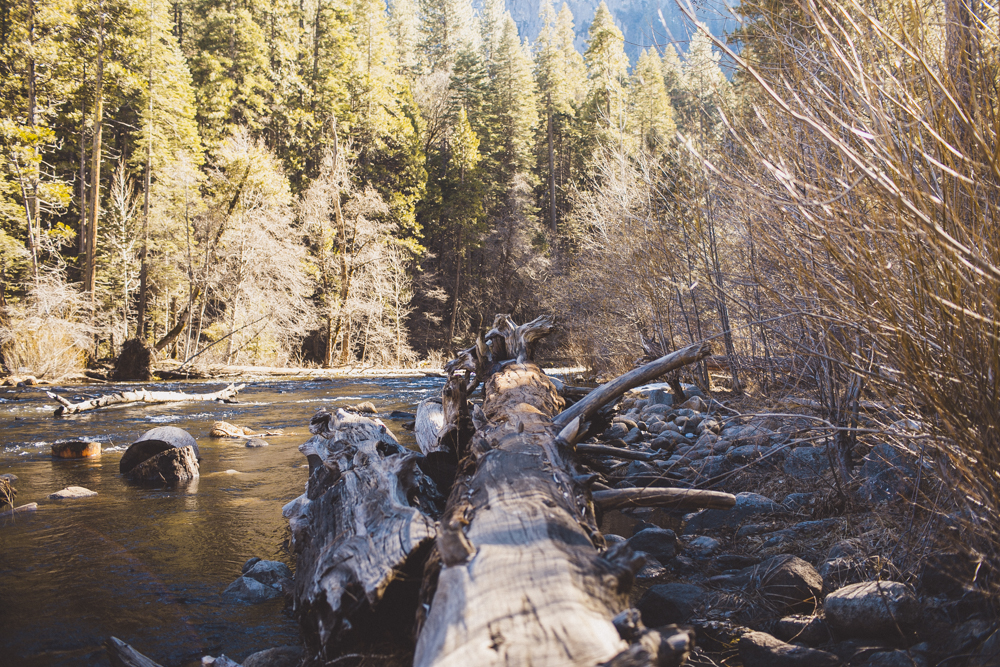
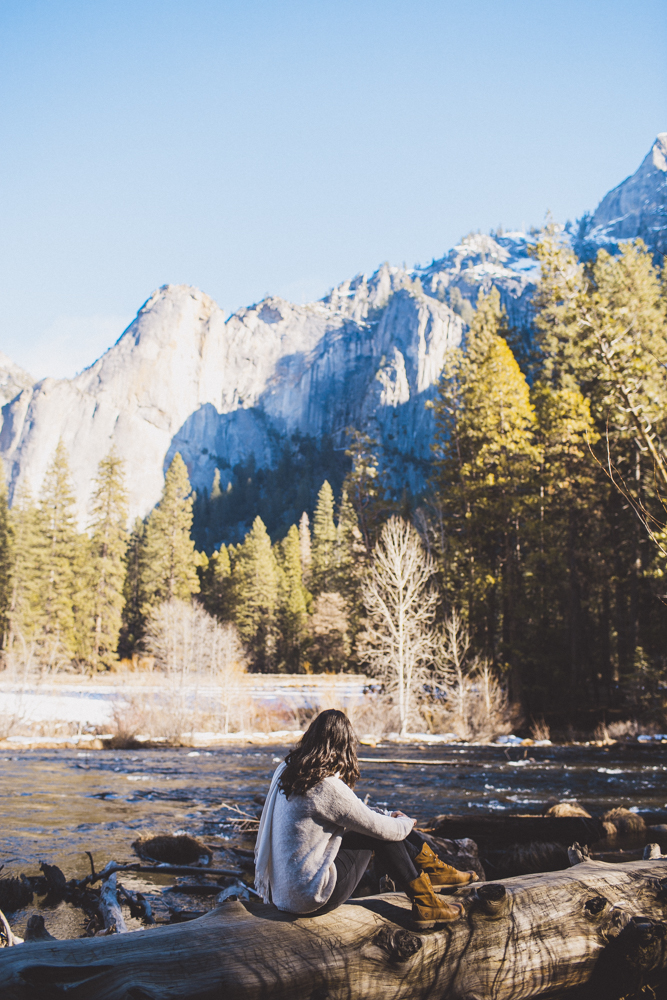
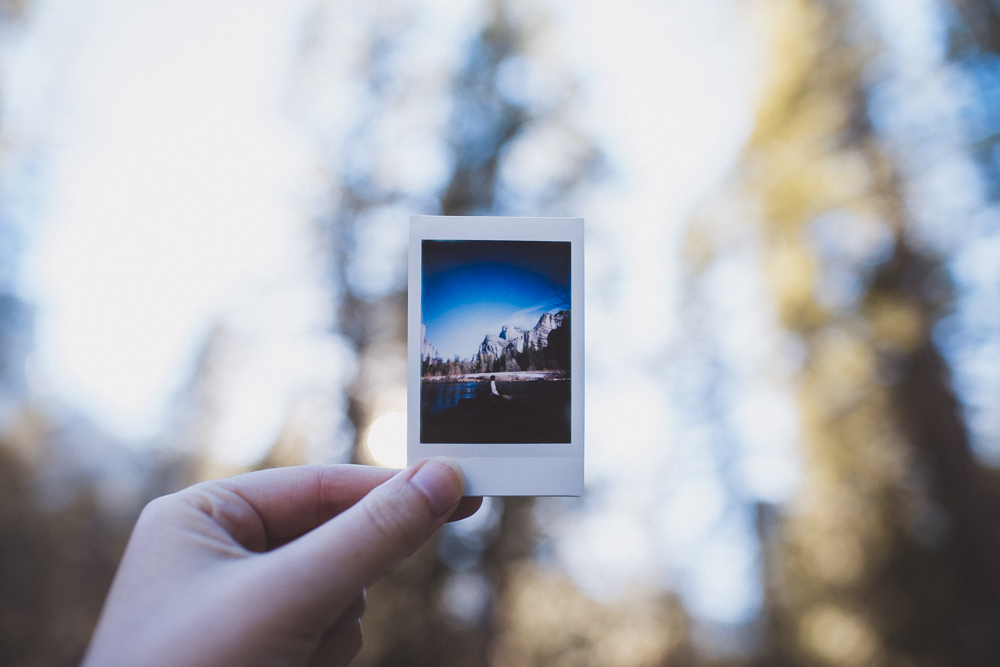
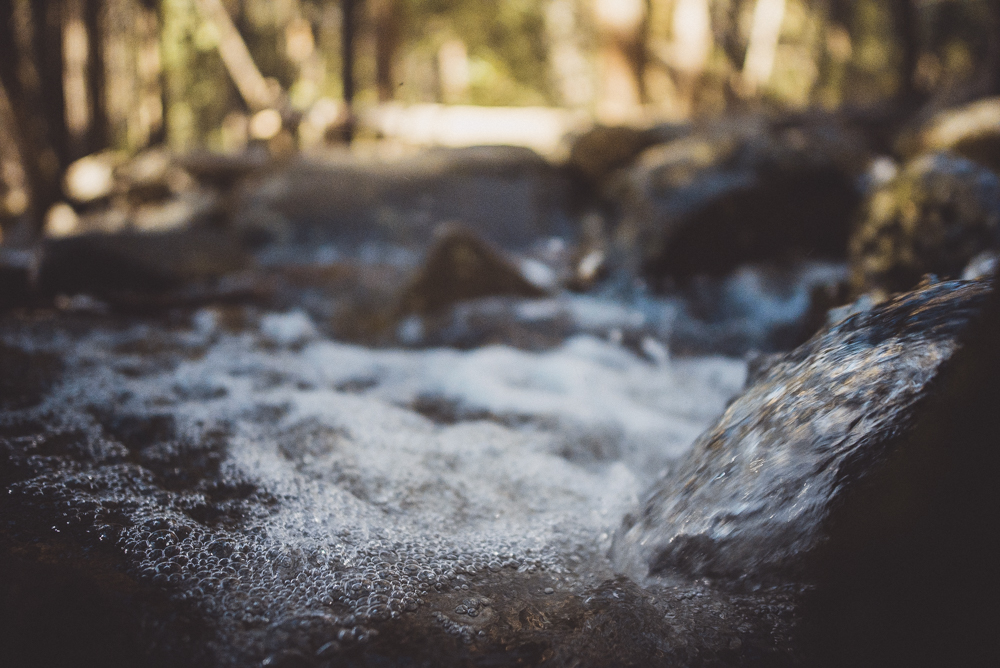

all photos edited with my NEW Yosemite Lightroom Preset


Follow me on my instagram accounts:
main account @julia trotti
personal account @juls.trotti
I also have some exciting news because I've started sharing more fashion shoot behind the scenes videos + Lightroom & Photoshop Tutorials on my YouTube Channel! Be sure to subscribe as I upload 2 new videos every week x
You can also see all the final photos from this trip in my Big Island, Hawaii Photo Diary blog post!


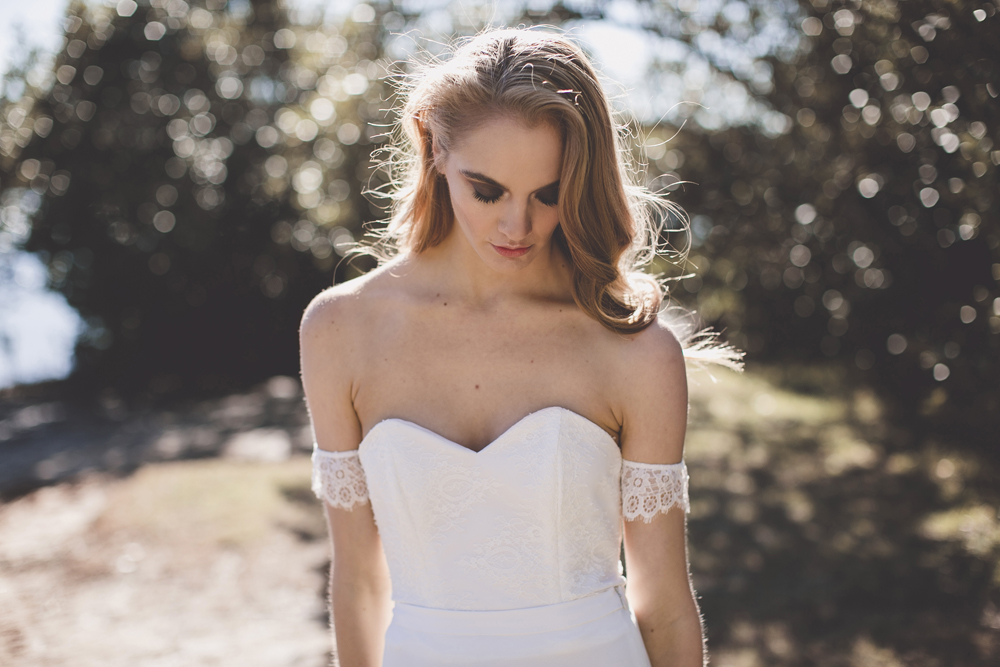
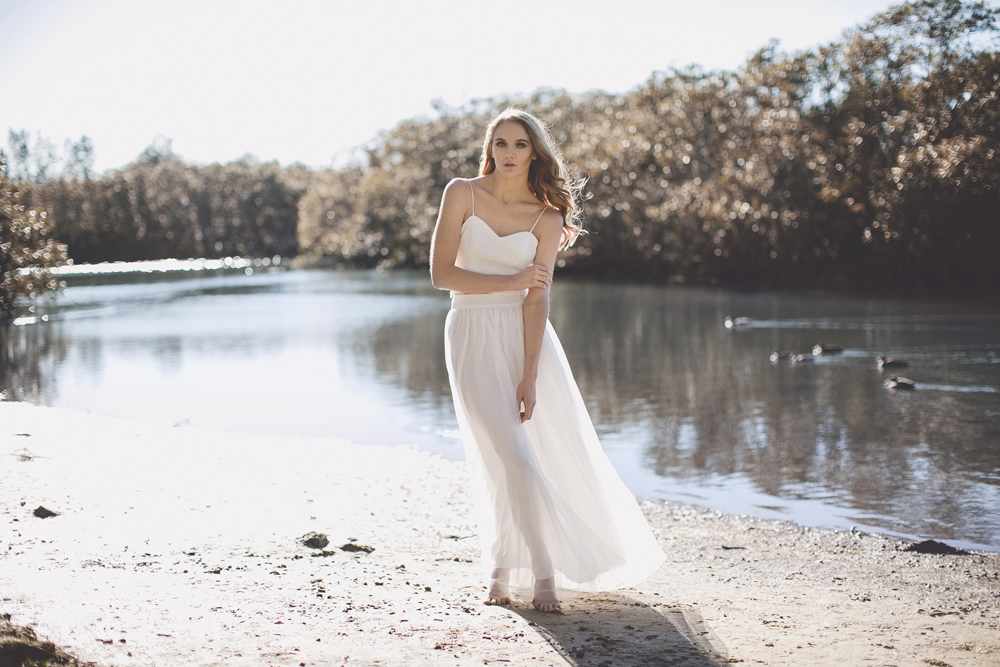
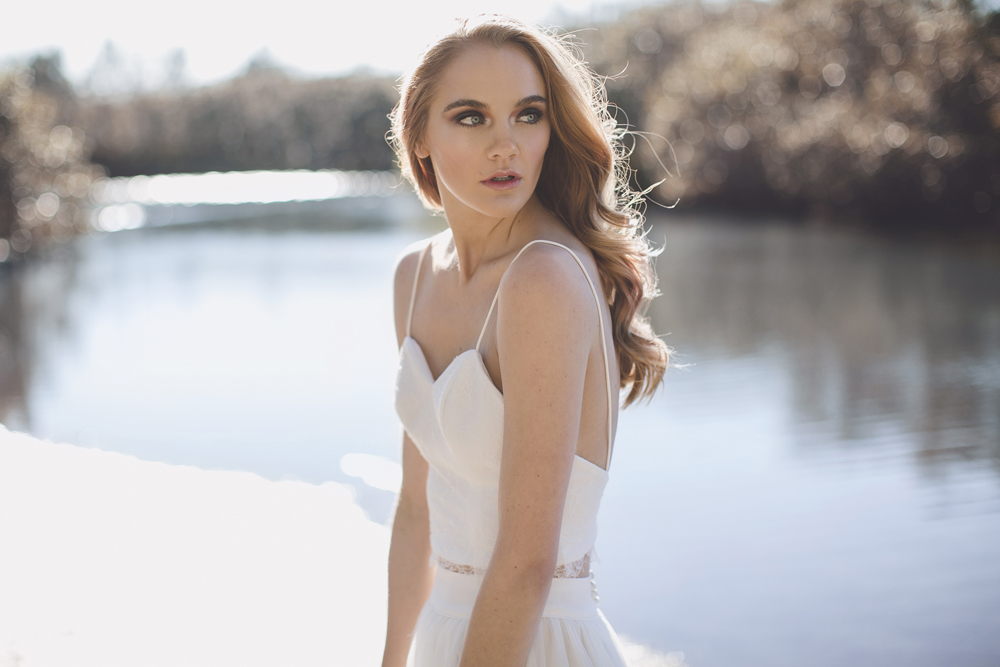

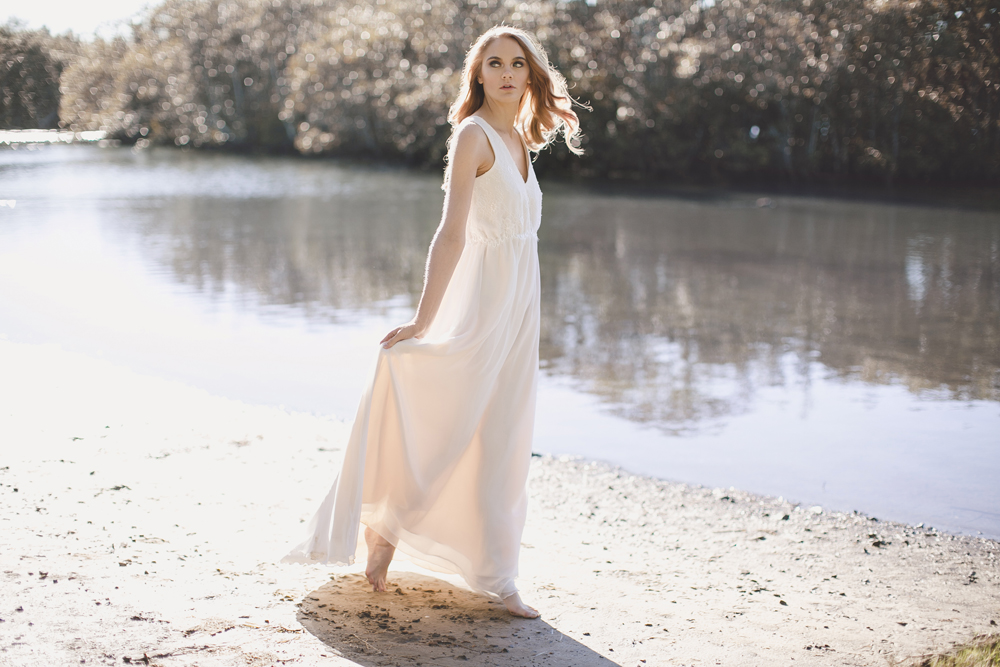
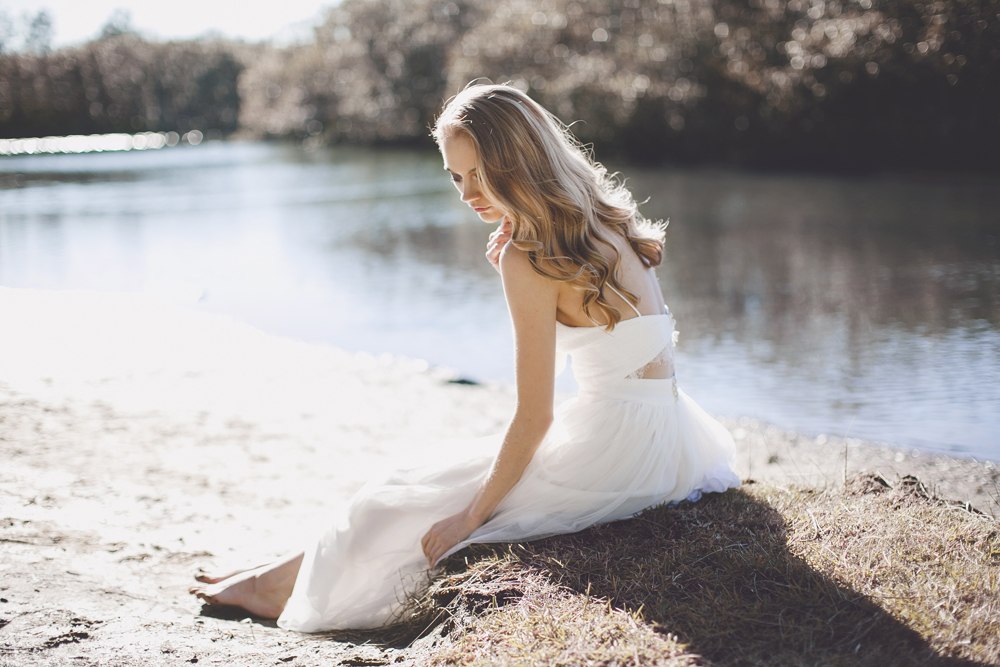

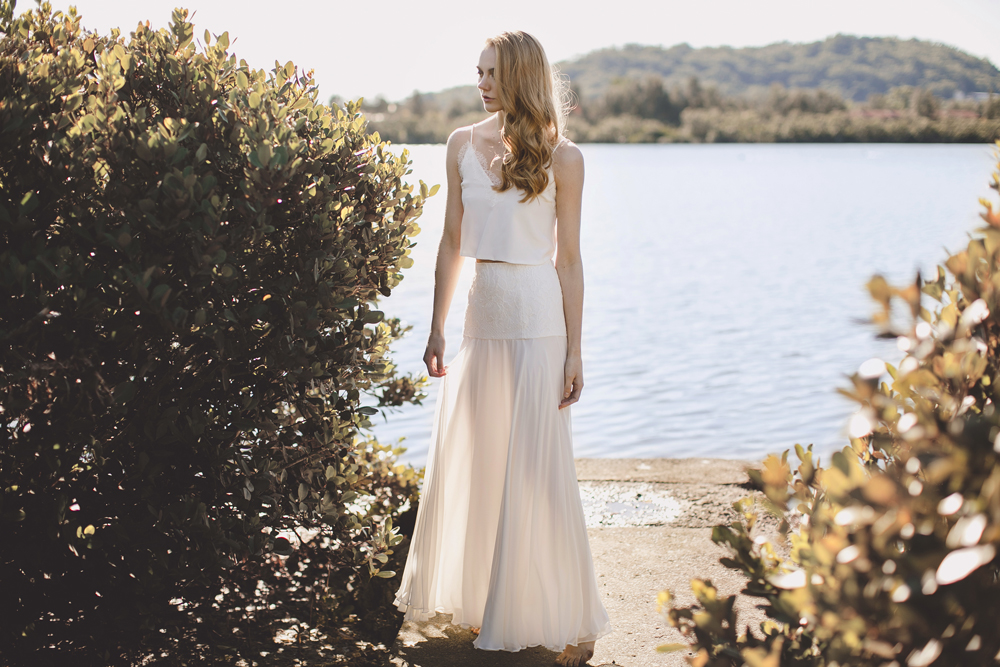
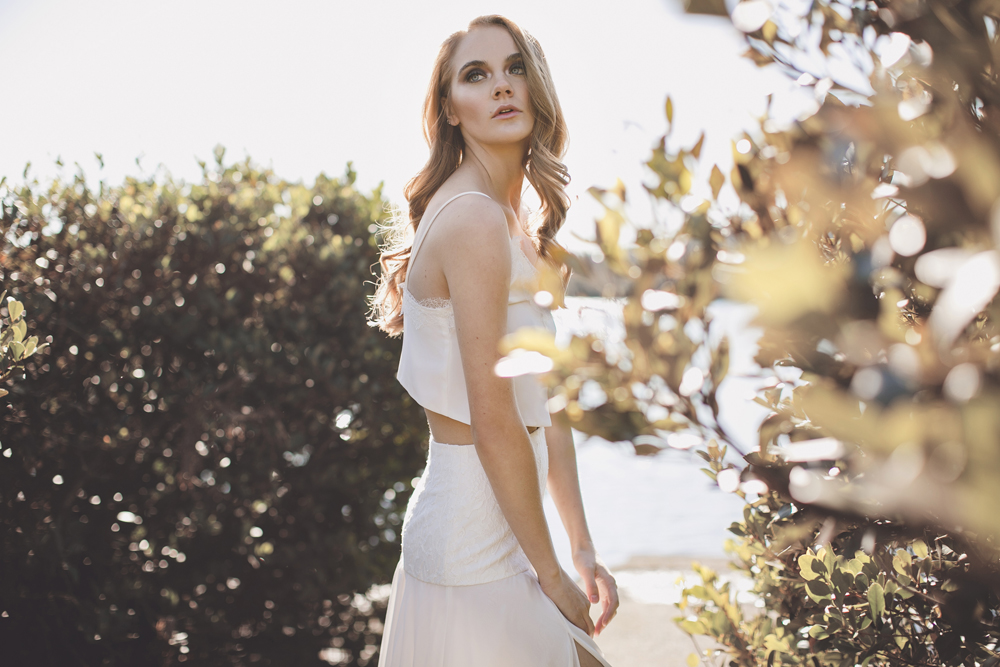
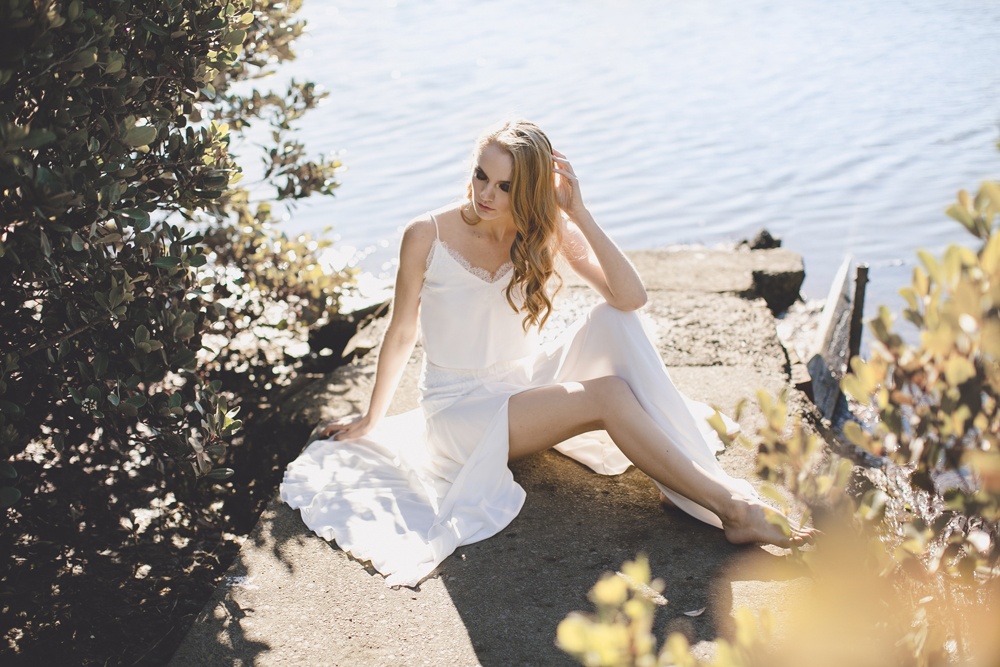
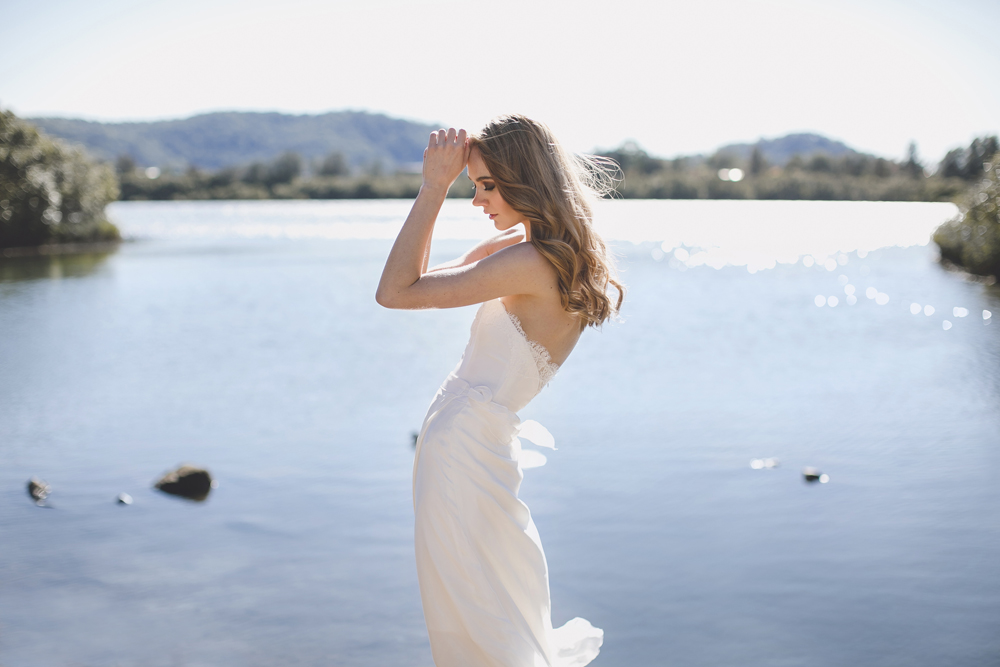
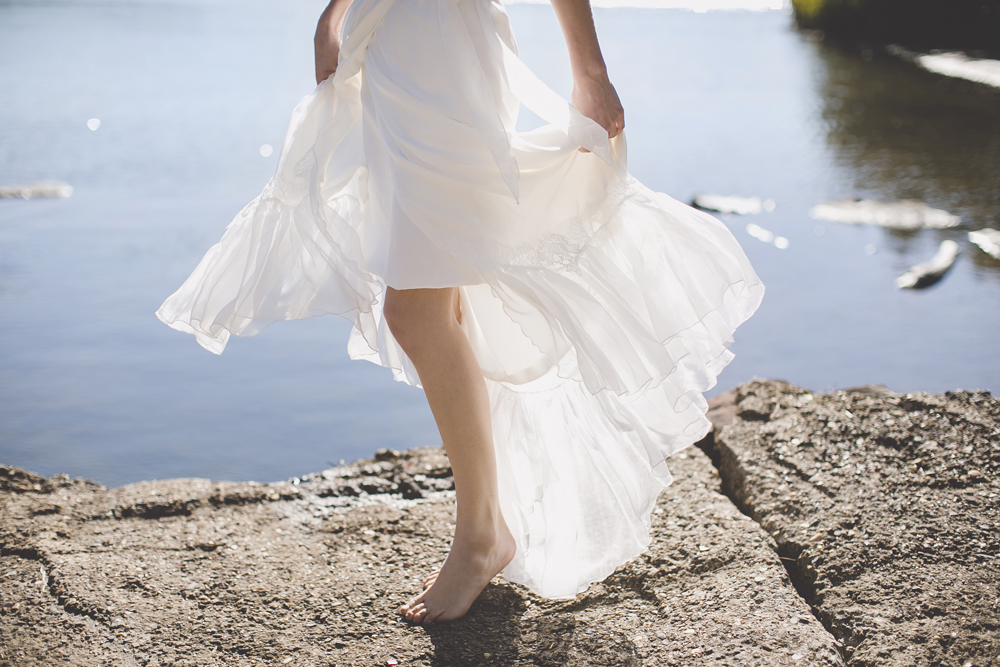
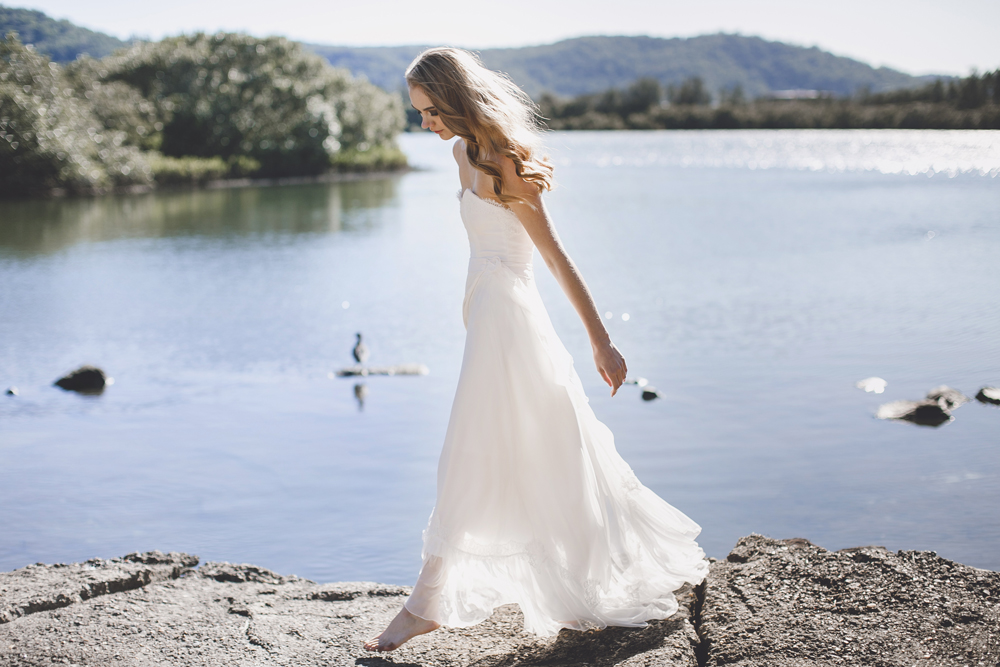

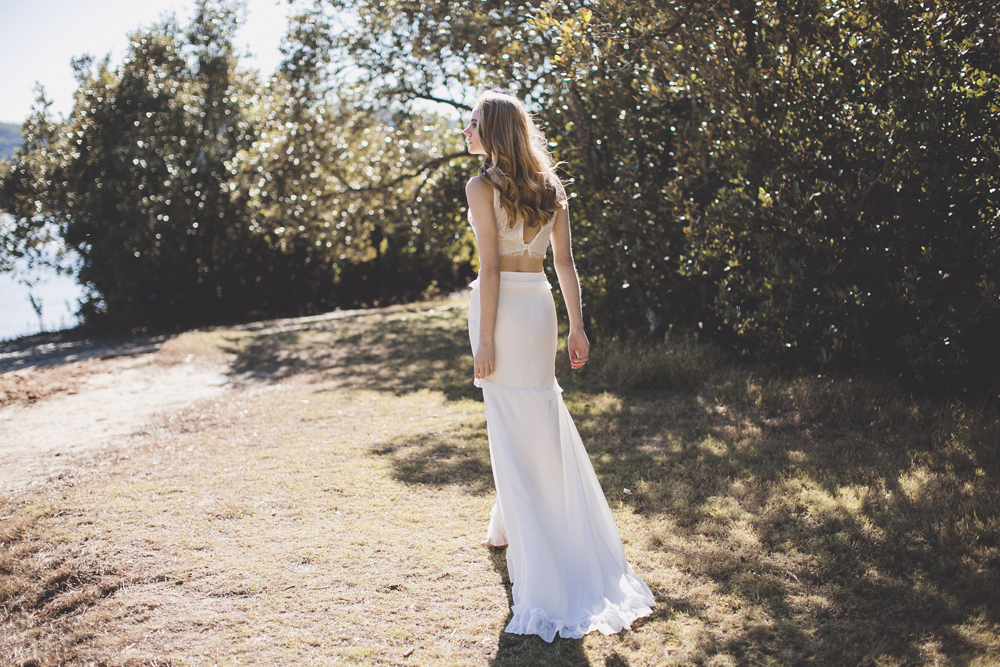
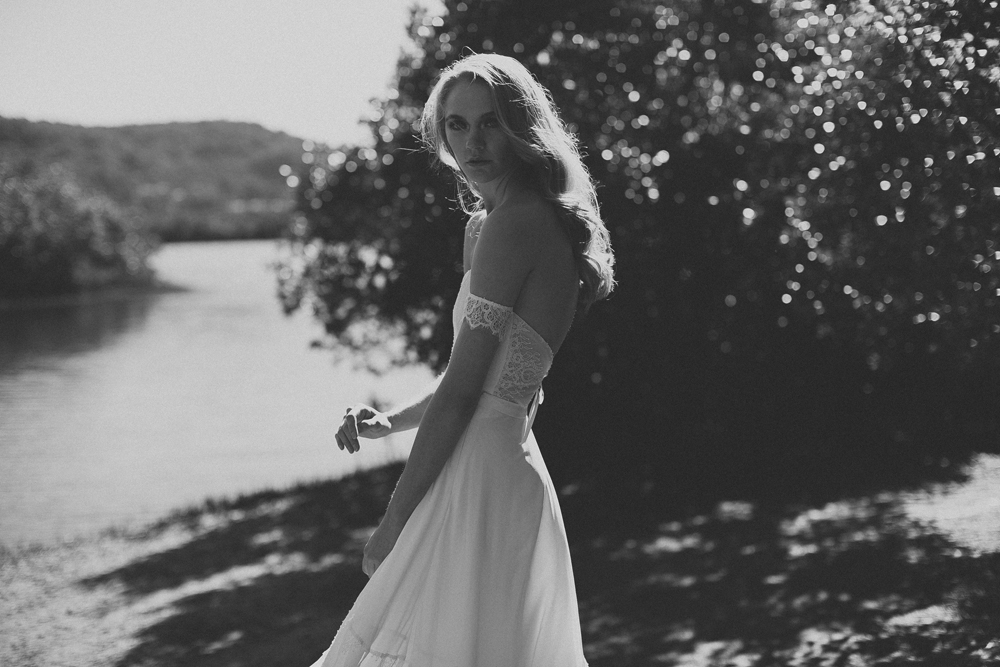

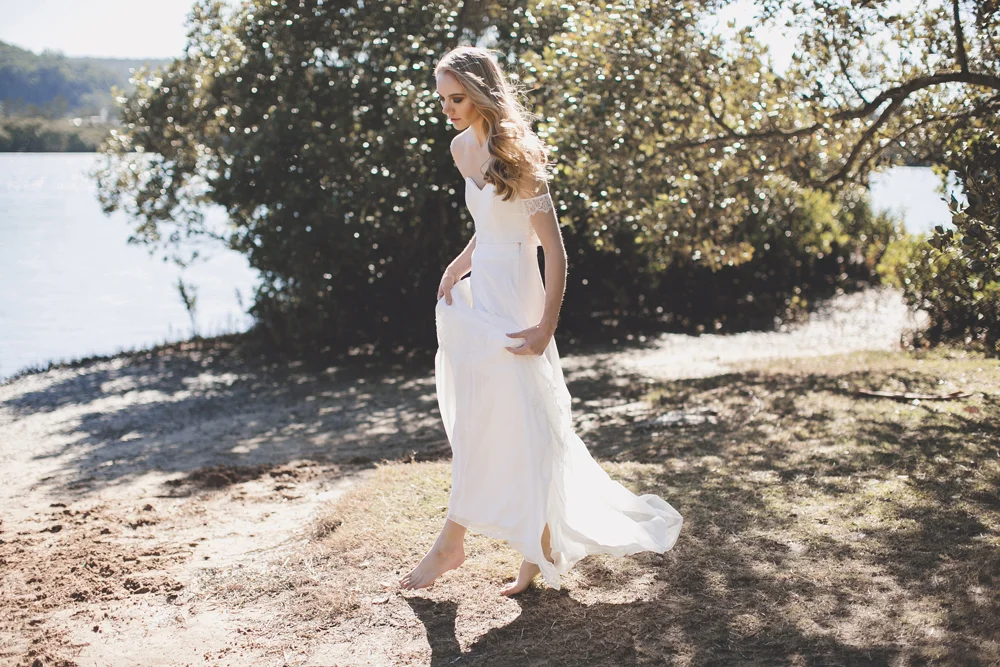
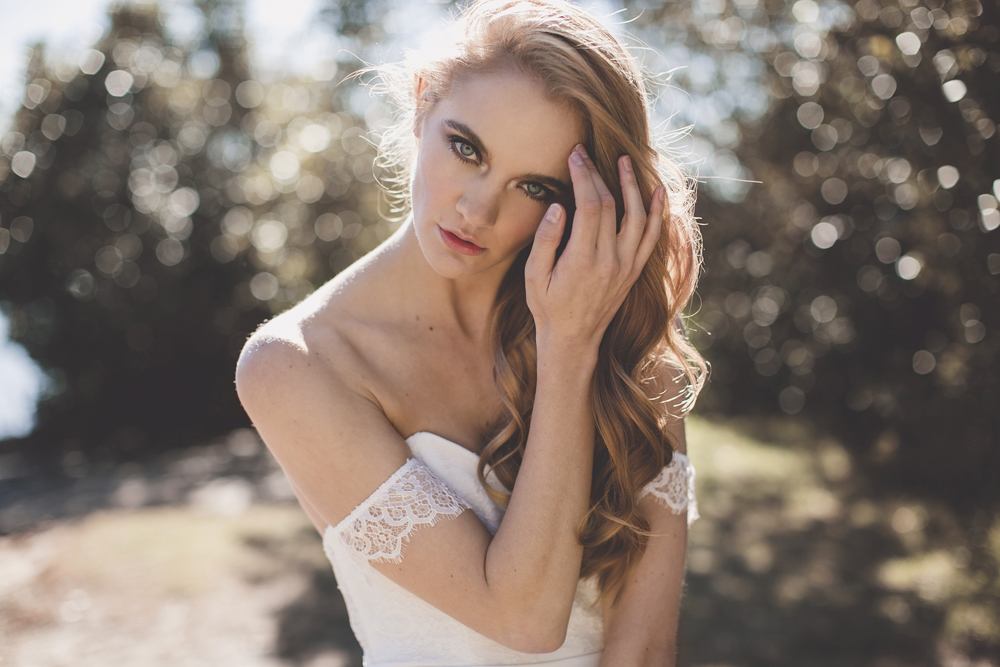

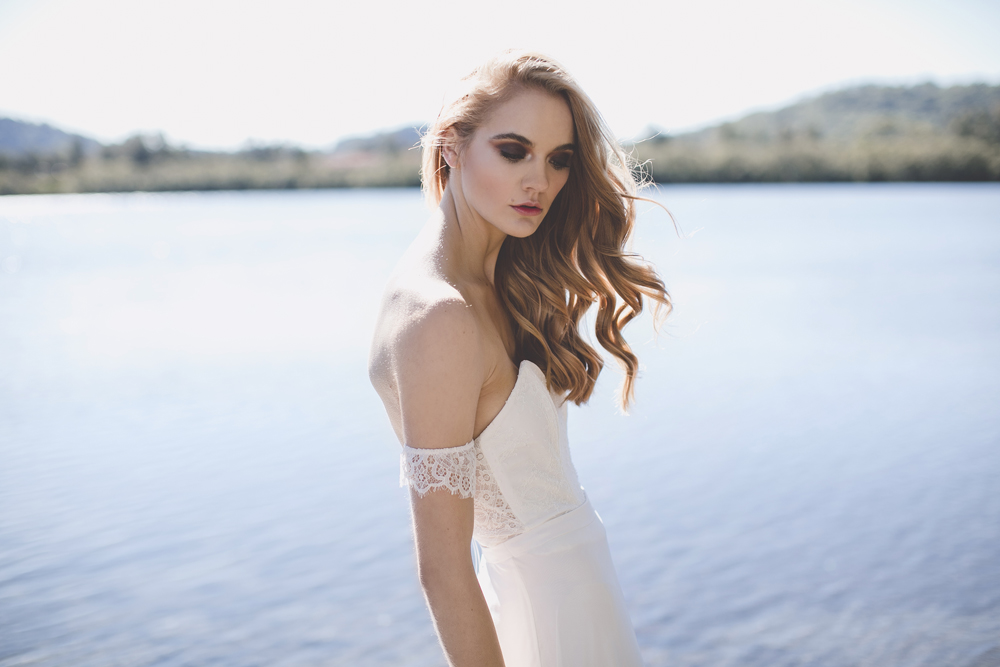
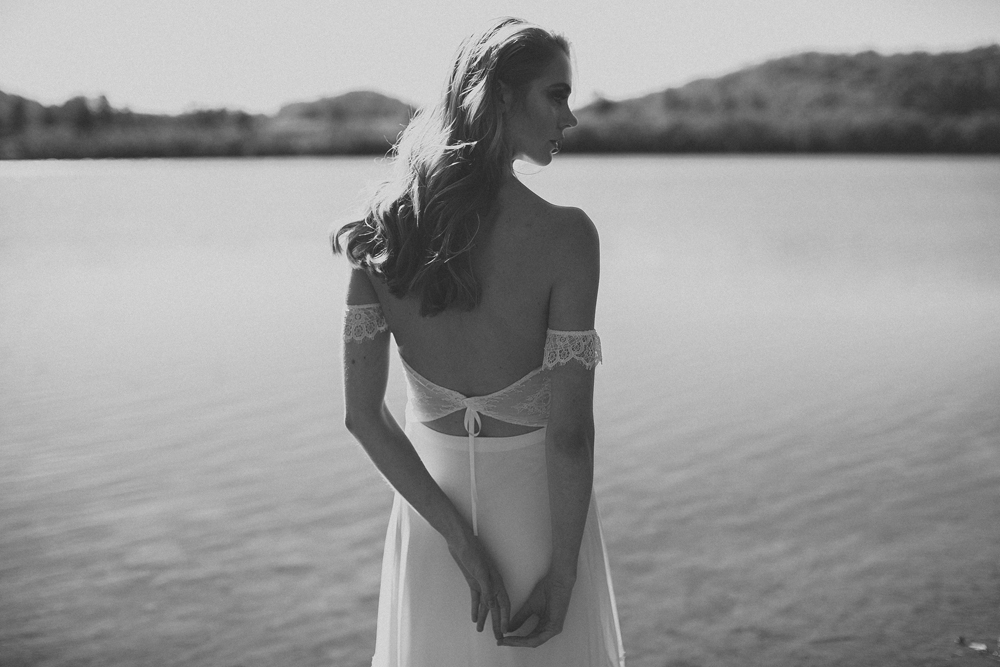

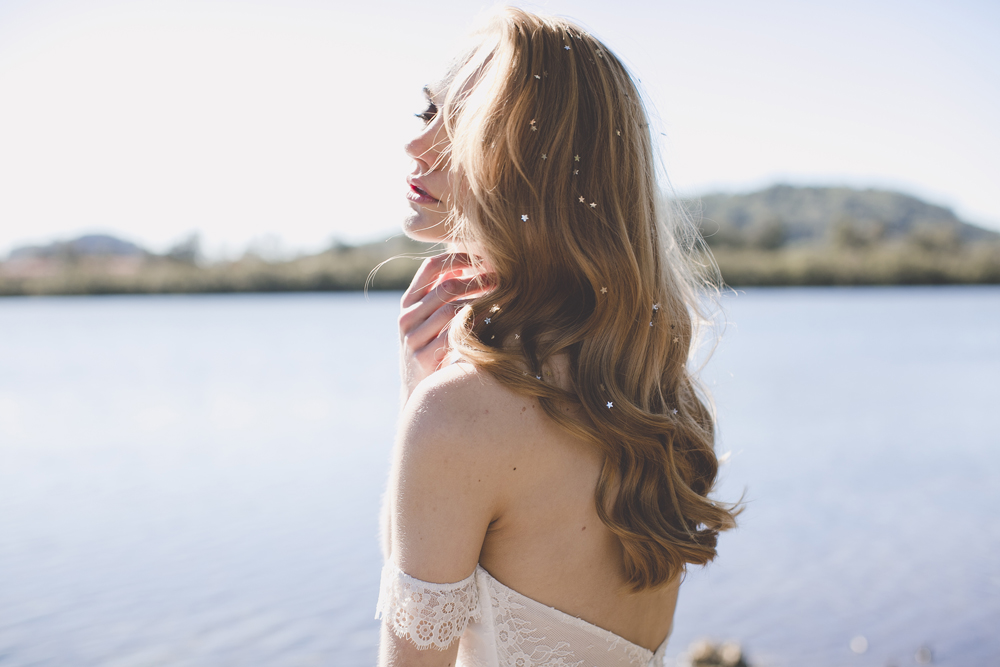
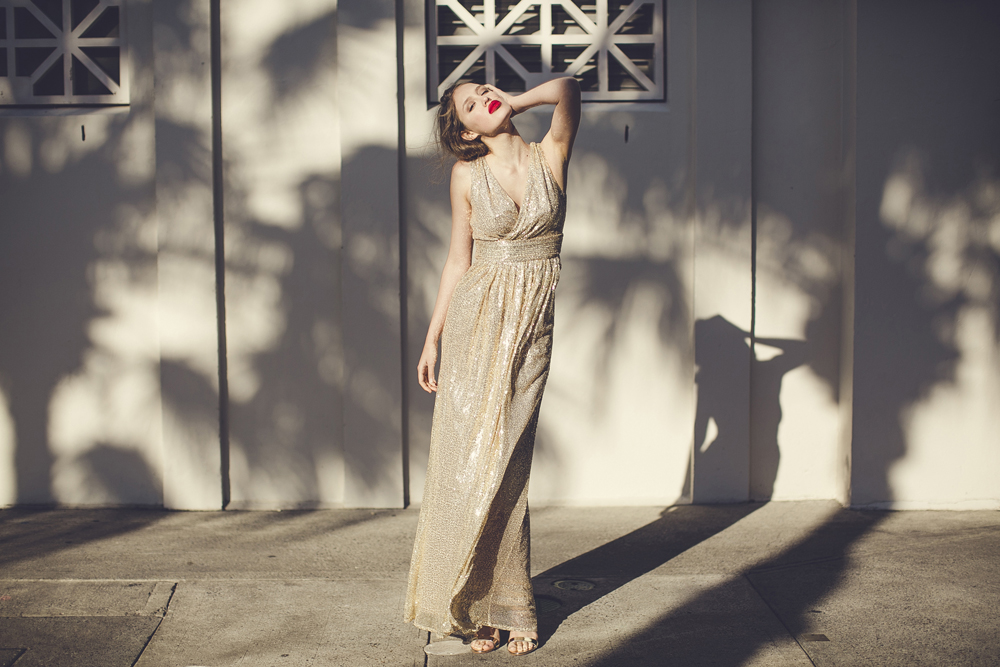
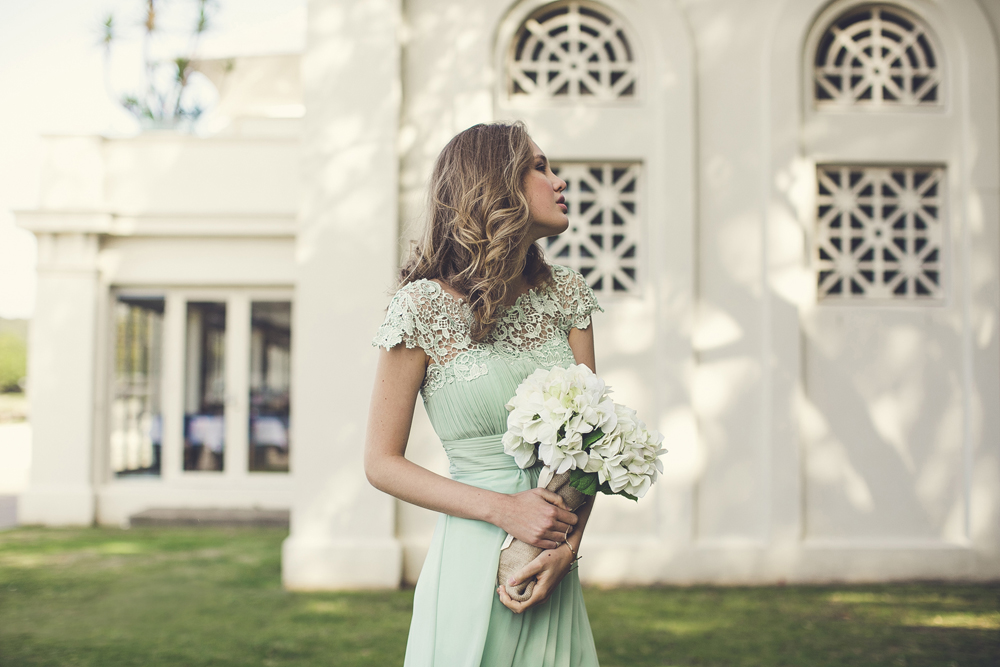
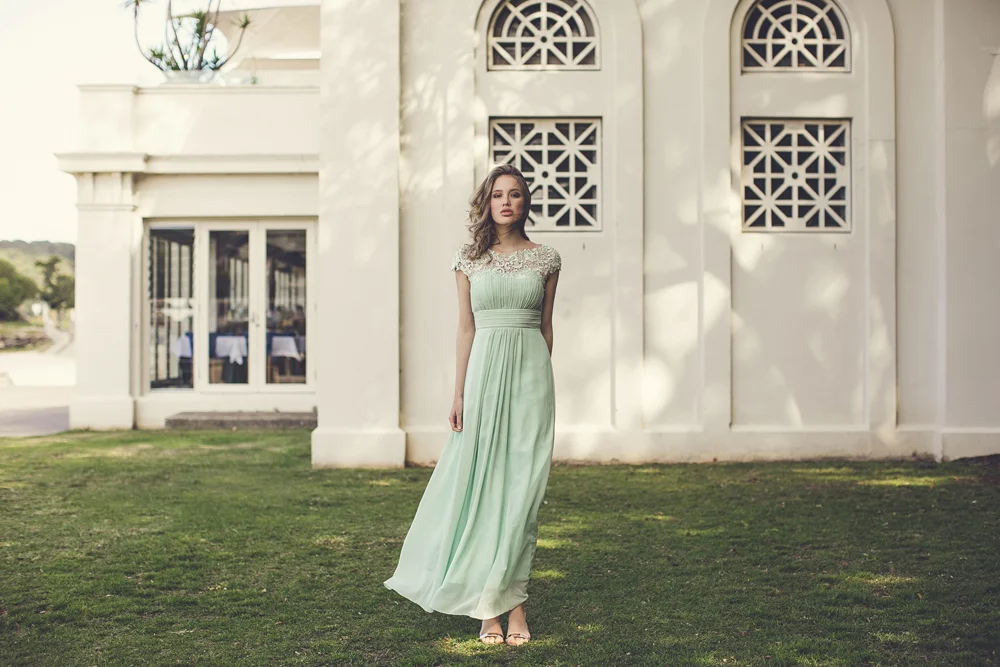
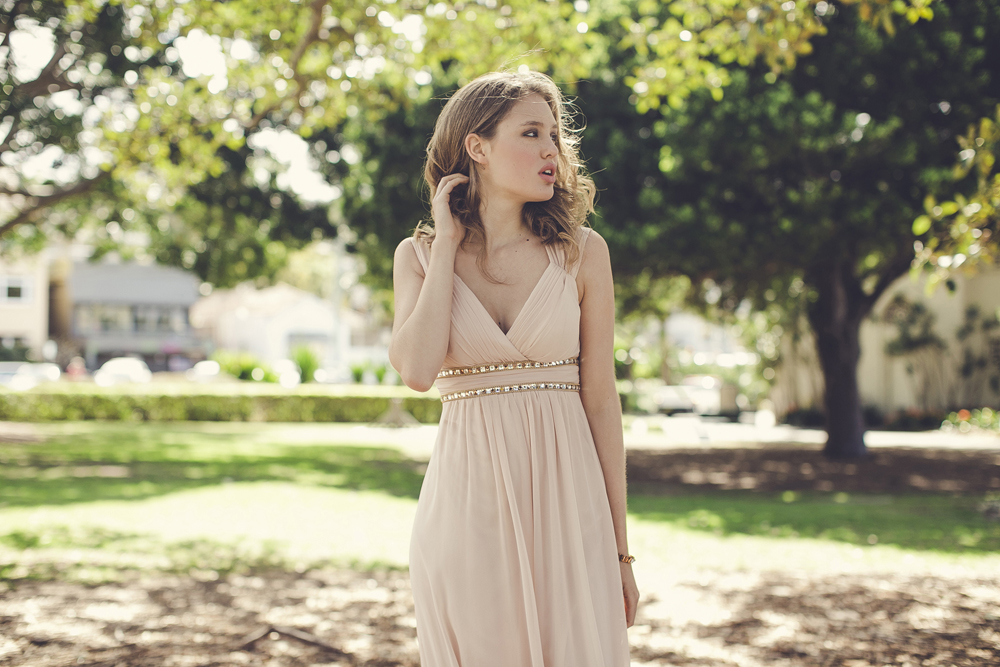
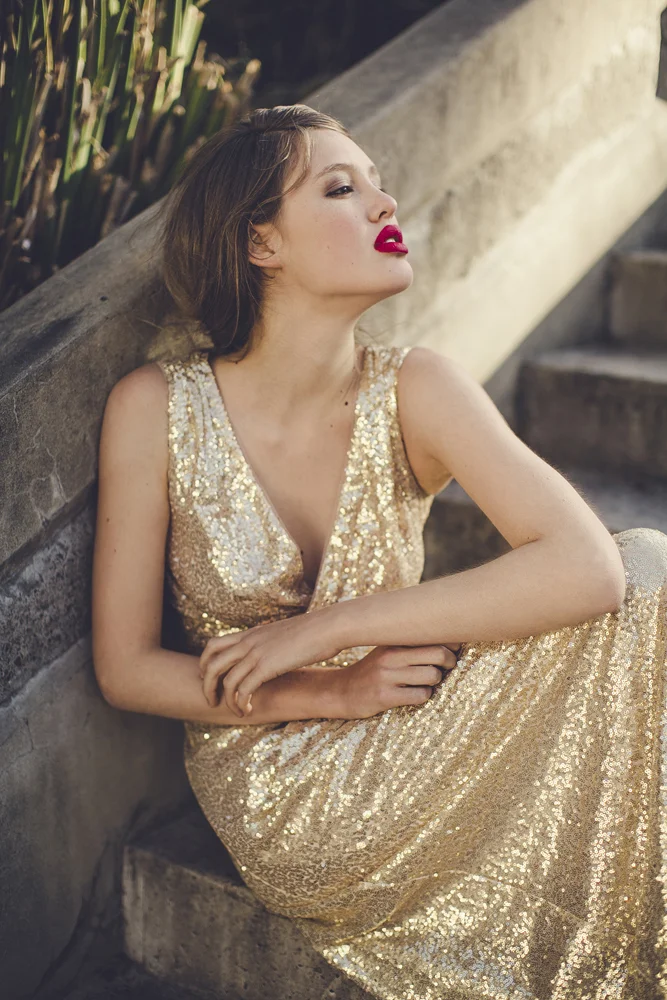
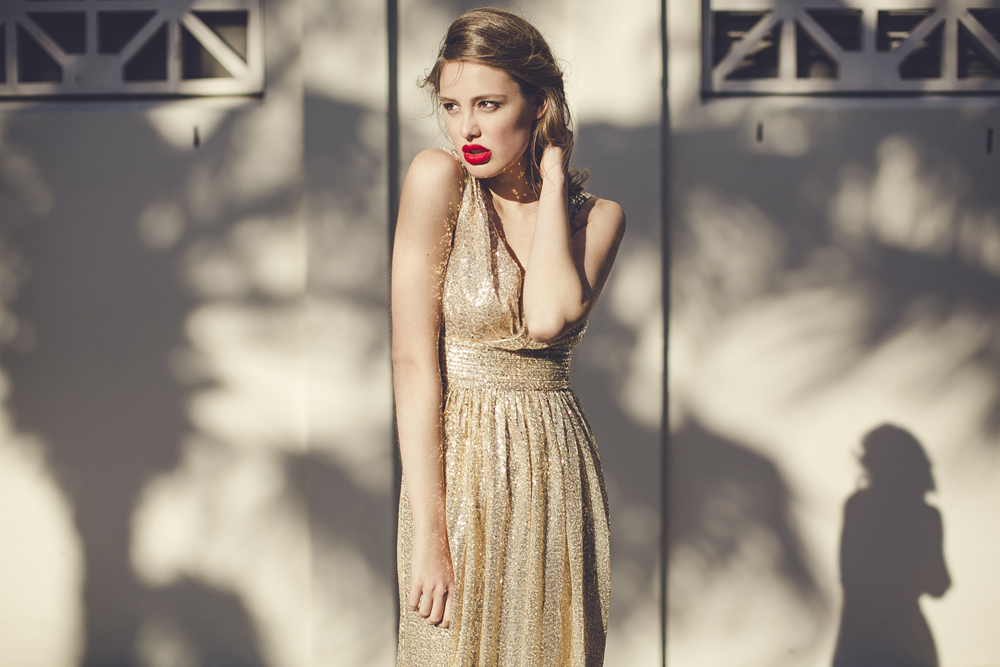
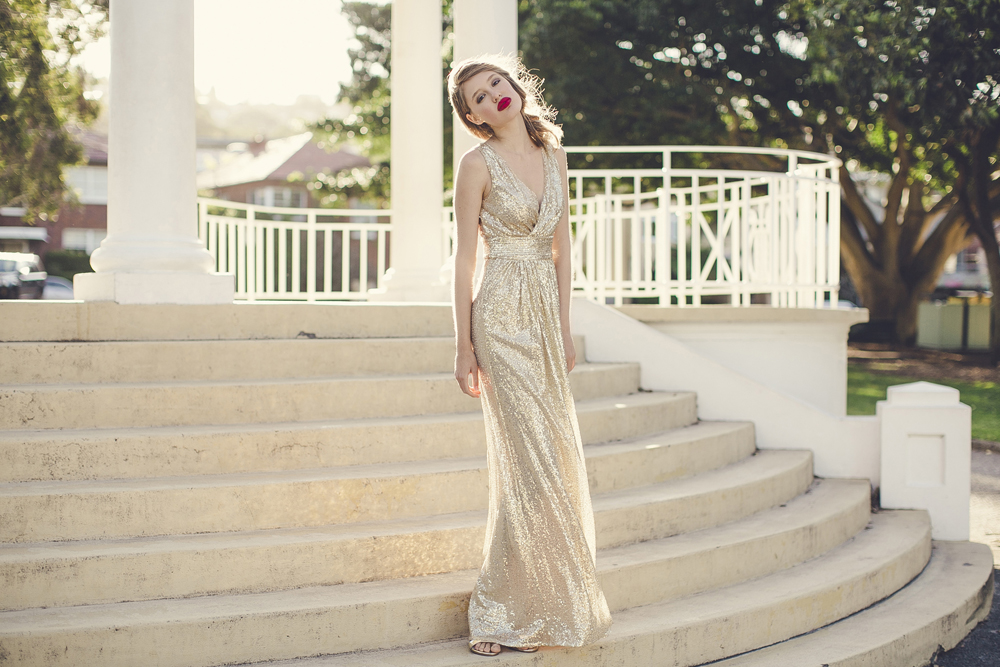
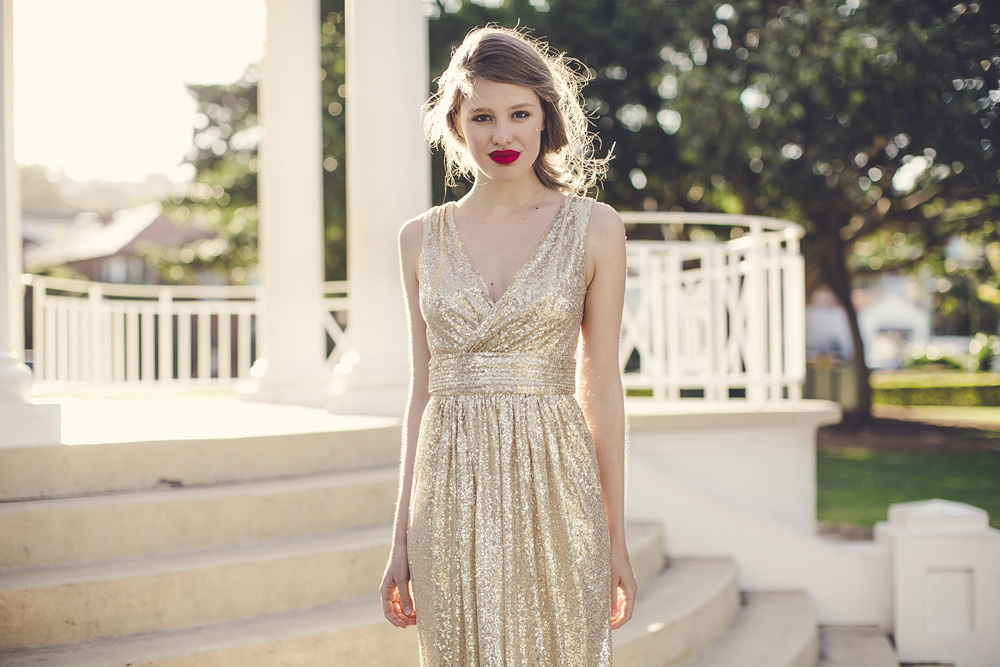
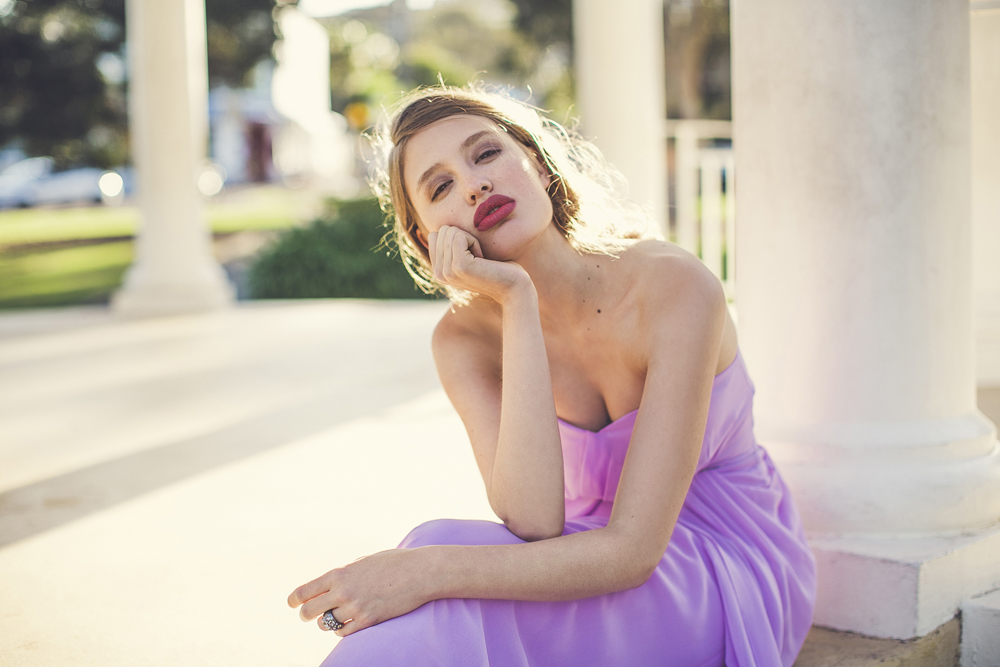
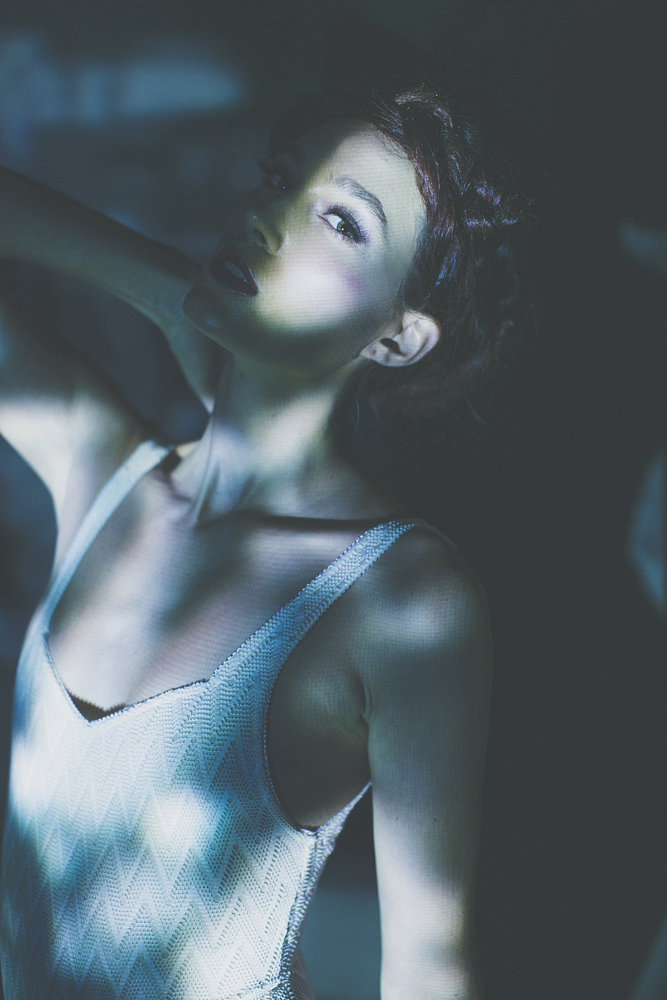
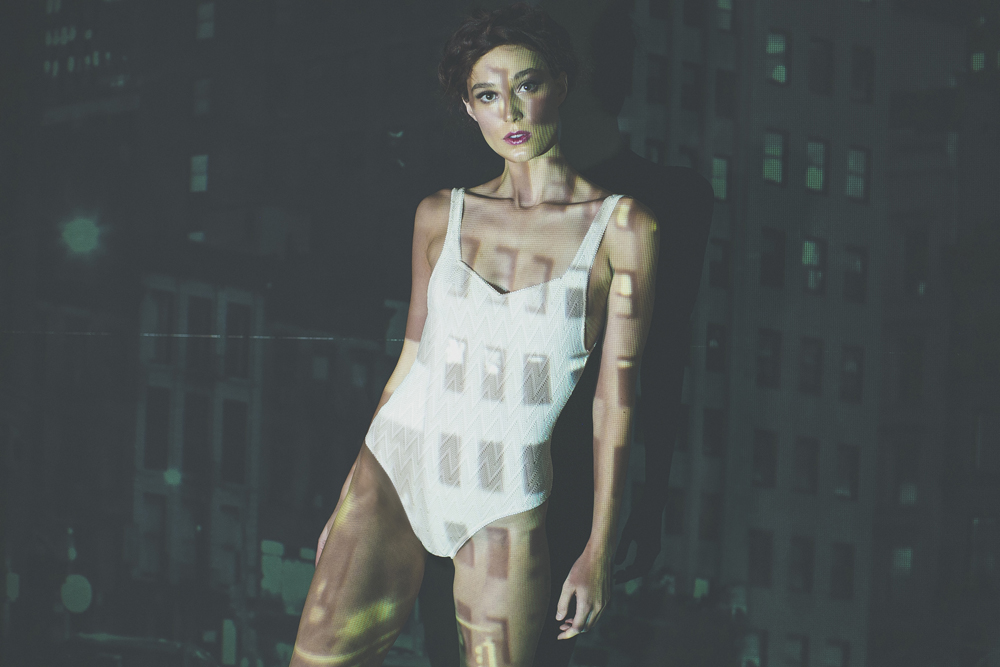
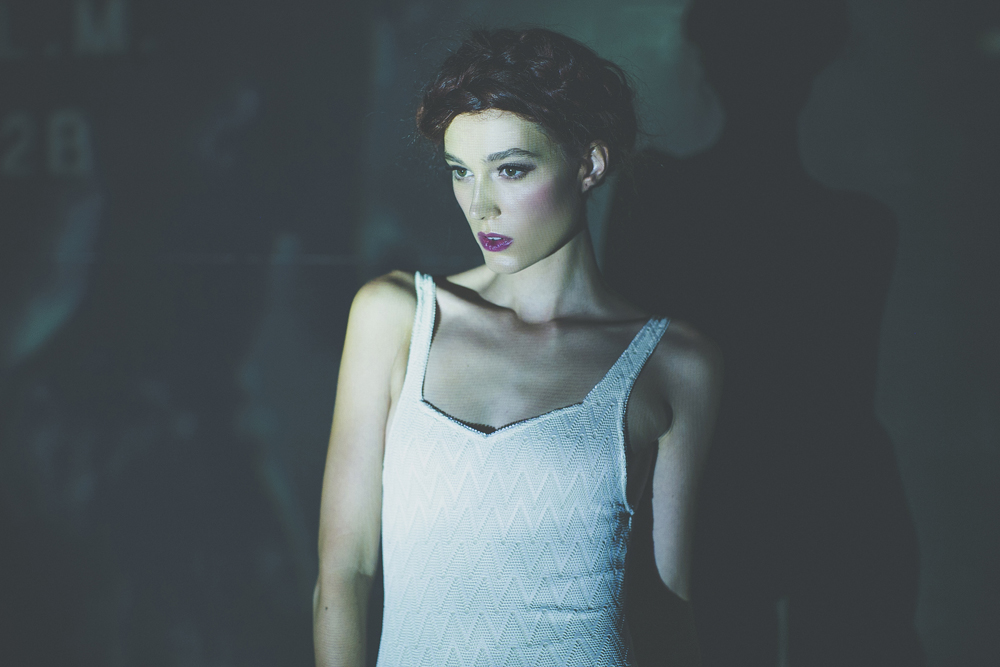
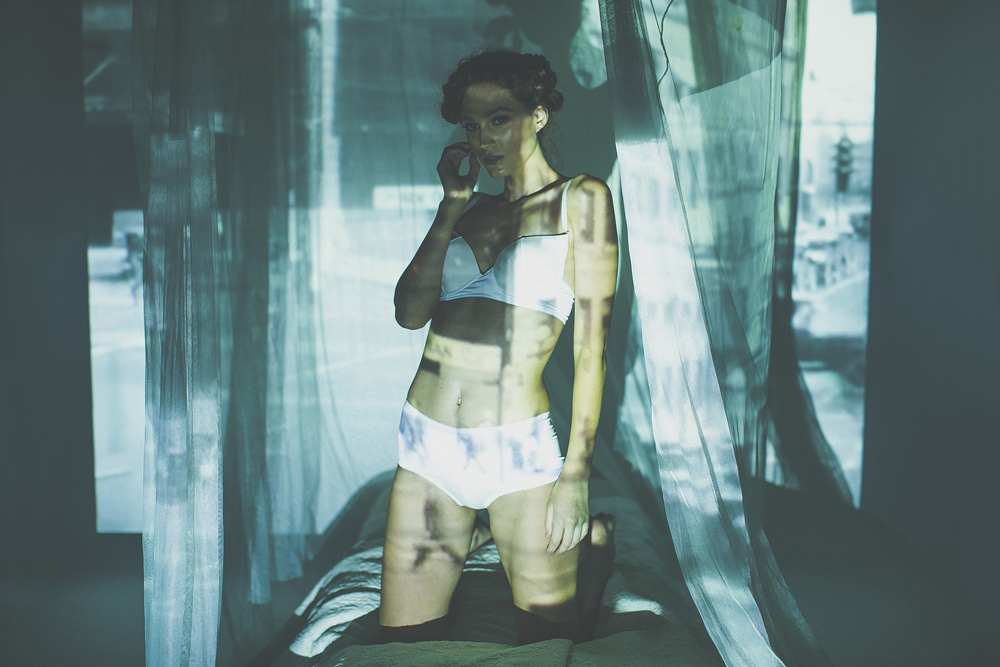
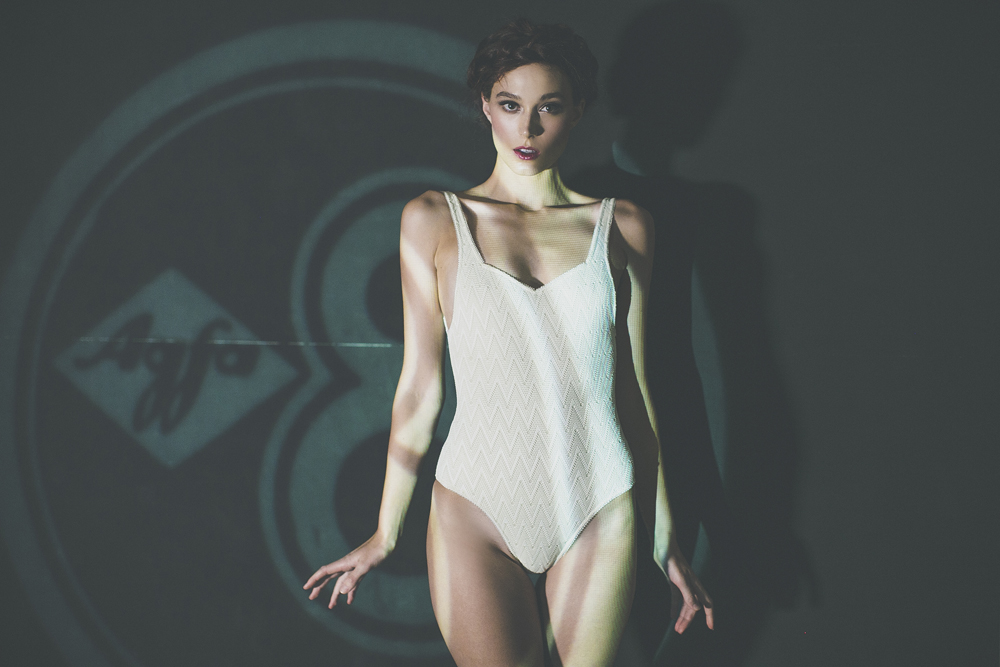
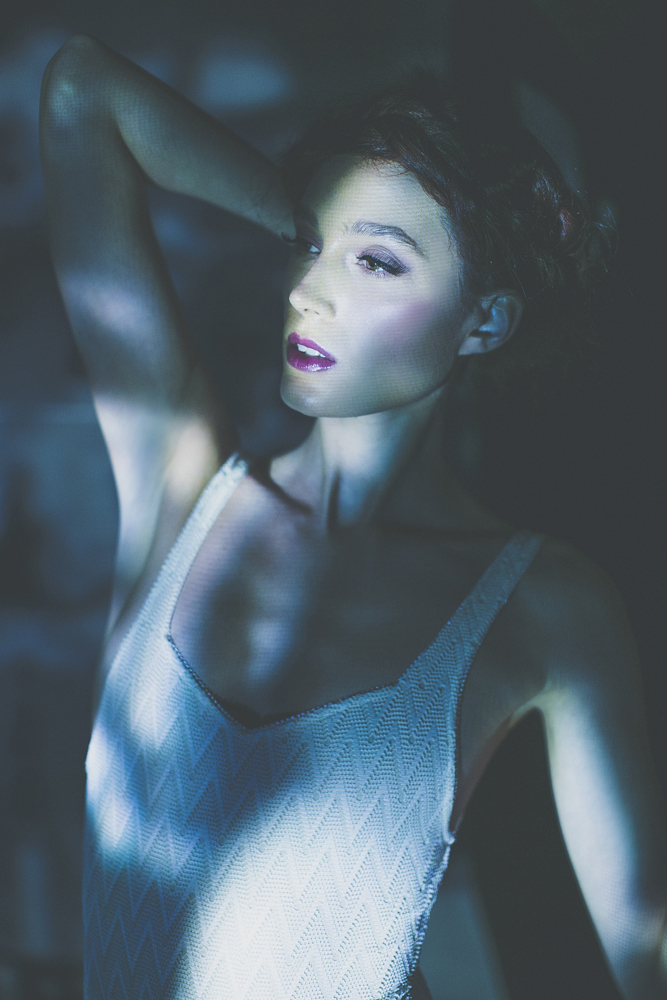
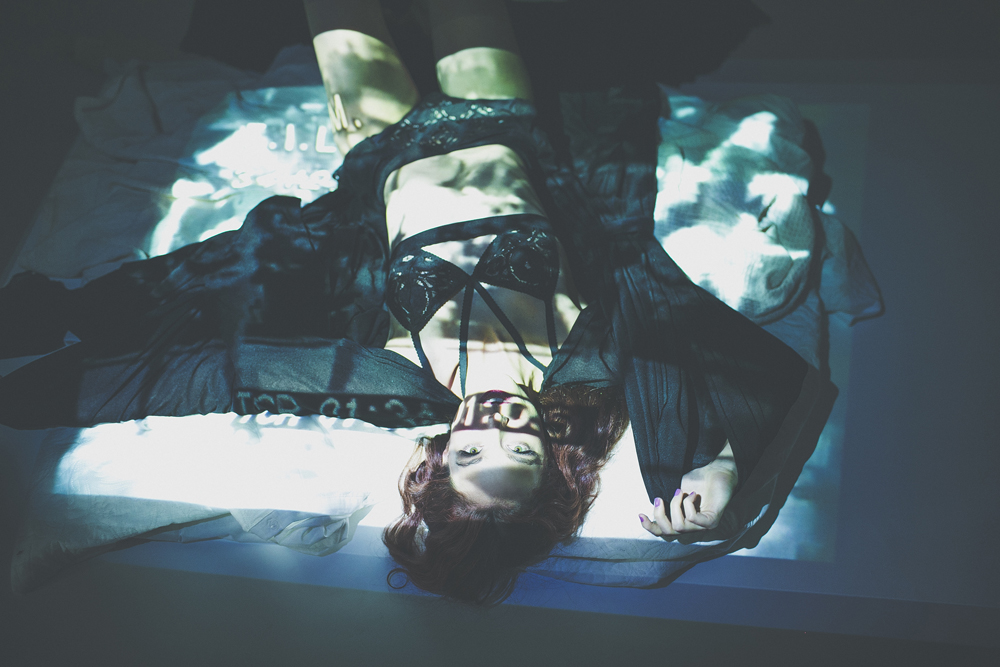
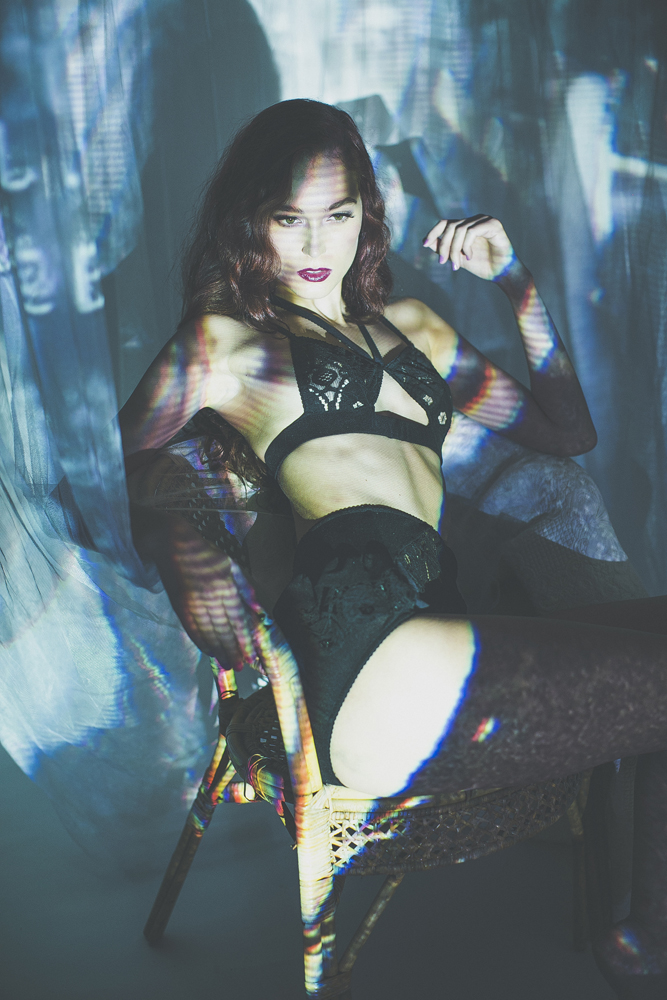
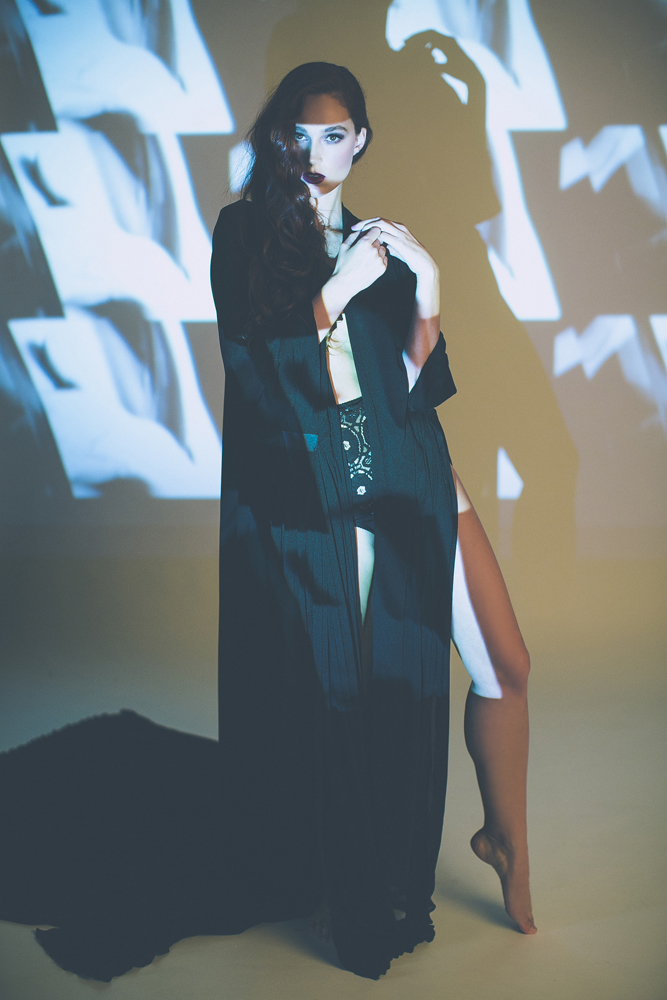
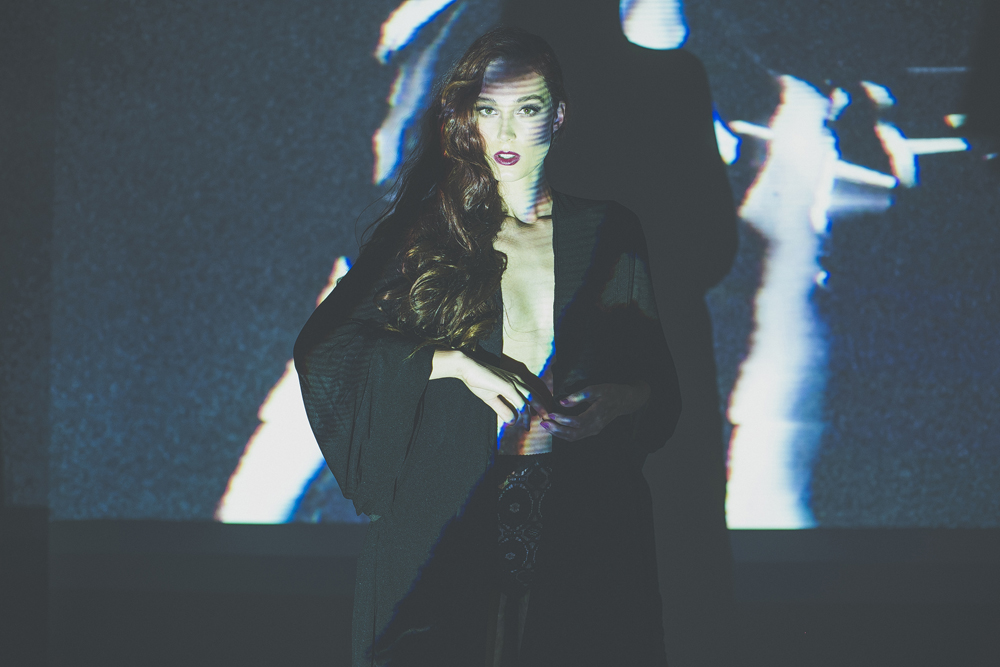
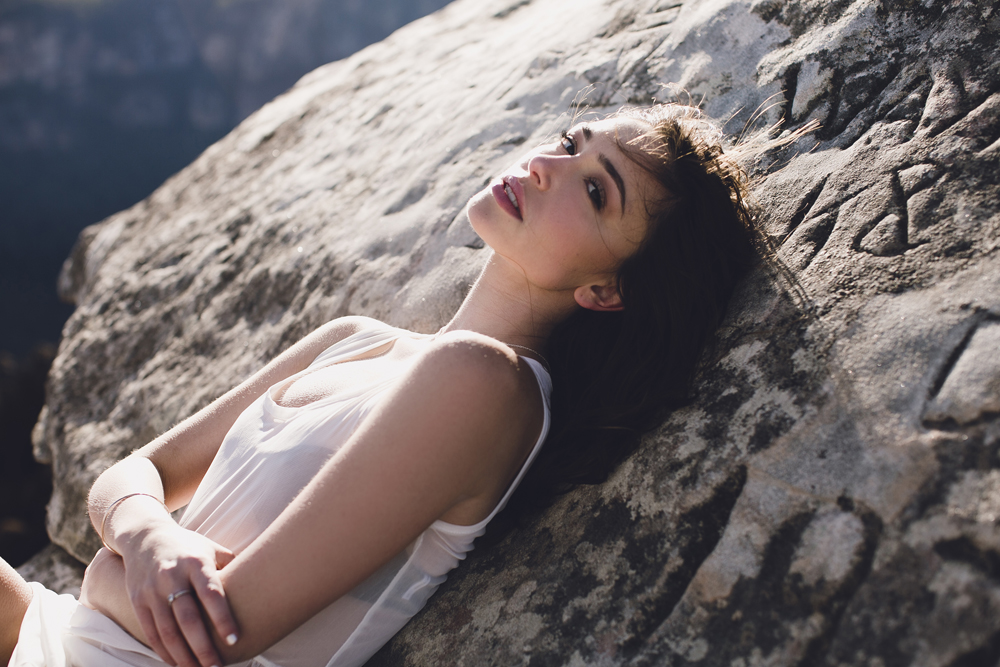
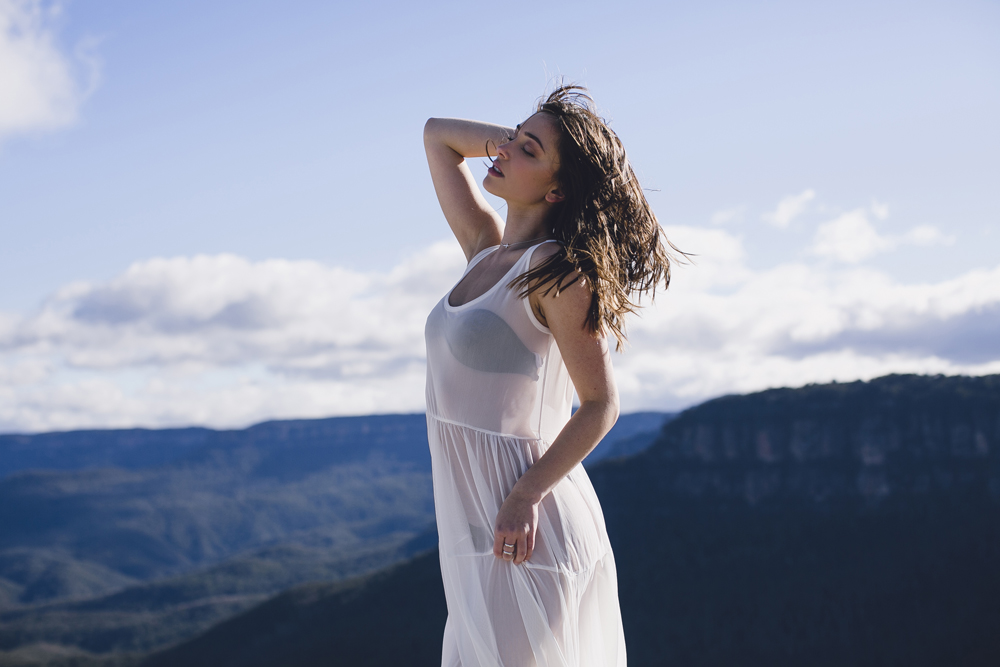
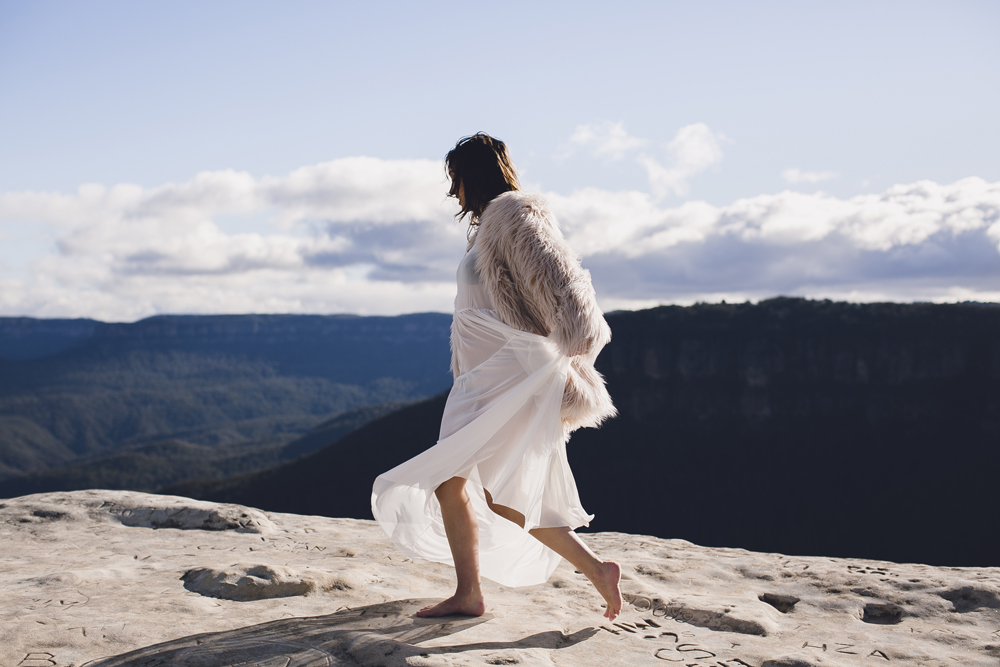
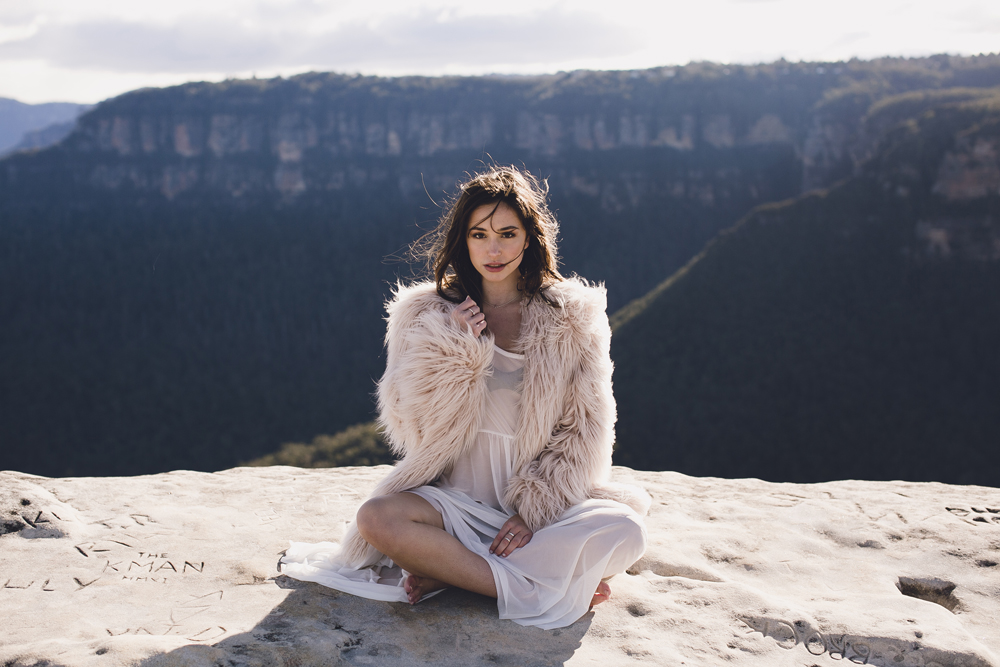
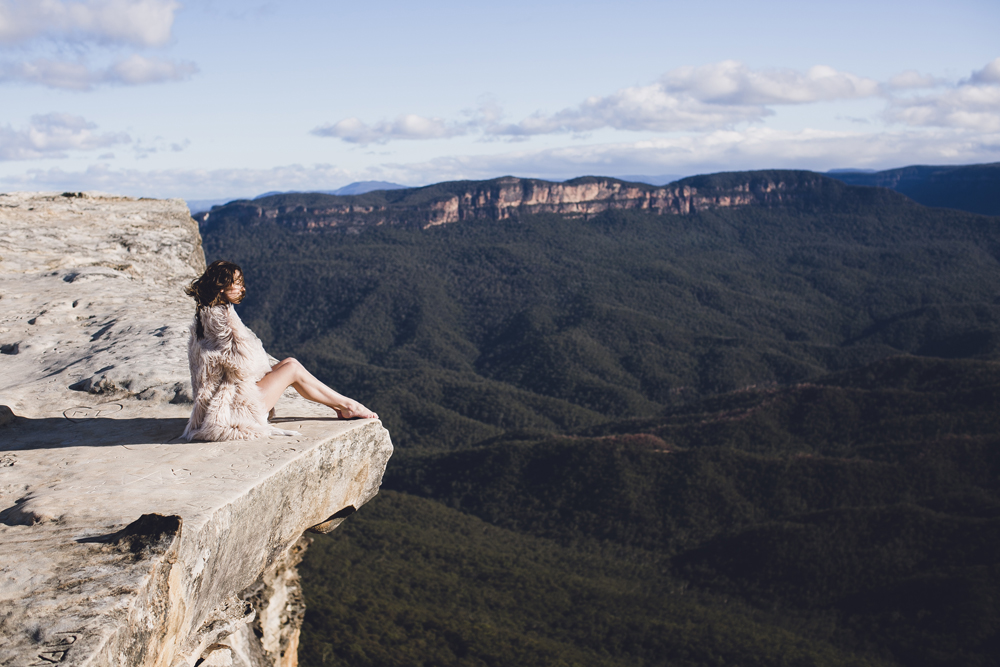
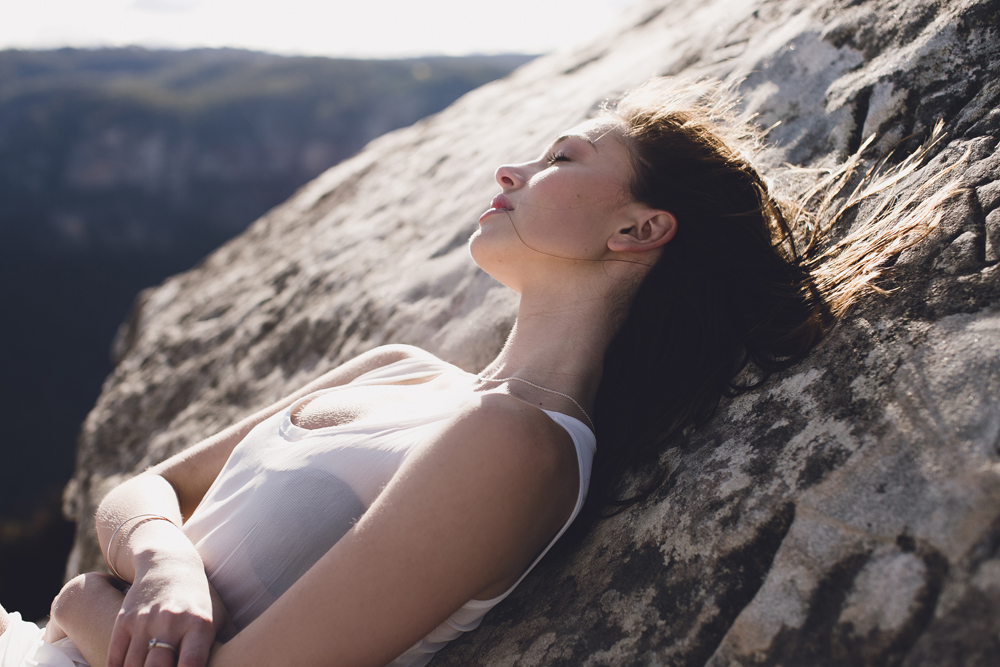
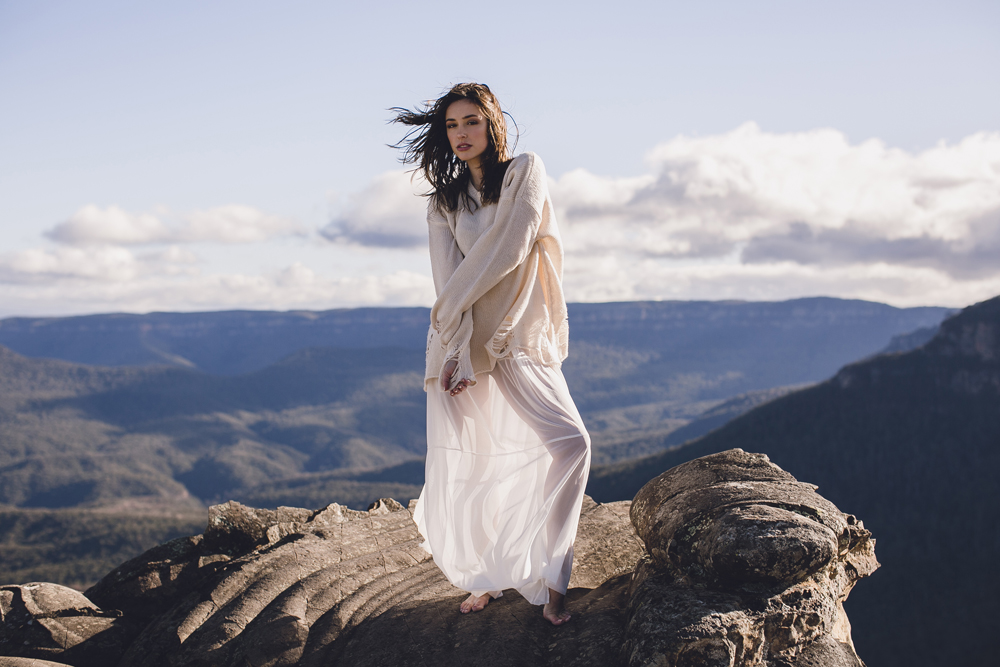
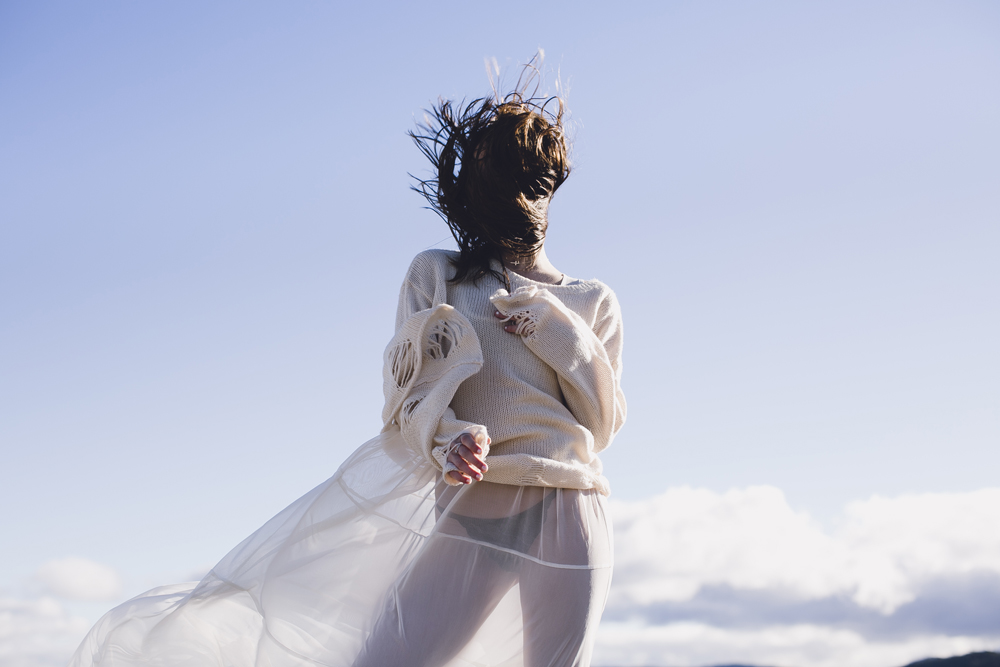
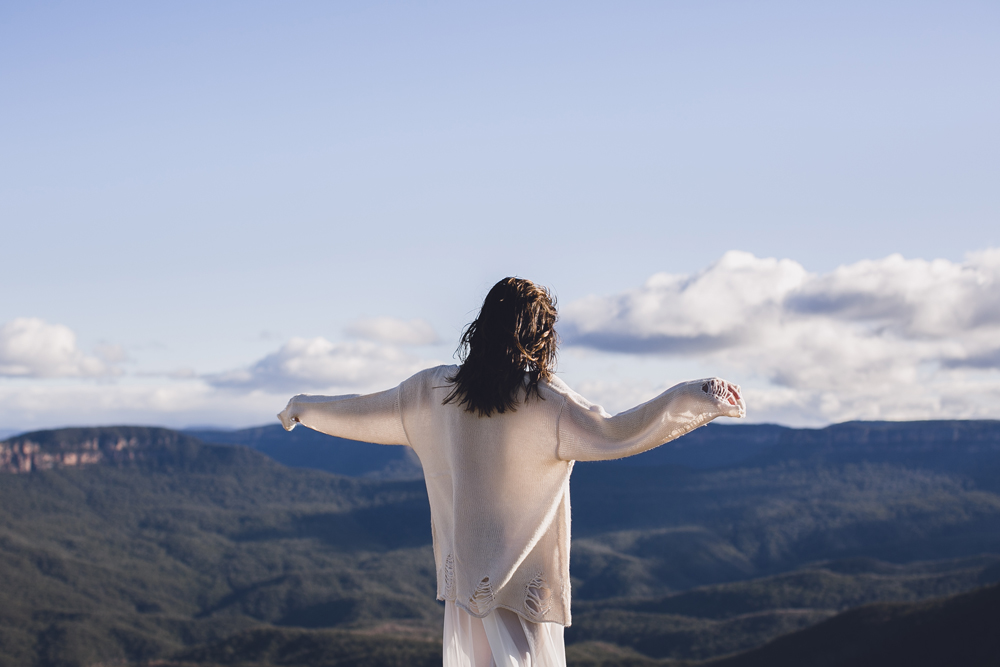
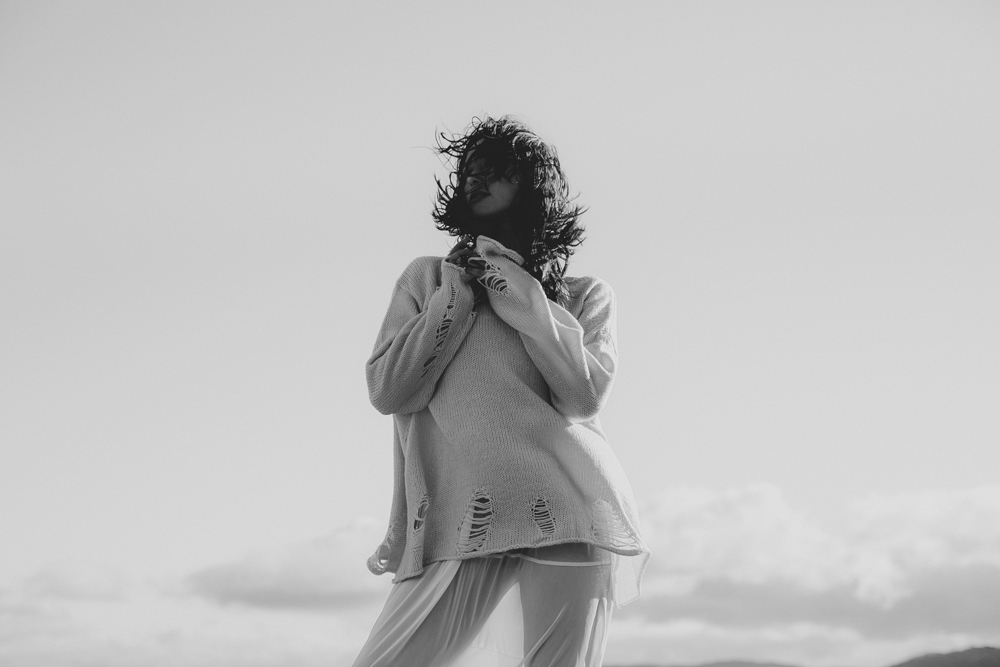
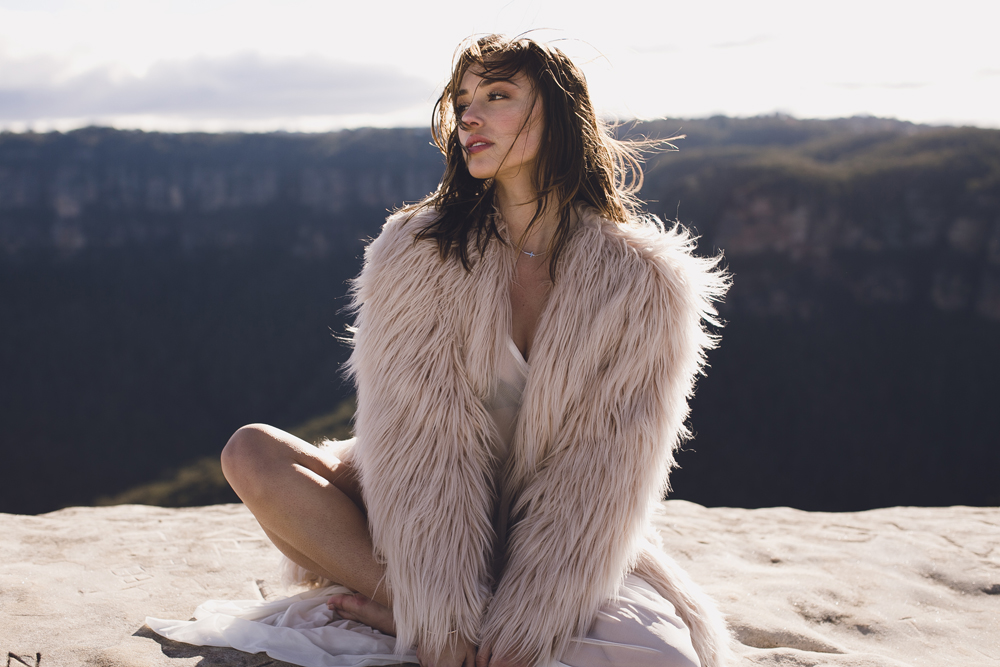
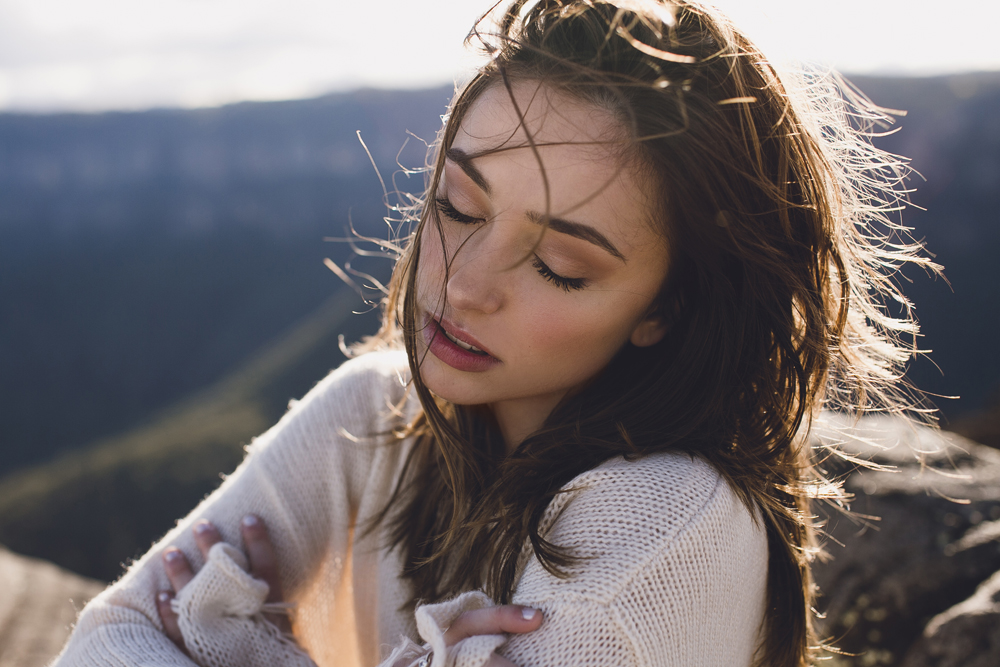
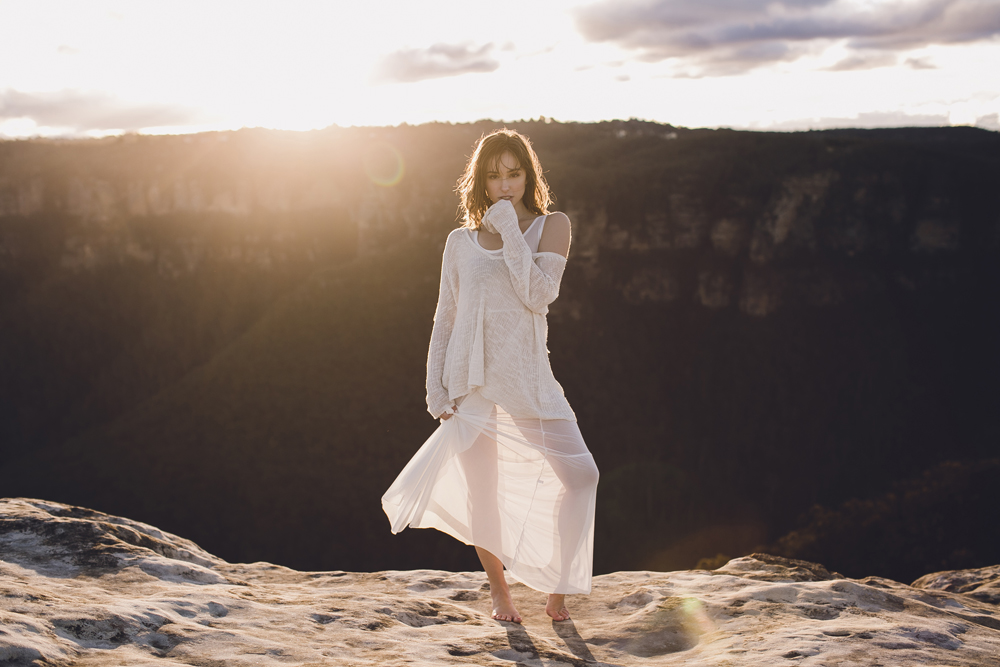
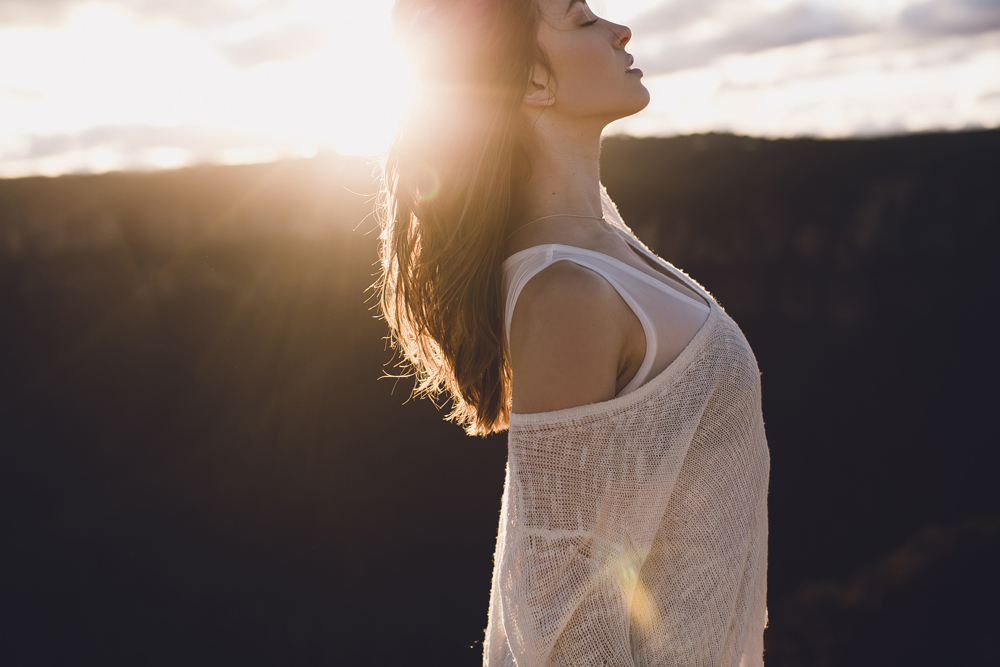
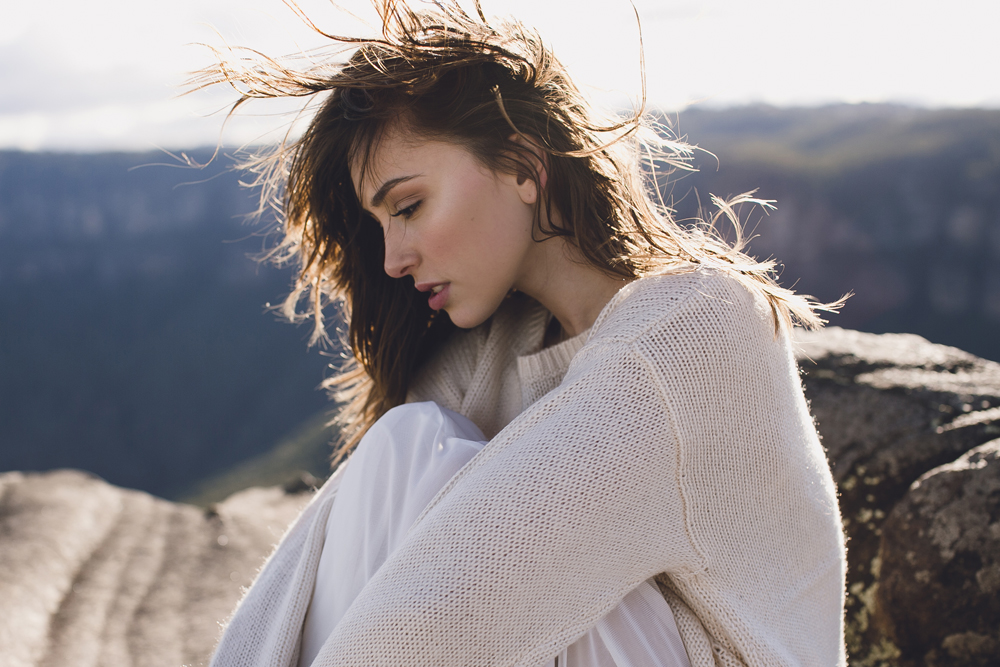
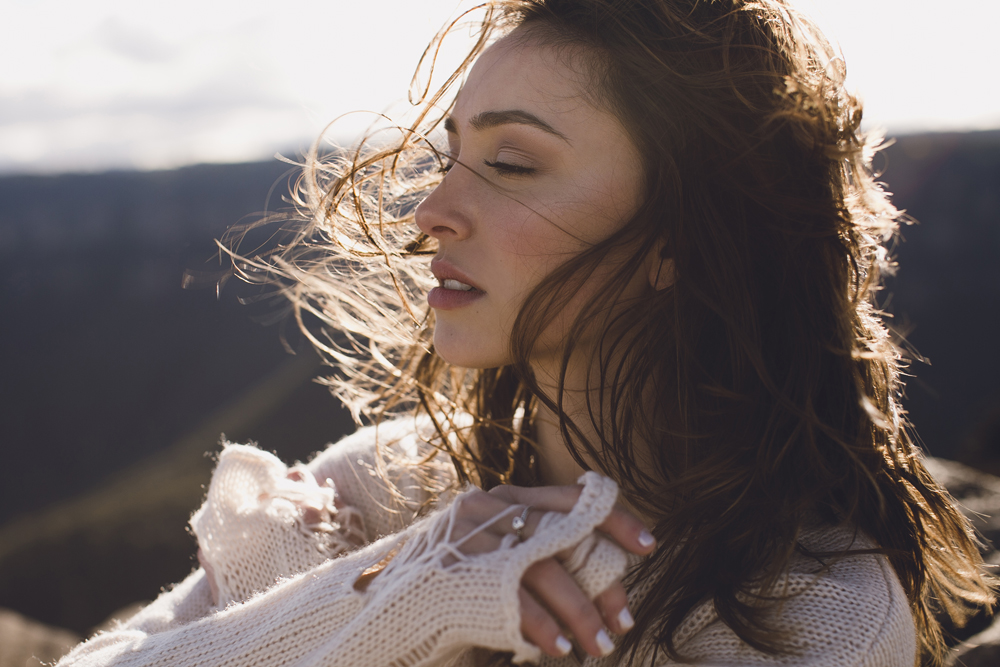
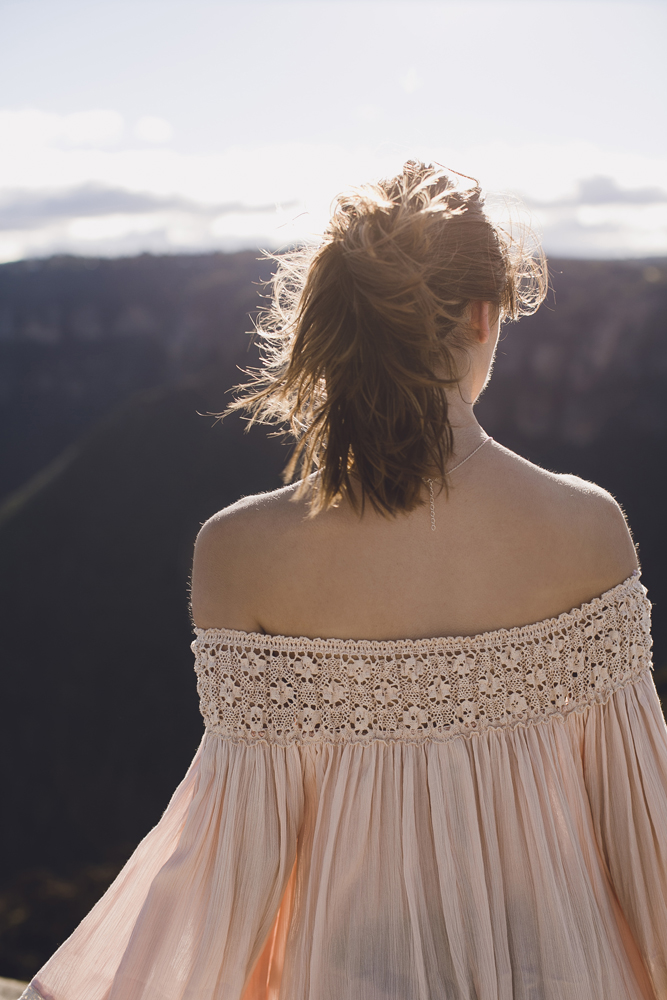
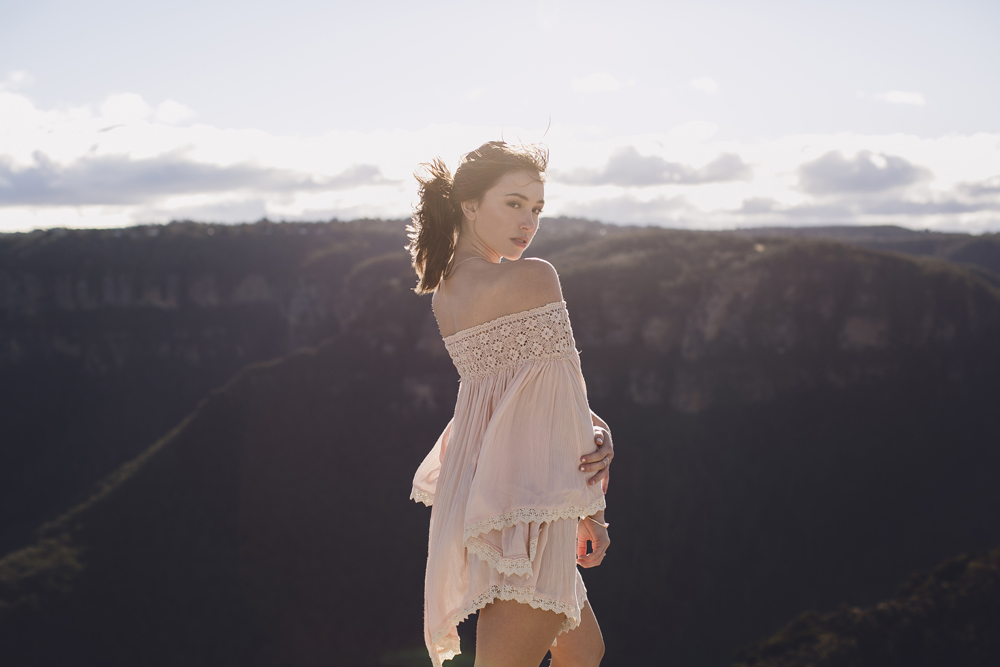
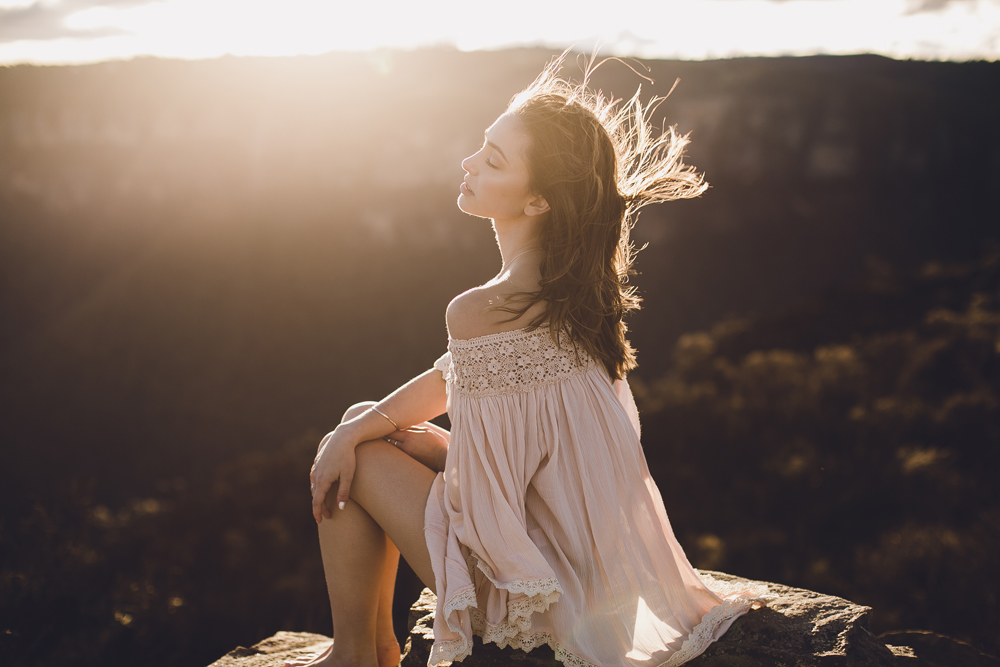
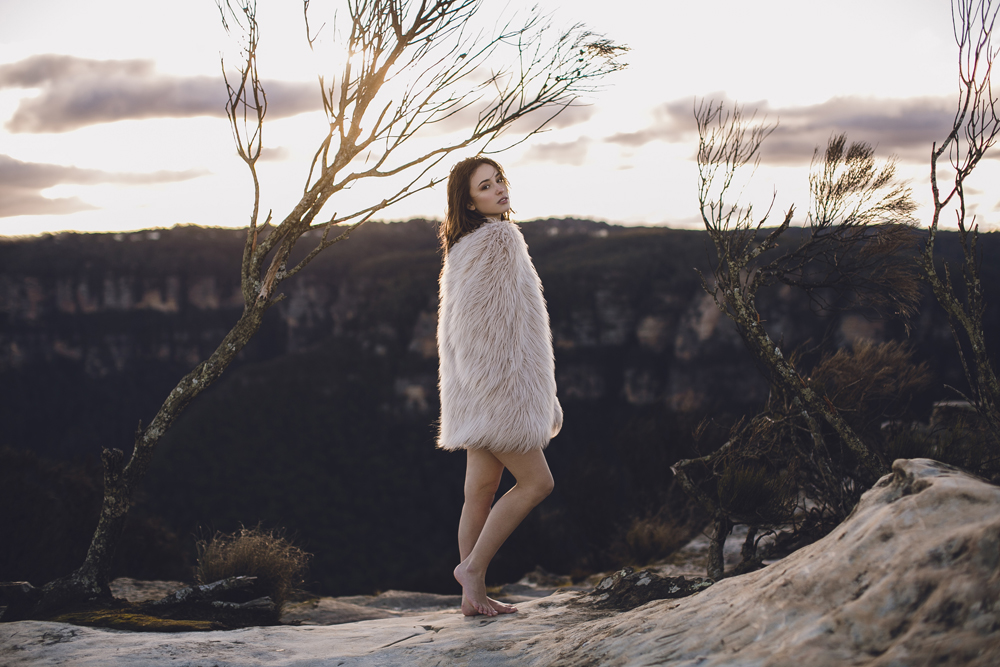
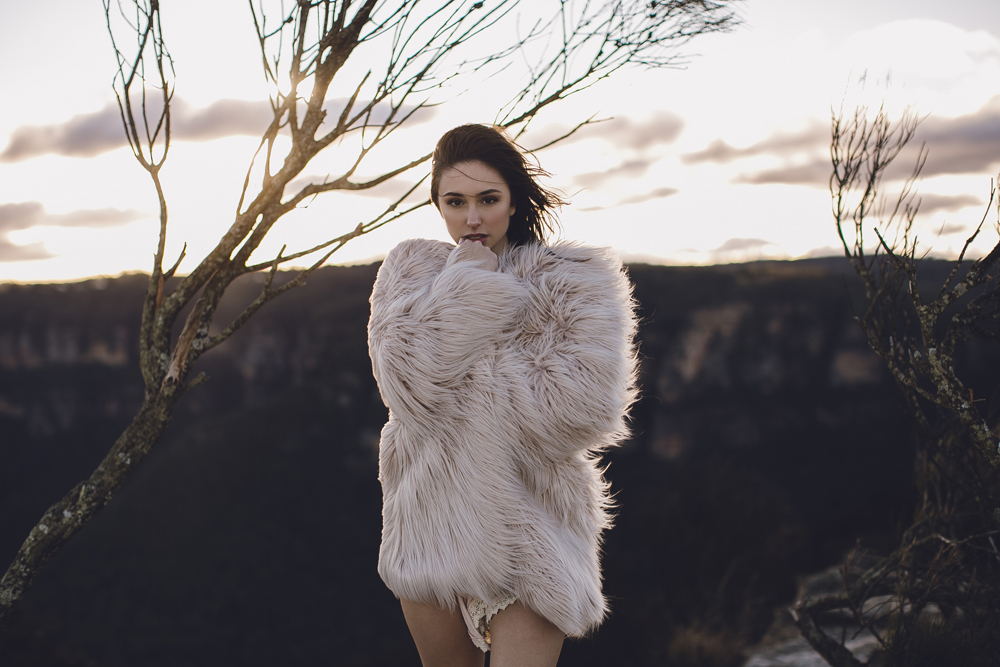
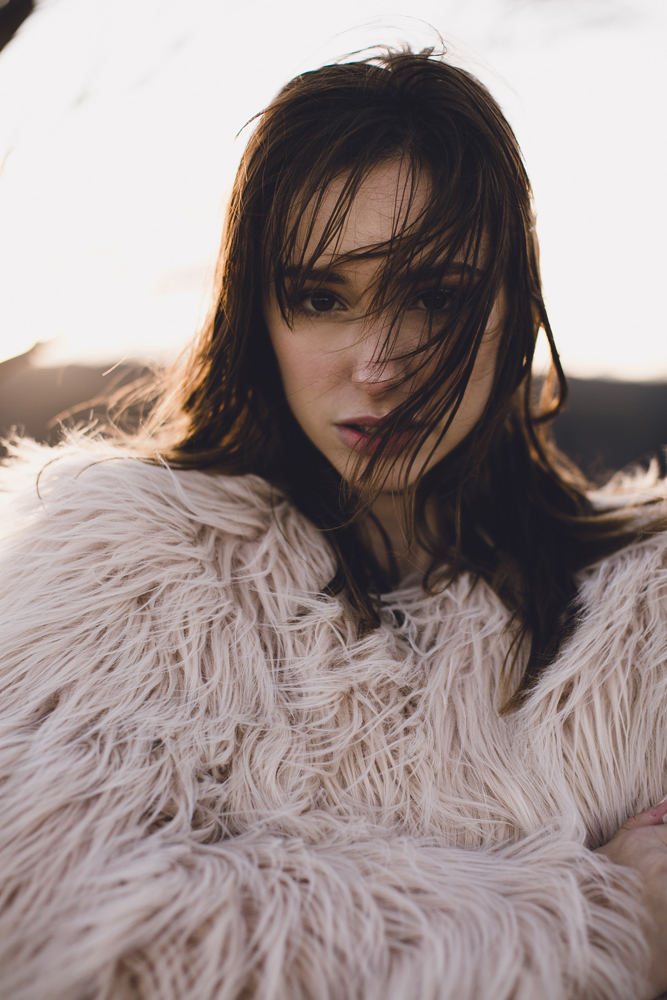
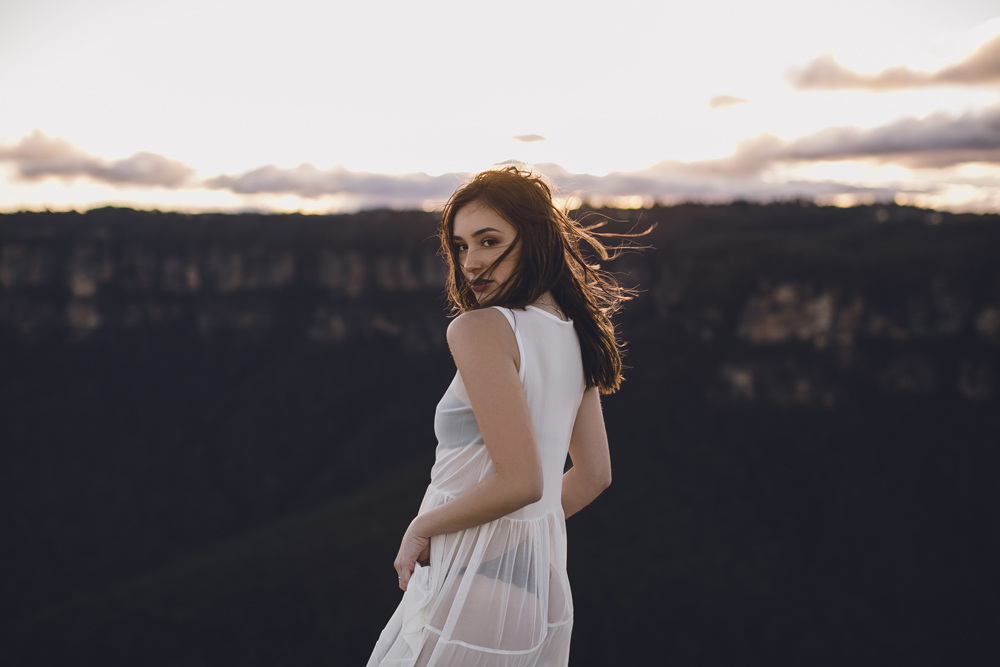
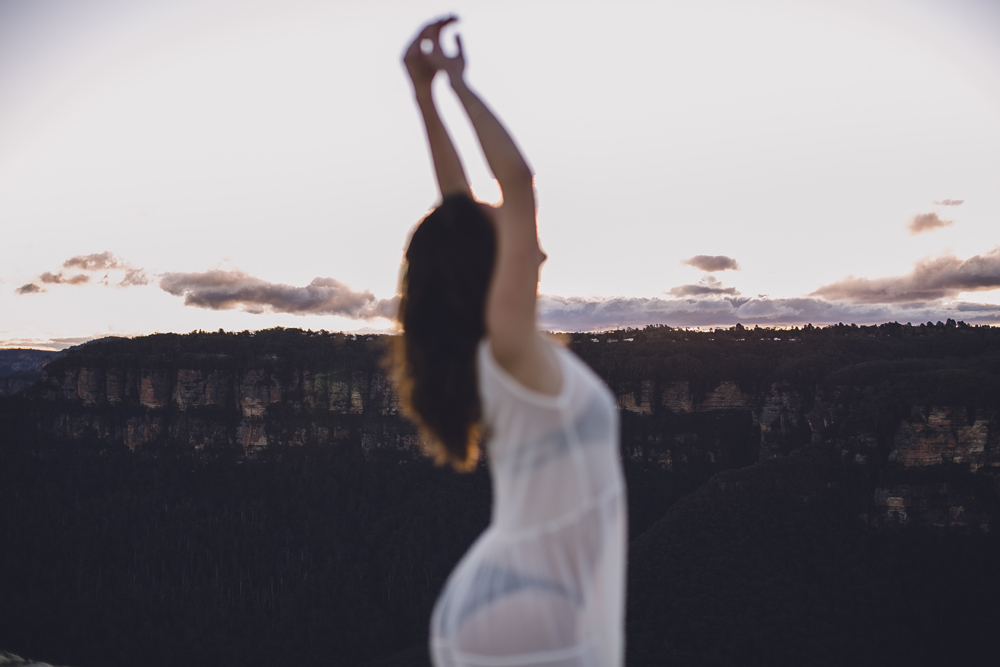
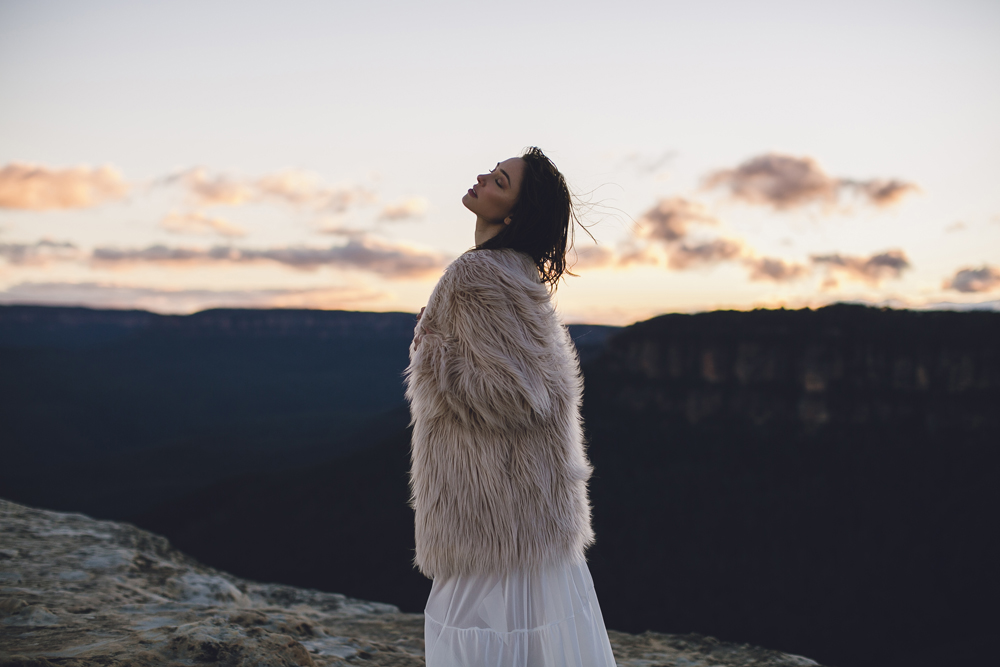
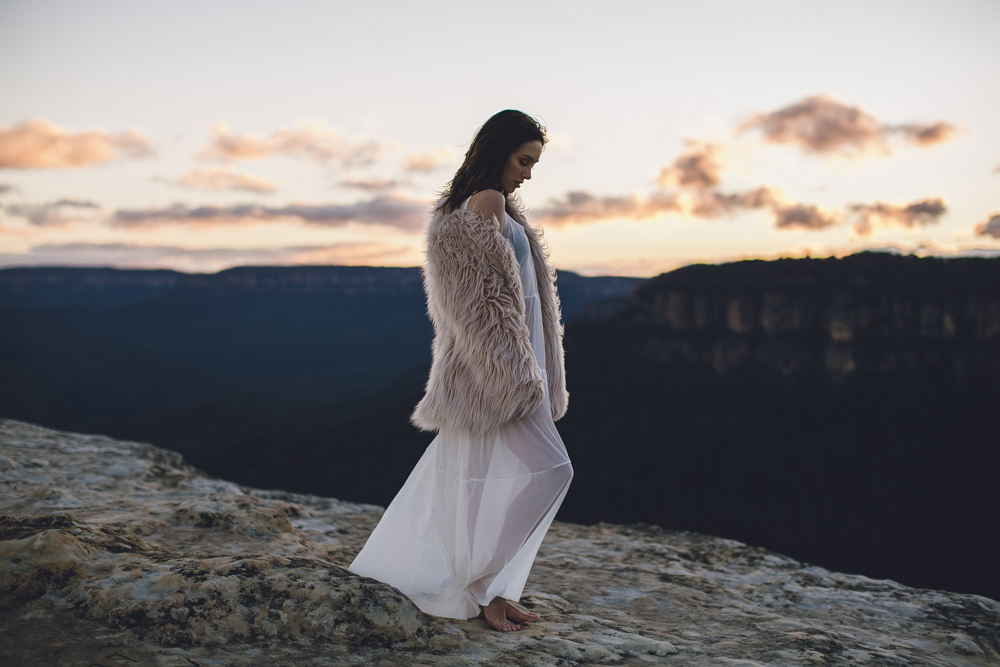
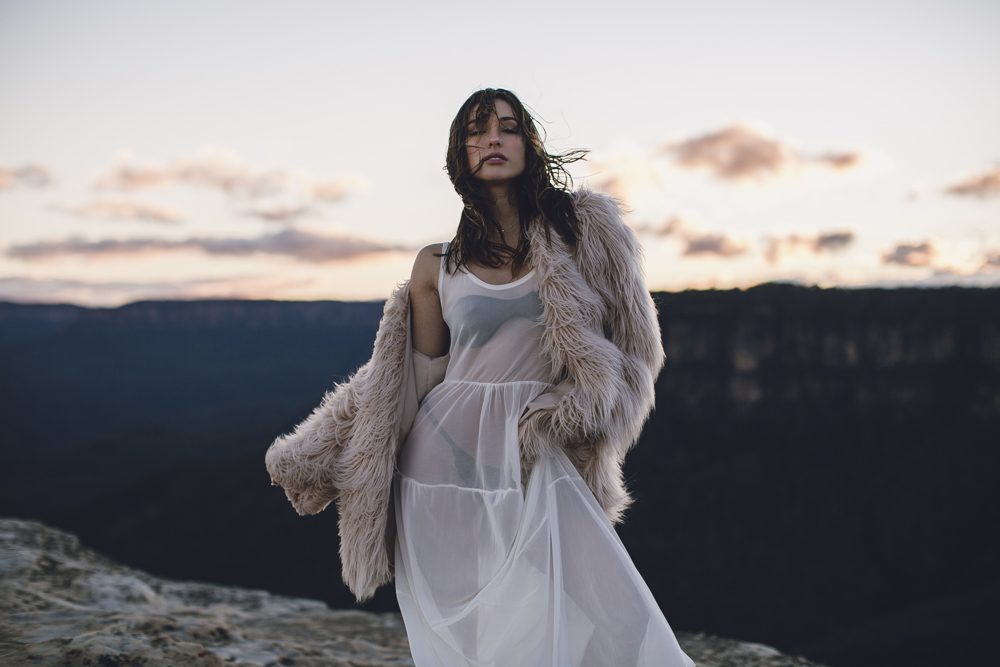
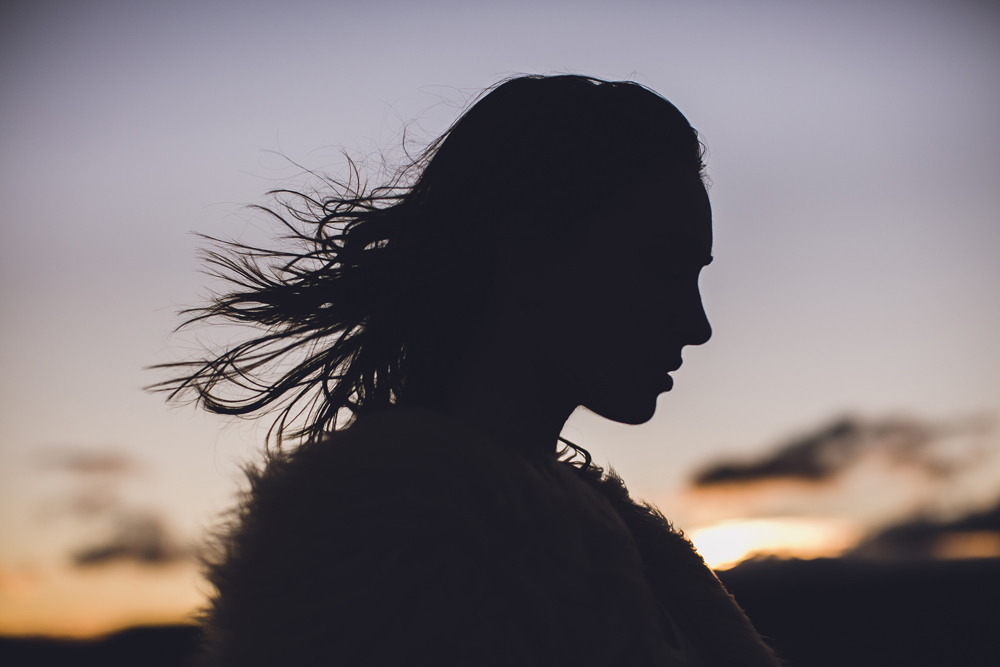
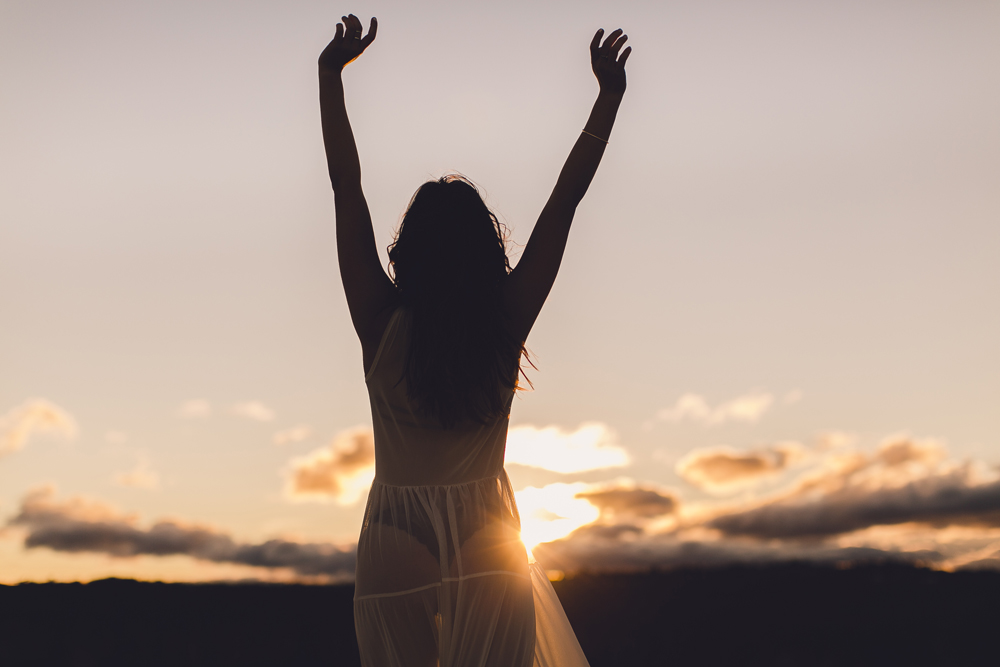
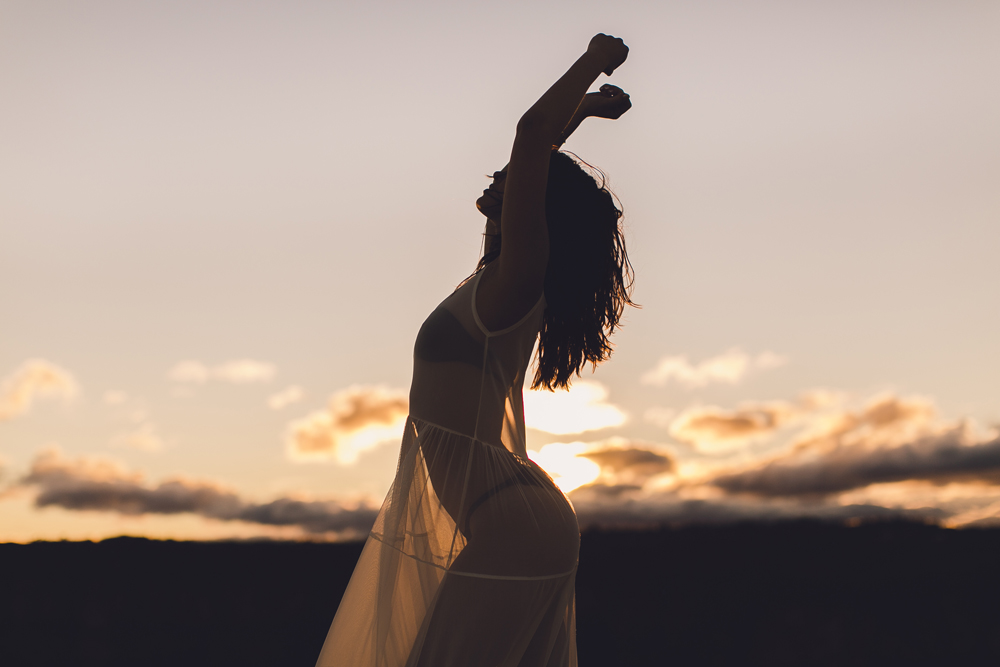
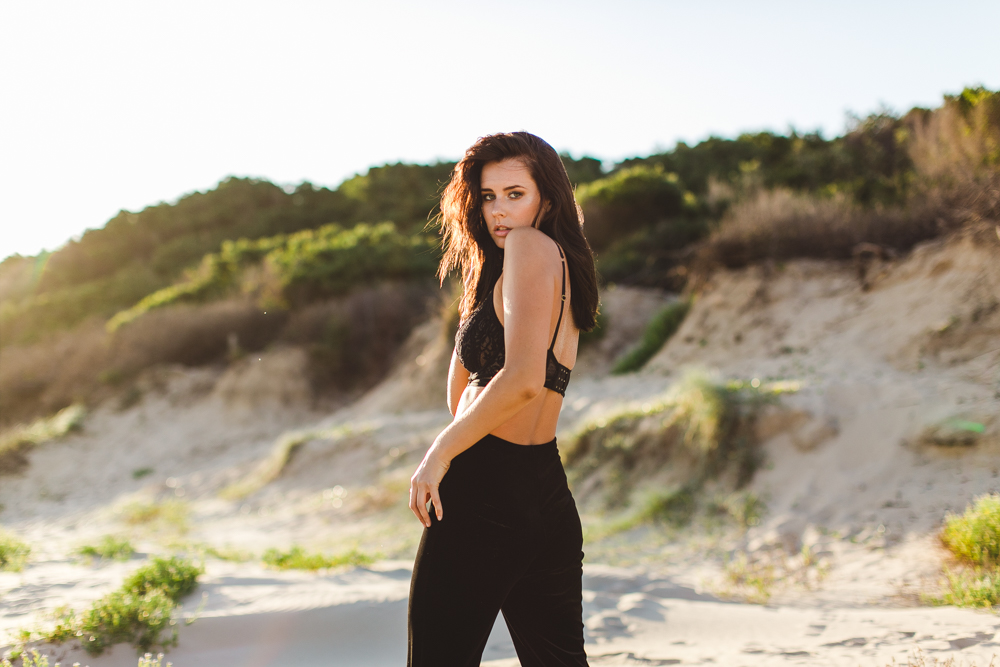
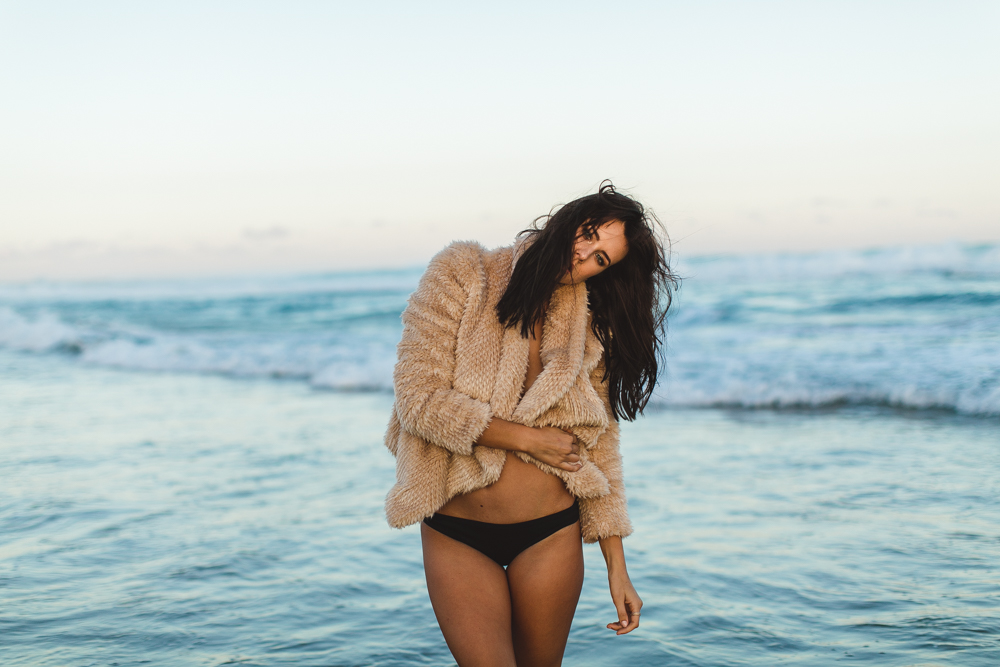
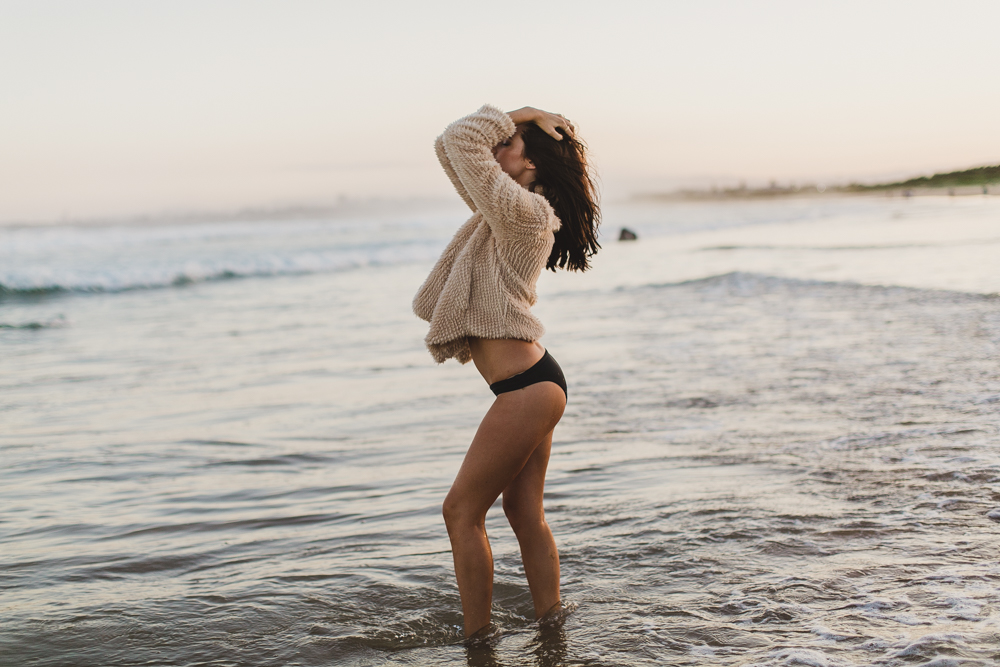
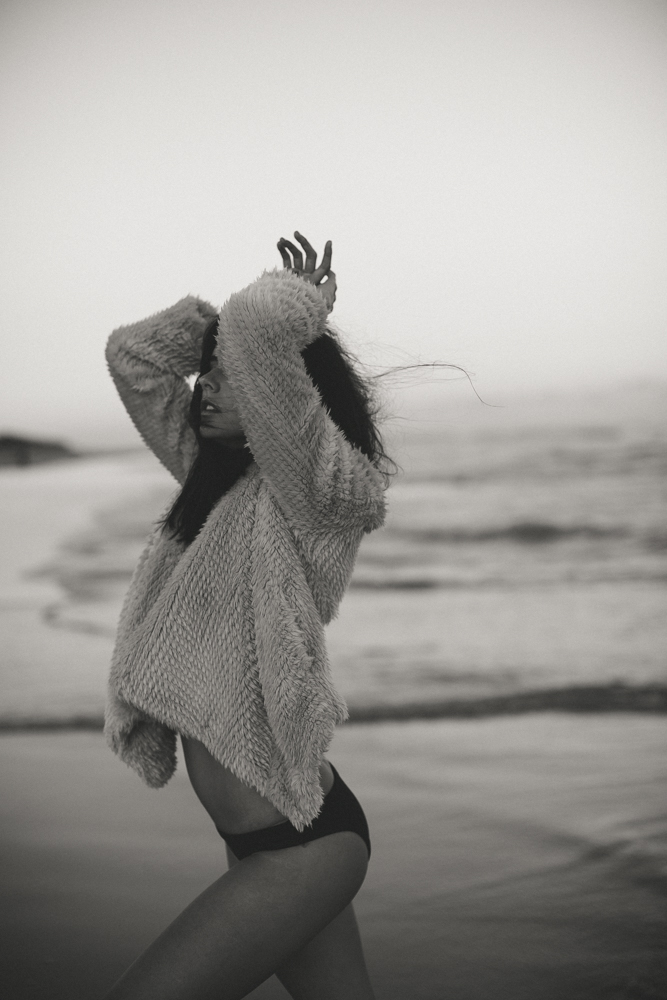
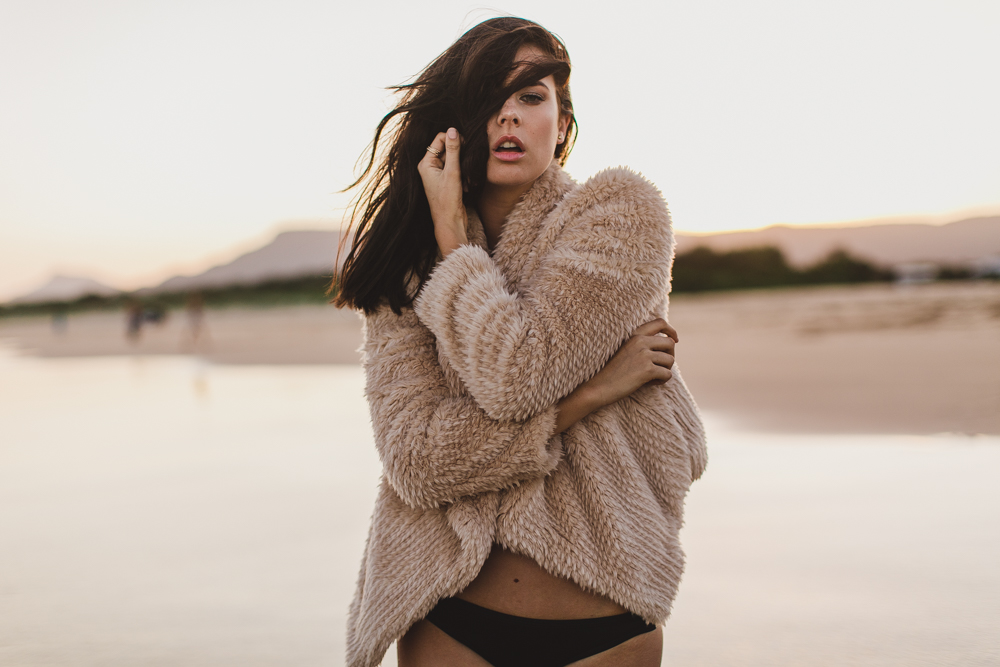
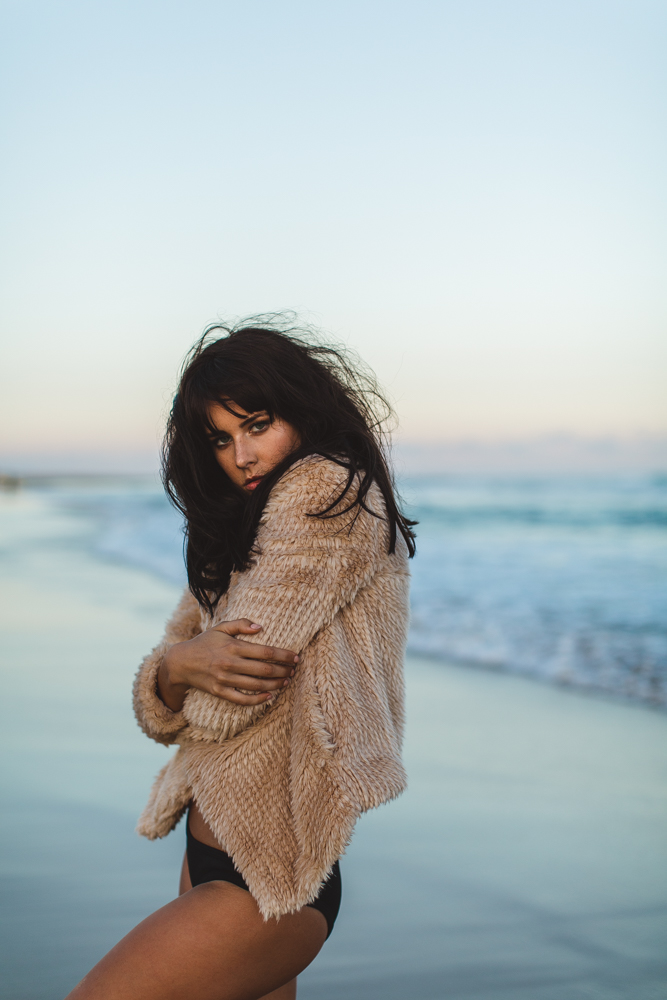
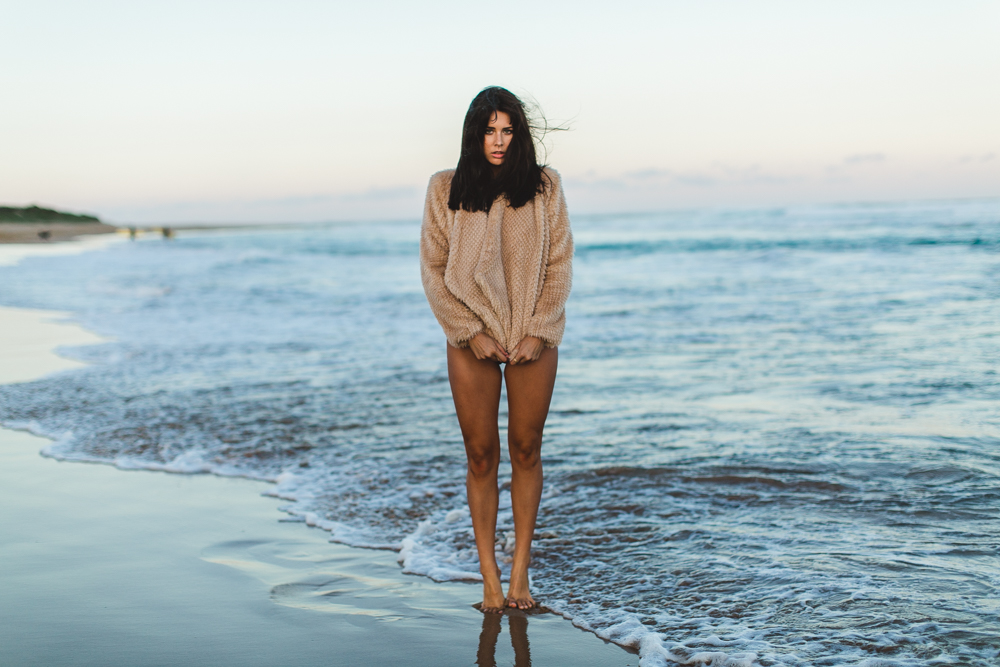
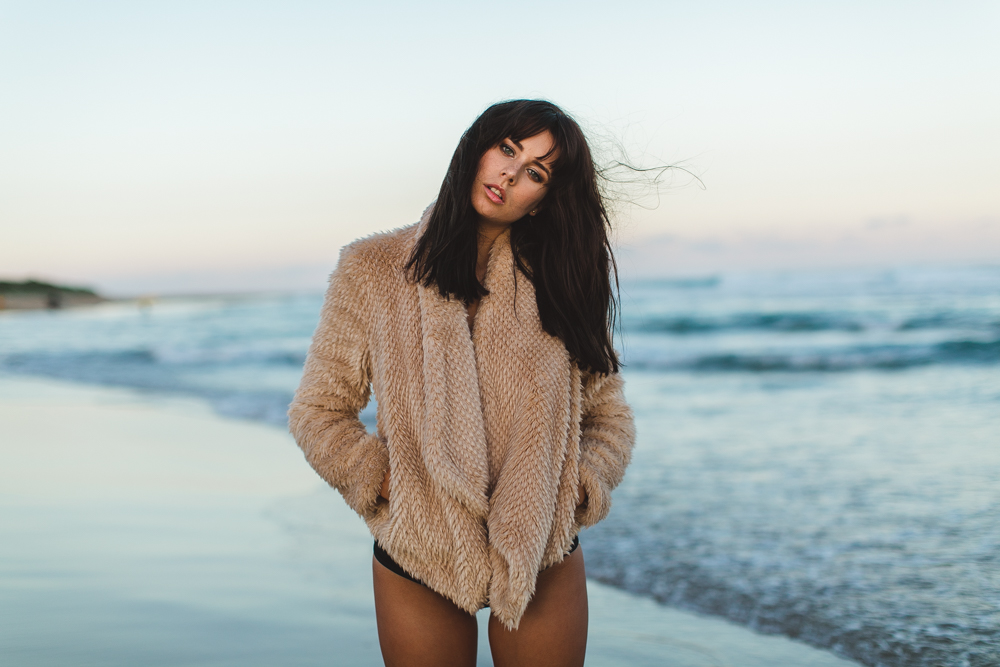
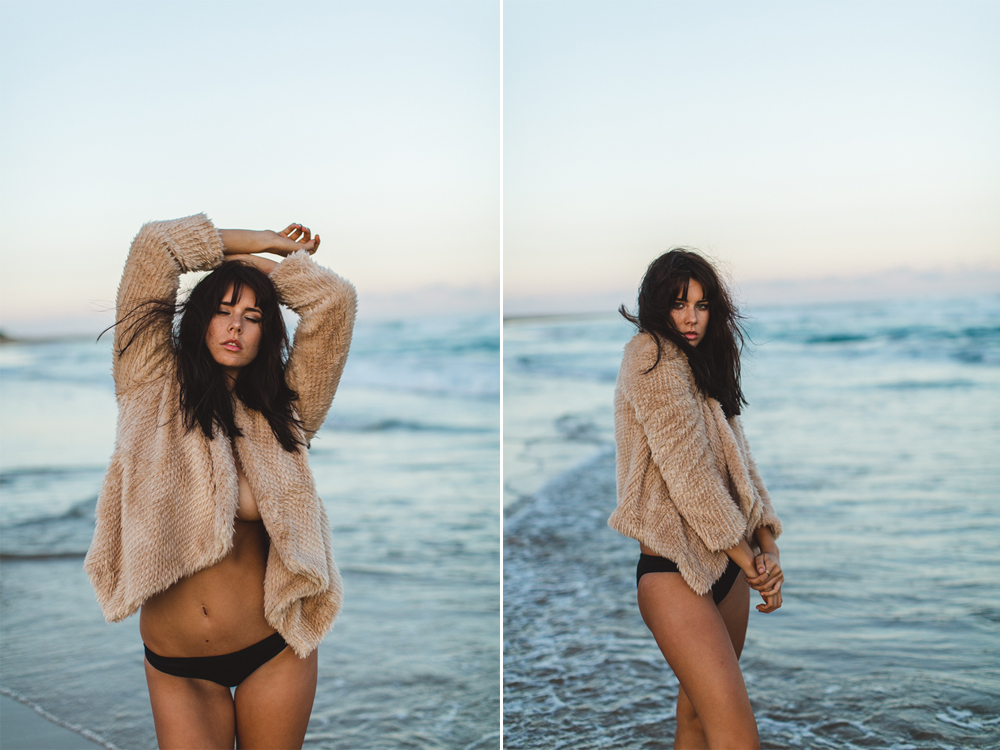
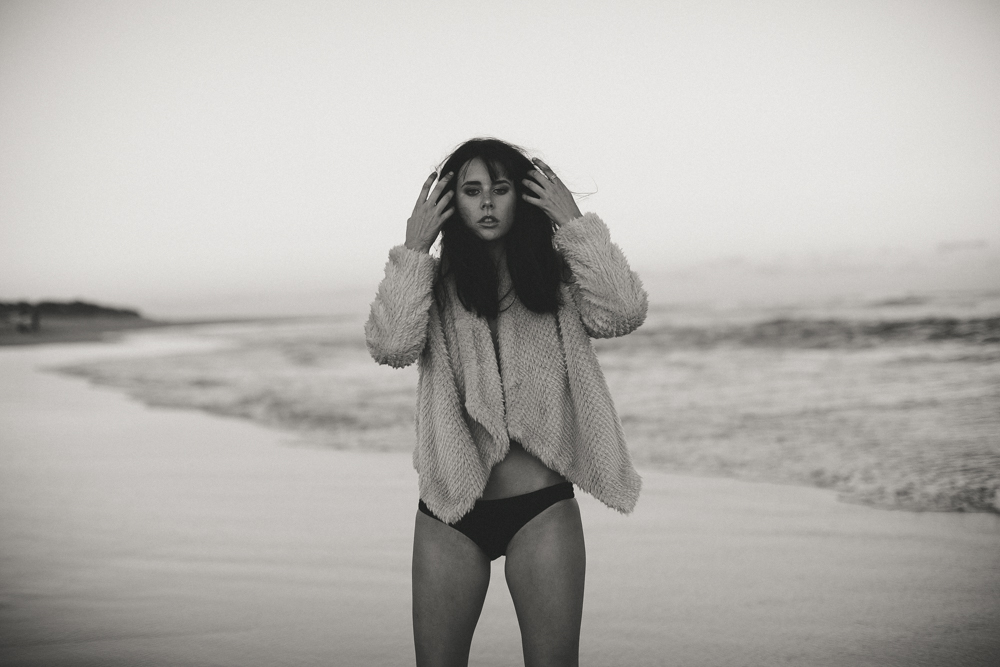
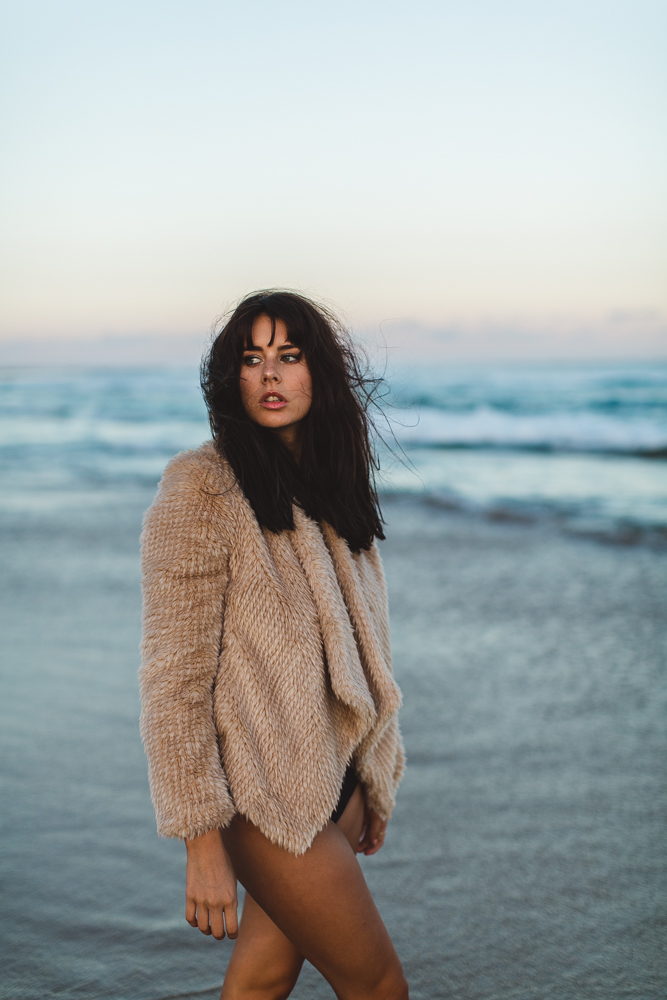
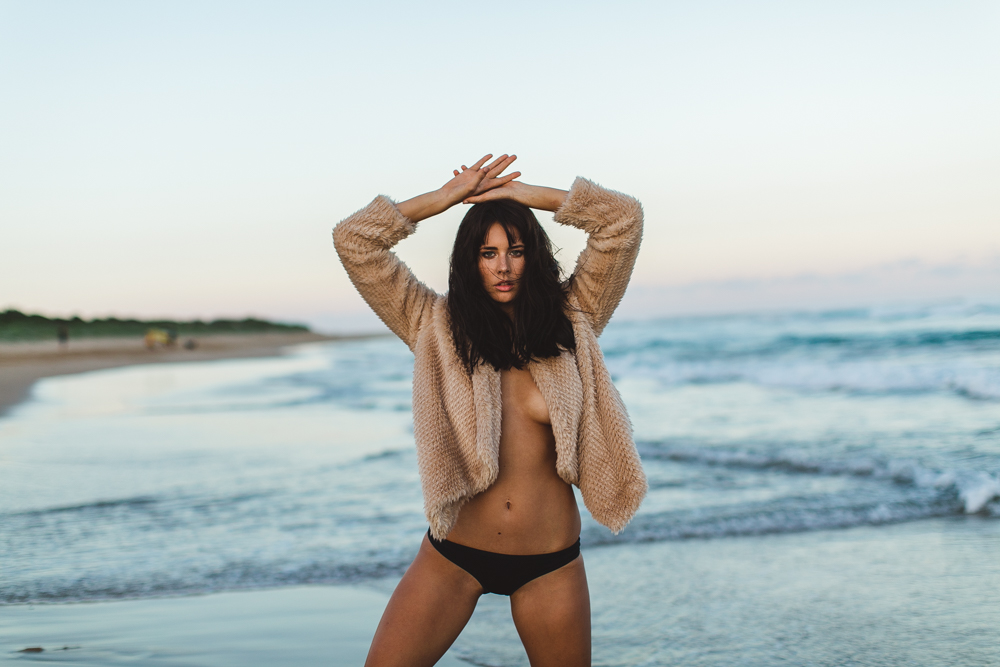
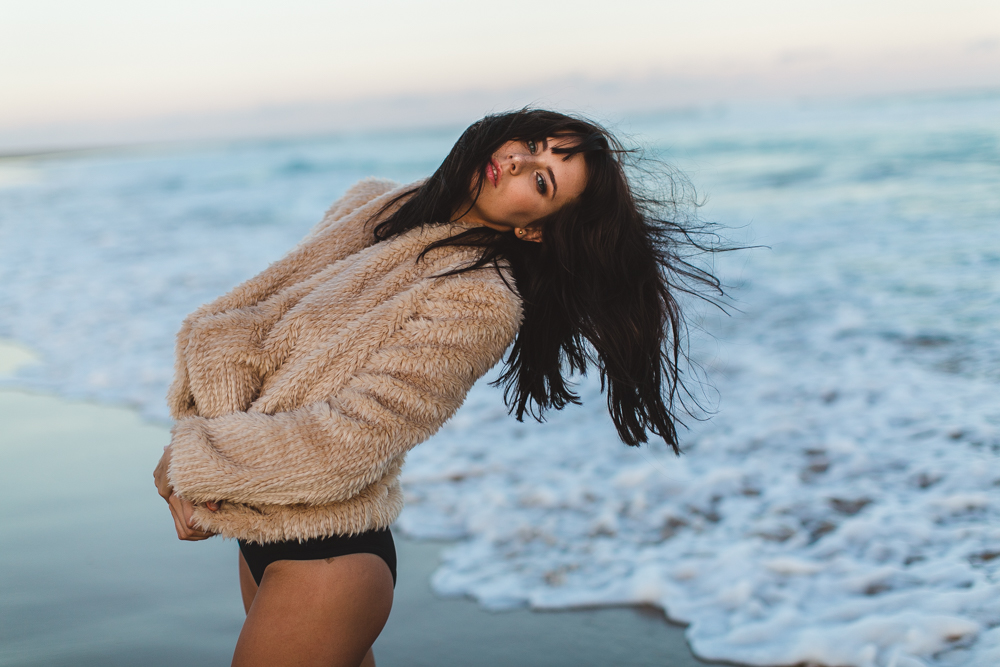
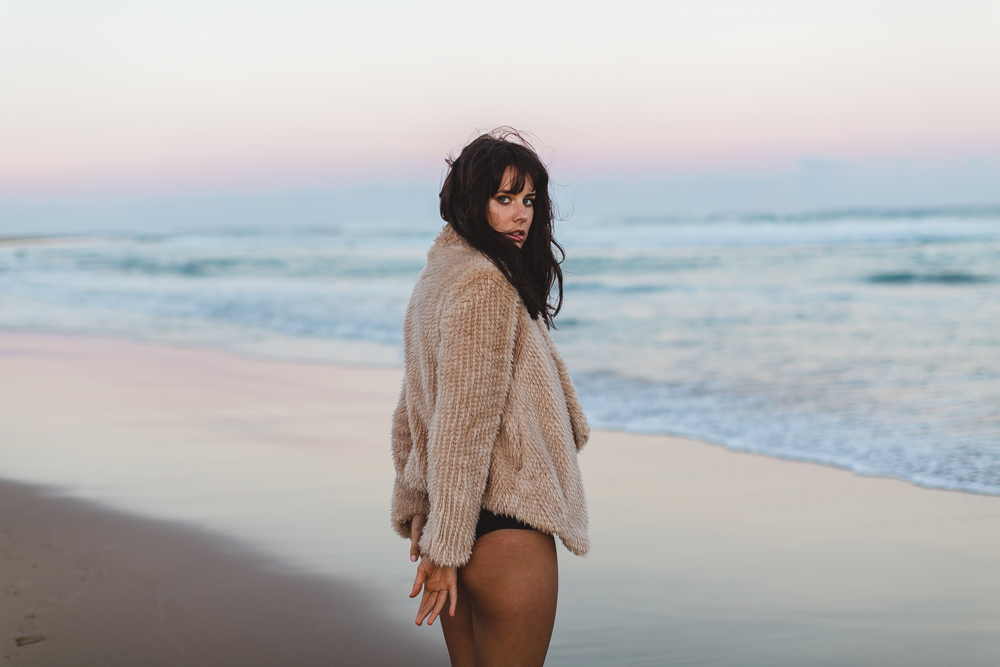
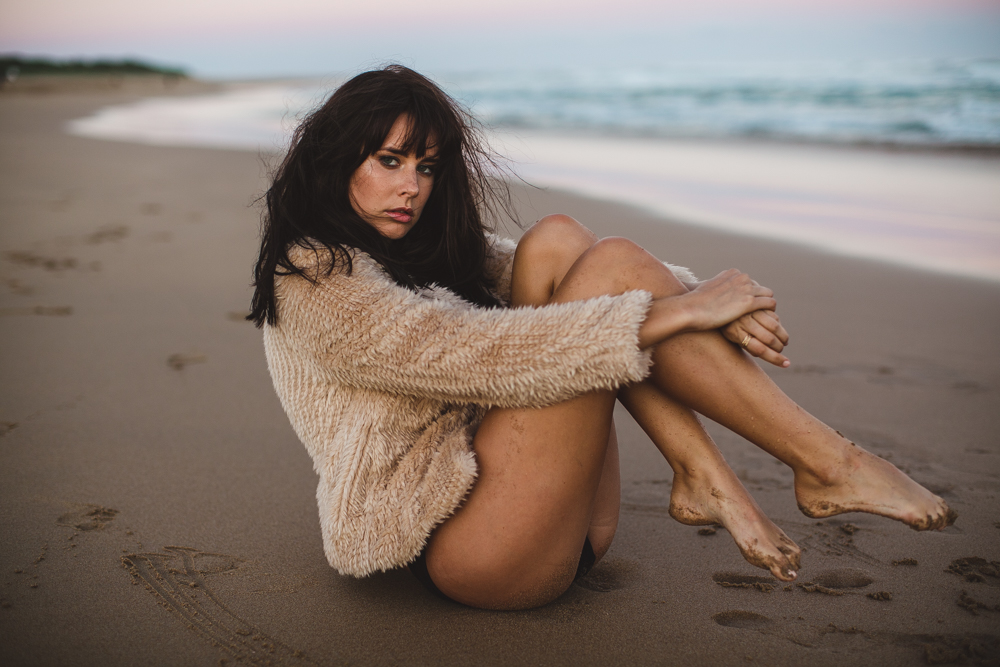
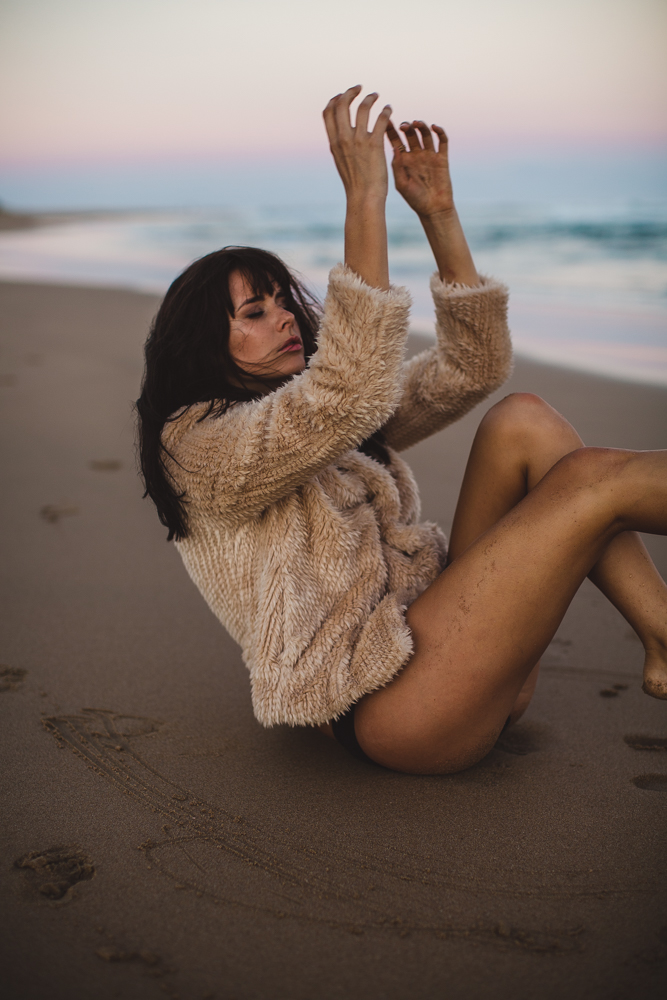
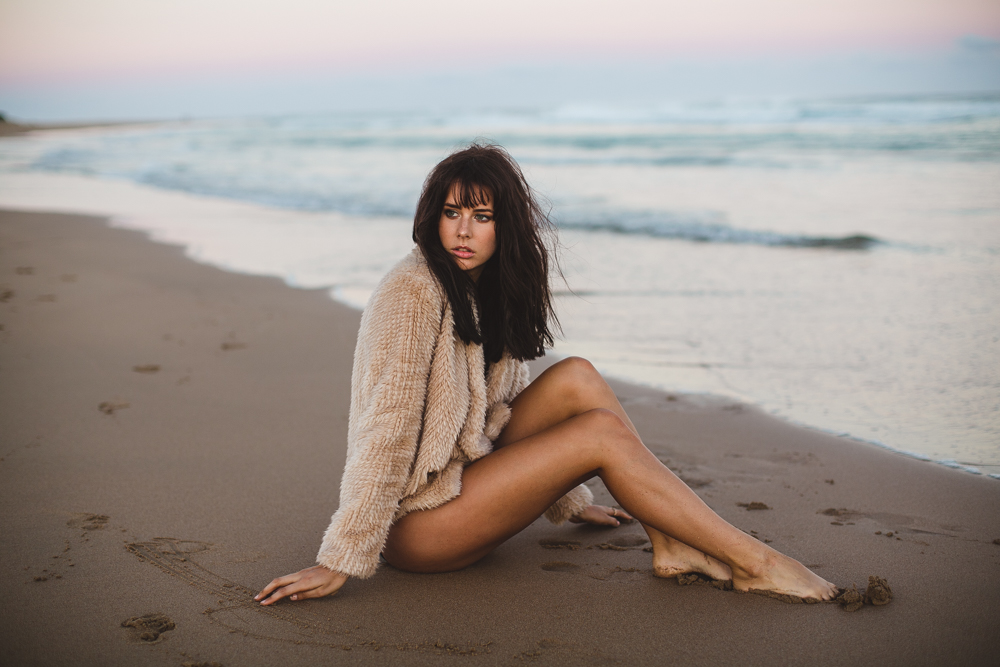
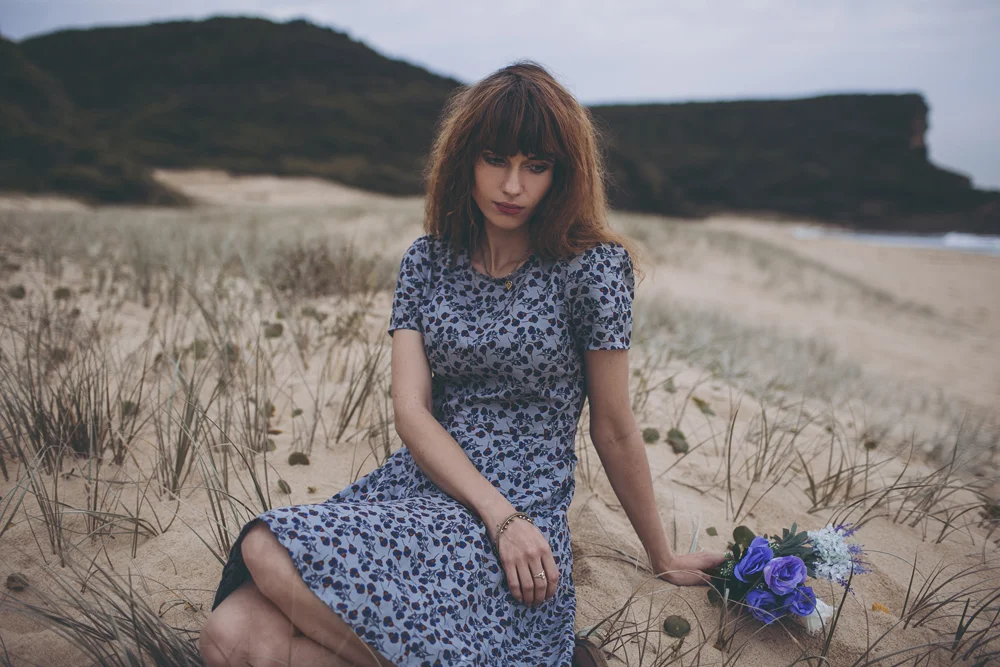
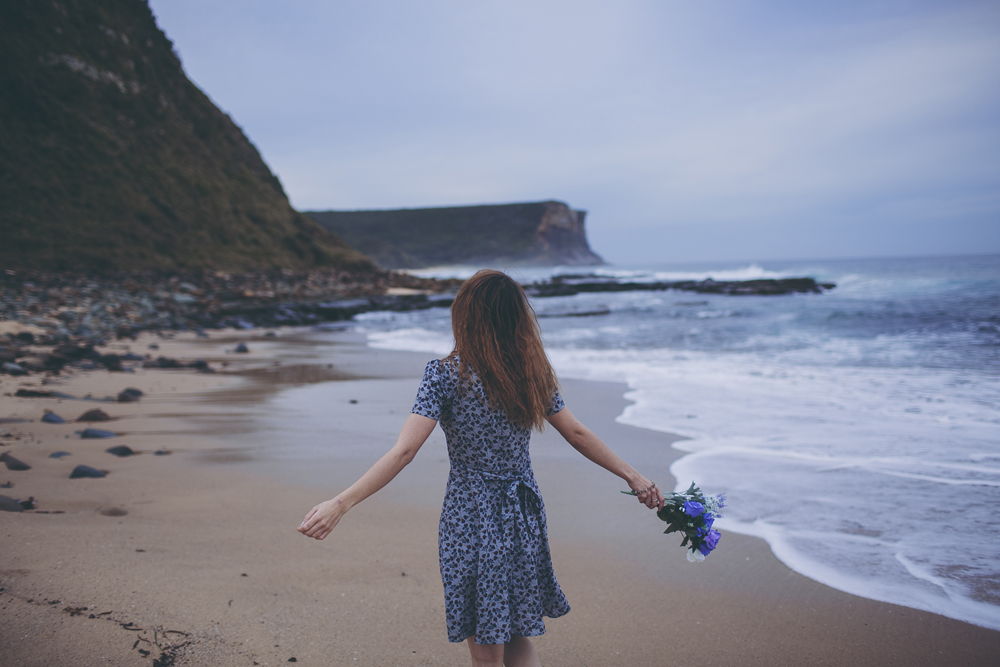
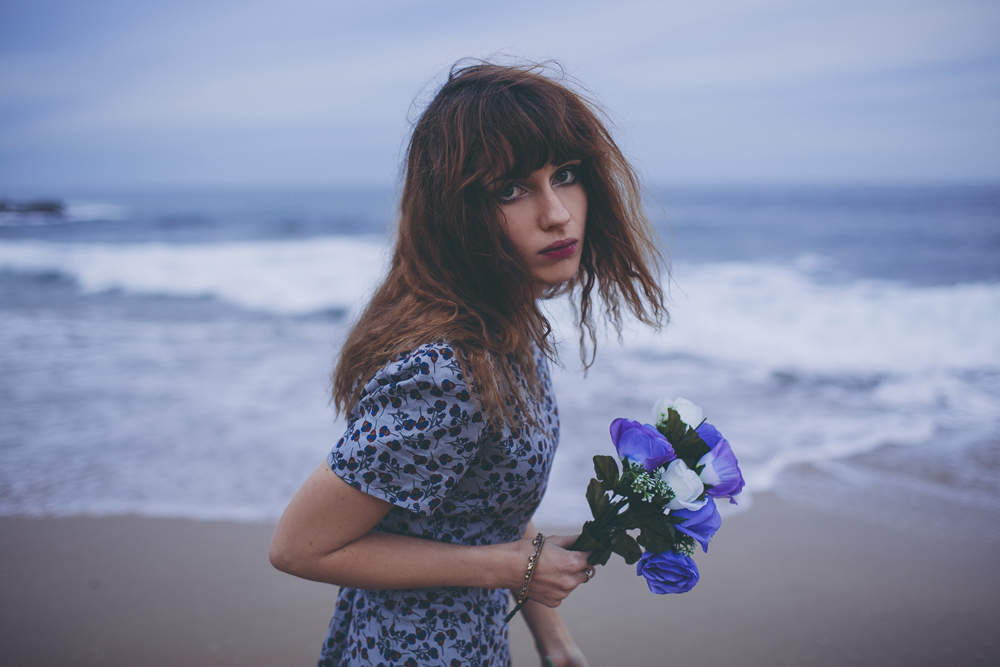
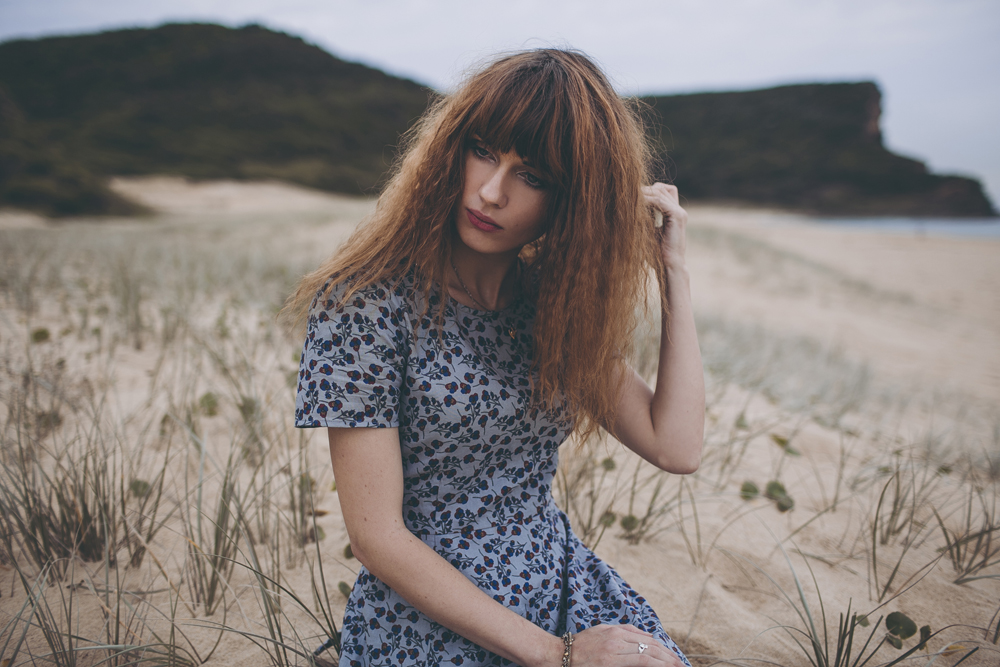
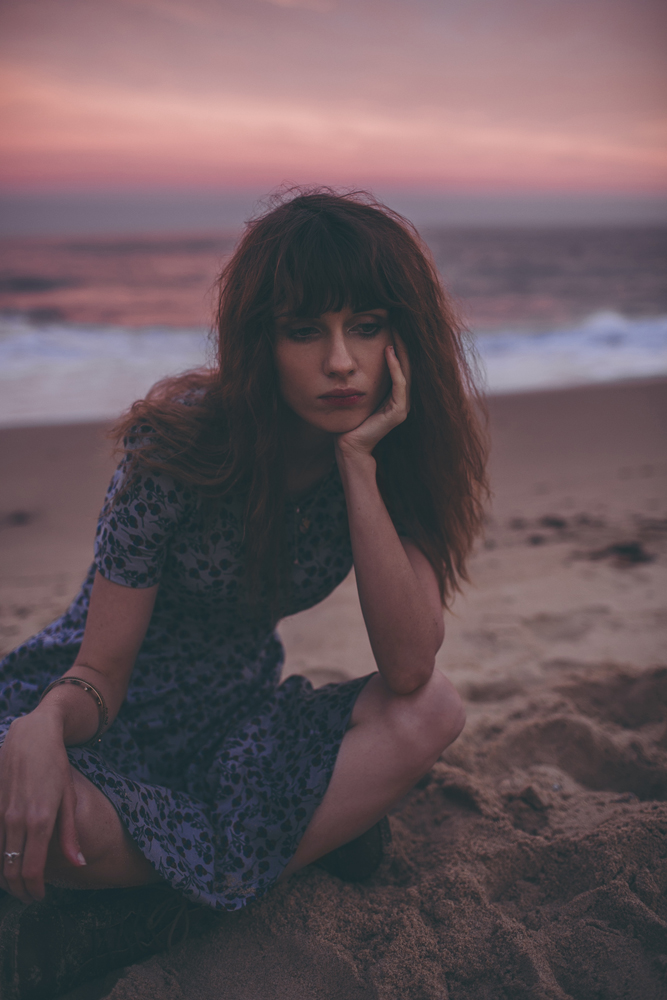
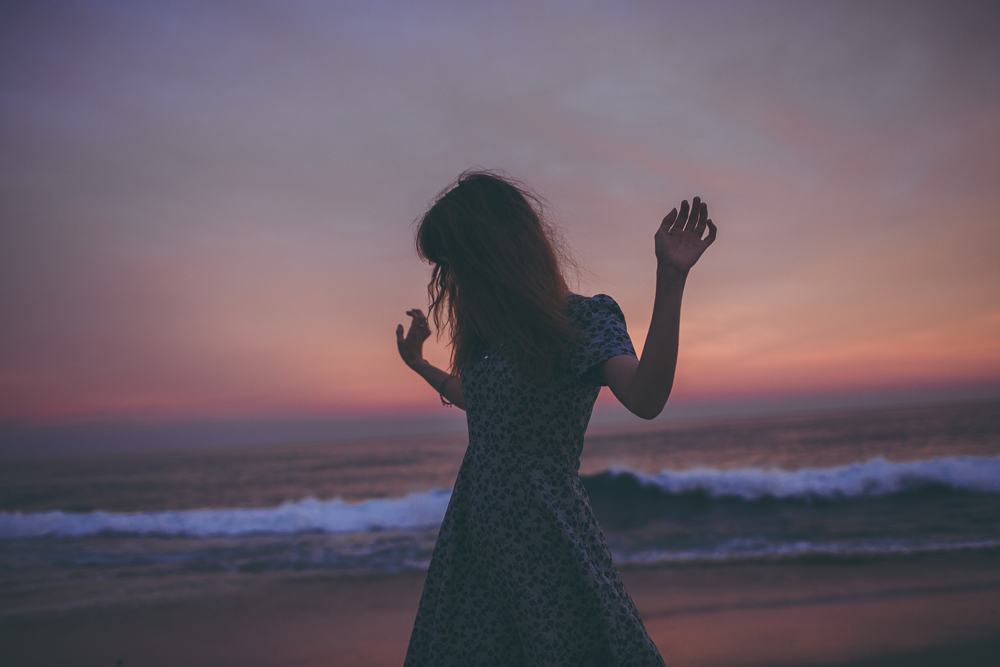
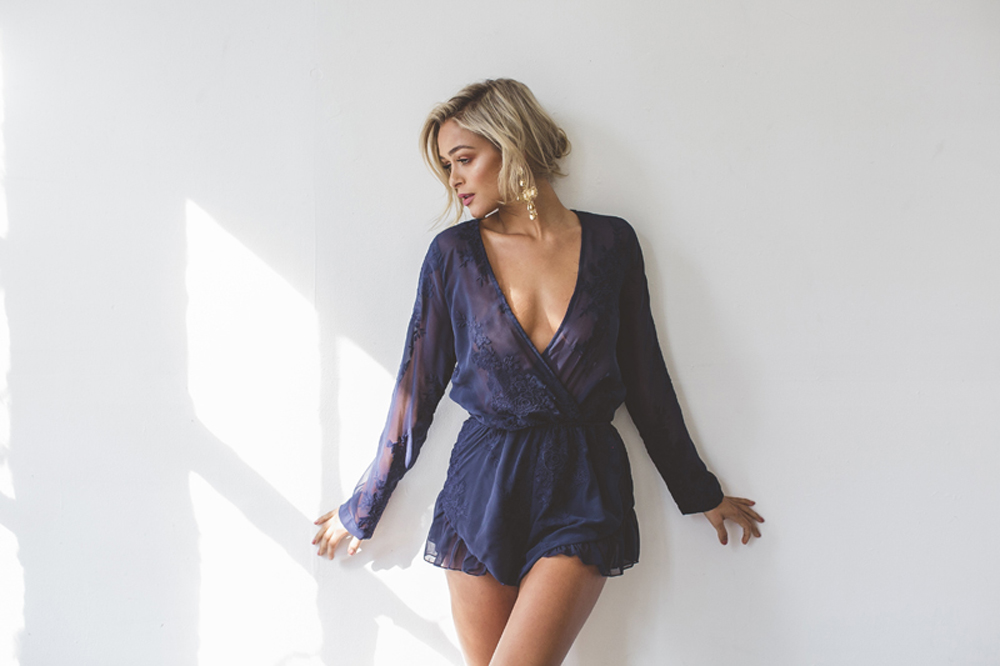
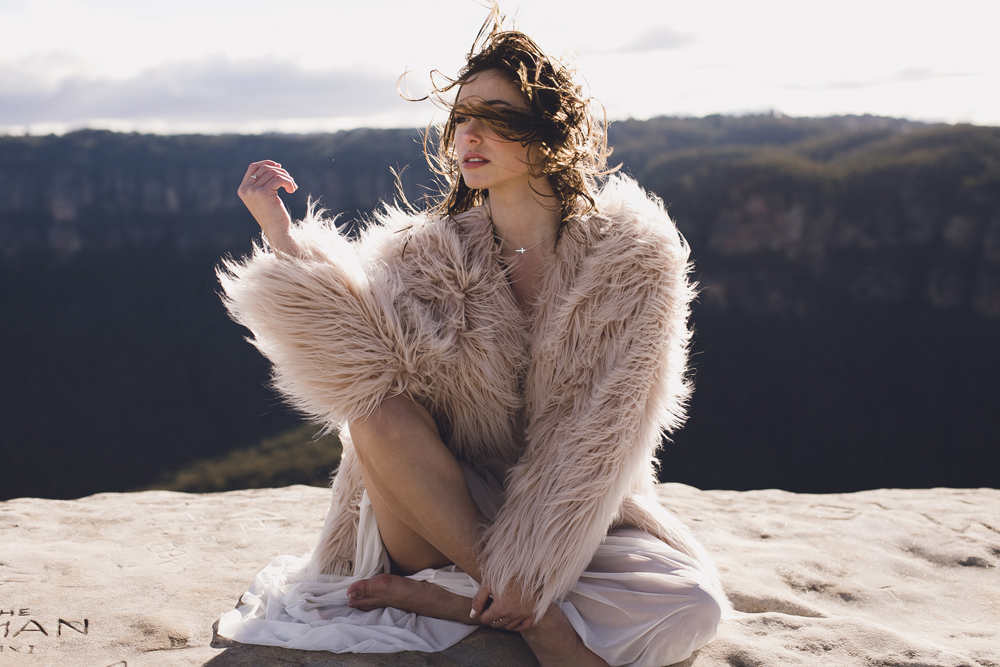
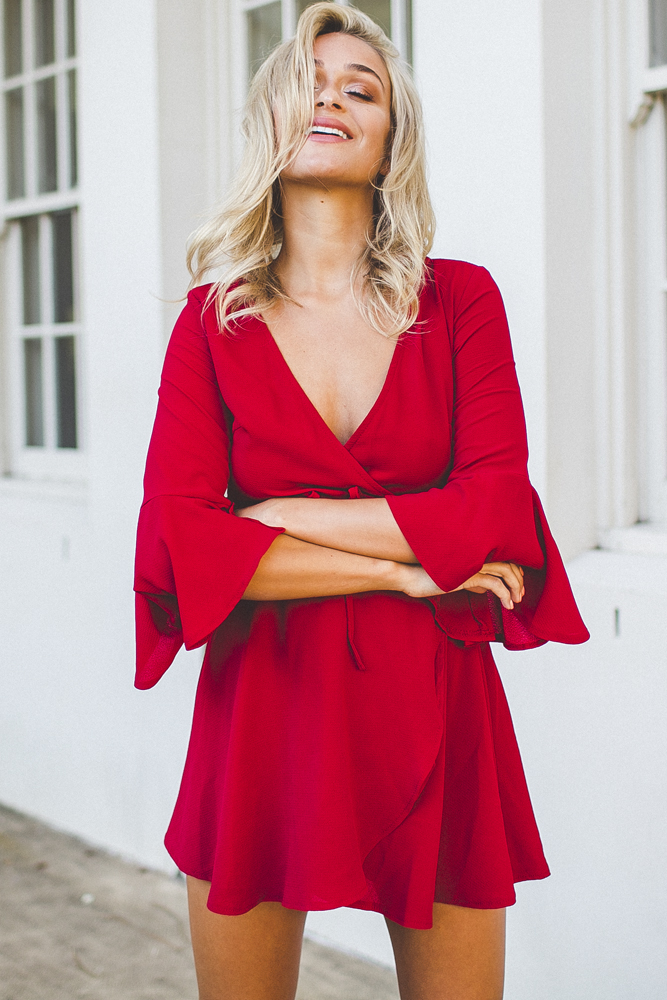
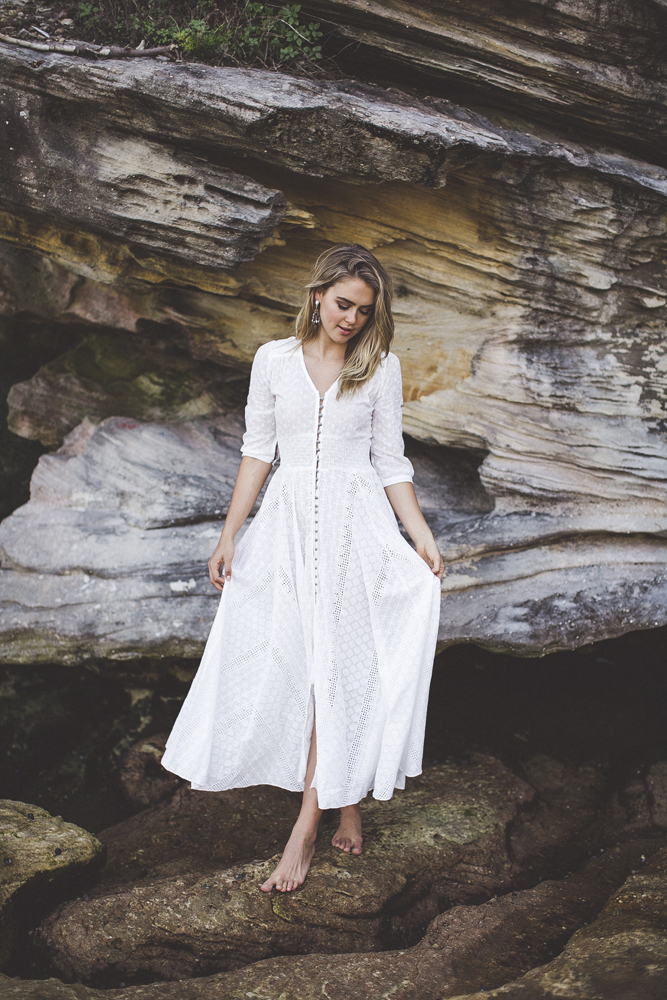
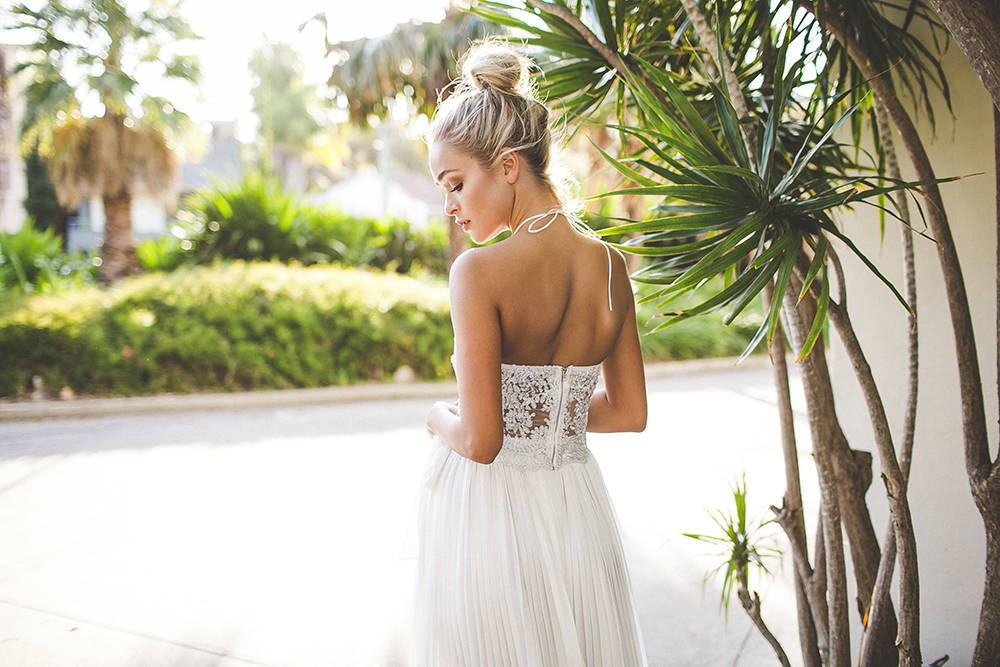
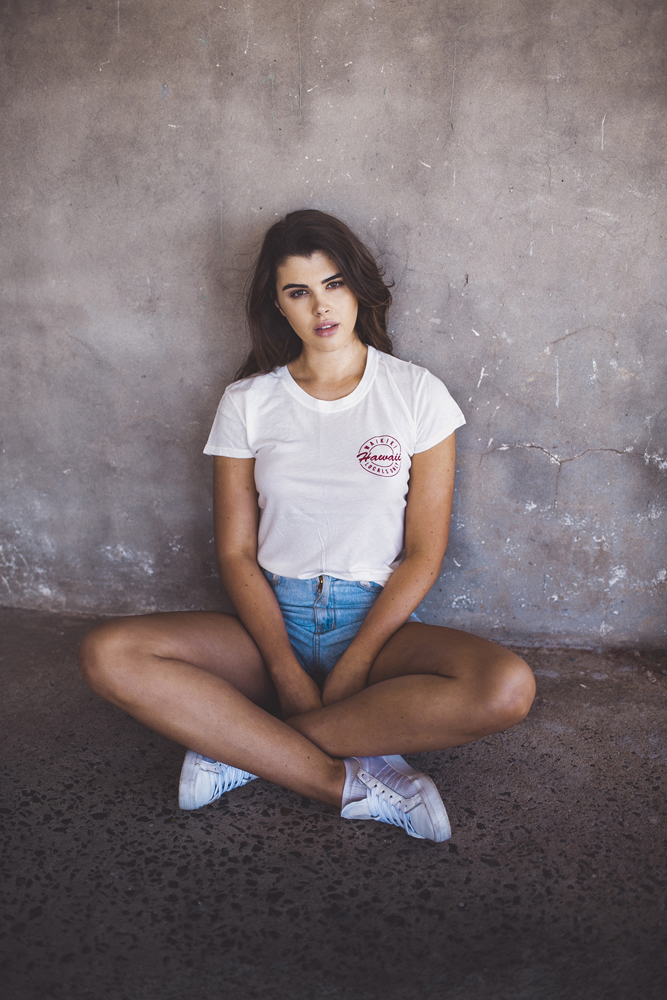
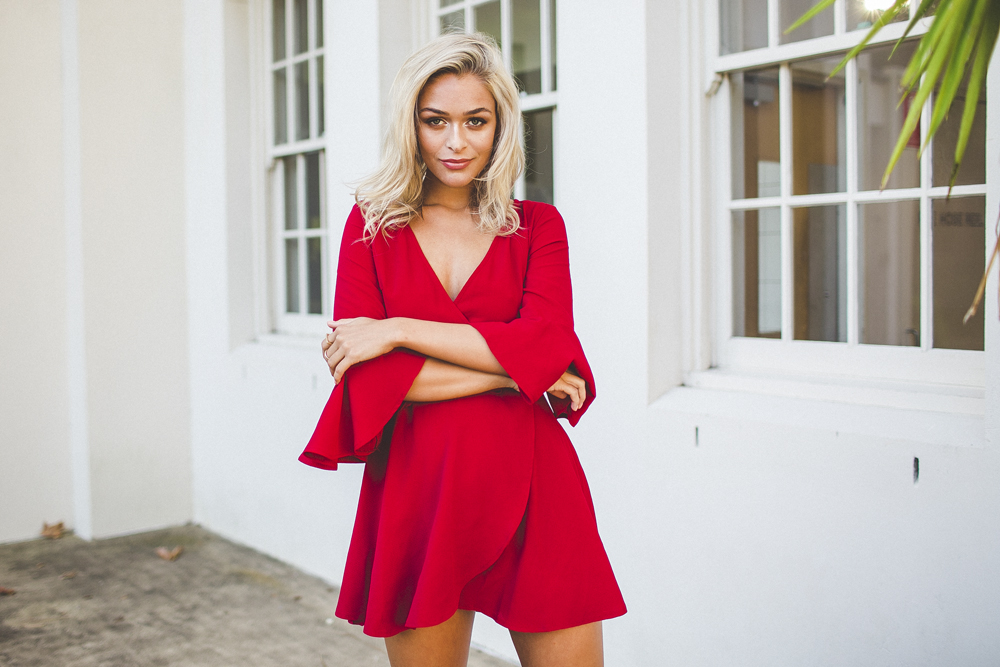
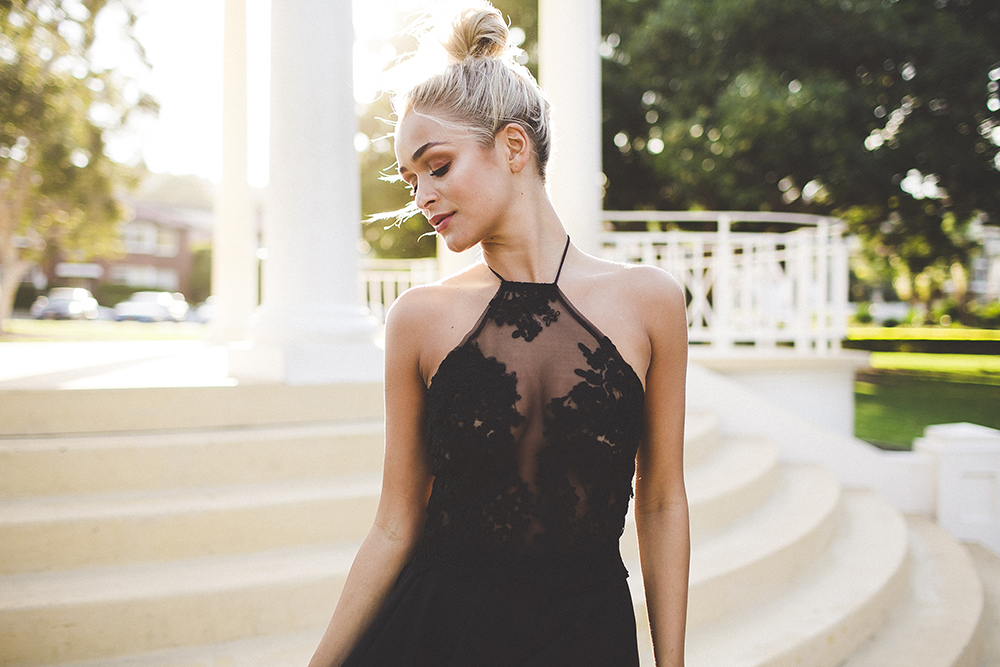
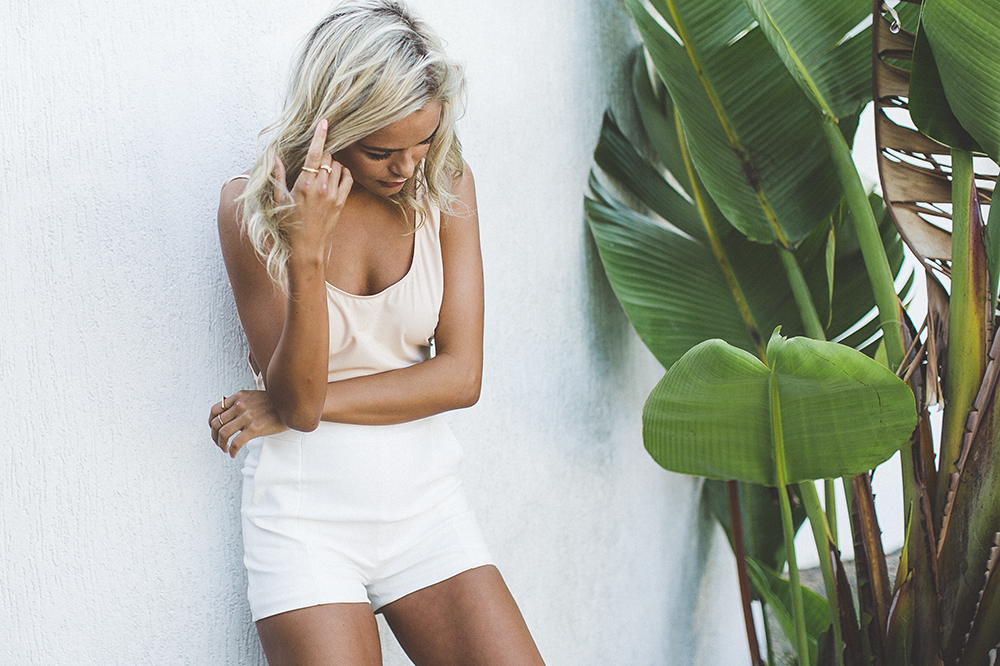
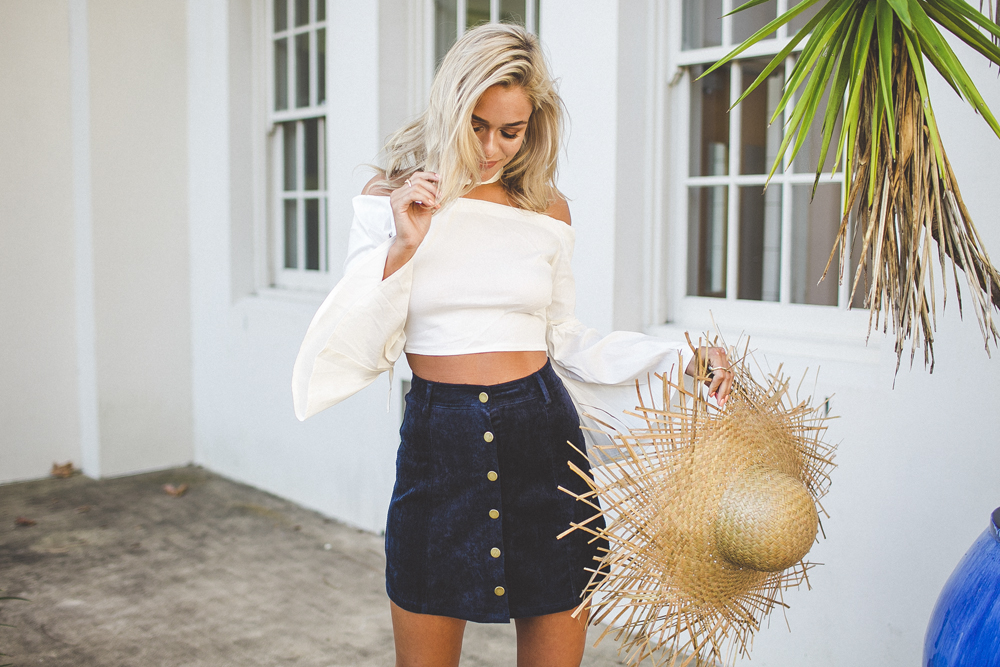
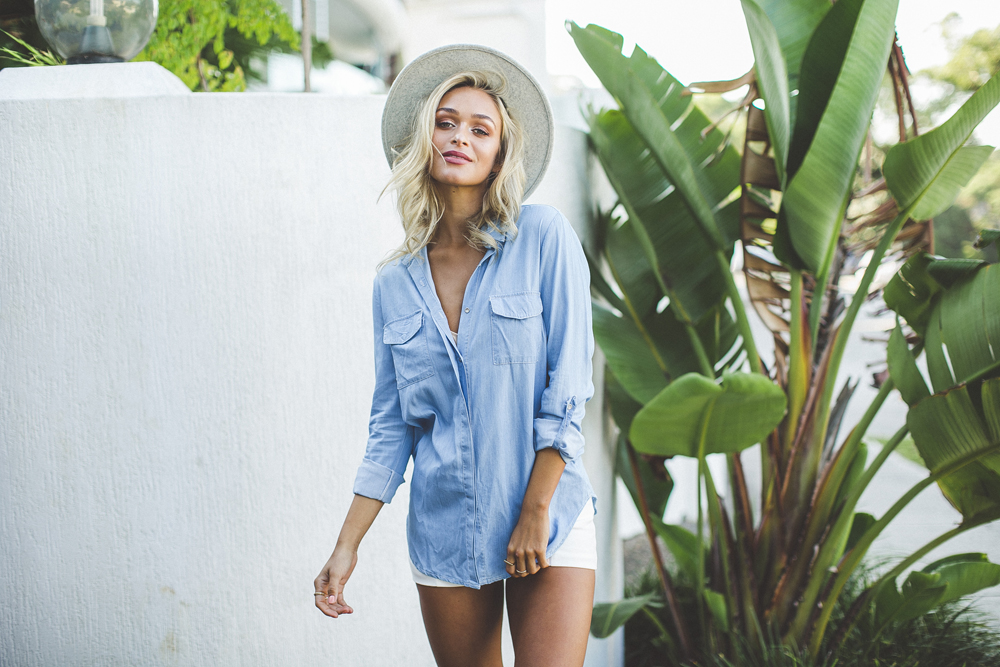
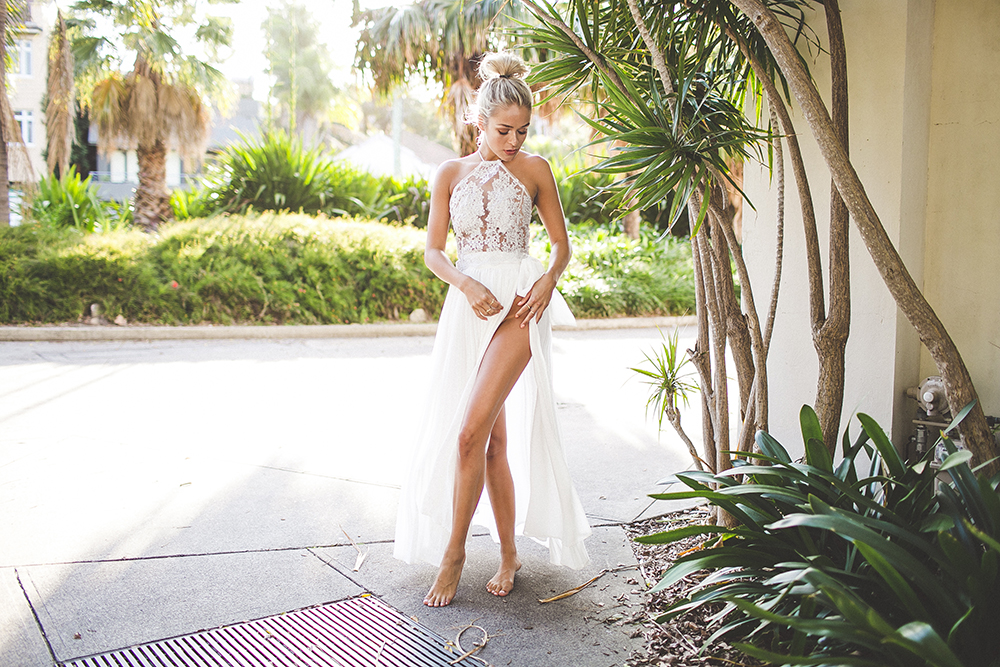
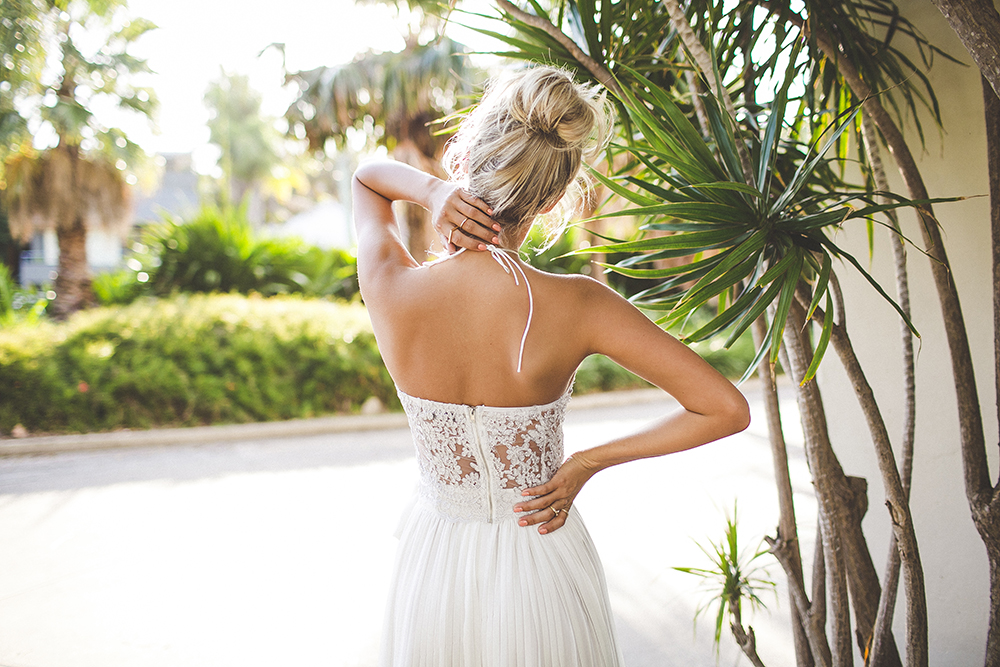
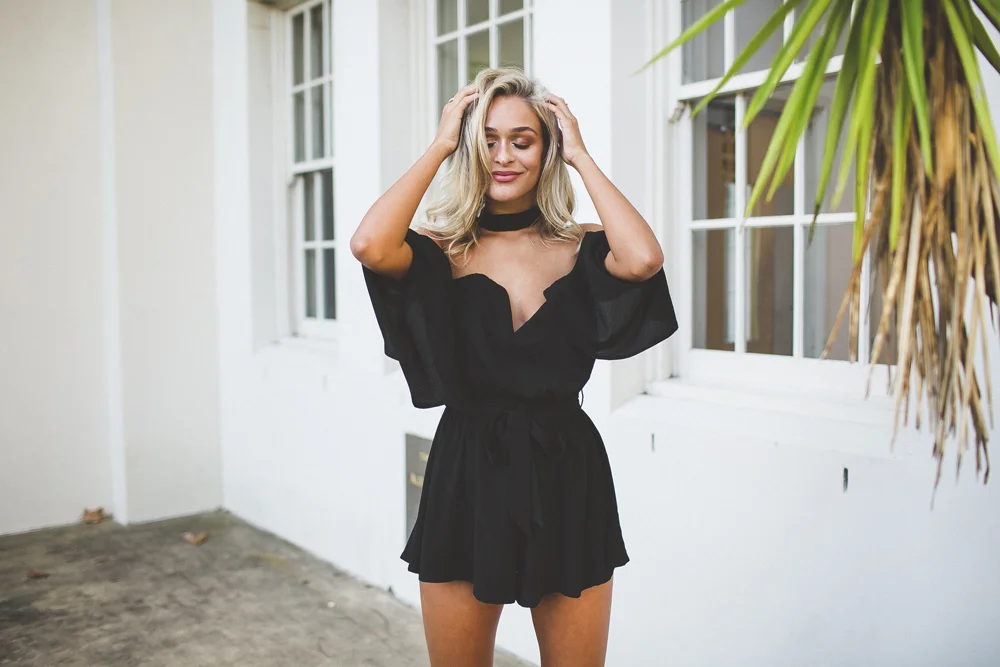
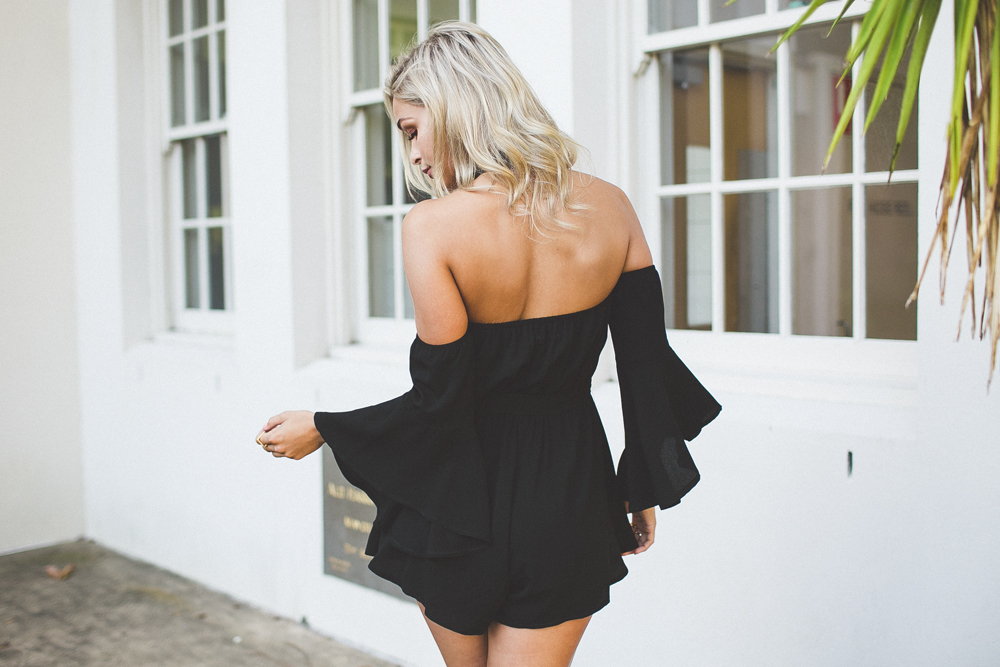
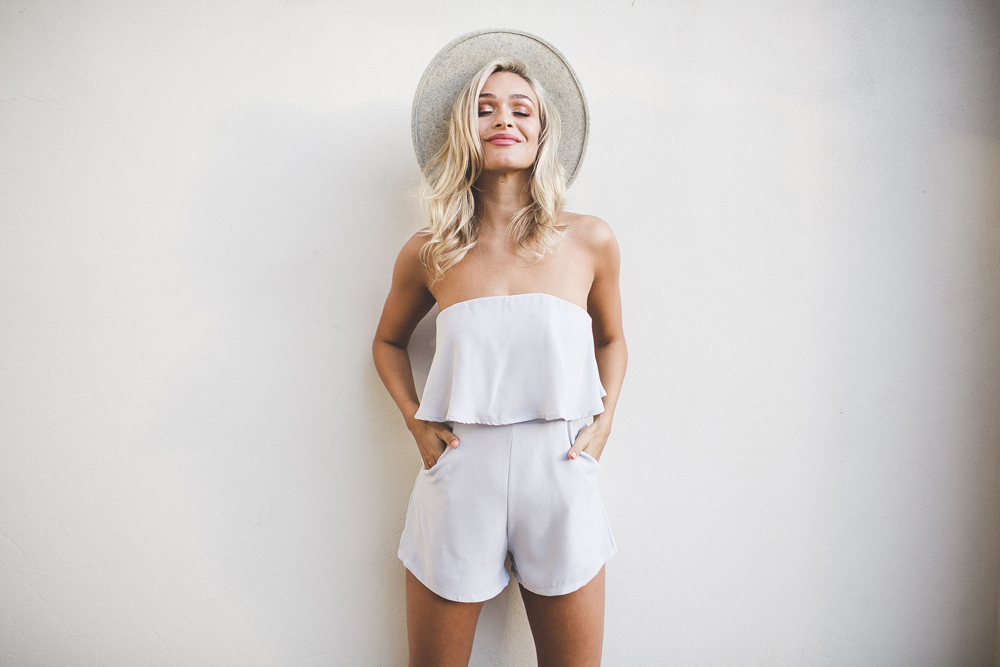
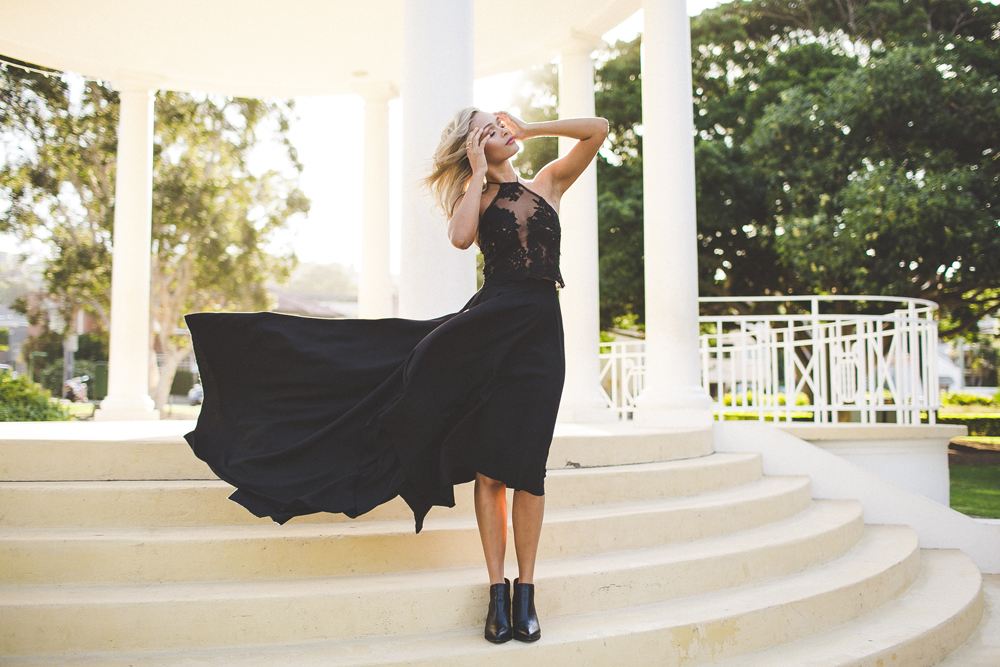
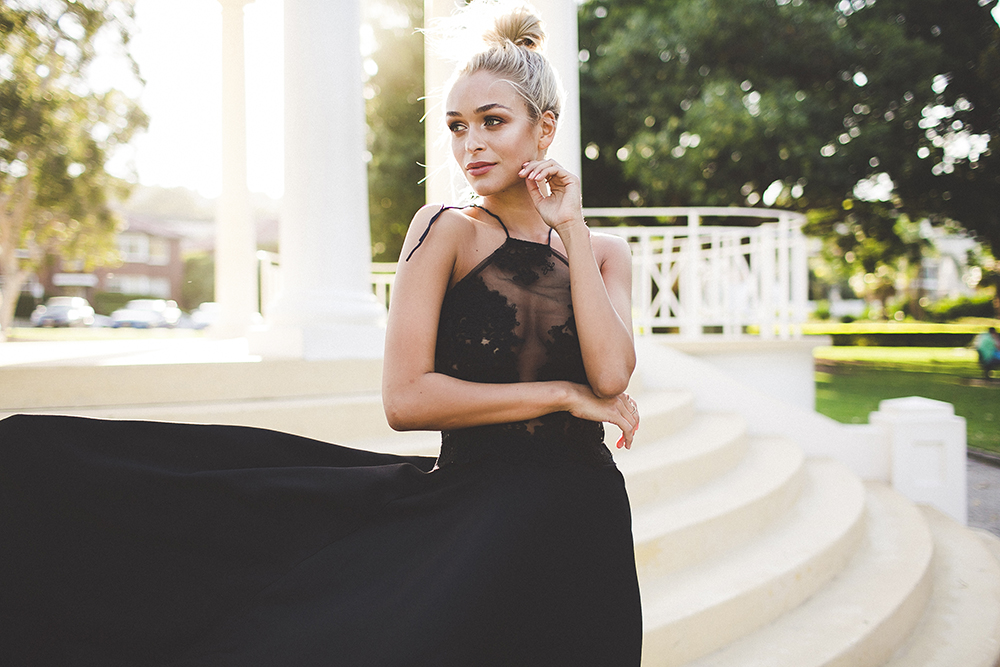
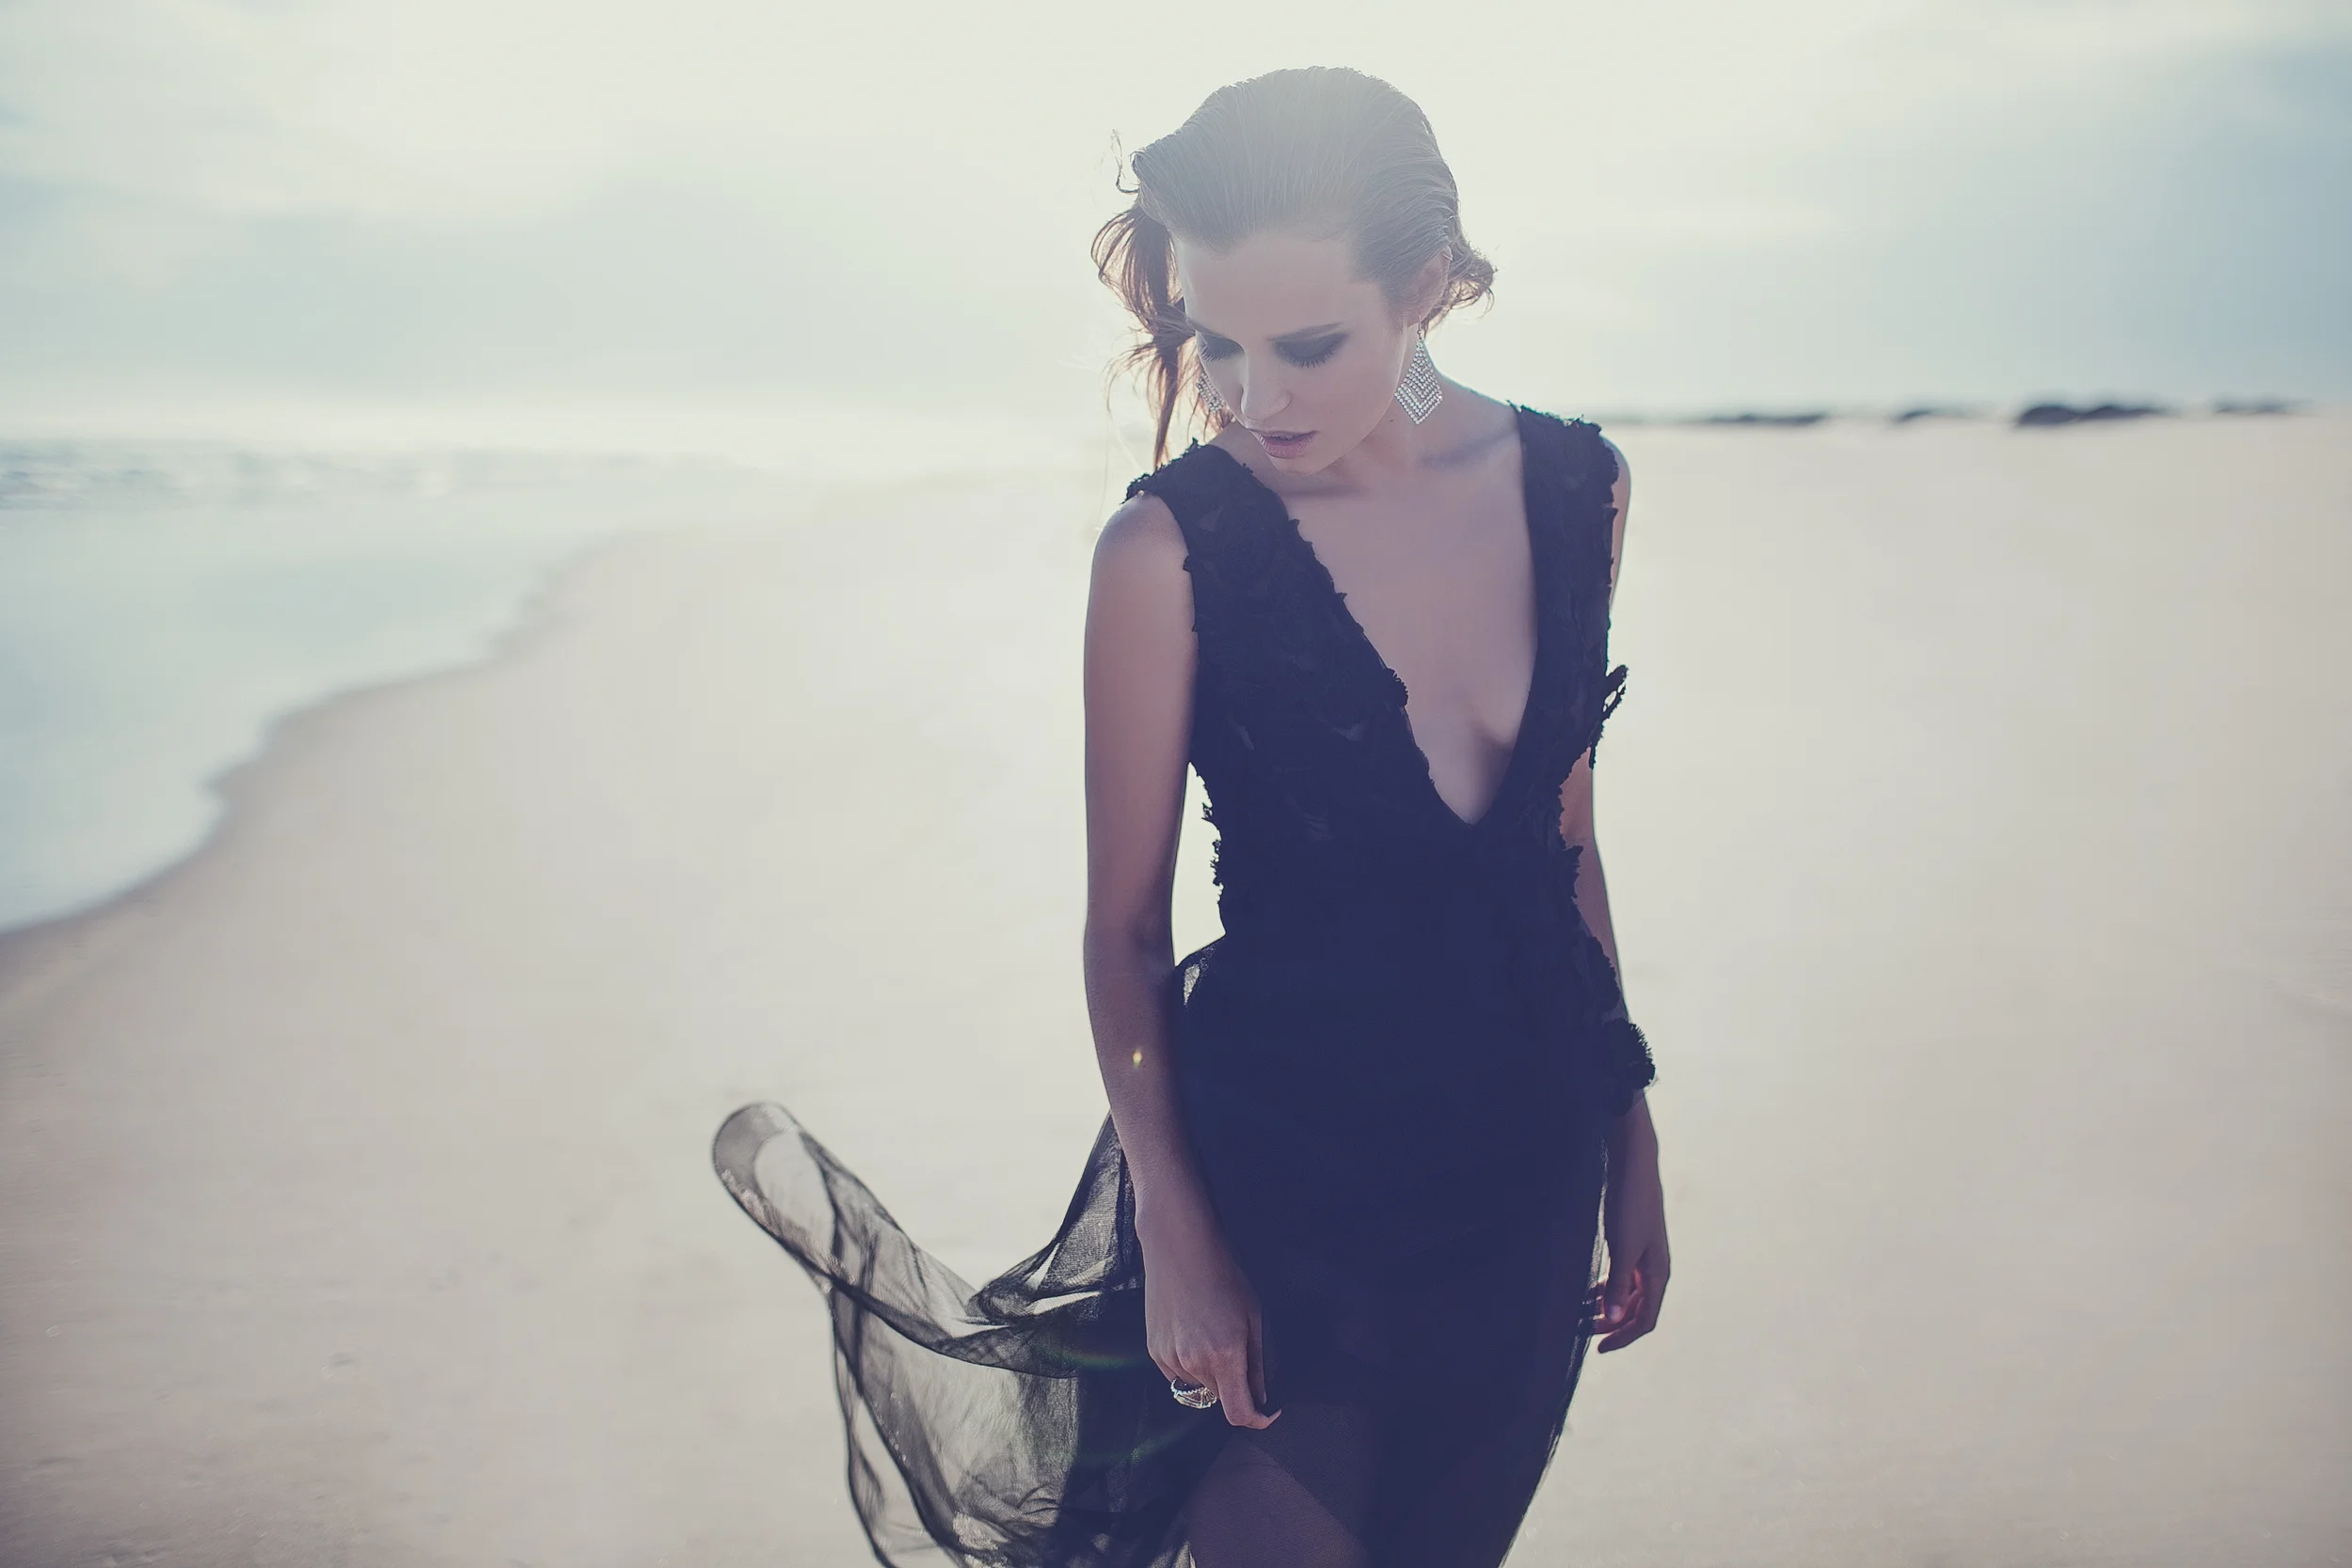
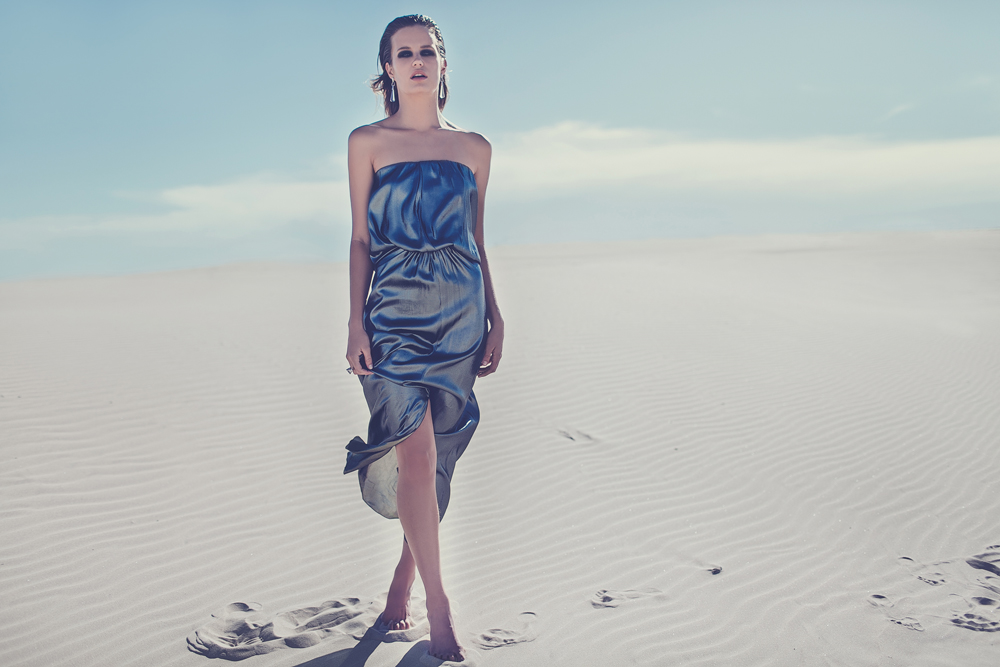
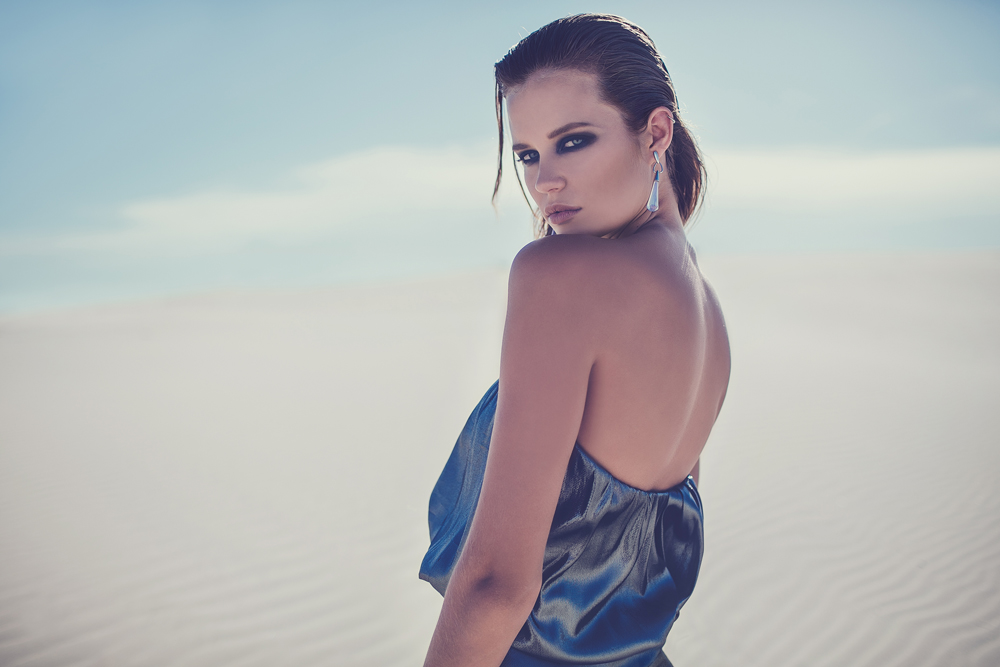
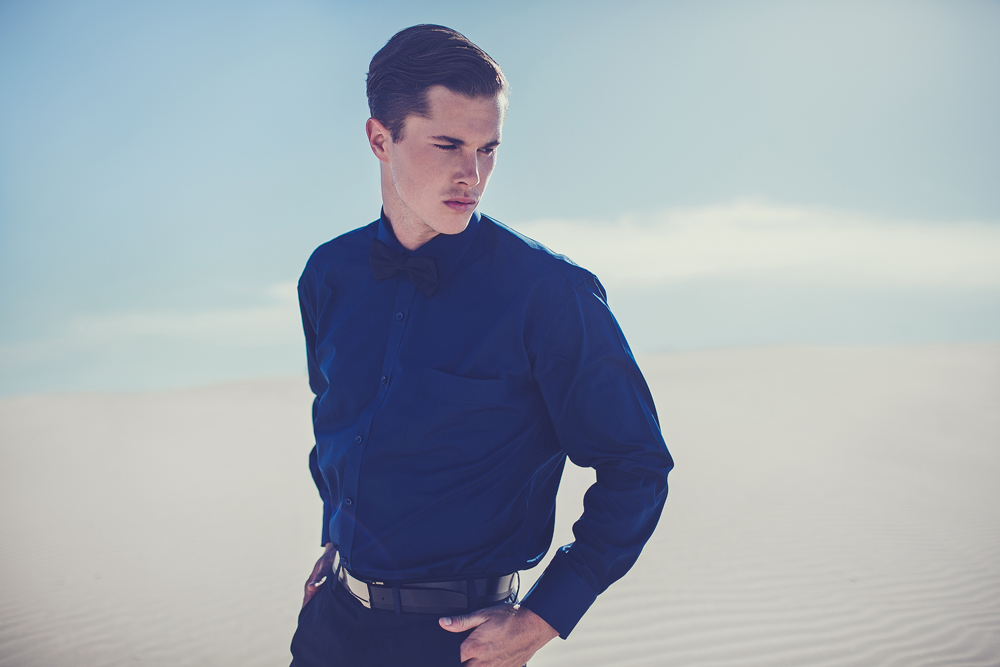
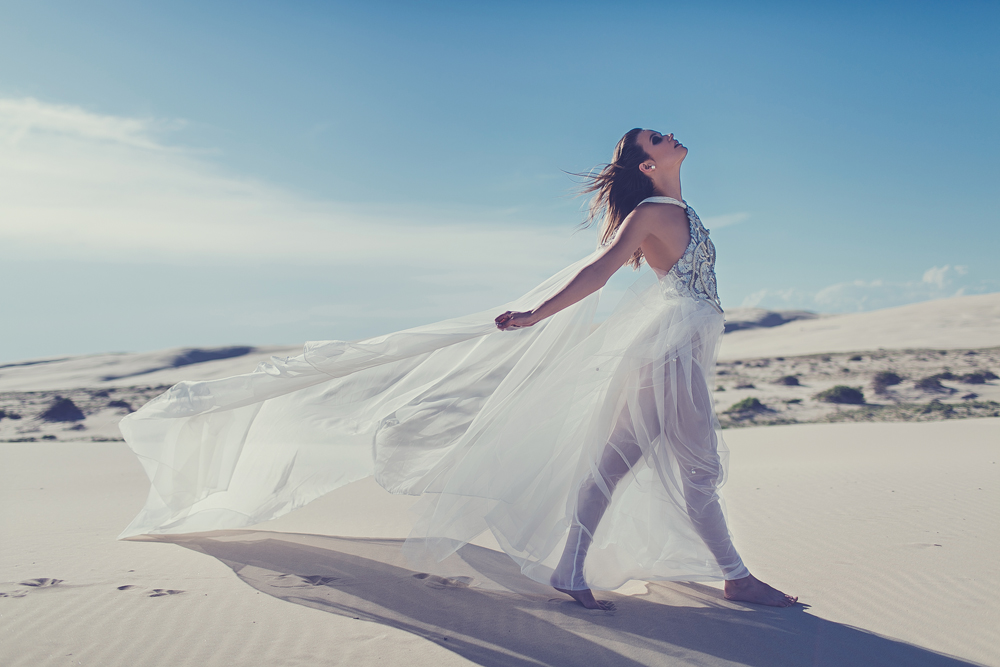
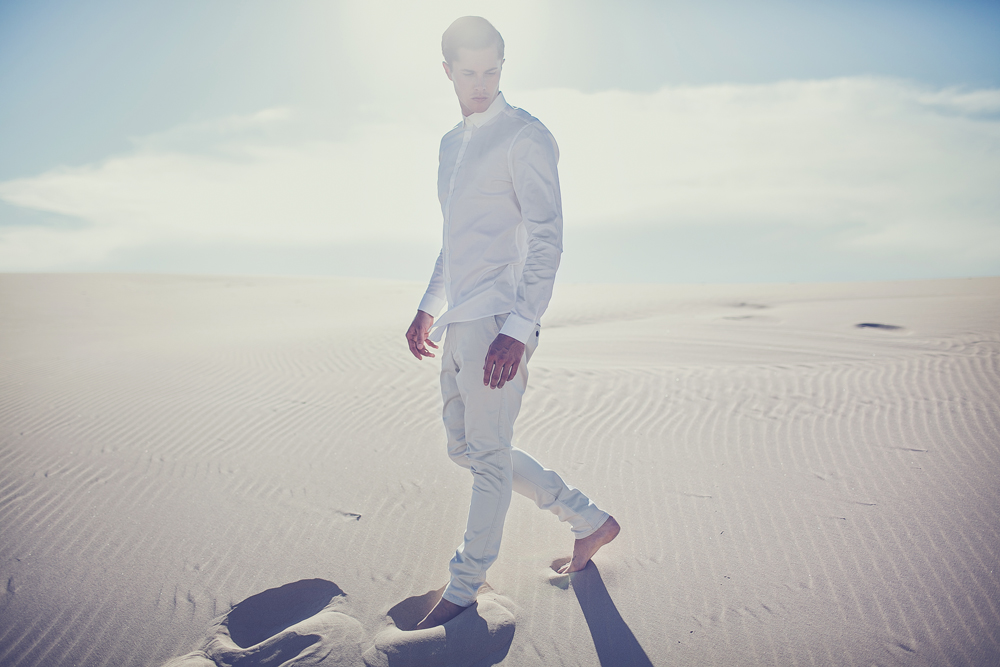
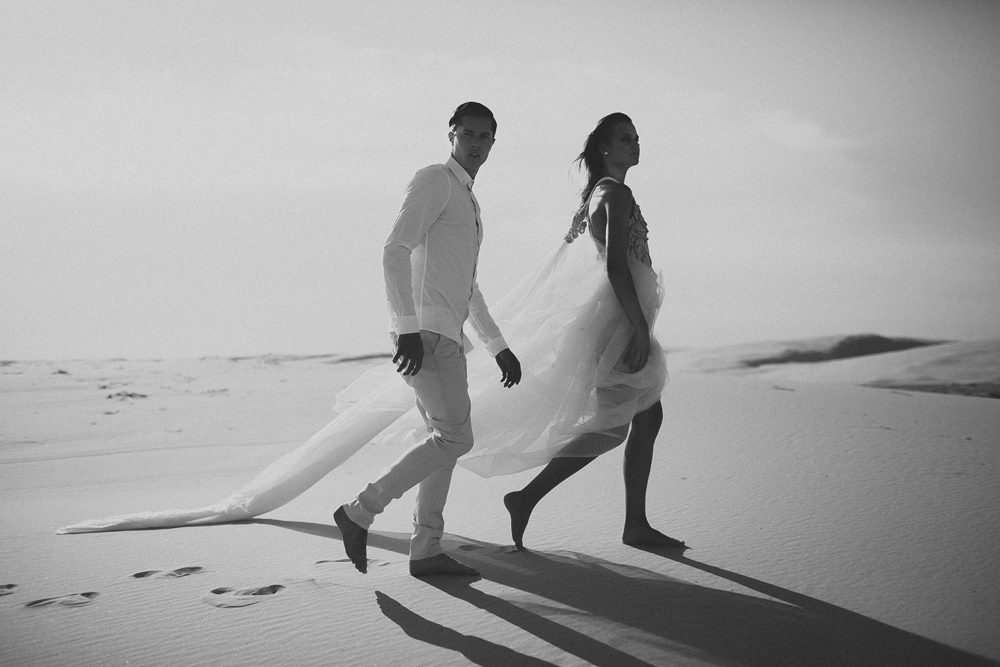
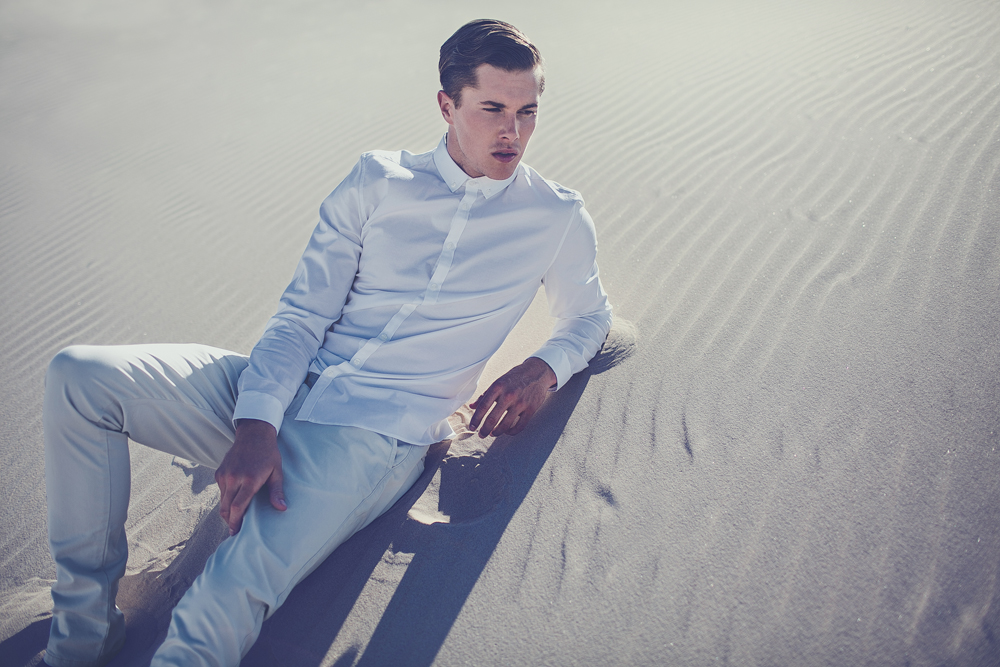
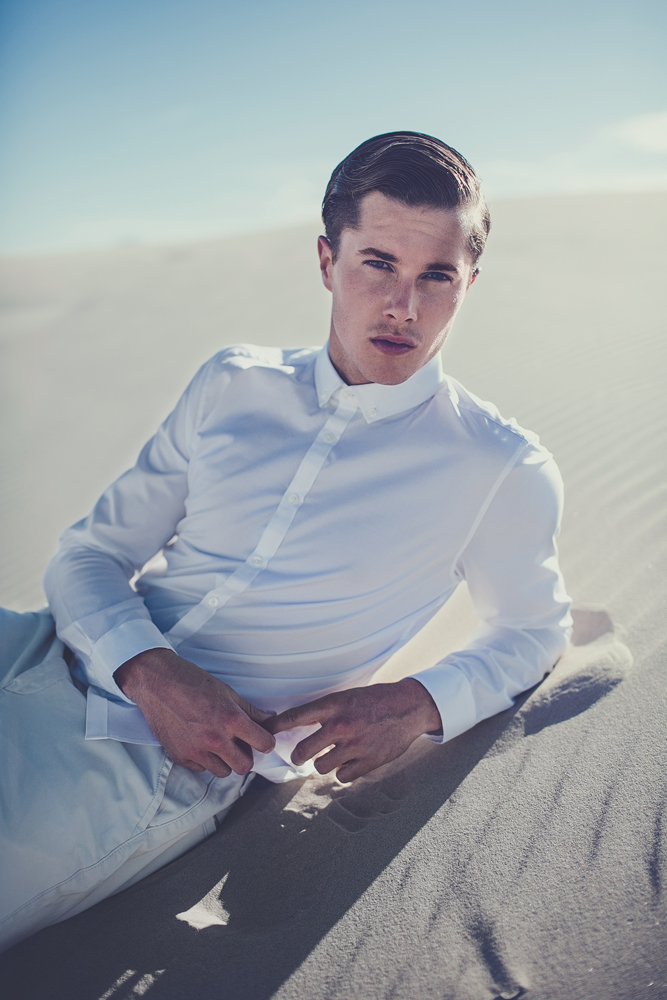
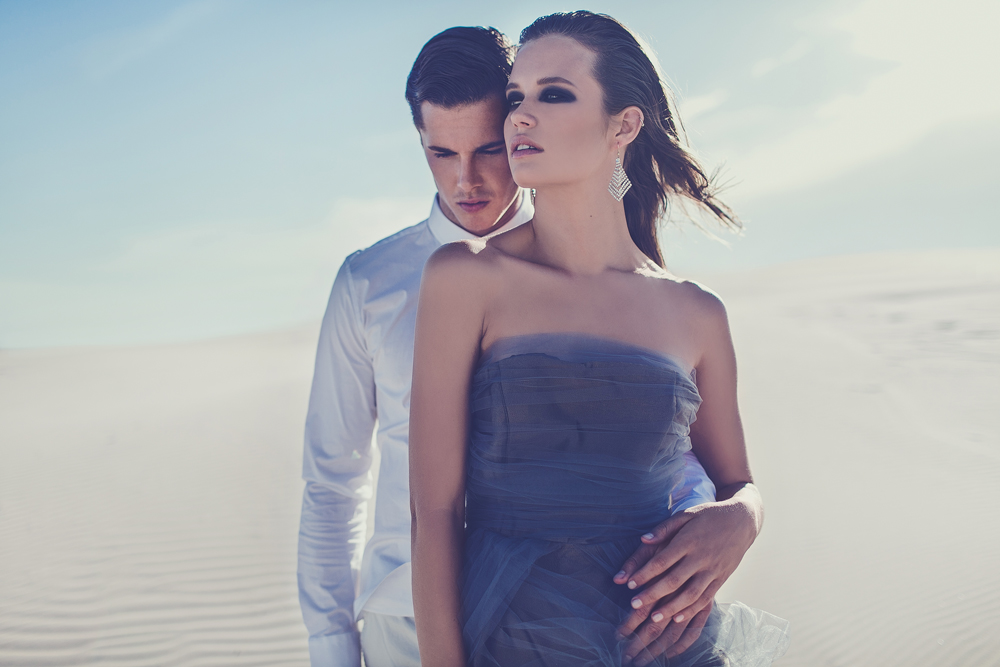
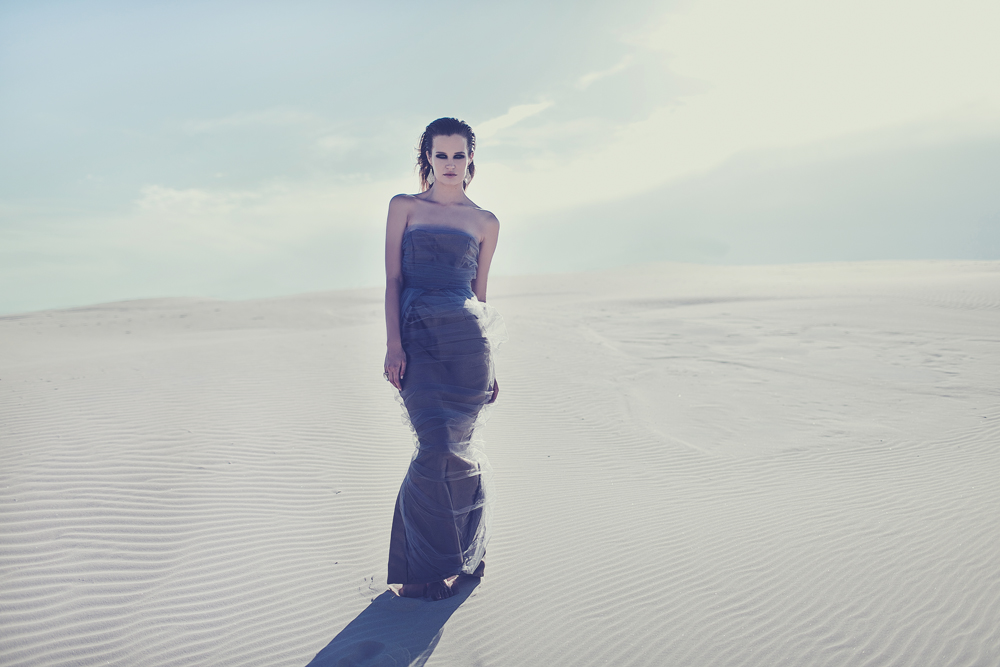
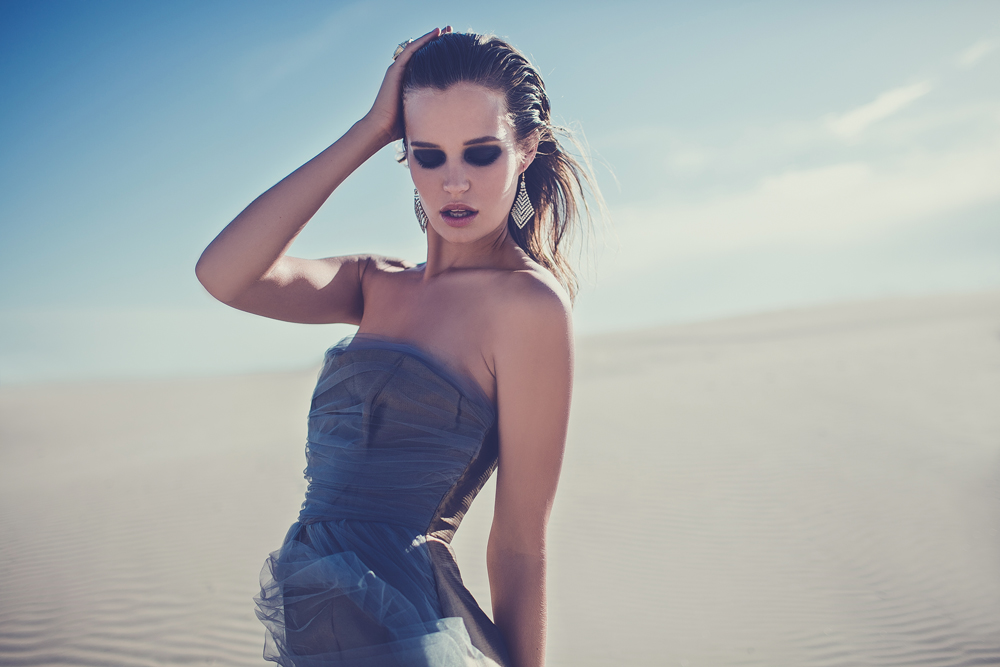
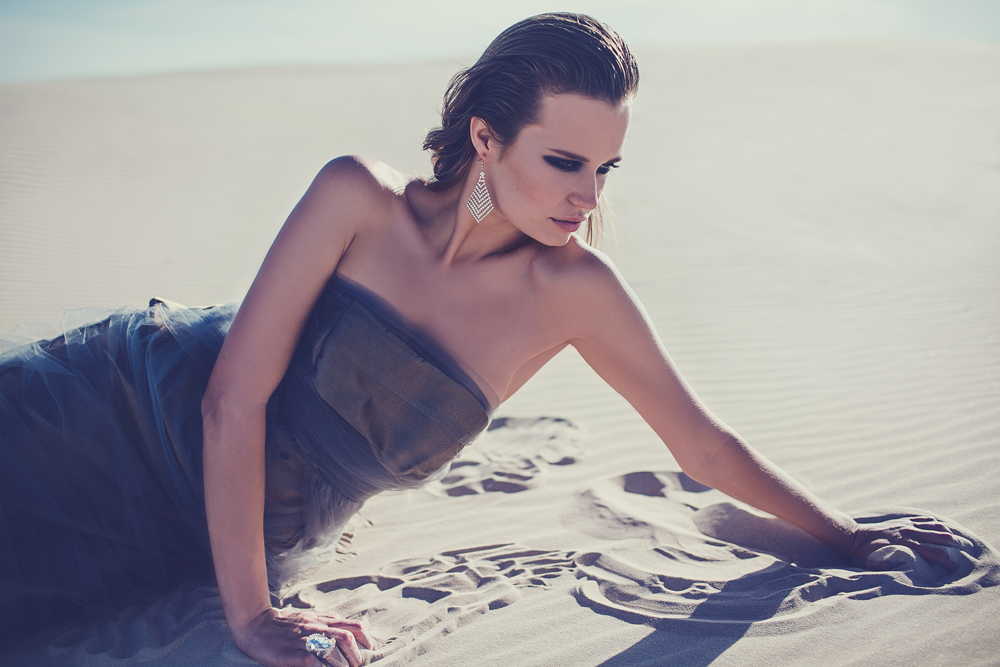
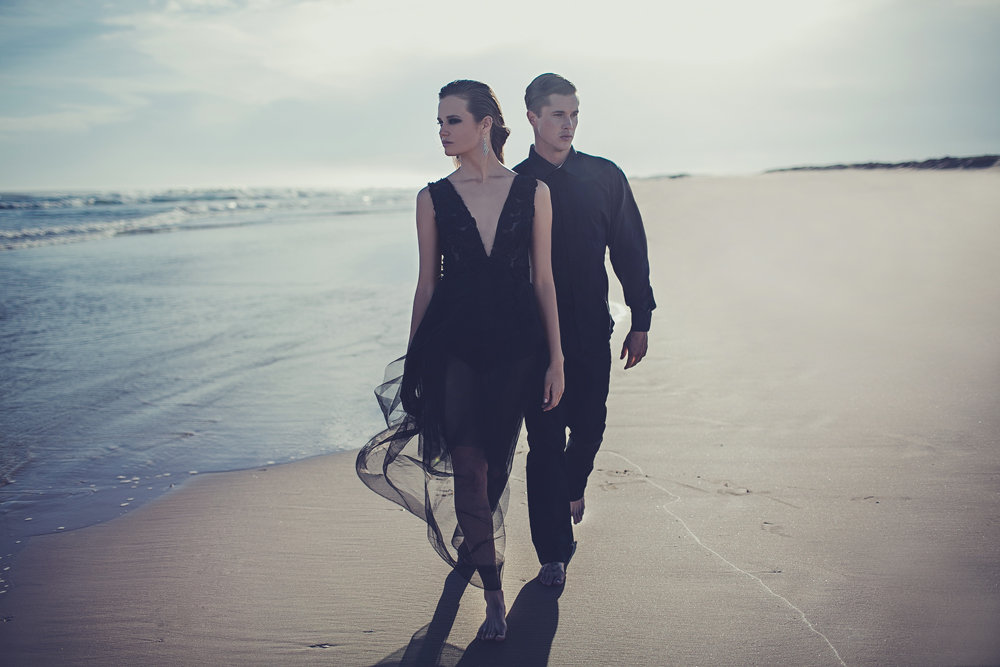
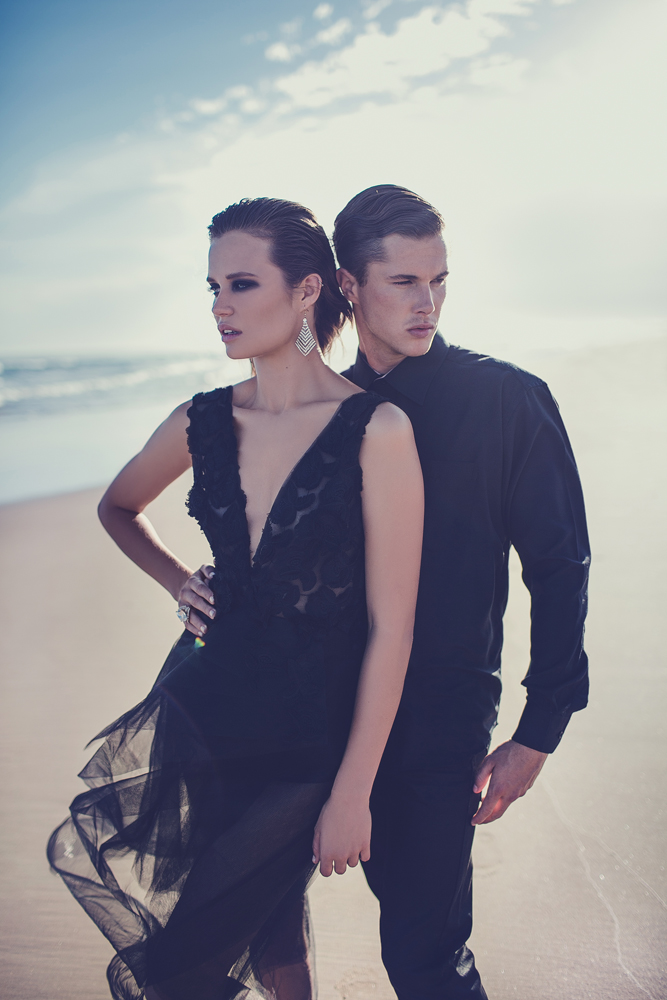
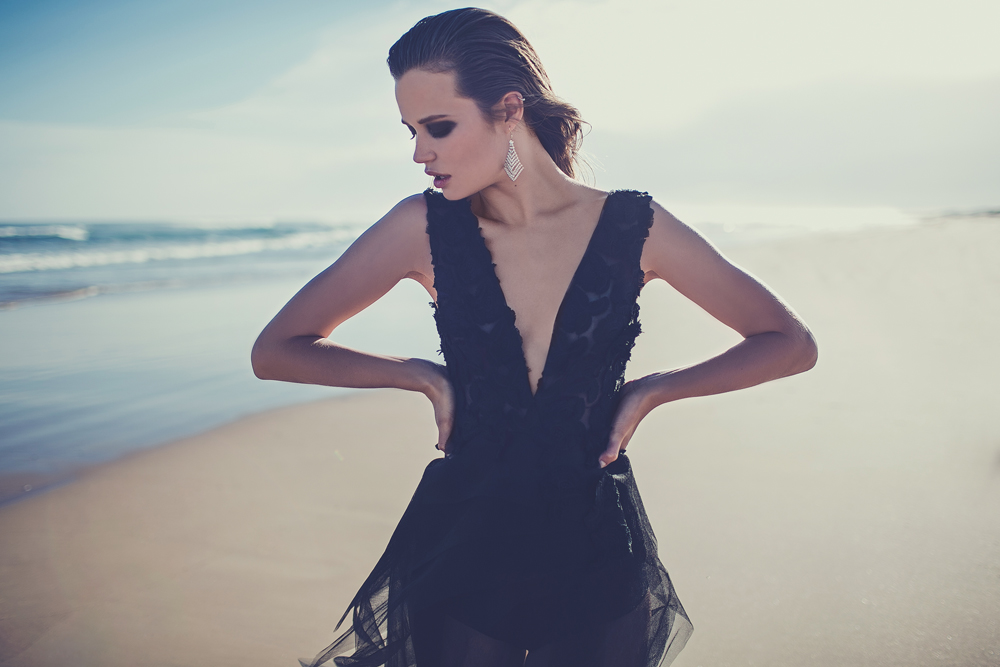
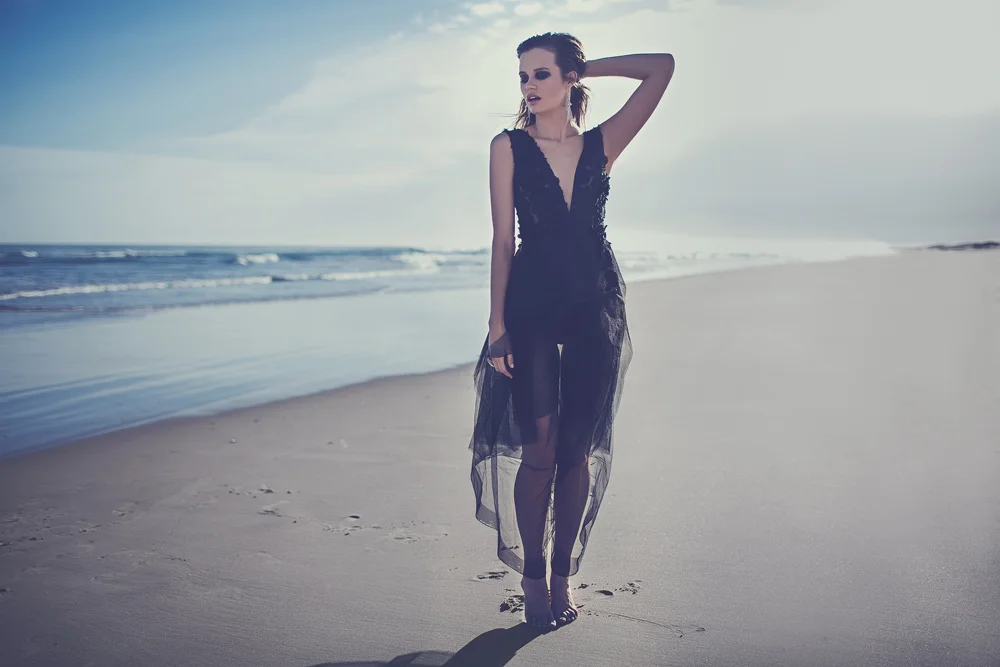
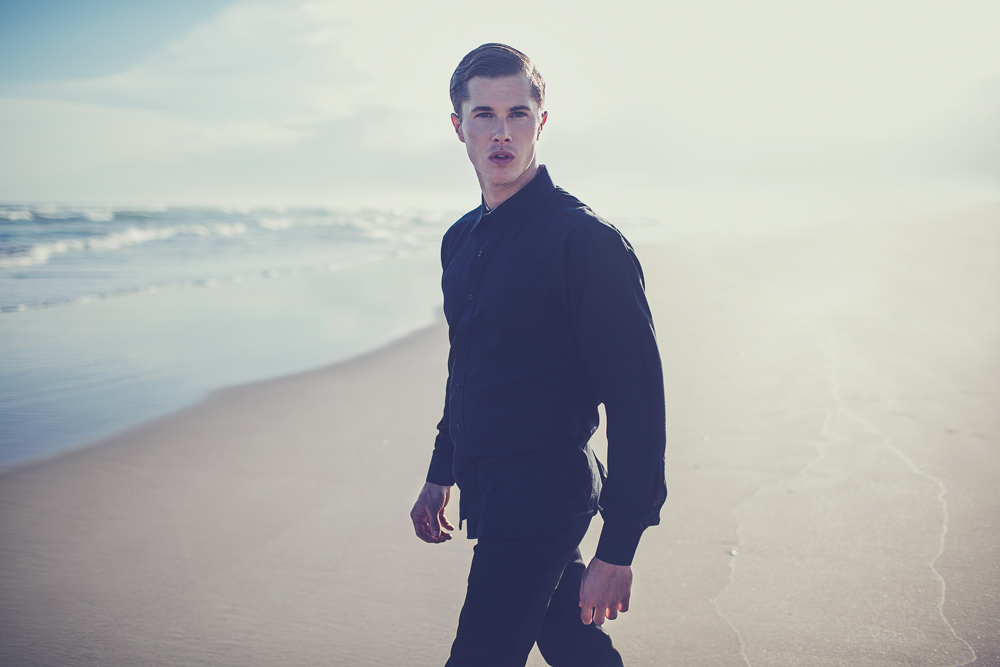
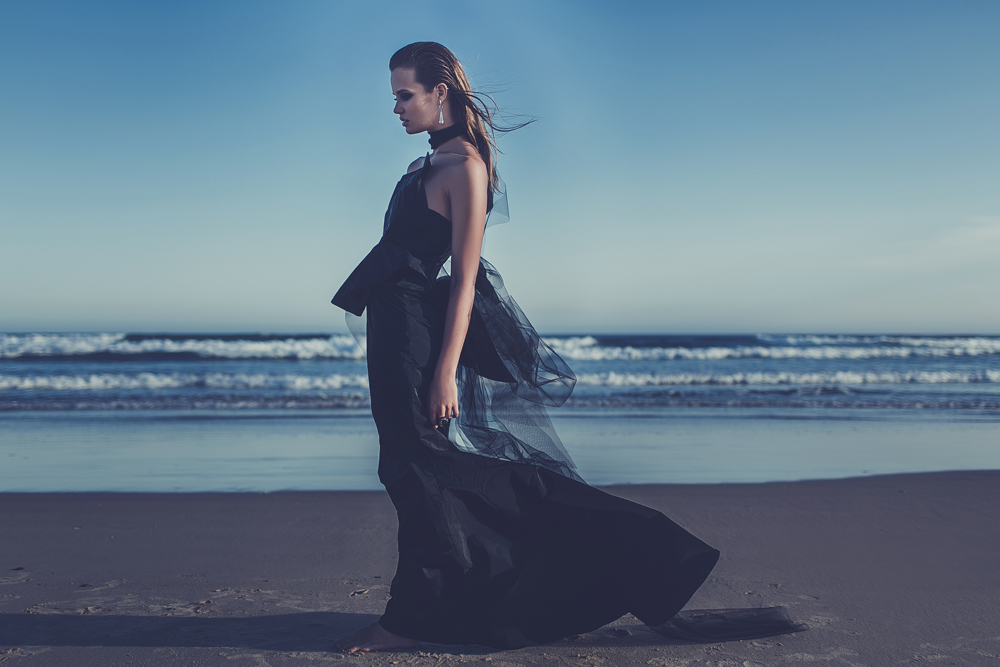
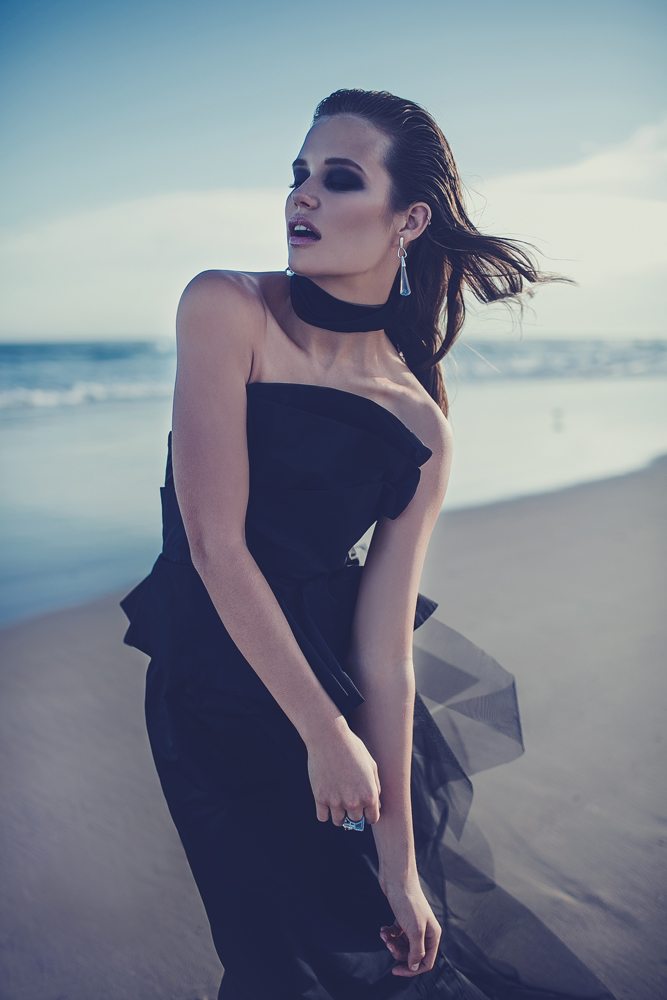
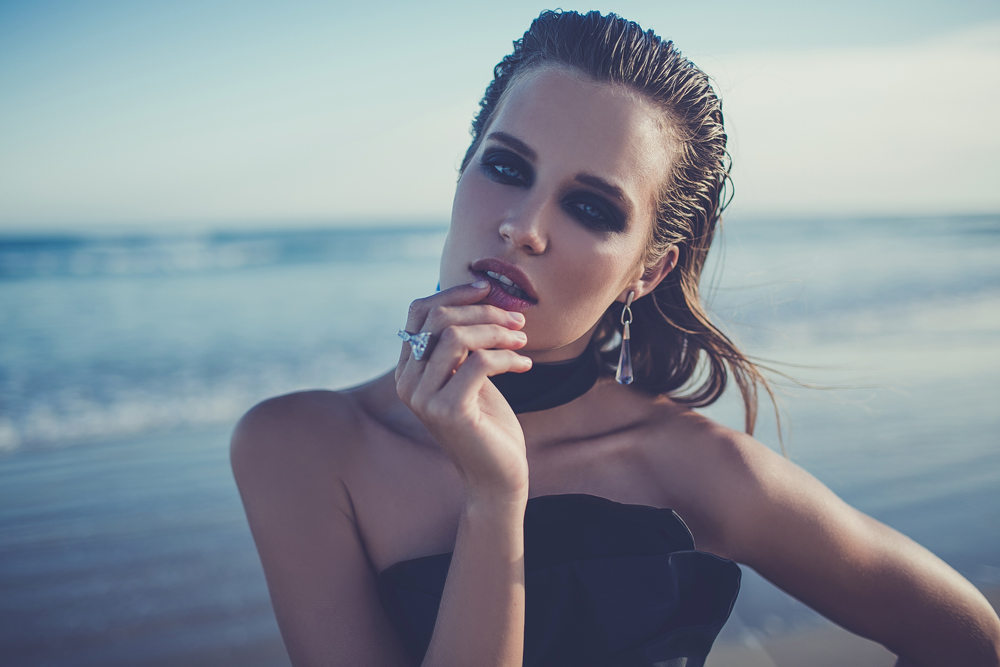
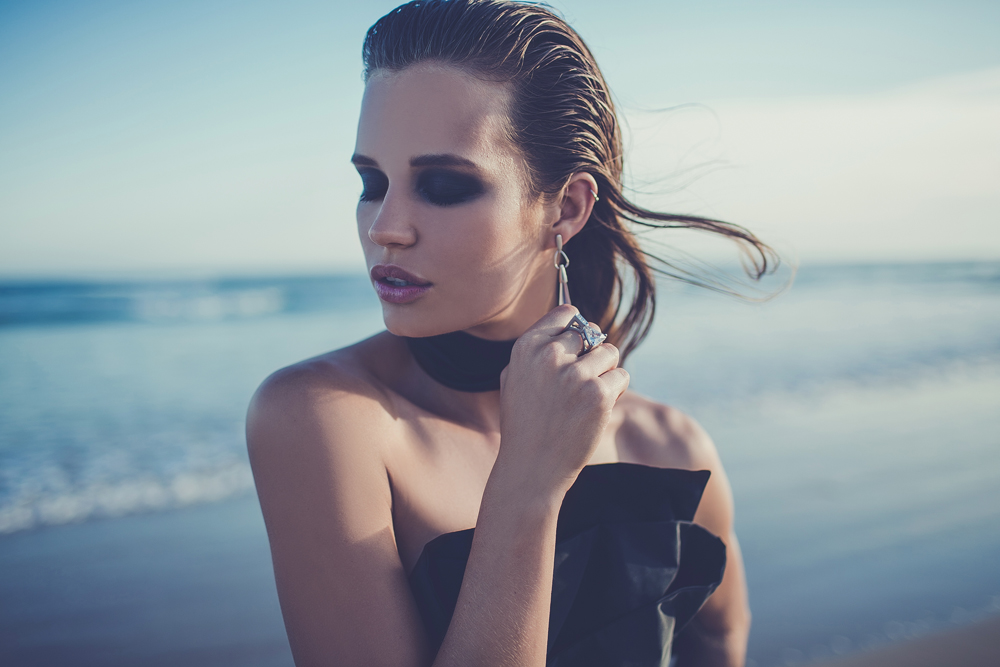
campaign for candice lee bridal gowns
model alex @ debut
hair candice lee
makeup makeup by megan

It was morning and Dan and I were going through our normal routines, I was having breakfast and Dan was walking around our house packing up a few of his things as we were getting ready to leave Hawaii in a few hours. The entire house just started shaking like crazy and both of us froze in our motions and stared at each other with a look of "what is happening right now and what do we do".
Just like that it stopped and we asked each other "did we just experience an earthquake?!"
We looked online and it turns out we felt the outside radius effects of a 4.0 magnitude earthquake that was concentrated in the nearby suburb of Pahoa. After doing some more research, I then learnt just how common that is to happen on the Big Island. The earthquake we experienced happened at 9.28am and there had already been 8 other earthquakes on the island in just that one day. We were lucky that we were fine and nothing happened, but it was a strange experience and one that I hope I won't ever experience by chance again.
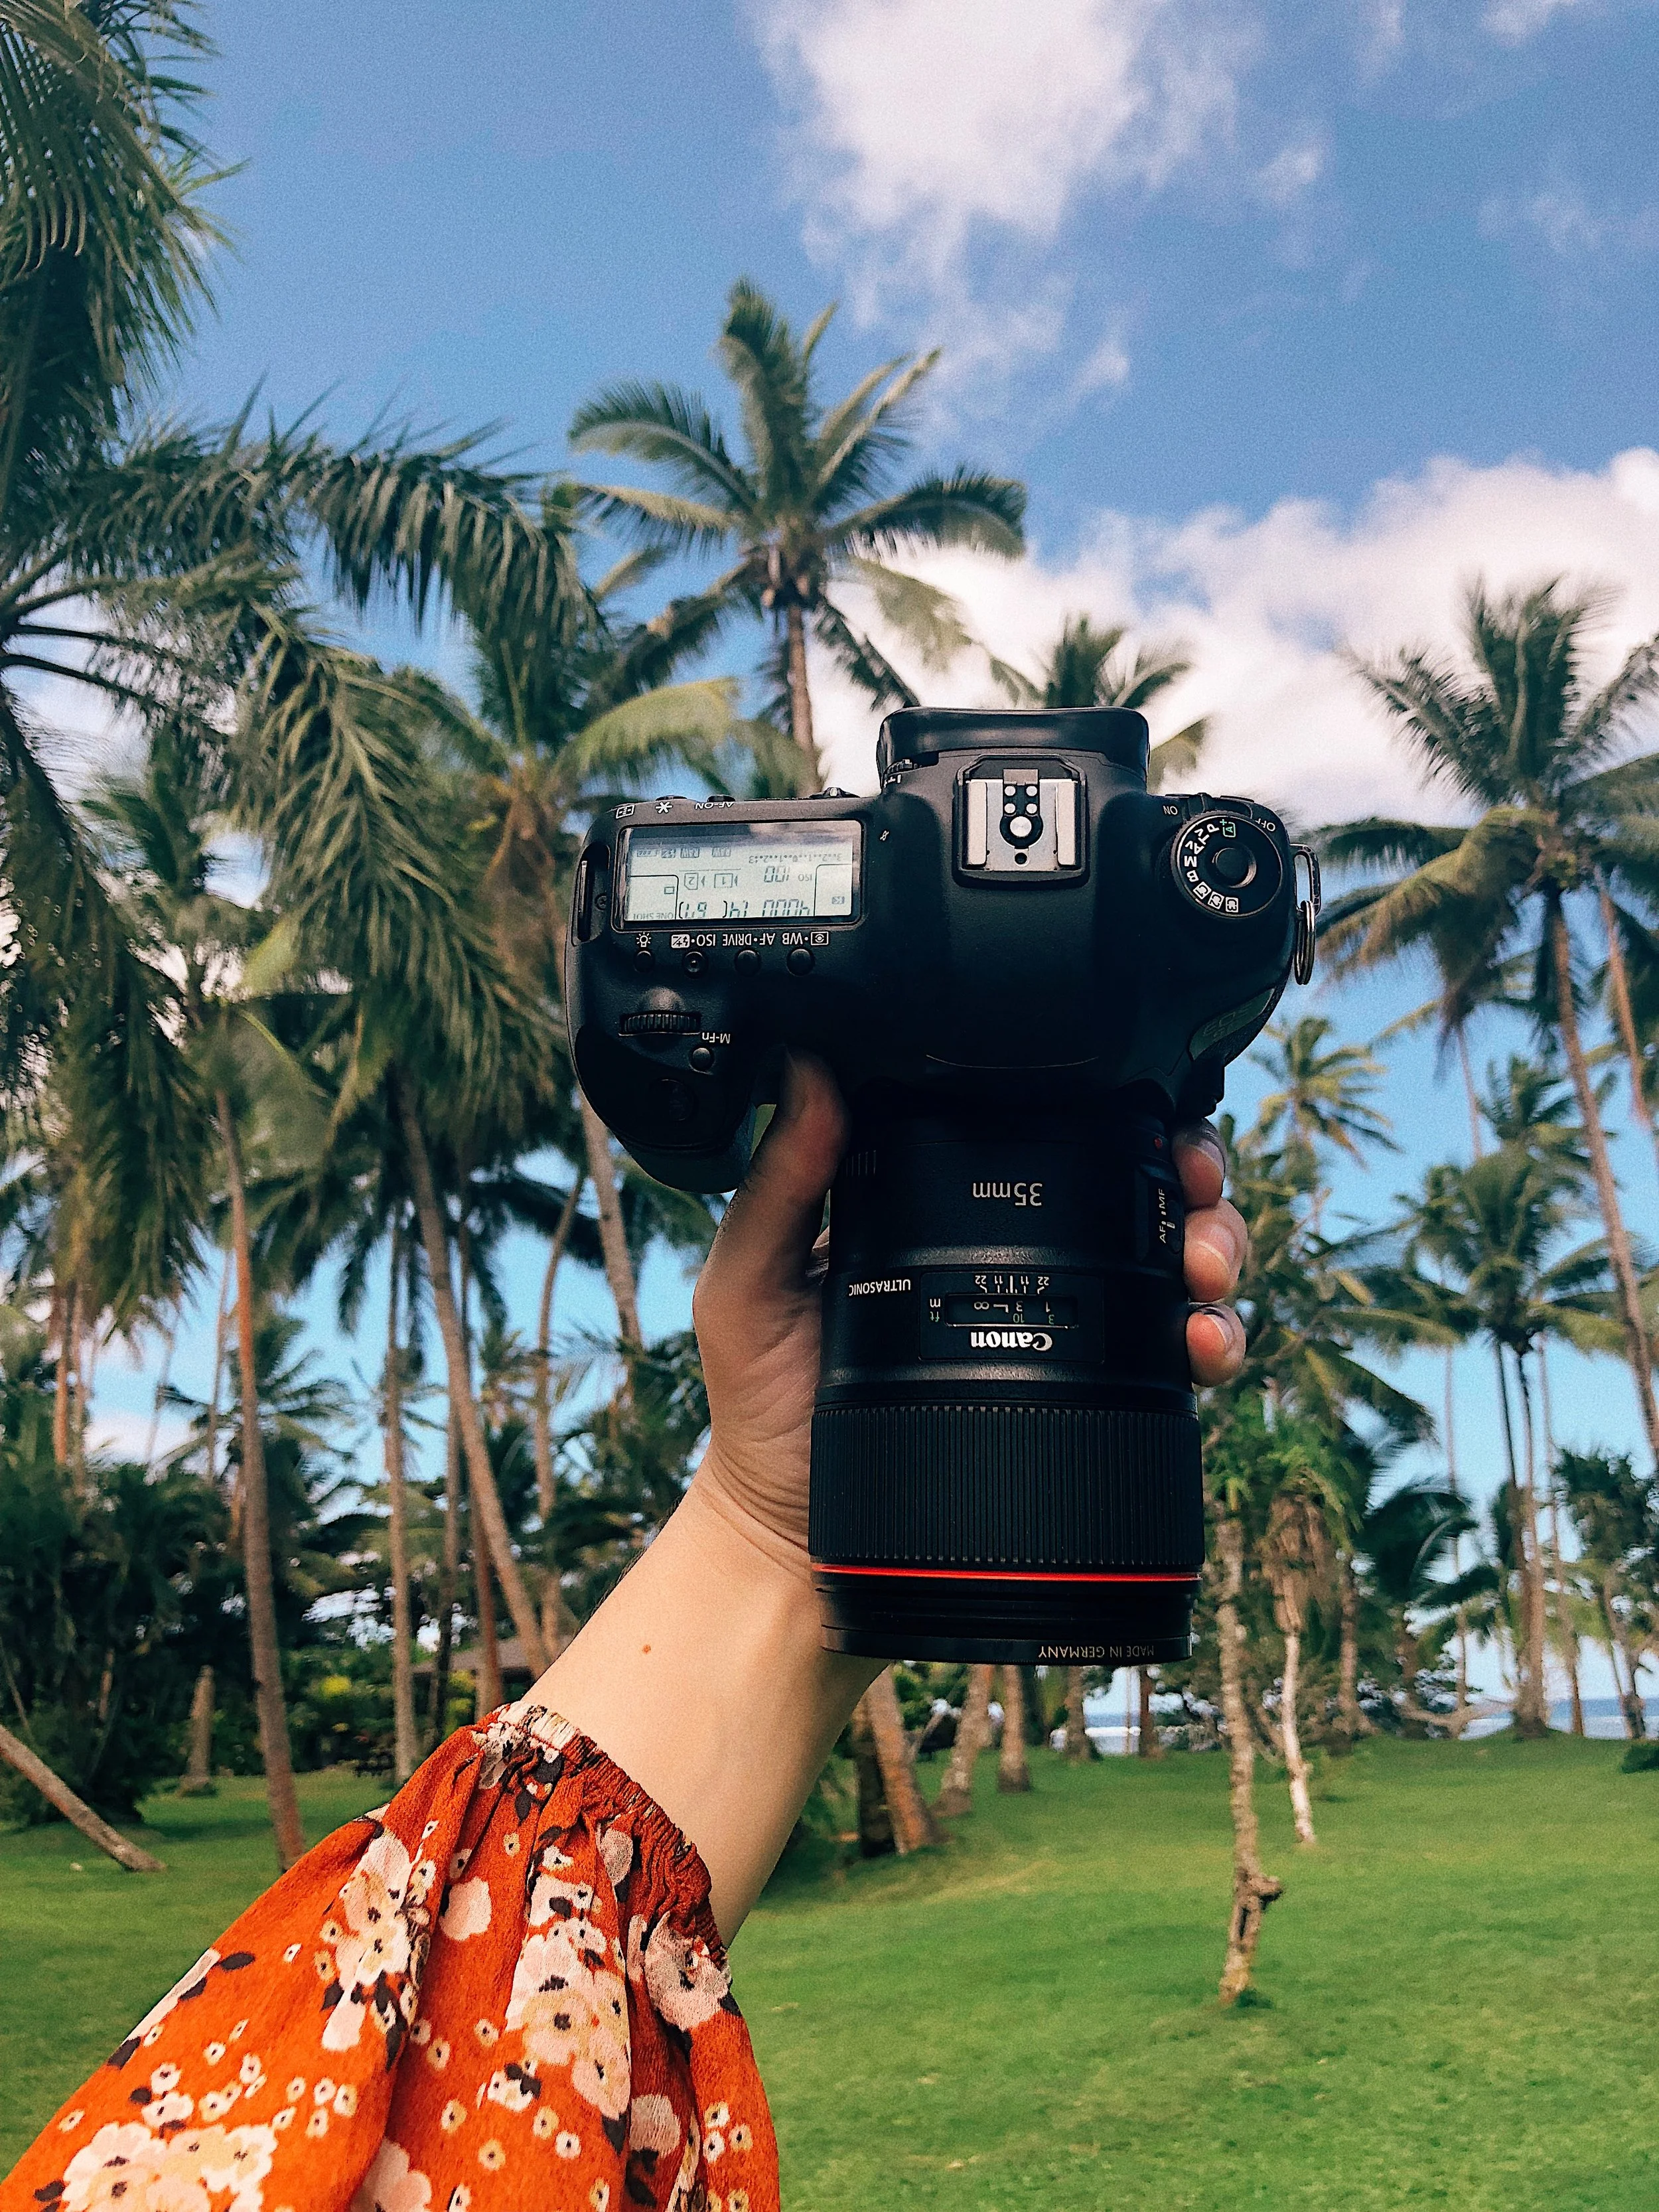
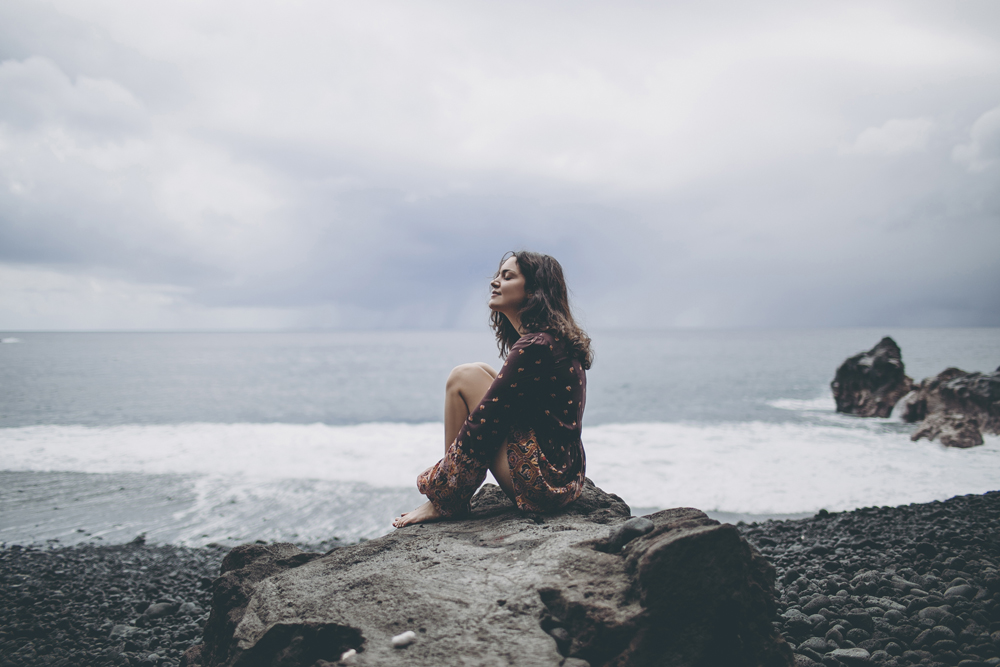
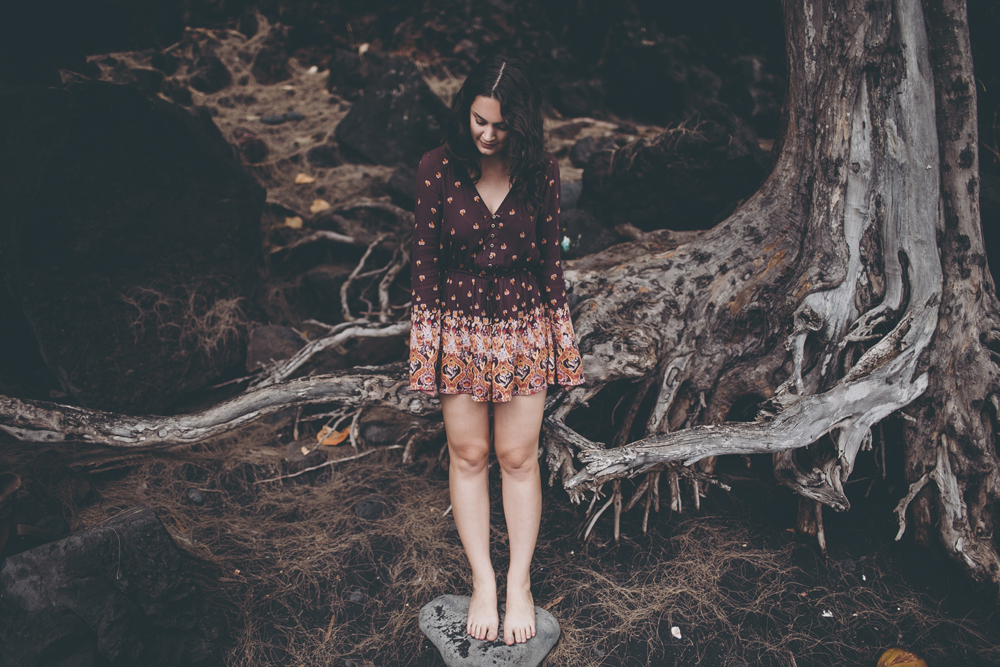
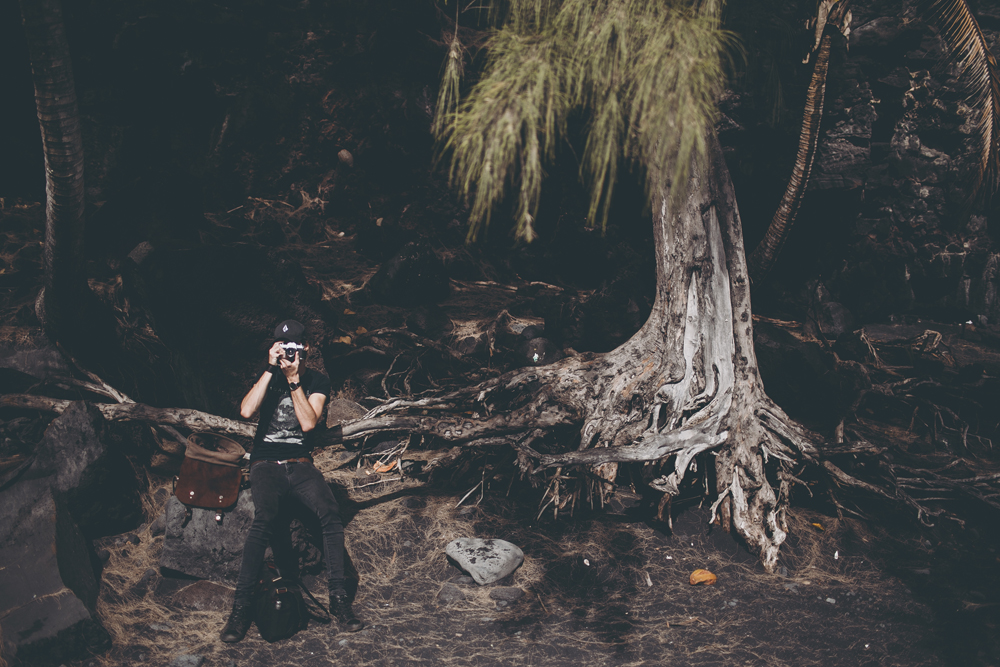
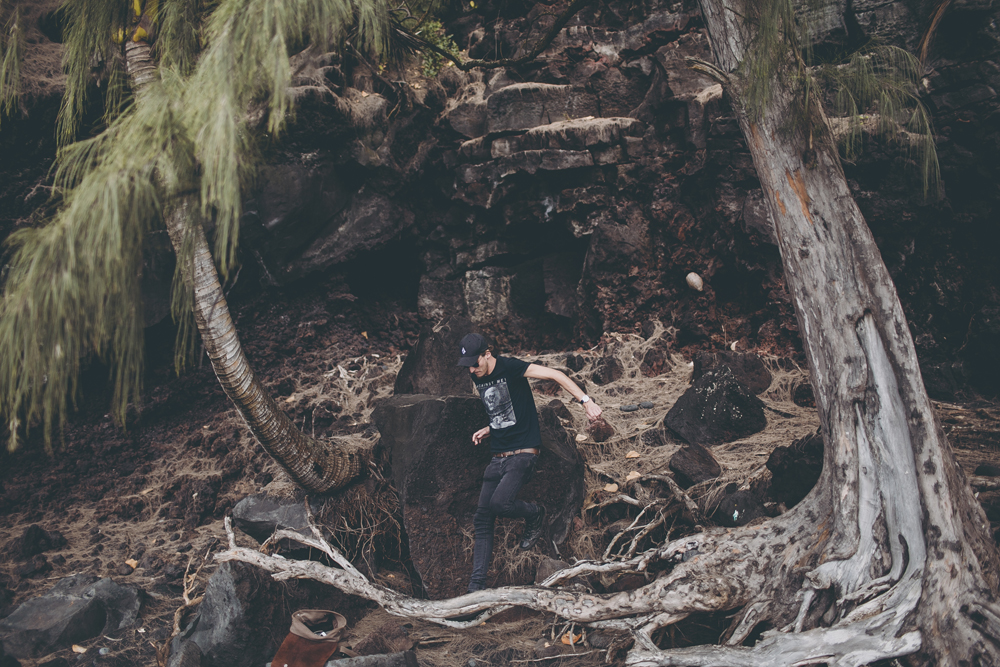
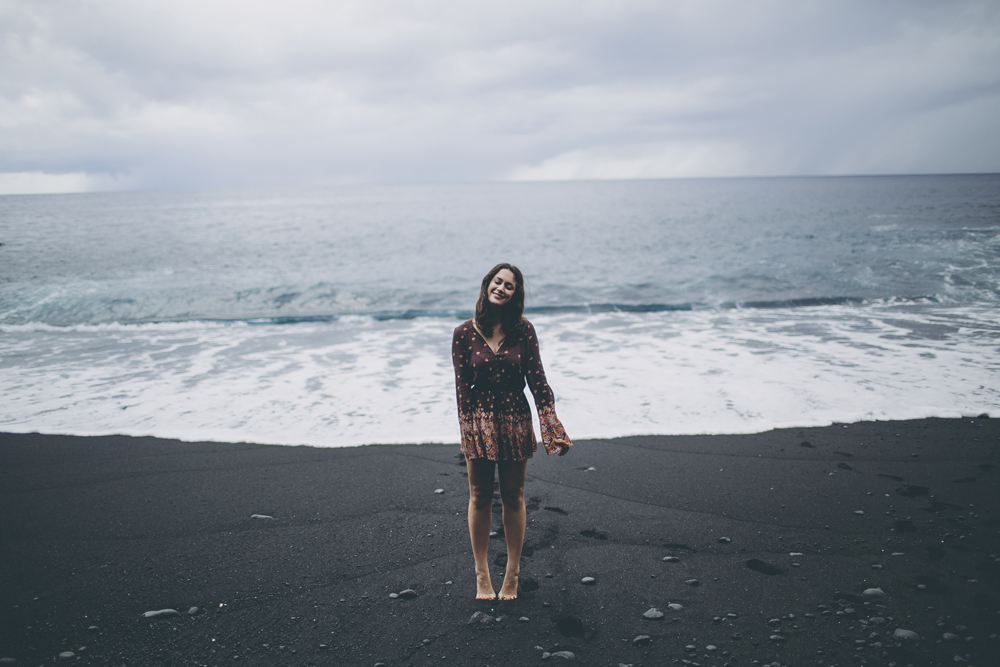
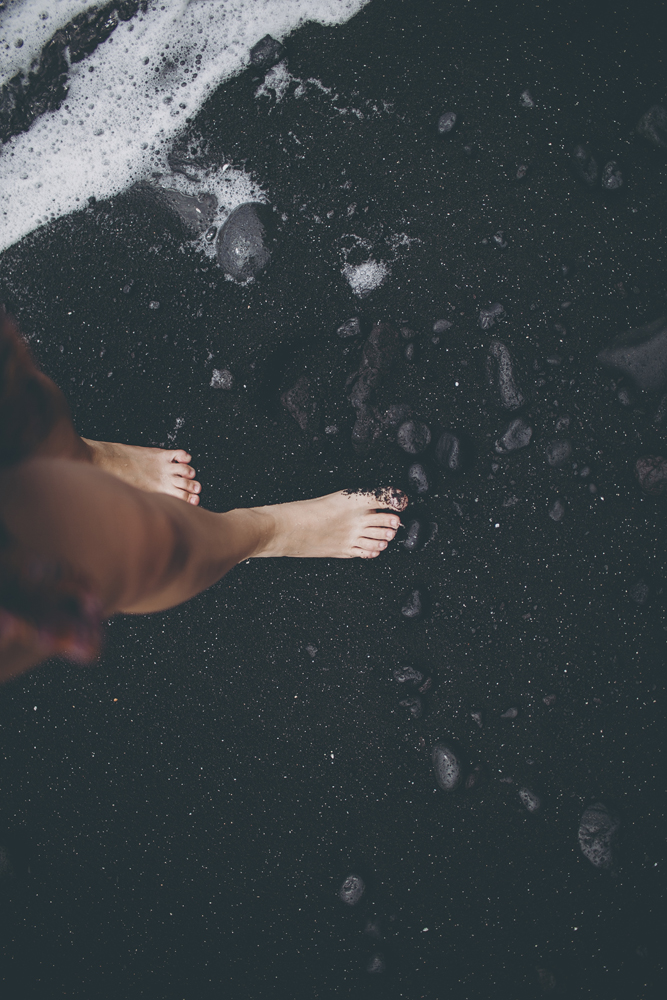
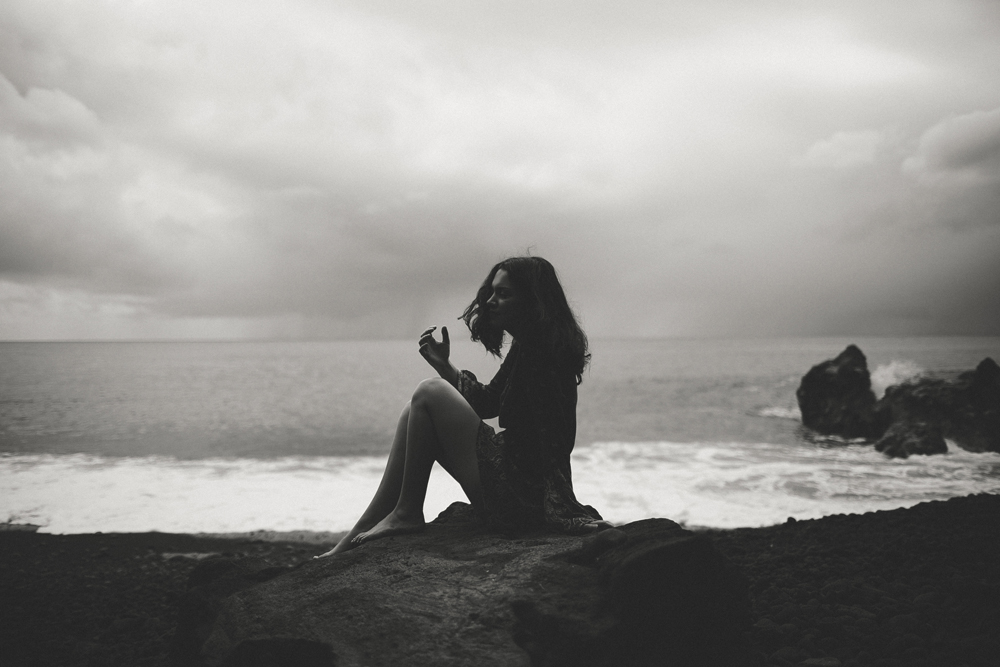
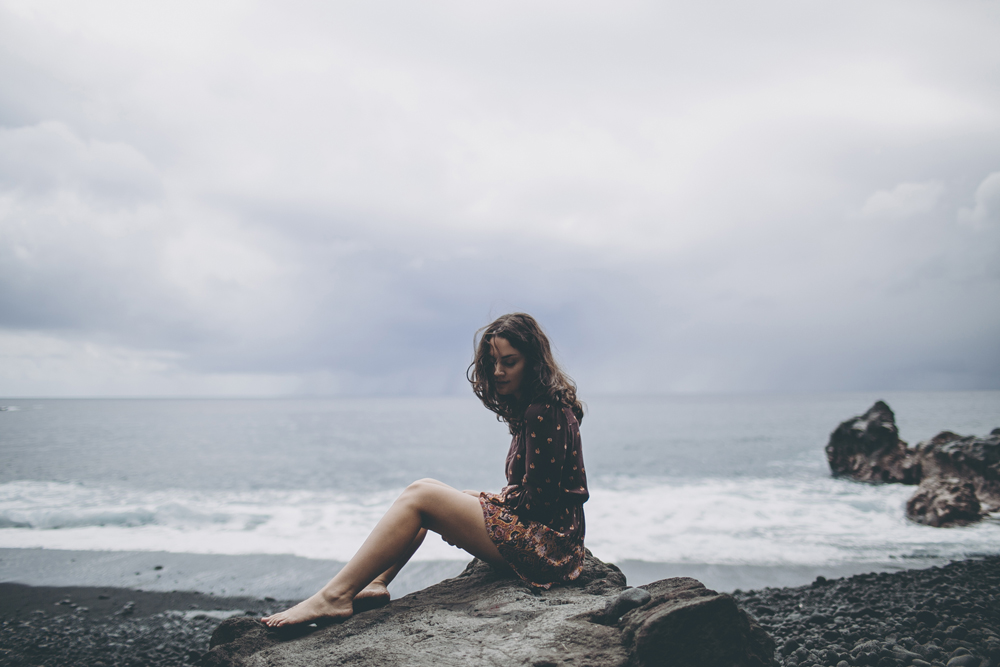
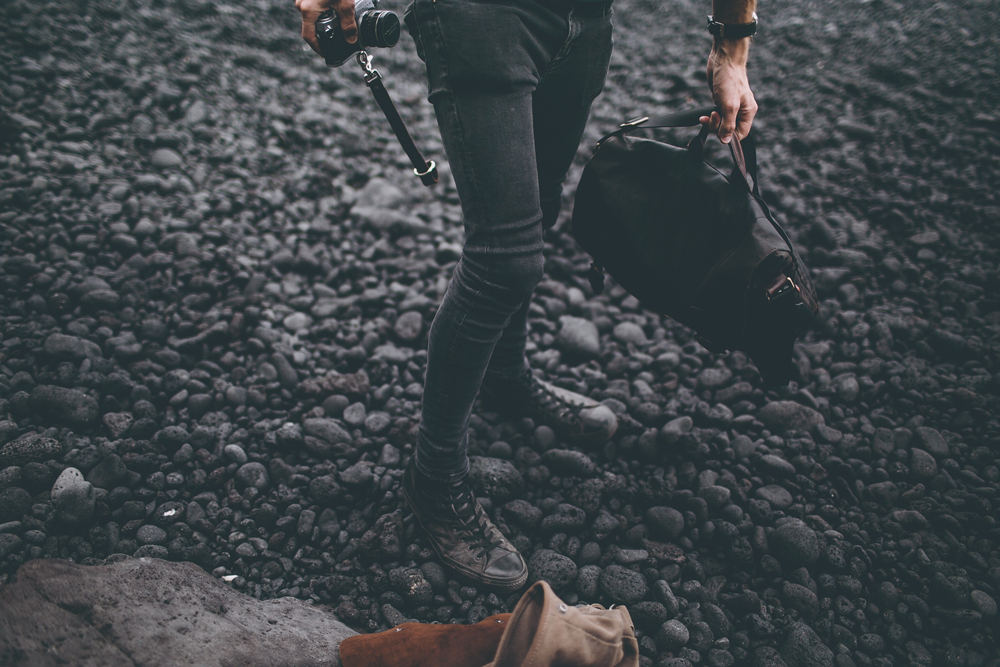
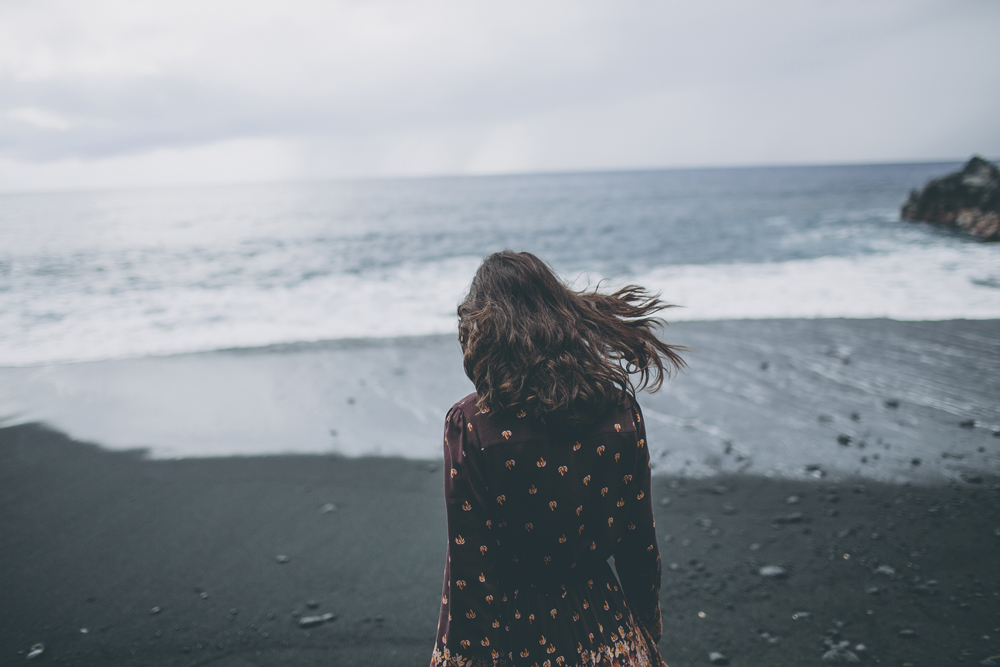
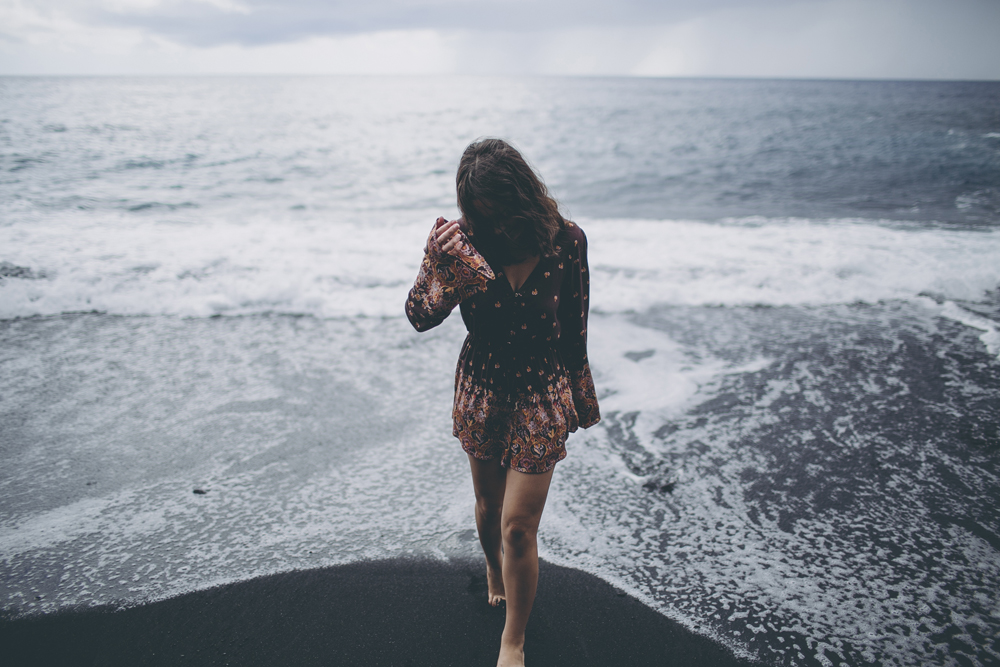
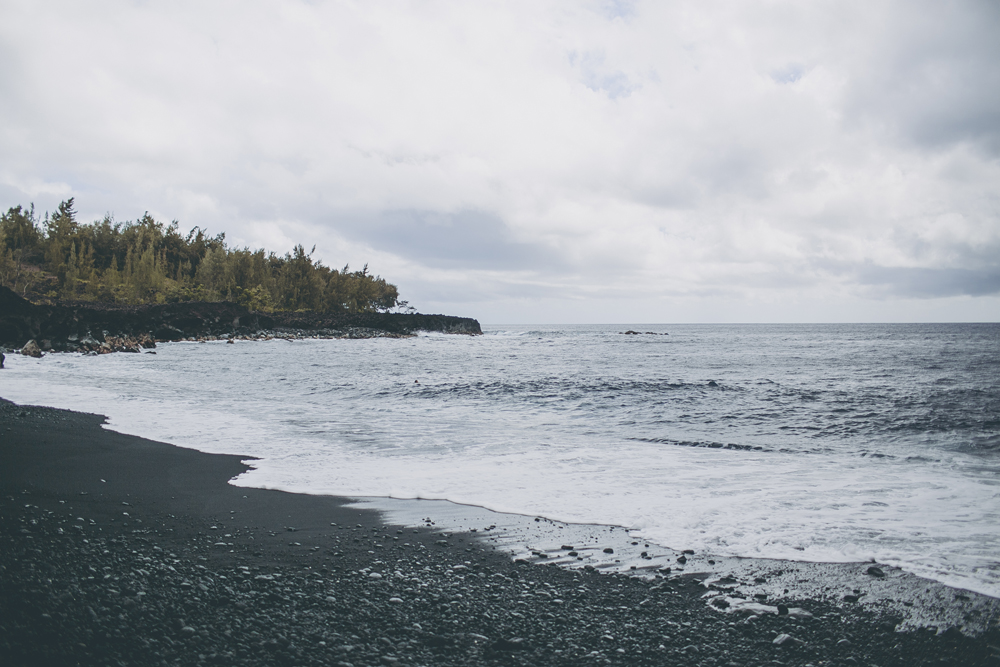
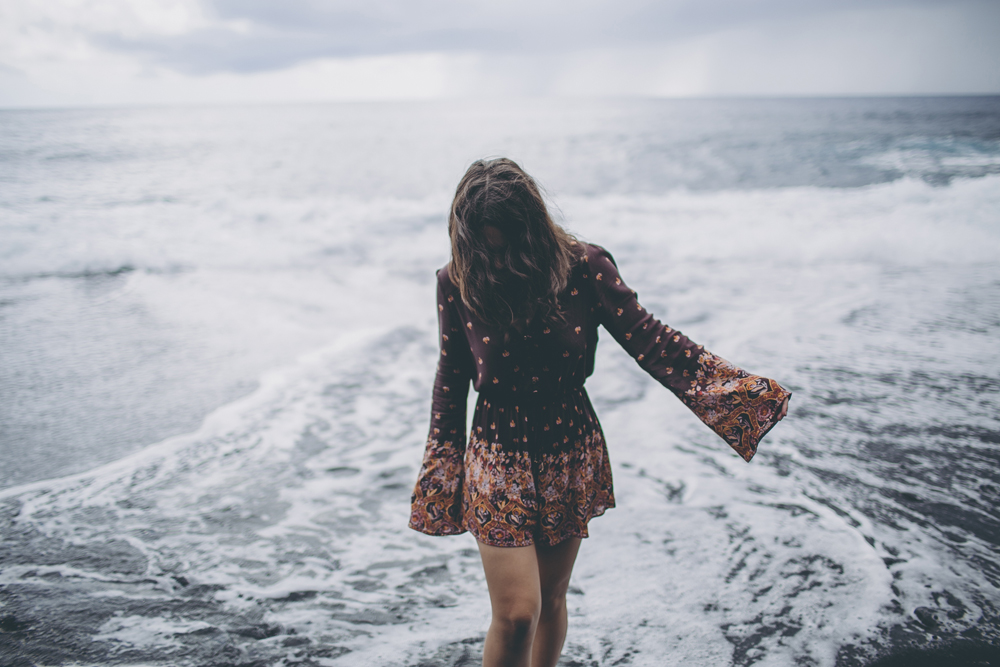
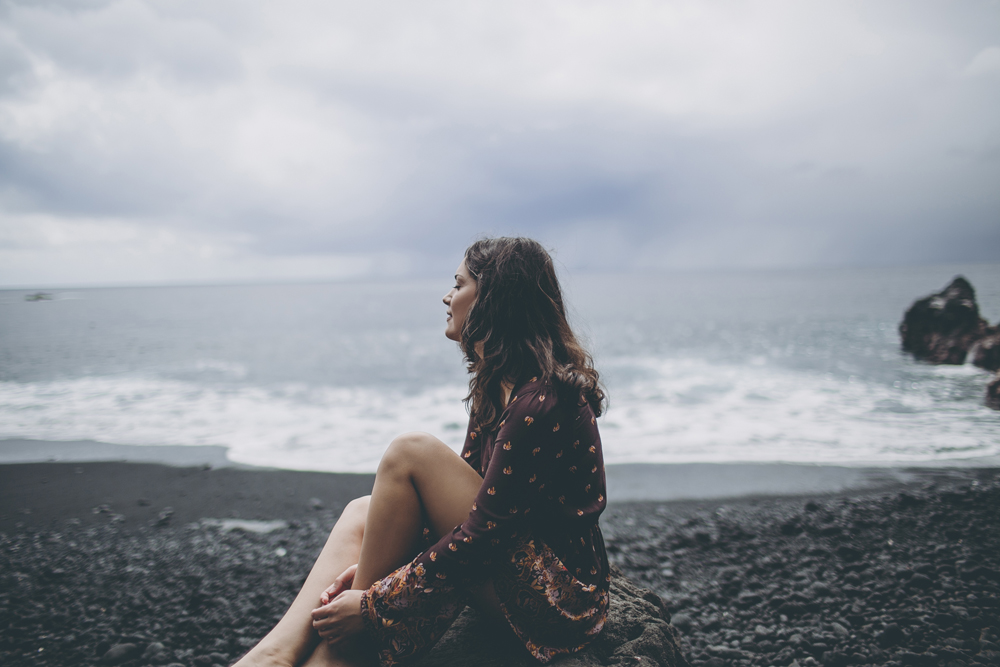
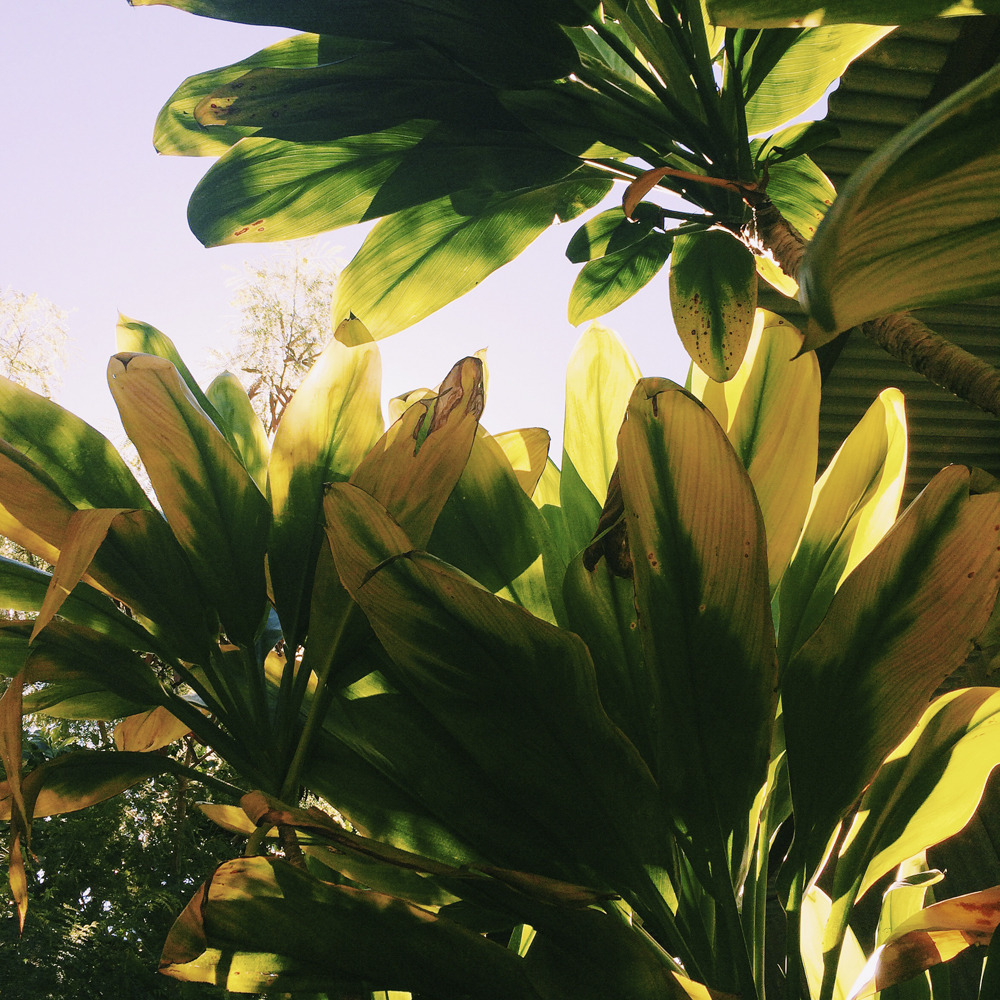
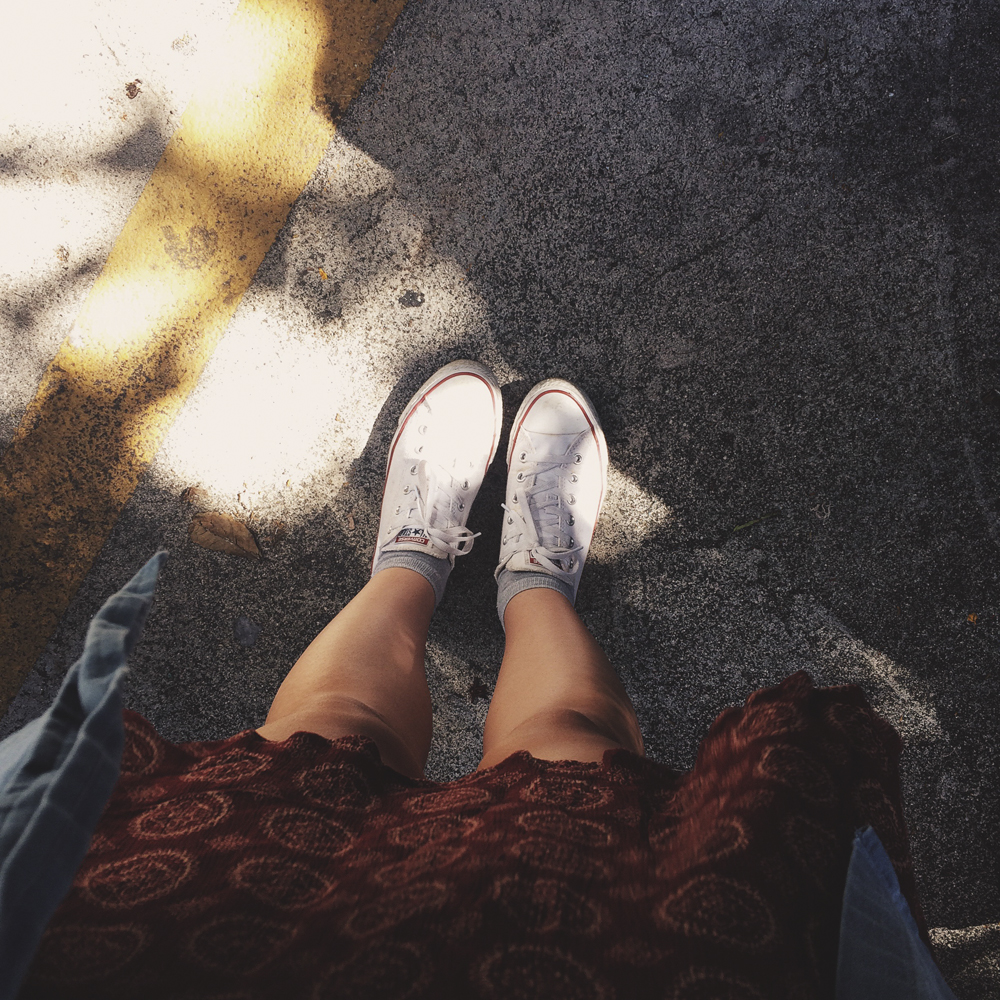
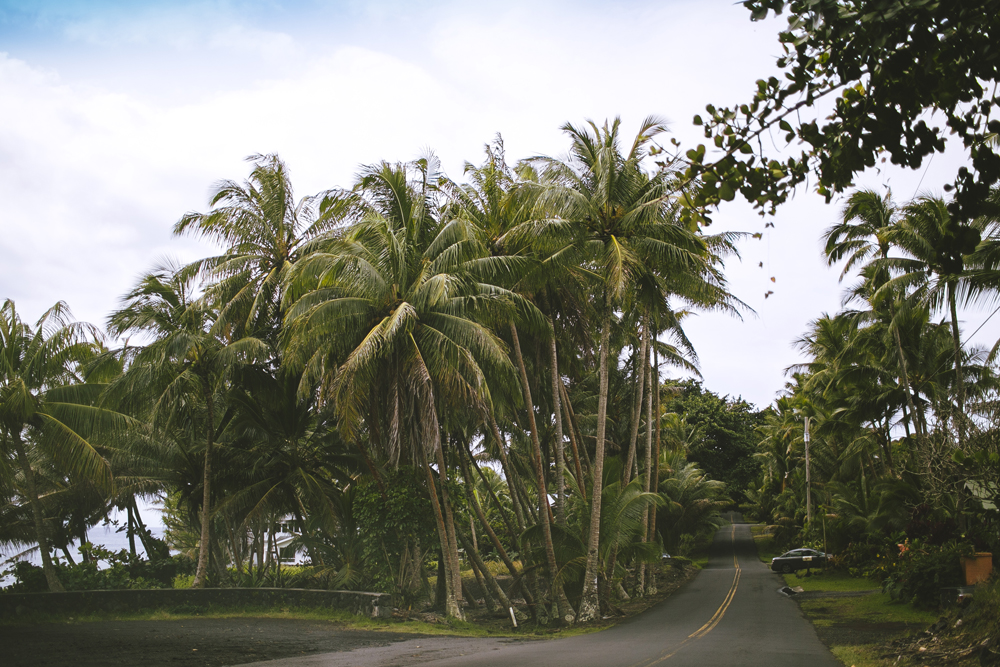
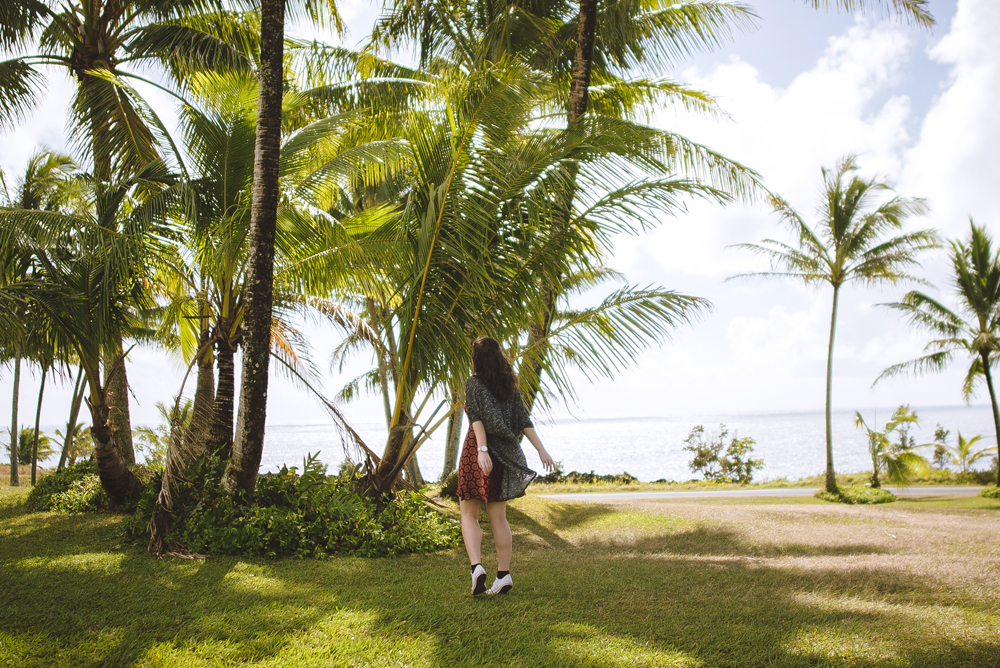
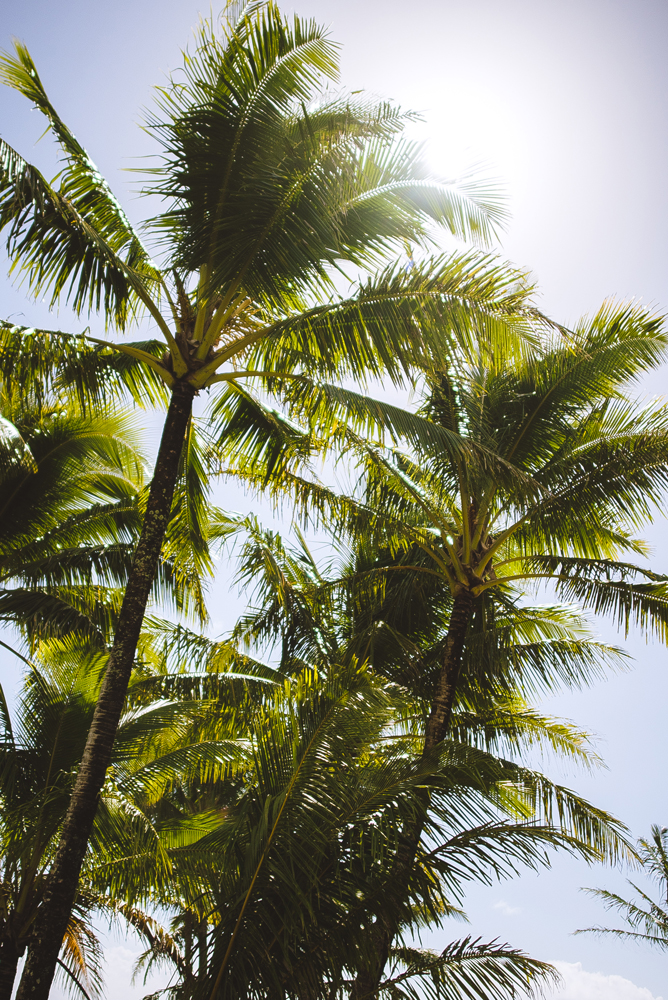
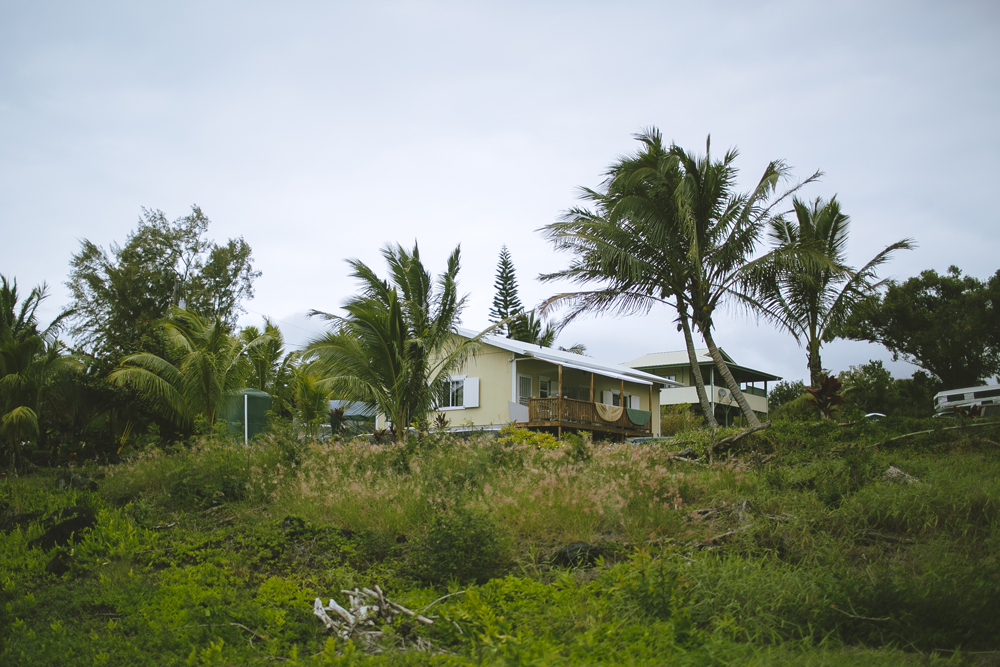
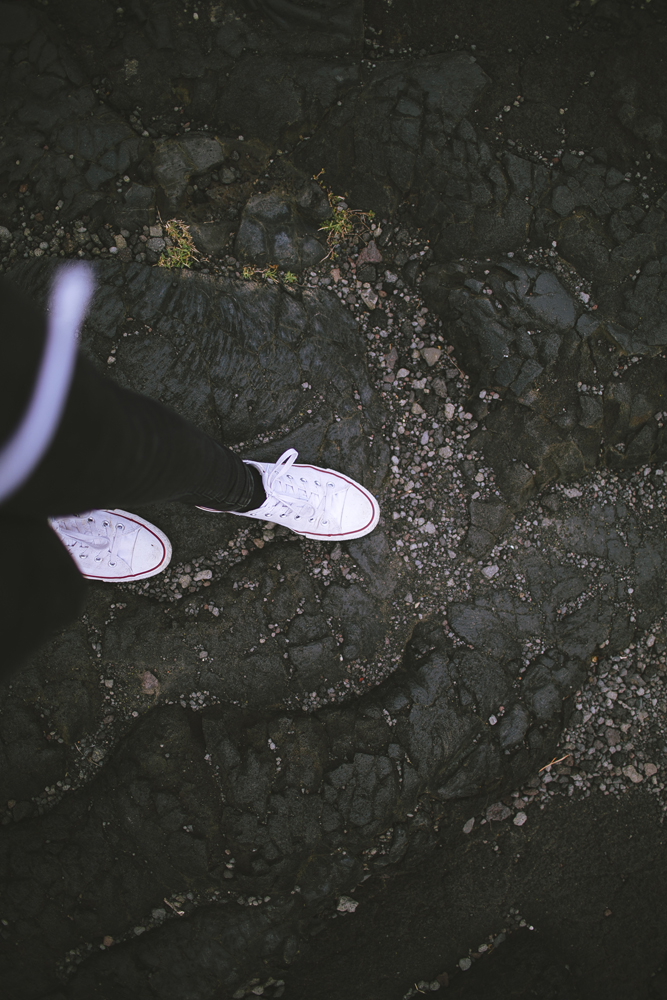
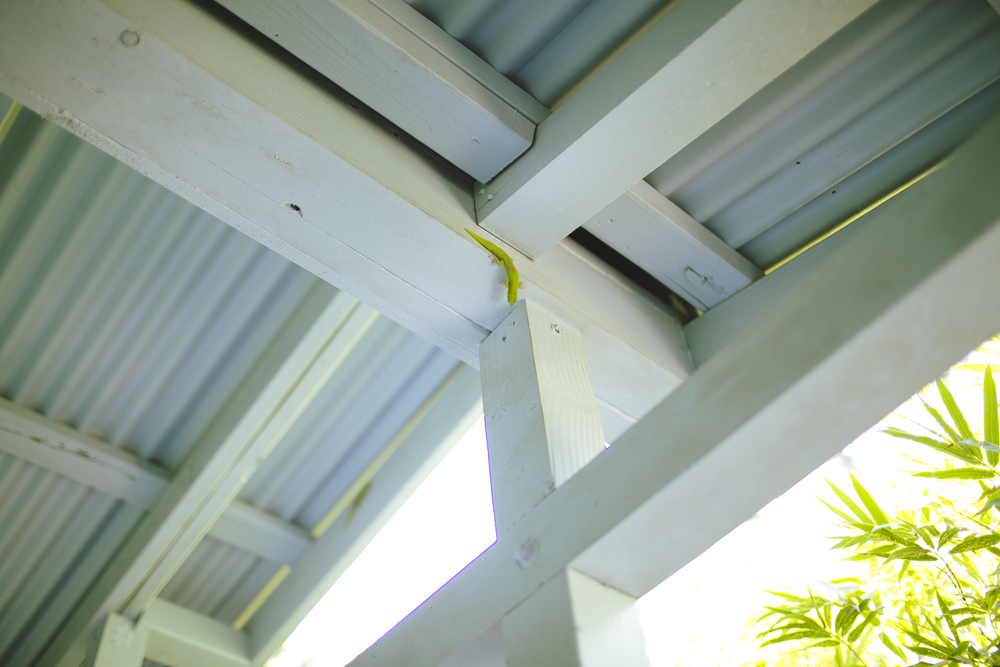
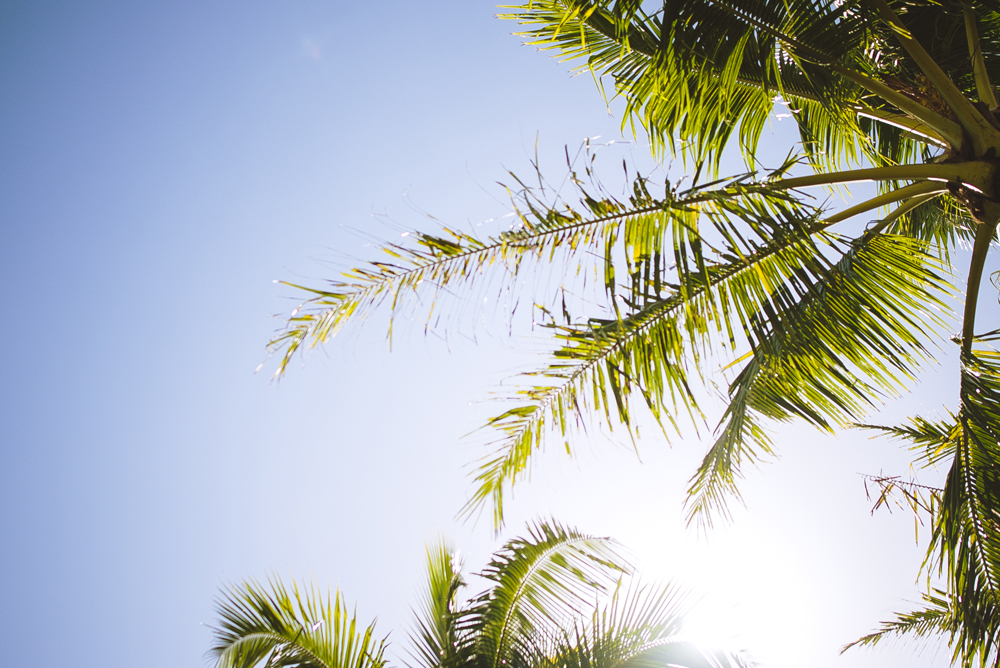
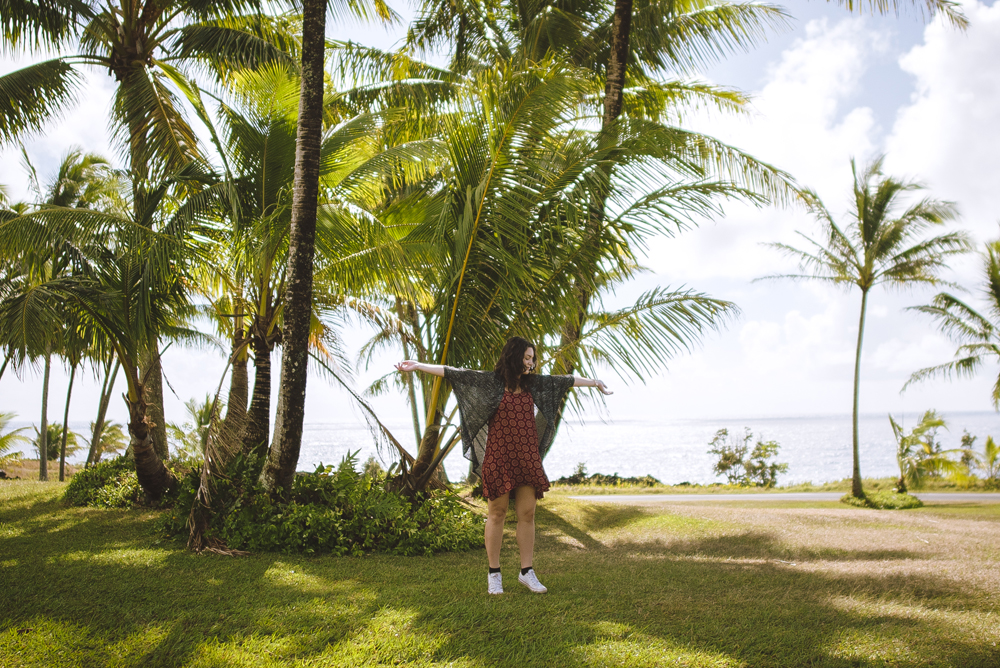
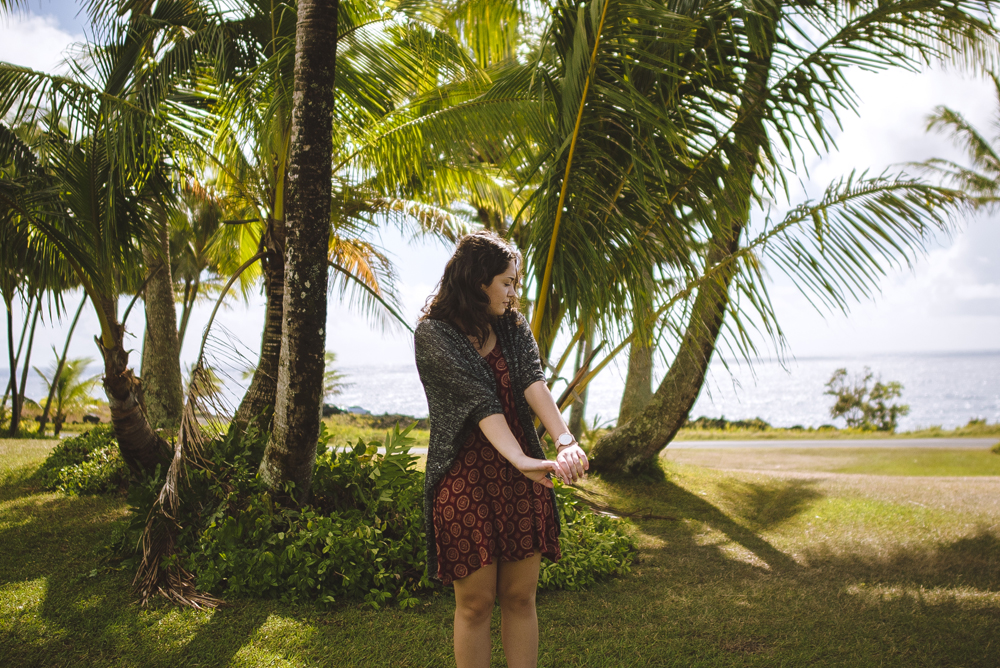
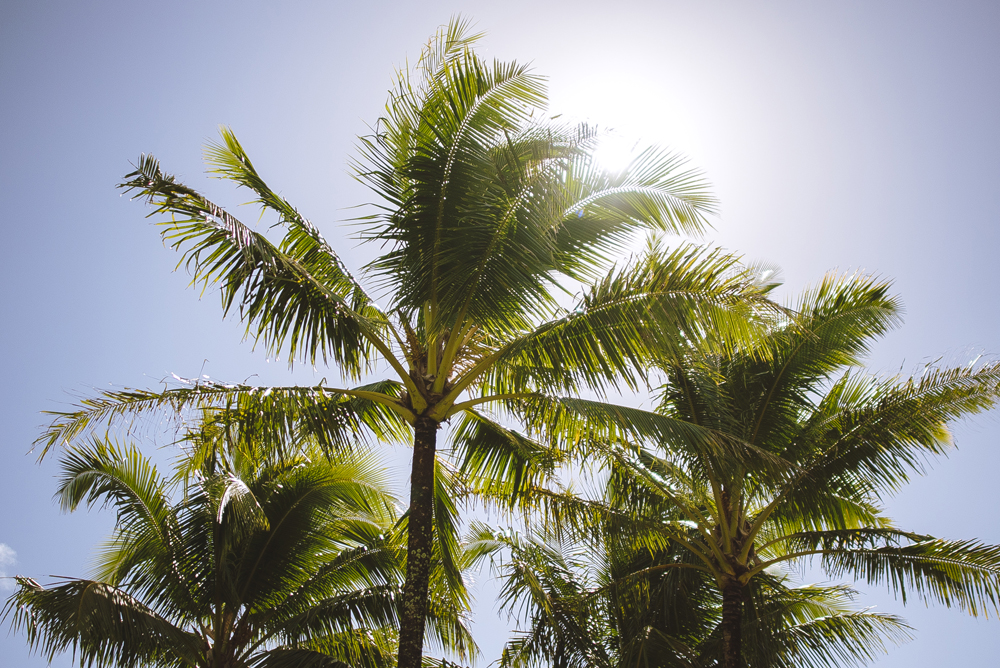
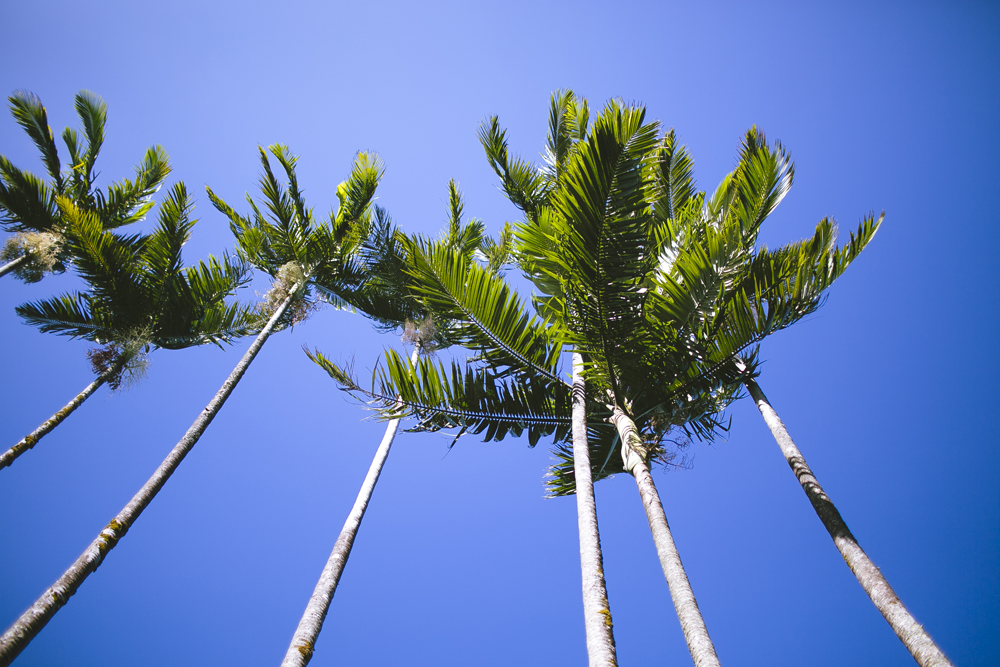
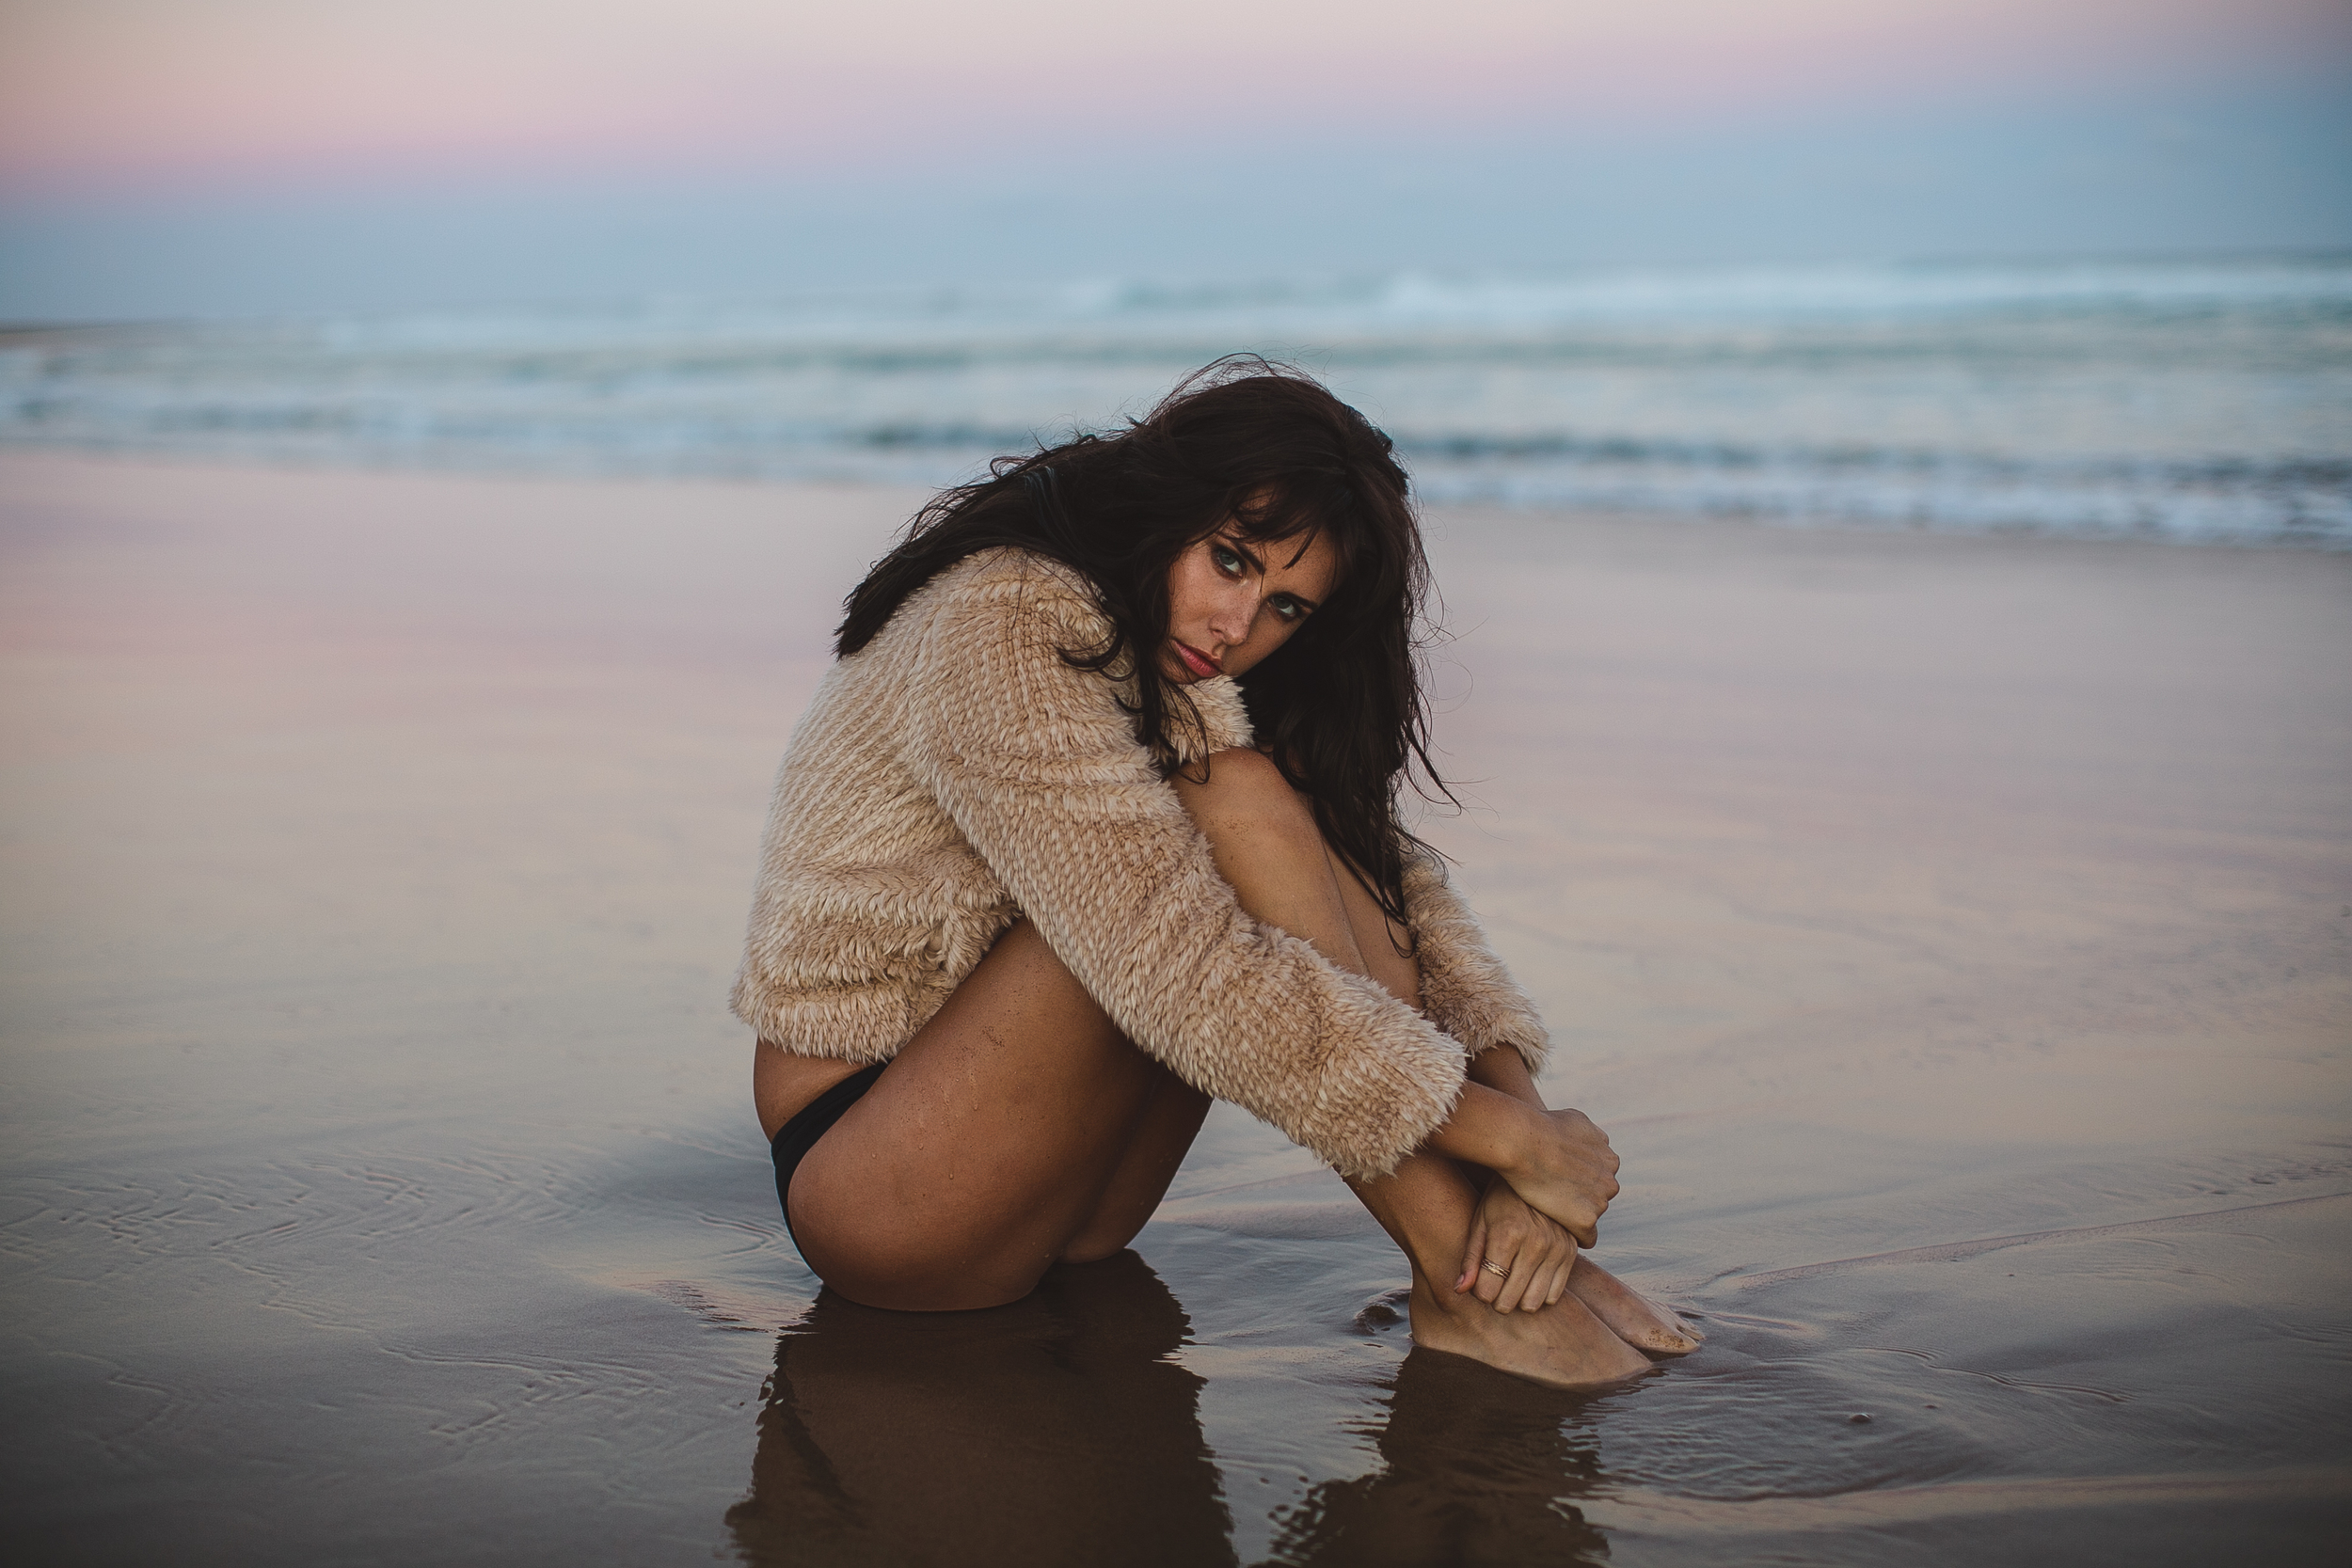
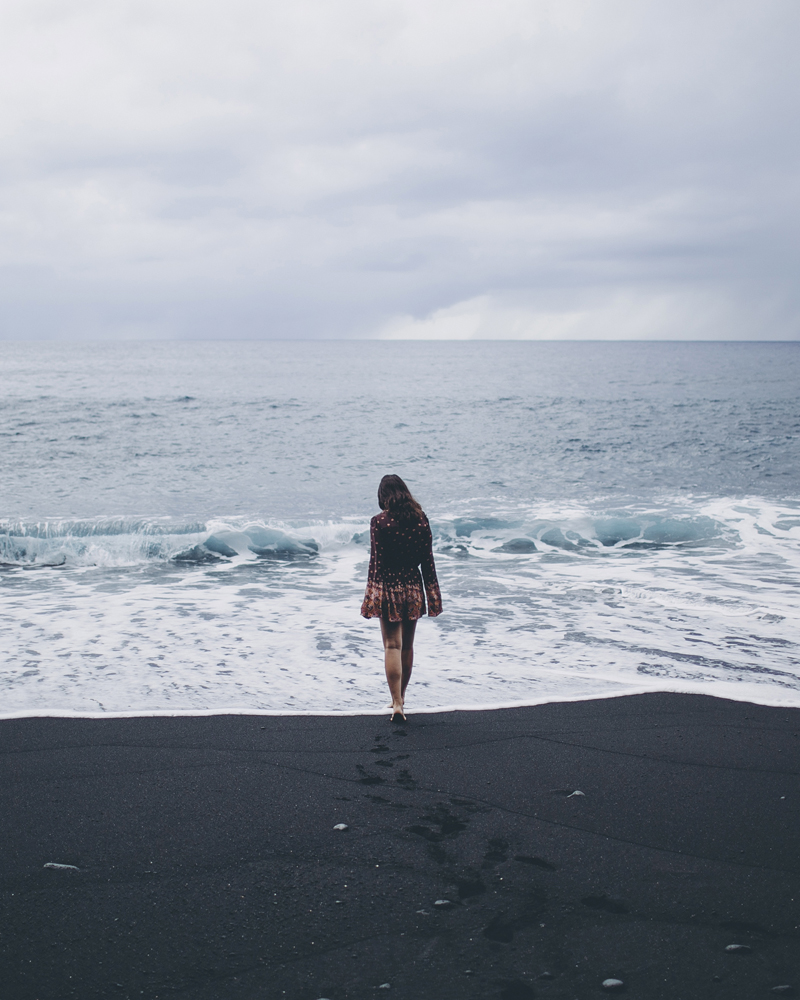
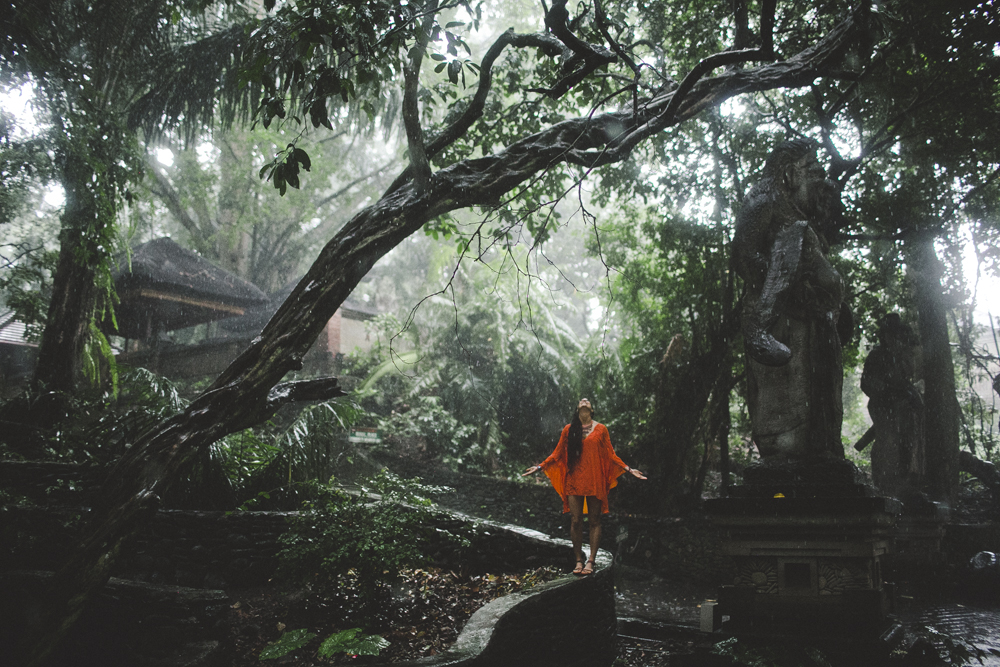
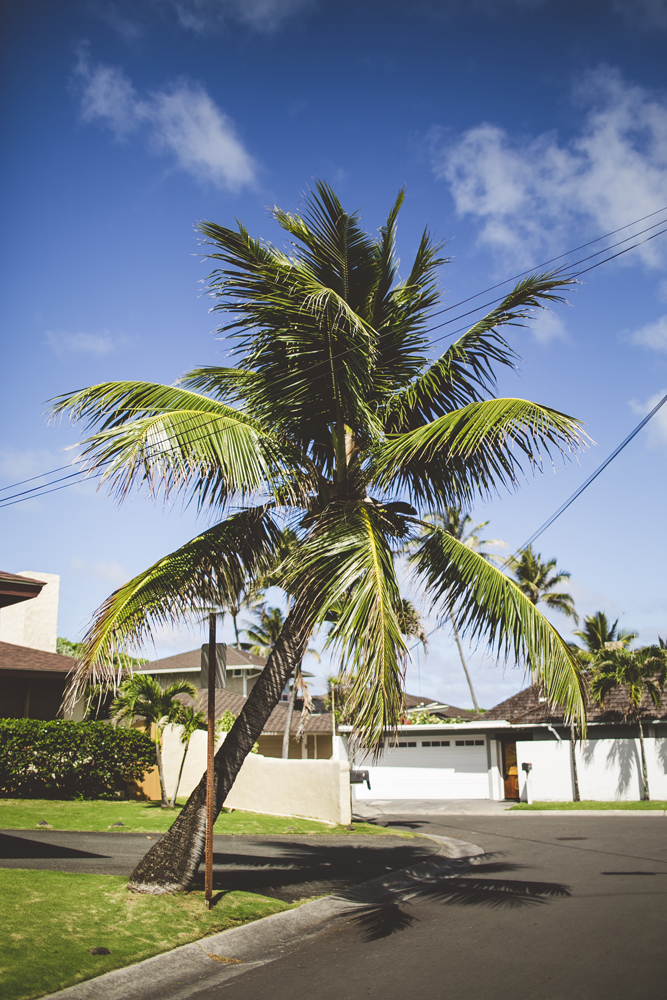
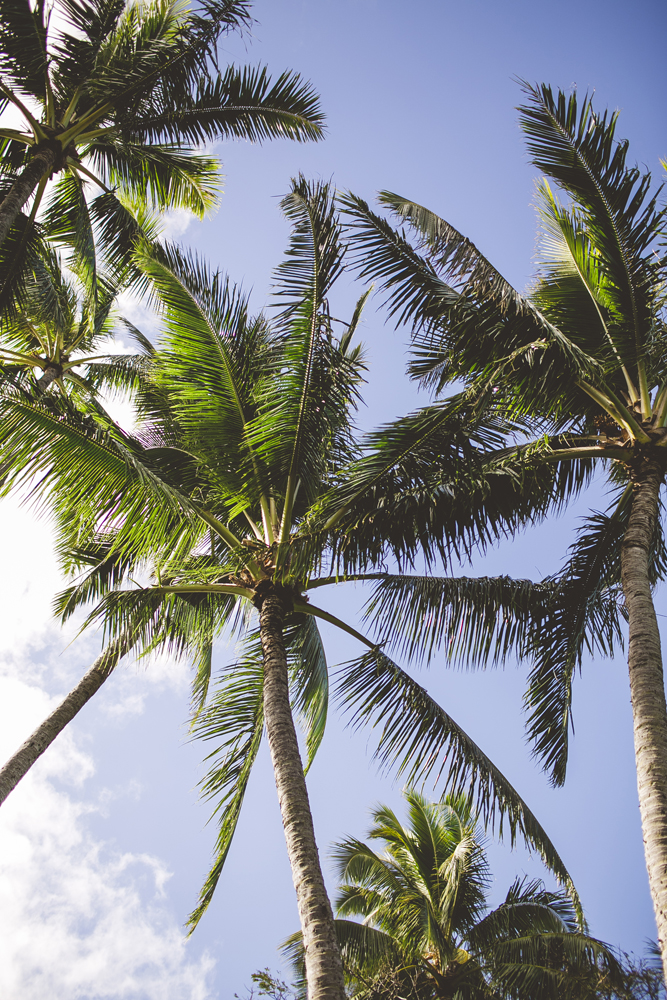
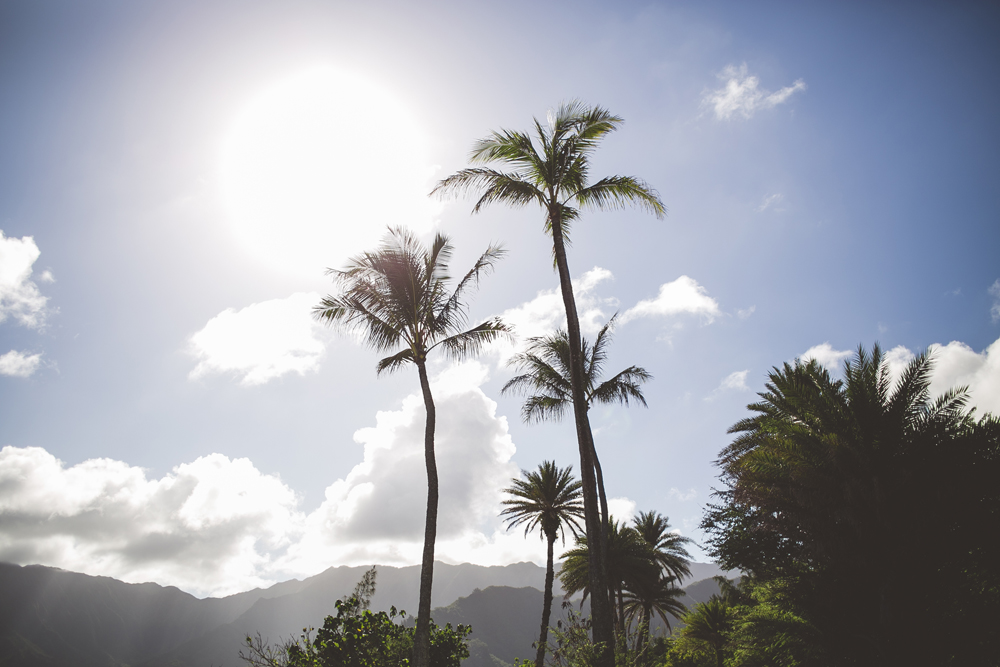
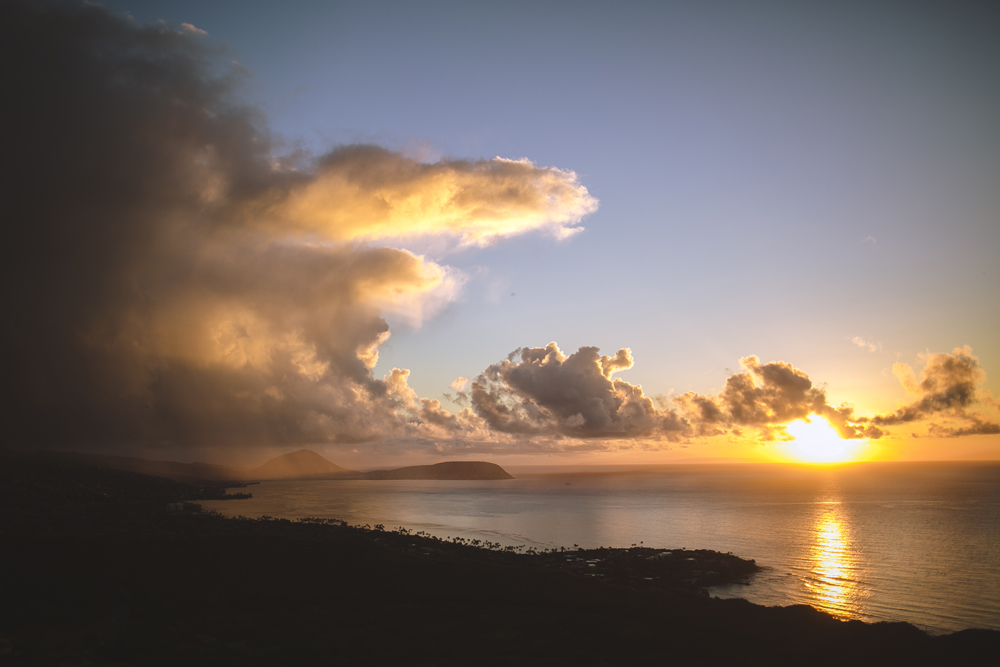
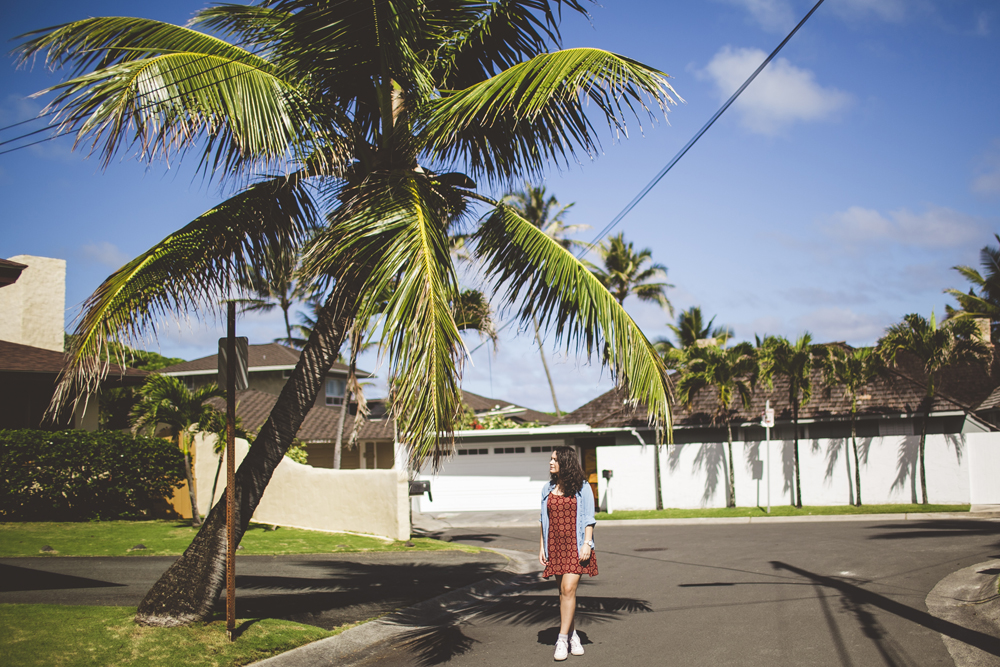
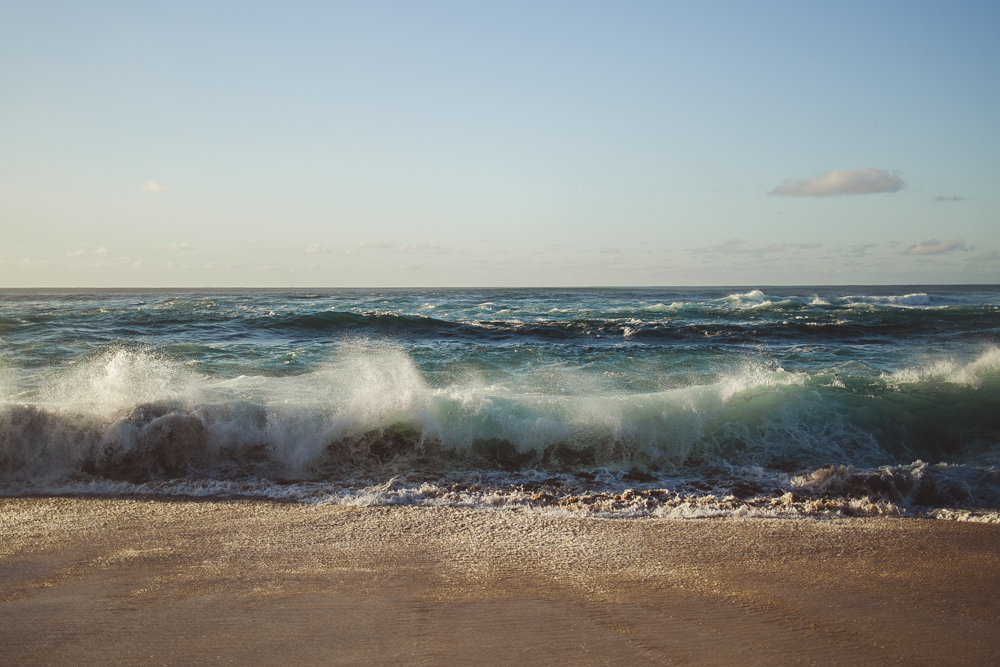
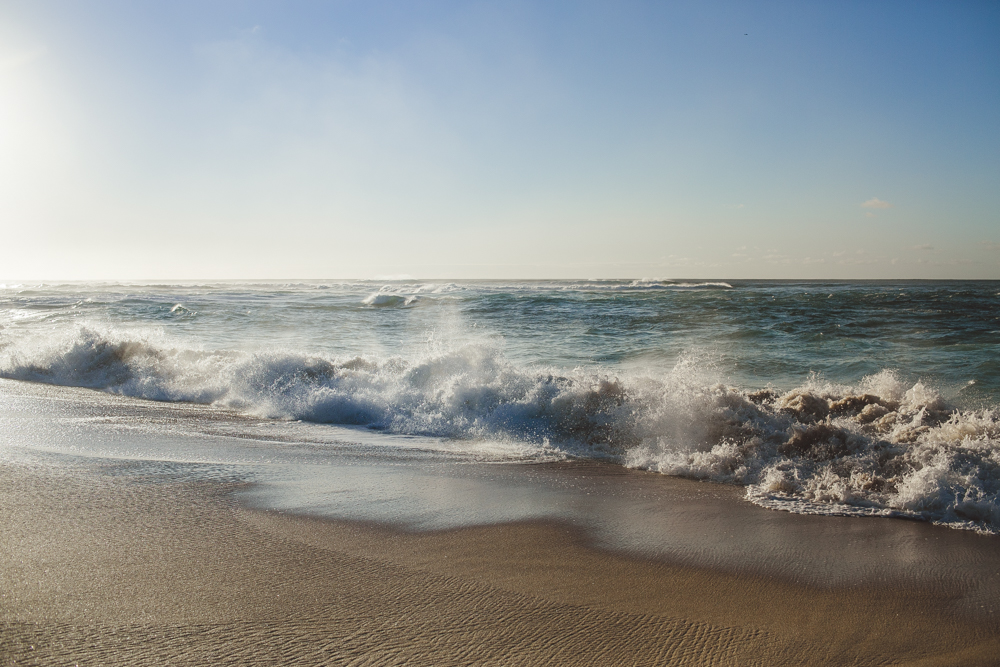
This was our last day on the Big Island, and in Hawaii in general, so we packed up all our things, said goodbye to our cabin and went to visit a black sand beach that was nearby where we were staying. We took some photos by the palm trees above and proceeded to head down the extremely rocky and rocky terrain to the beach. Flip flops were a bad idea haha.
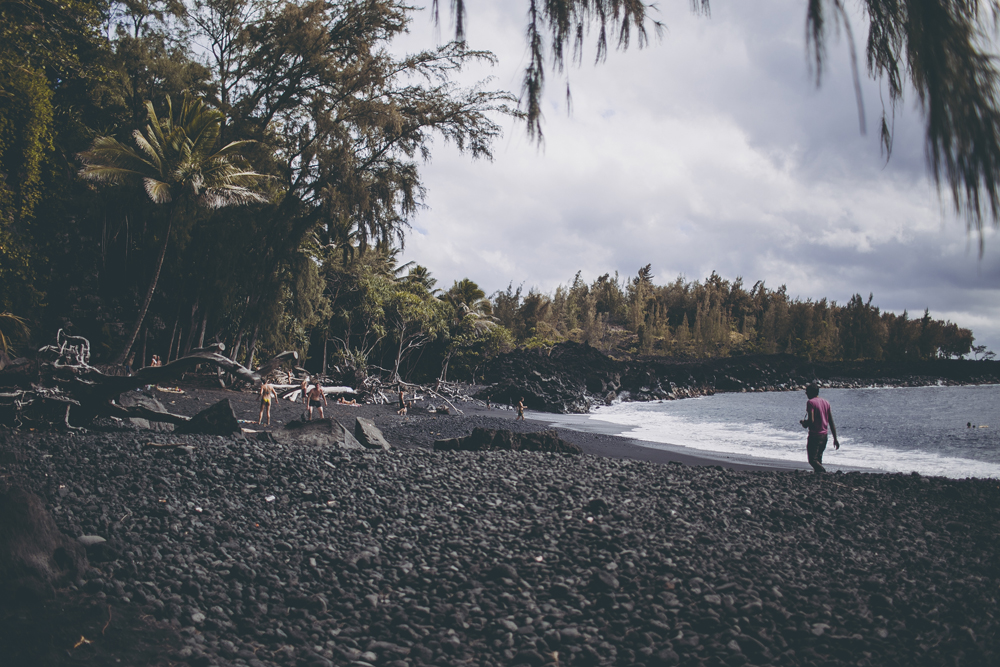
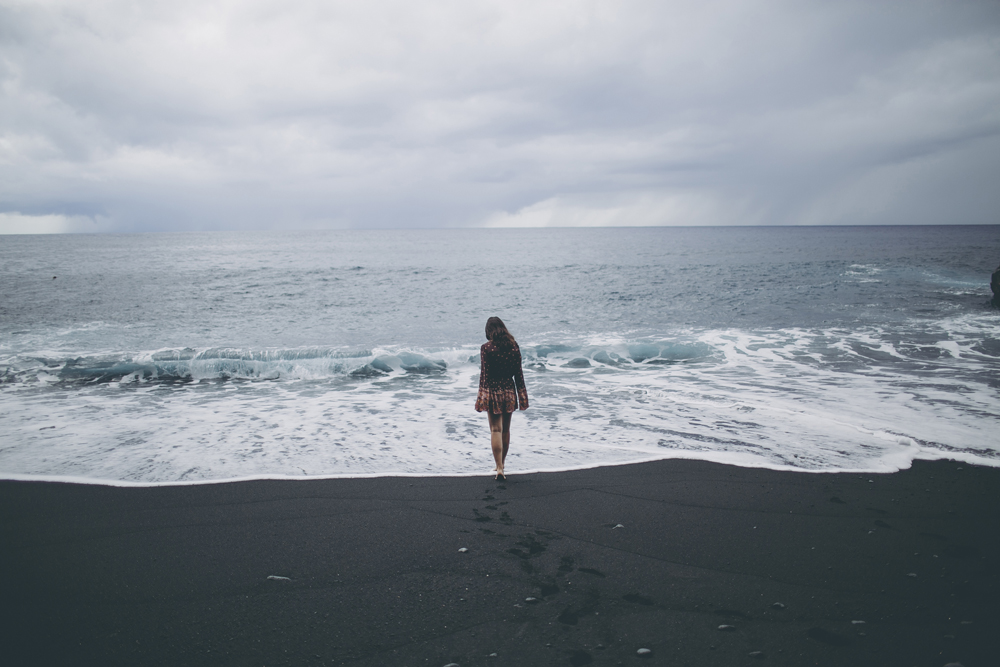
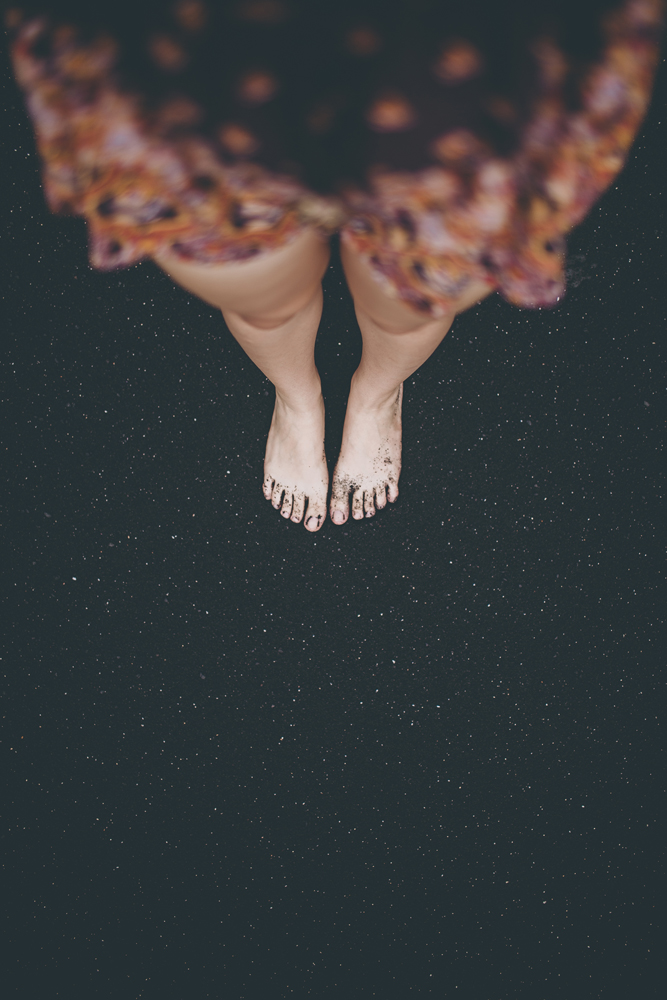
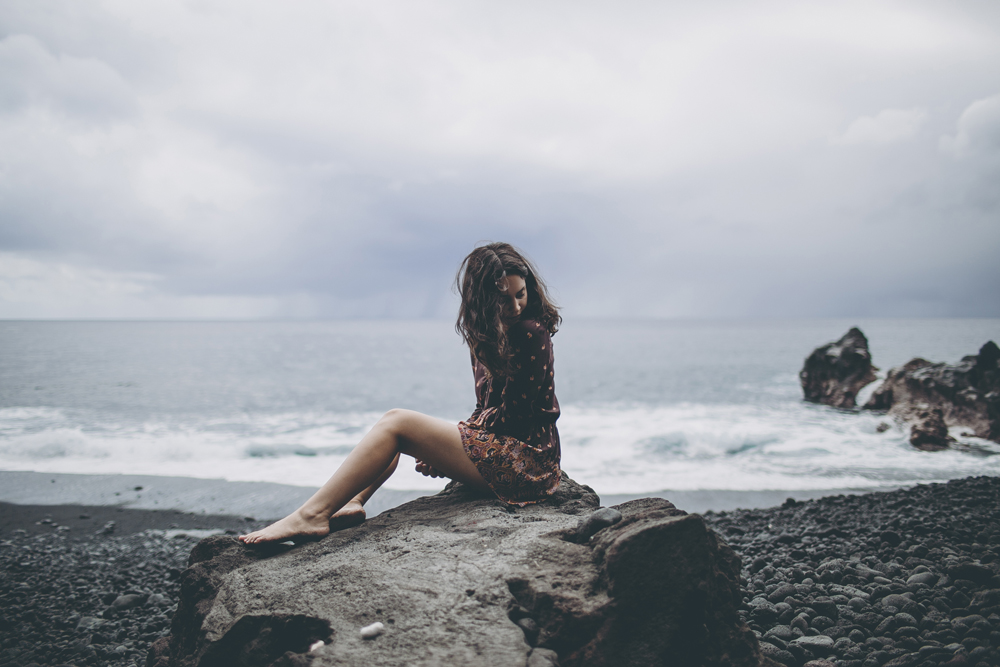
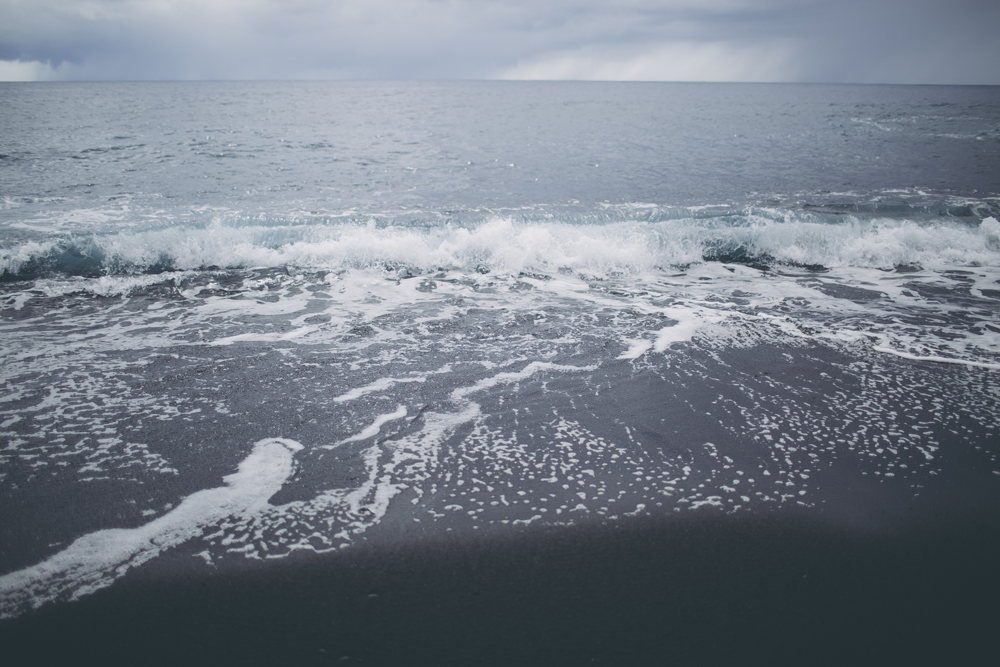
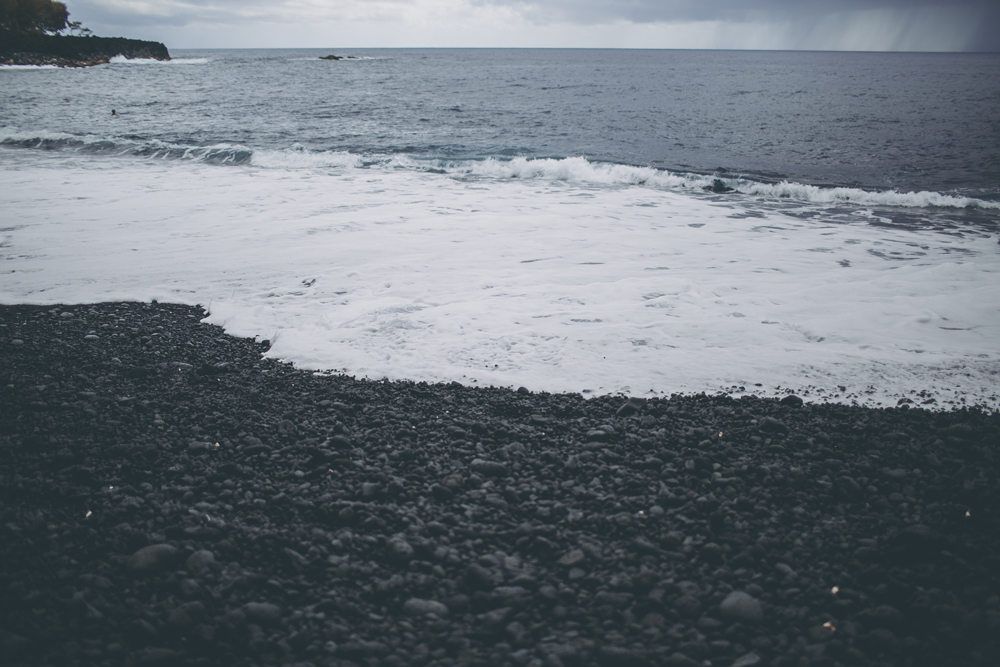
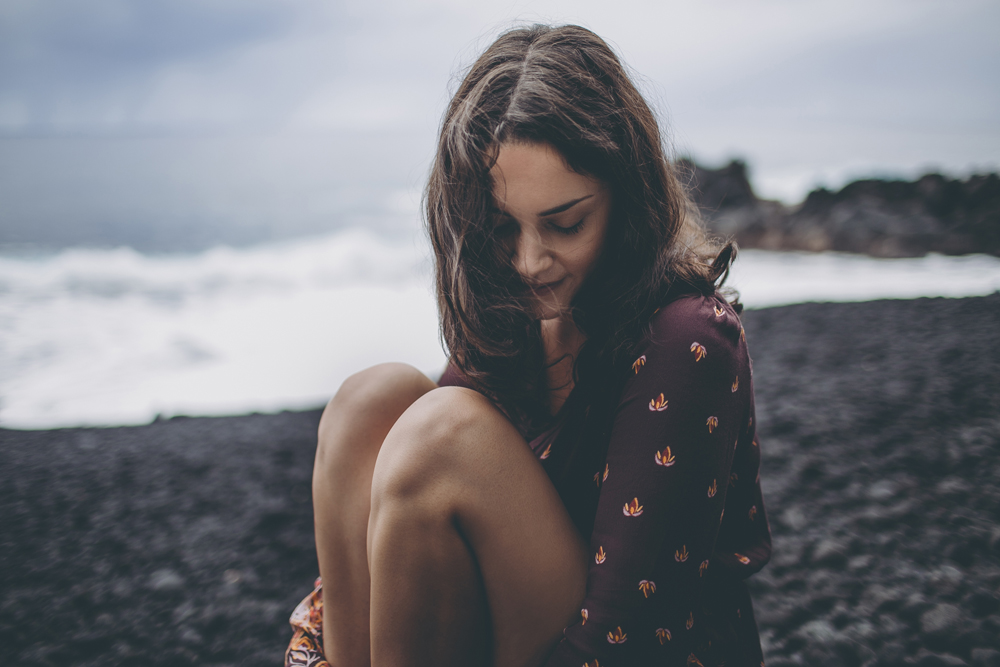
When we arrived at the beach, I couldn't believe my eyes - it was incredible. The waves were strong and crashing down on the lava rocks, the sand was jet black and the most wonderful thing I've seen. The water must have been clear, but because of the black sand, it was a brilliant shade of deep, vibrant blue. It was mesmerising. The locals were swimming nude and I couldn't keep my eyes off their heads bopping in and out of the water in the mass of this surreal landscape. We took some photos and retired on a rock to just watch the world around us. I think we must have spent at least an hour just watching the waves crash against the shore and just taking in the beauty that is Hawaii in one last time before we left.
I also have some exciting news because I've started sharing more fashion shoot behind the scenes videos + Lightroom & Photoshop Tutorials on my YouTube Channel! Be sure to subscribe as I upload 2 new videos every week x
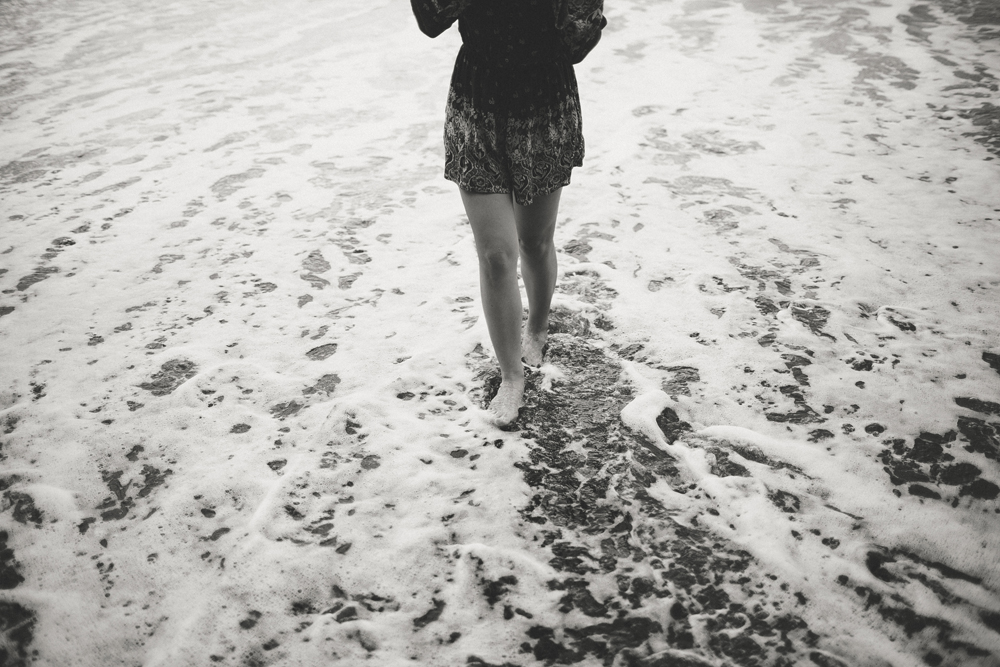
all photos edited with my San Francisco Lightroom Preset | black and white photos edited with my Charcoal Lightroom Preset


Follow me on my instagram accounts:
main account @julia trotti
personal account @juls.trotti
I also have some exciting news because I've started sharing more fashion shoot behind the scenes videos + Lightroom & Photoshop Tutorials on my YouTube Channel! Be sure to subscribe as I upload 2 new videos every week x
You can also see all the final photos from this trip in my Oahu, Hawaii Photo Diary blog post!

HONOLULU to HILO
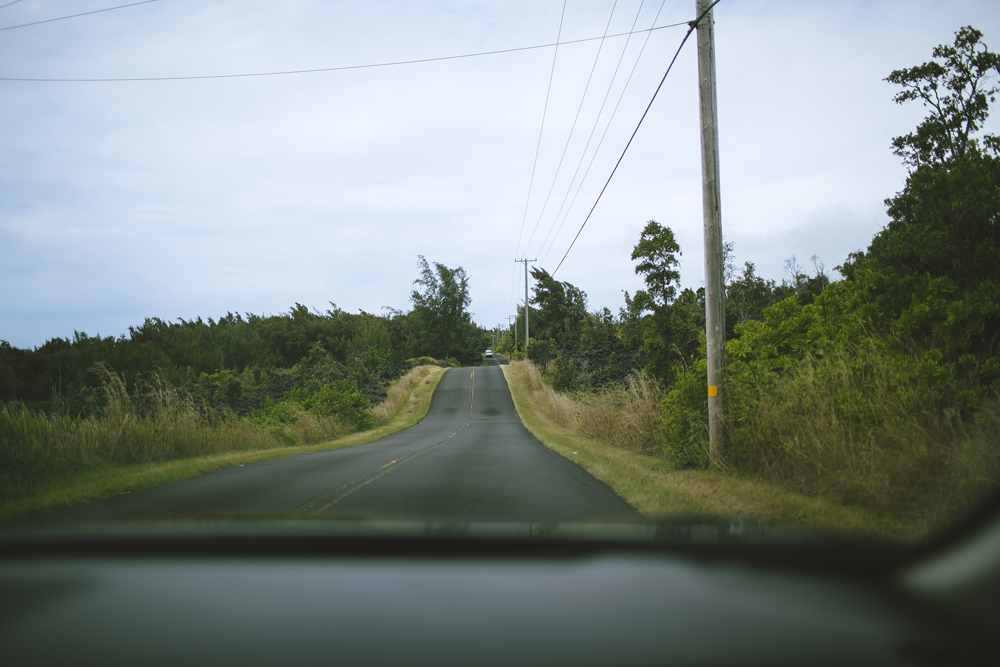
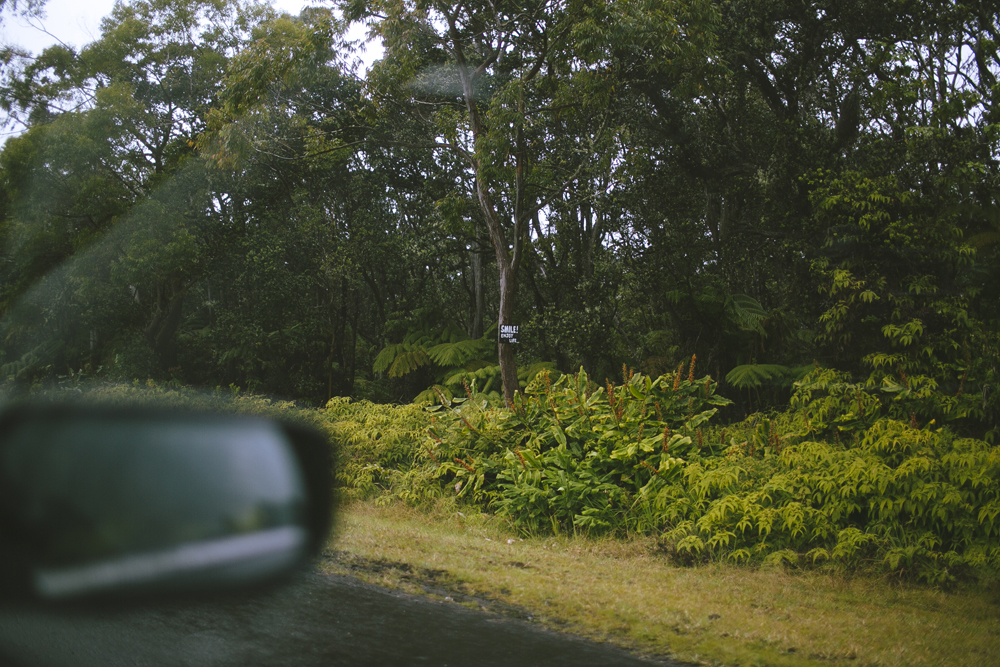
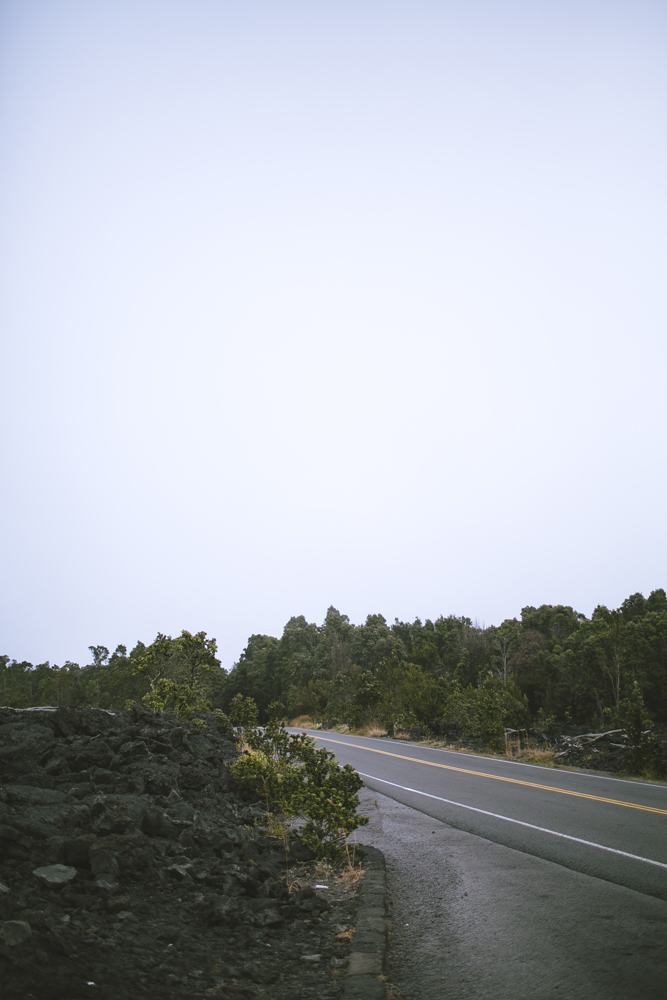
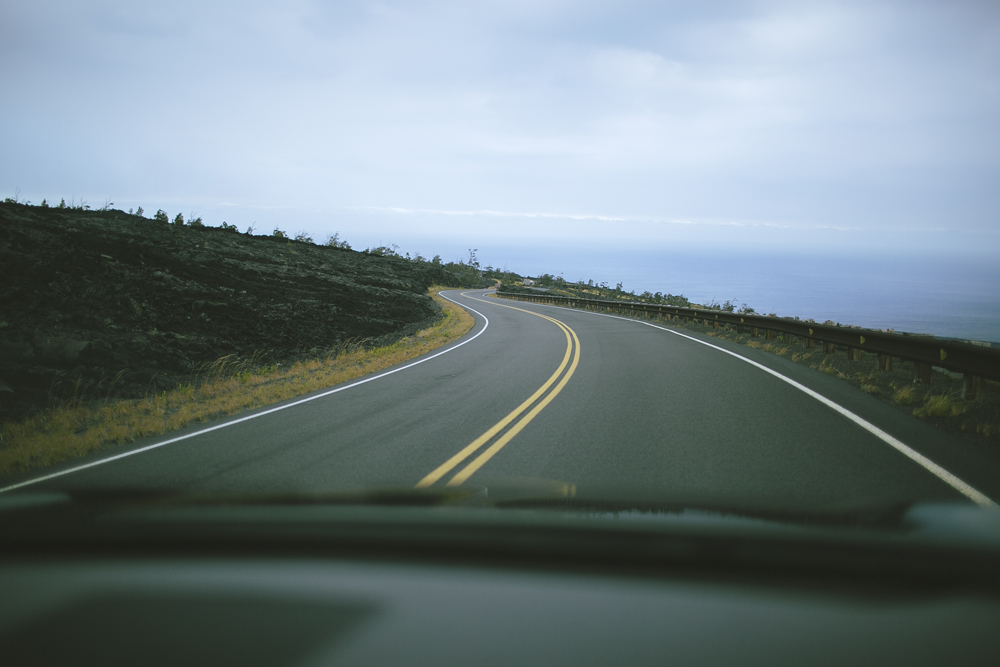
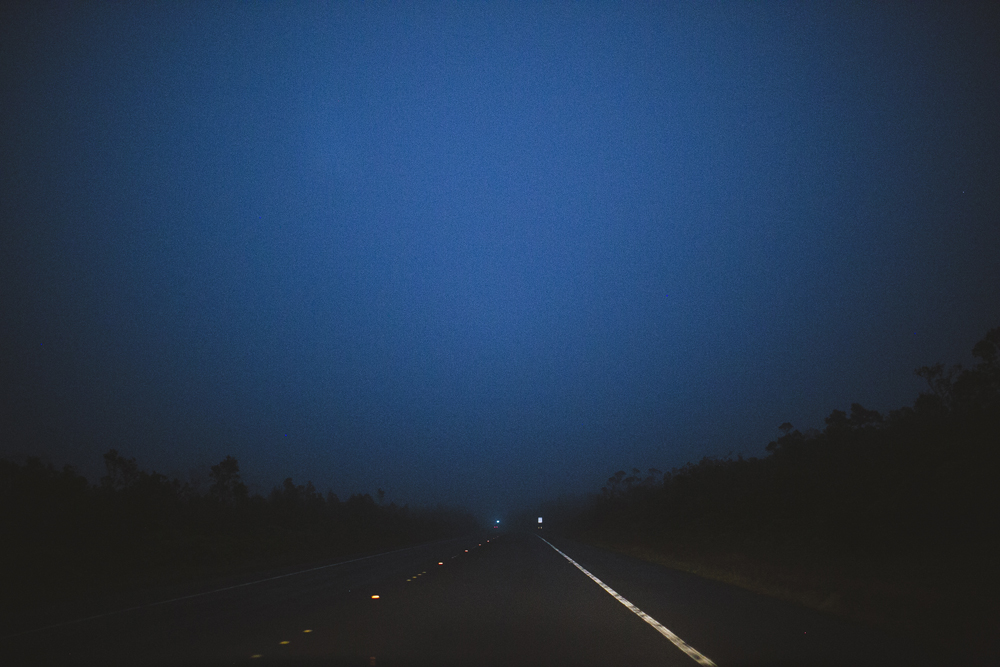
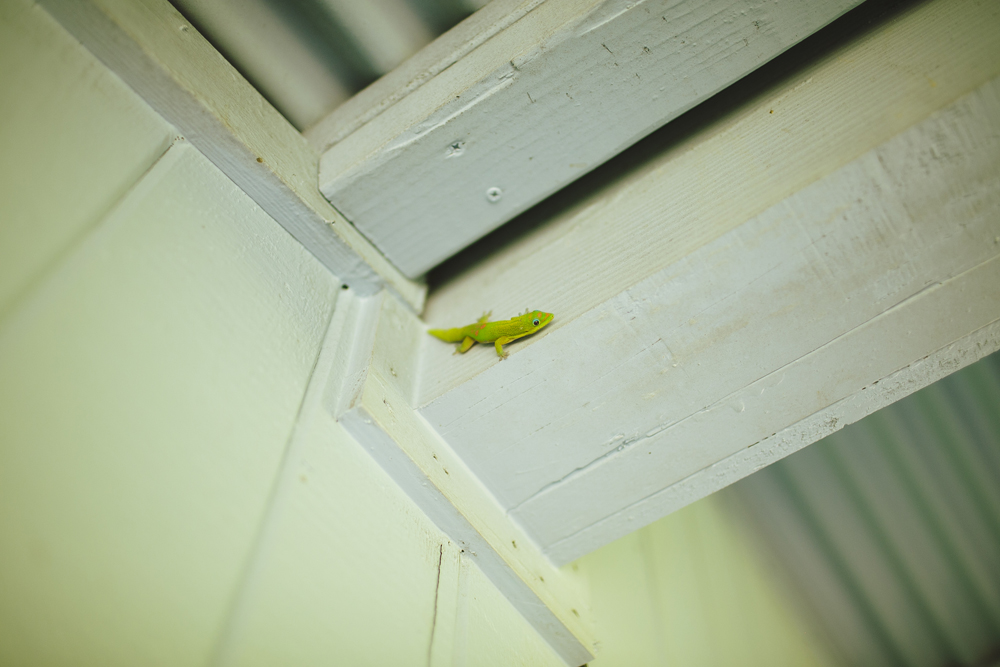
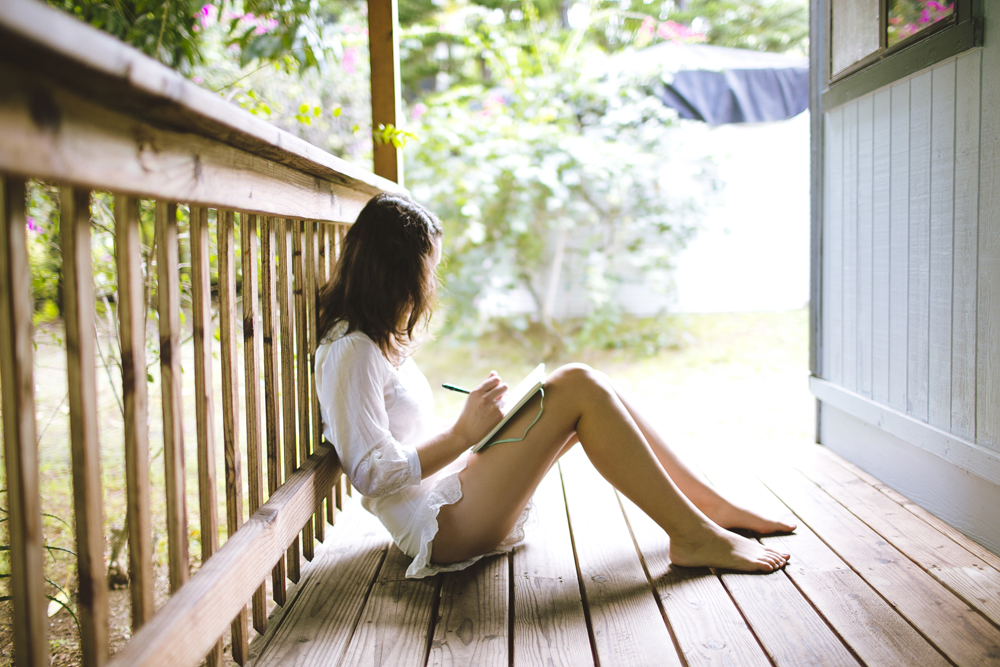
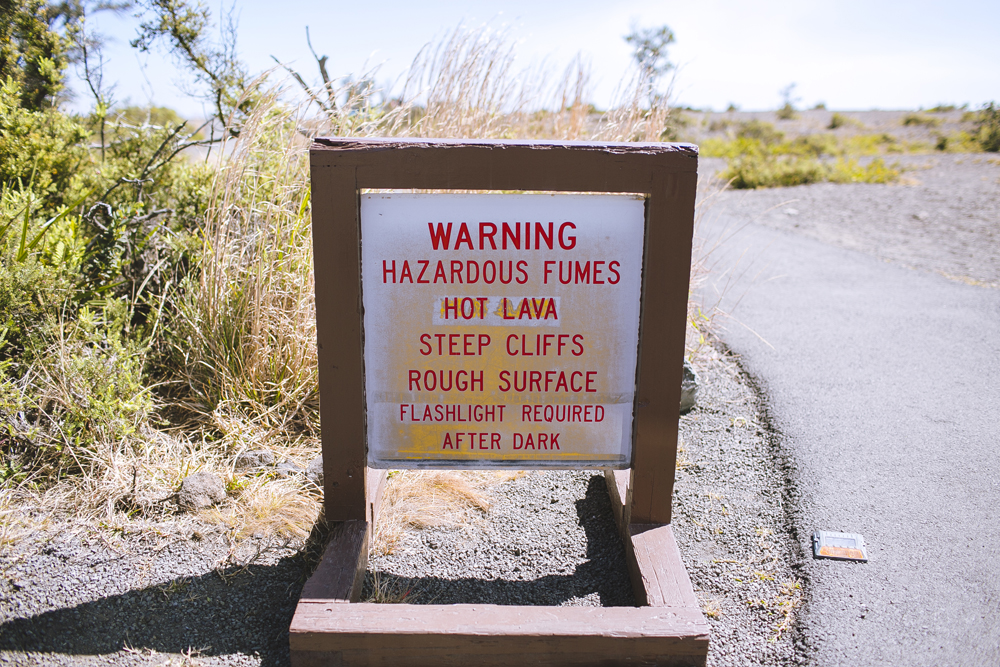
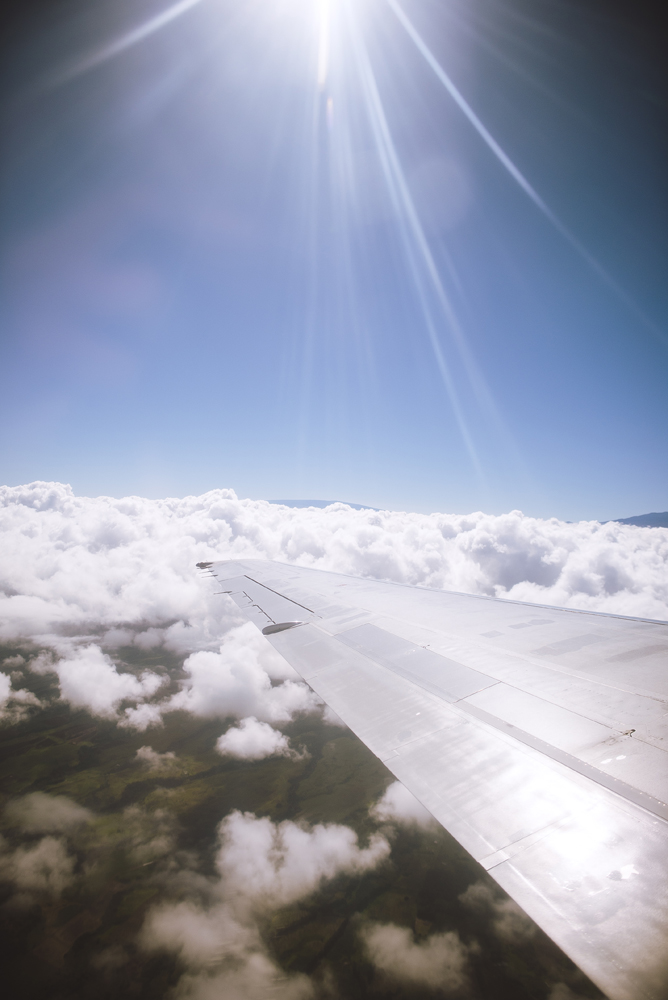
We took the first flight out of Oahu and headed to the Big Island of Hawaii. When we landed it was immediately a different world. On our first night in our rural cabin surrounded by bright green geckos, I wrote in my diary "Today we took a wrong turn and ended up on a road that had a sign: "emergency lava road closure." It was at that moment that being on this island felt very real." Little things from our first day on the big island that I will always remember include seeing smoke in the distance and wondering wether or not is was the volcano. And the bumpiness (smooth, long bumps across the road kind of like a rollercoaster) of the coastal road to our house made us feel so queasy on our first drive on it. Eventually we got used to it, but at least once on the road you need to let out a little yell/yelp to make you feel better.
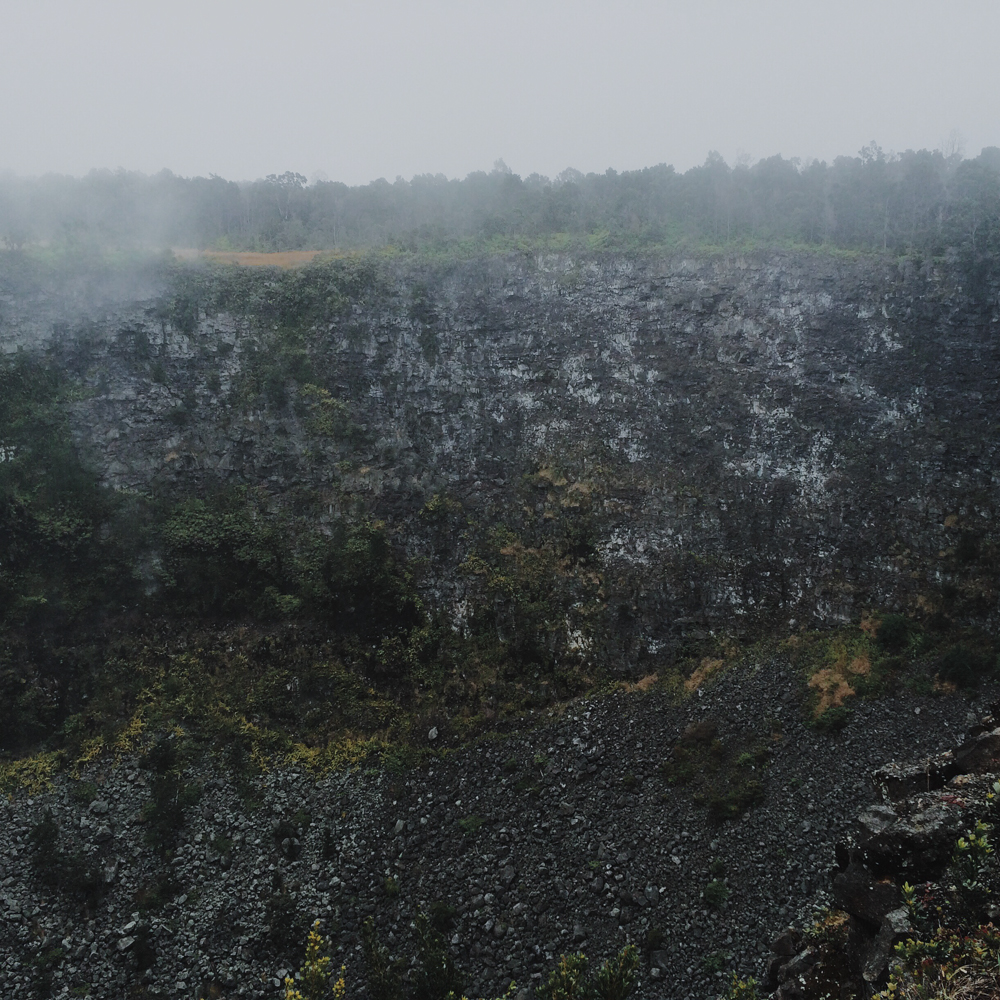
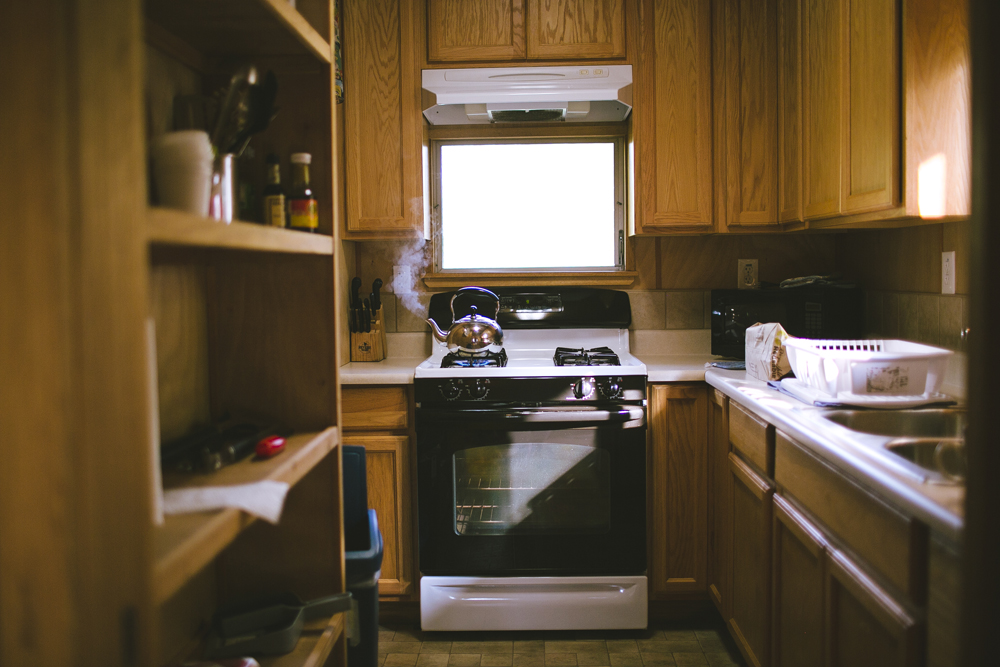
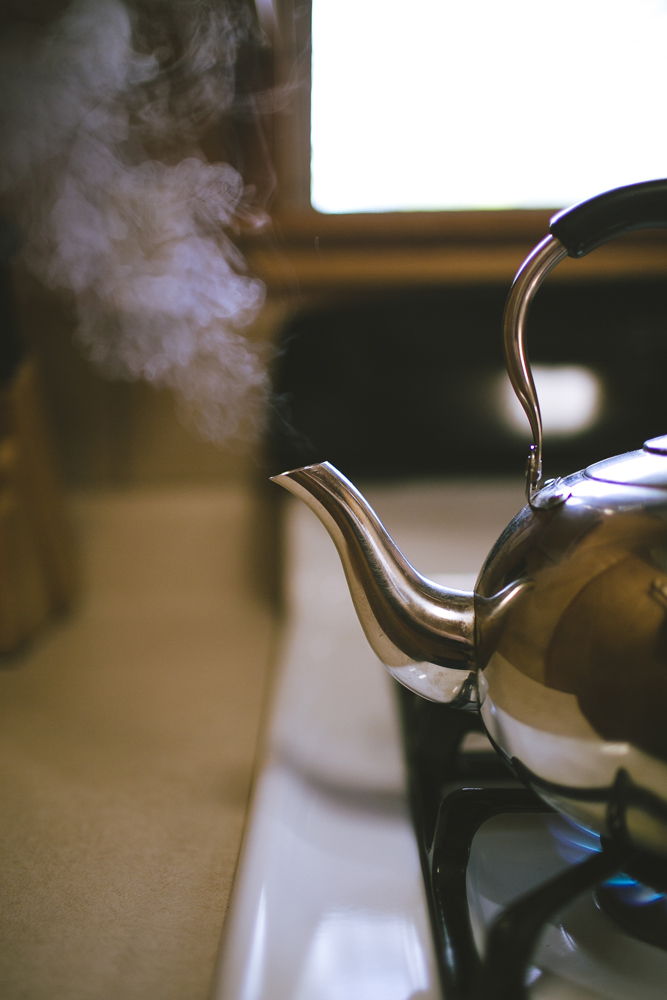
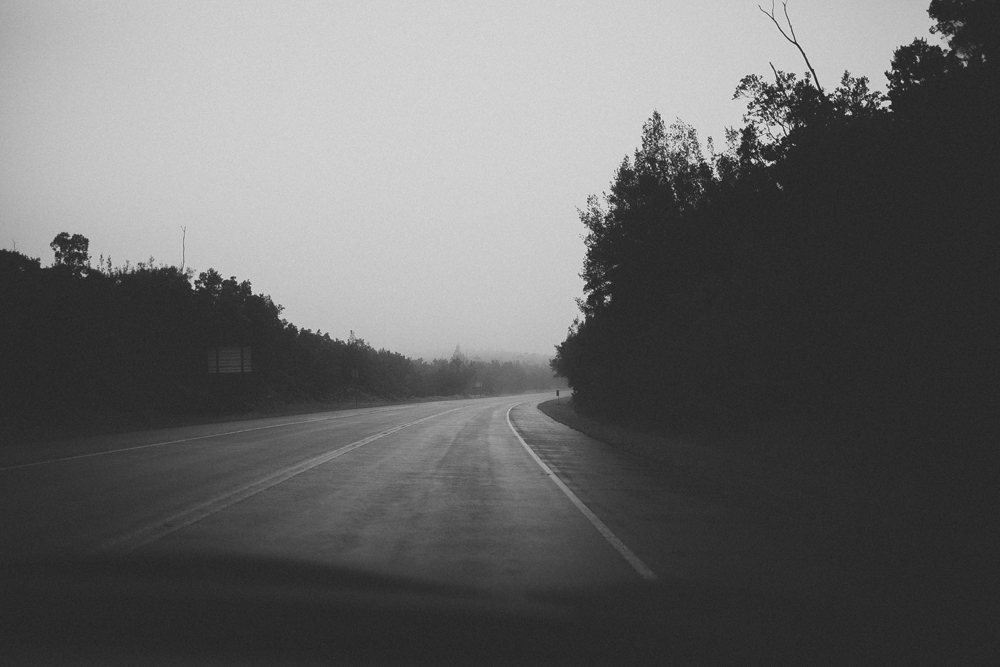
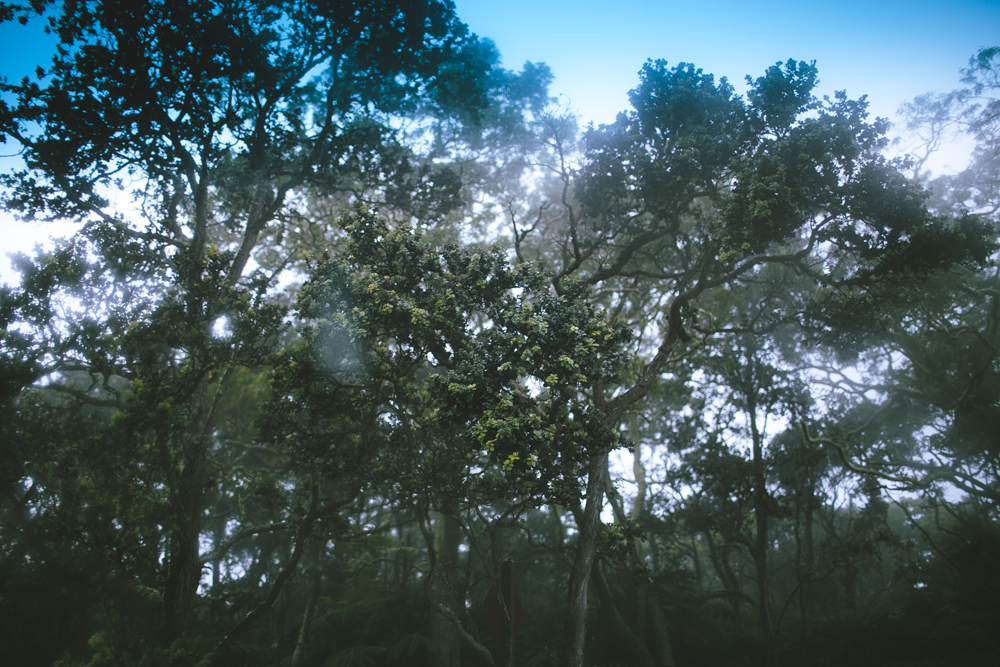
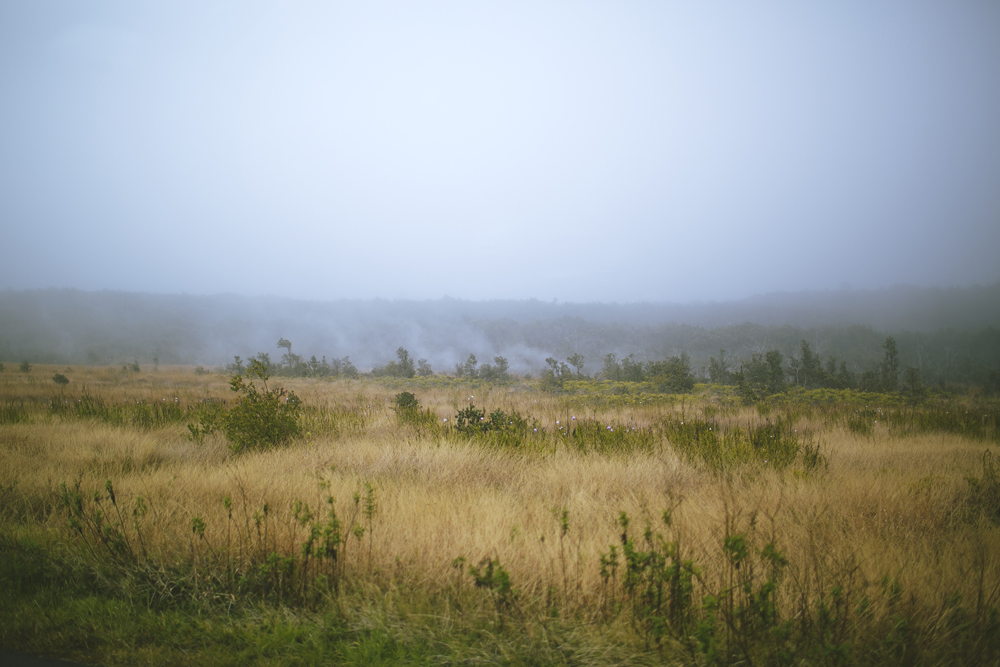
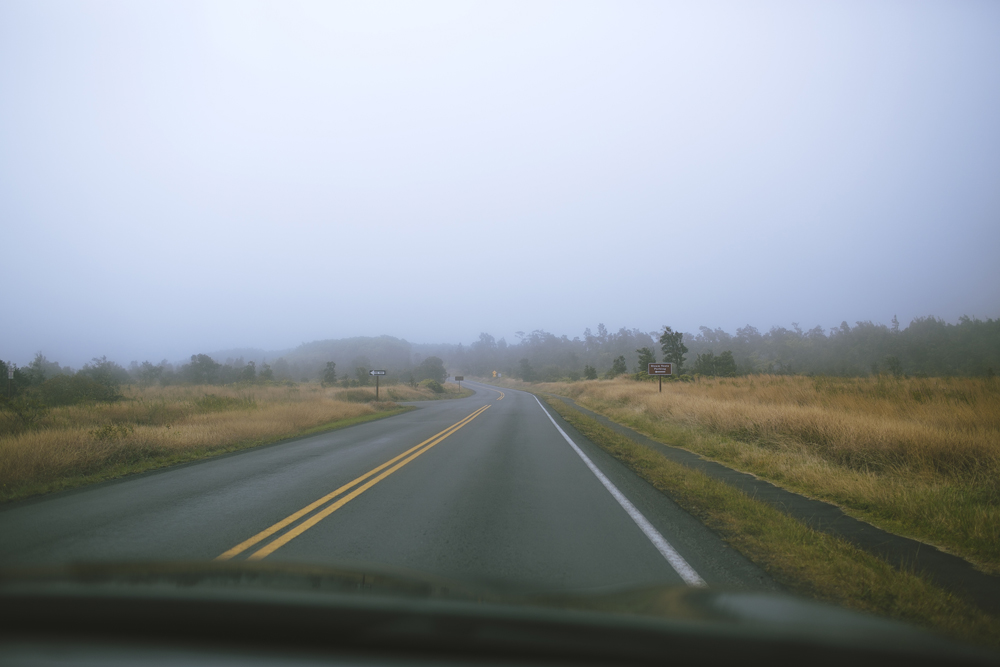
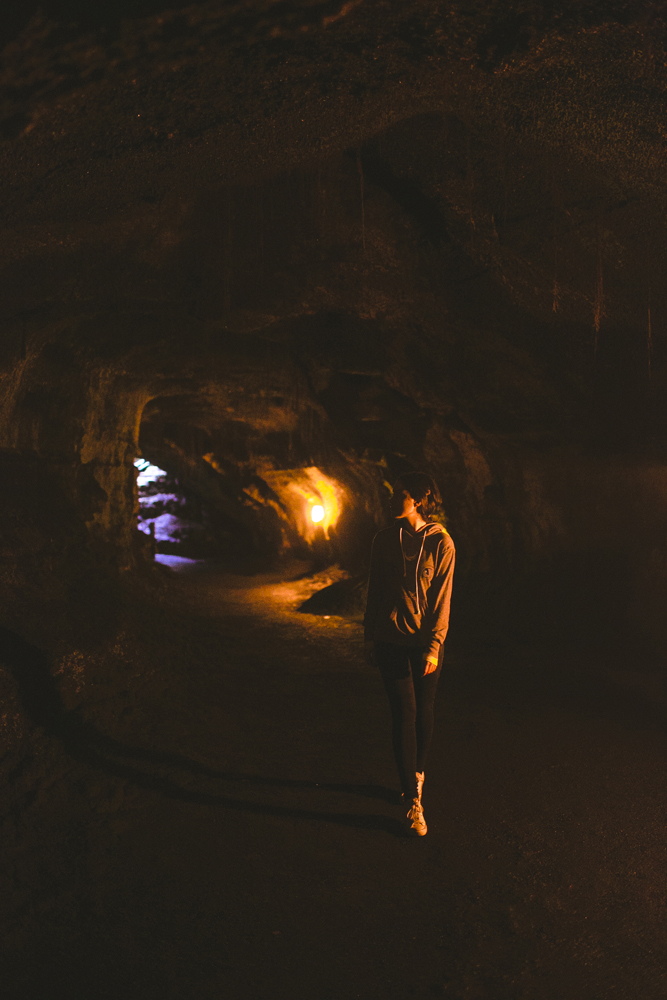
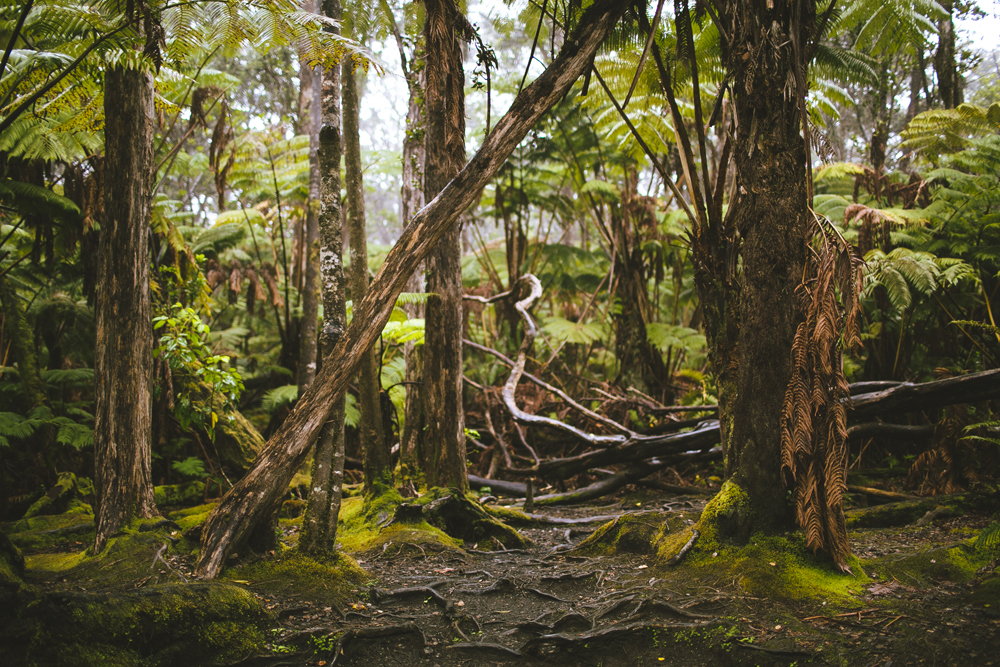
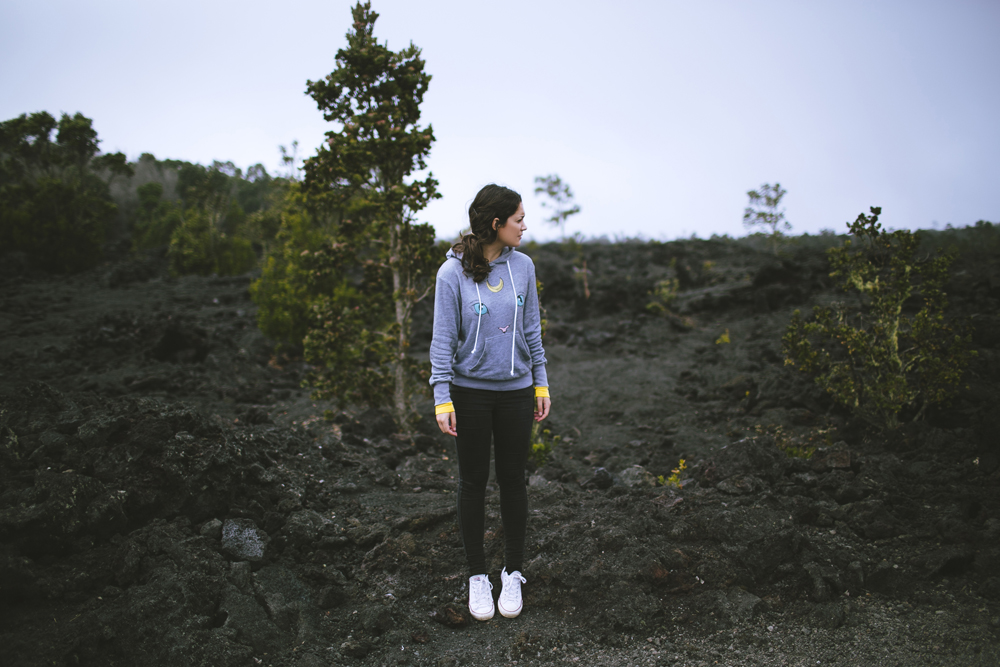
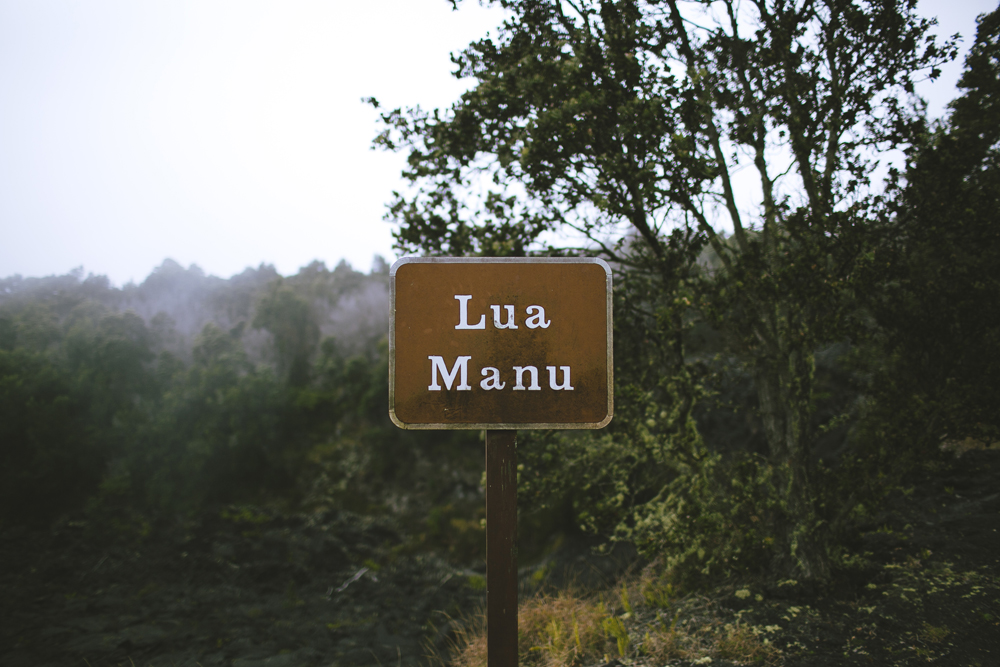
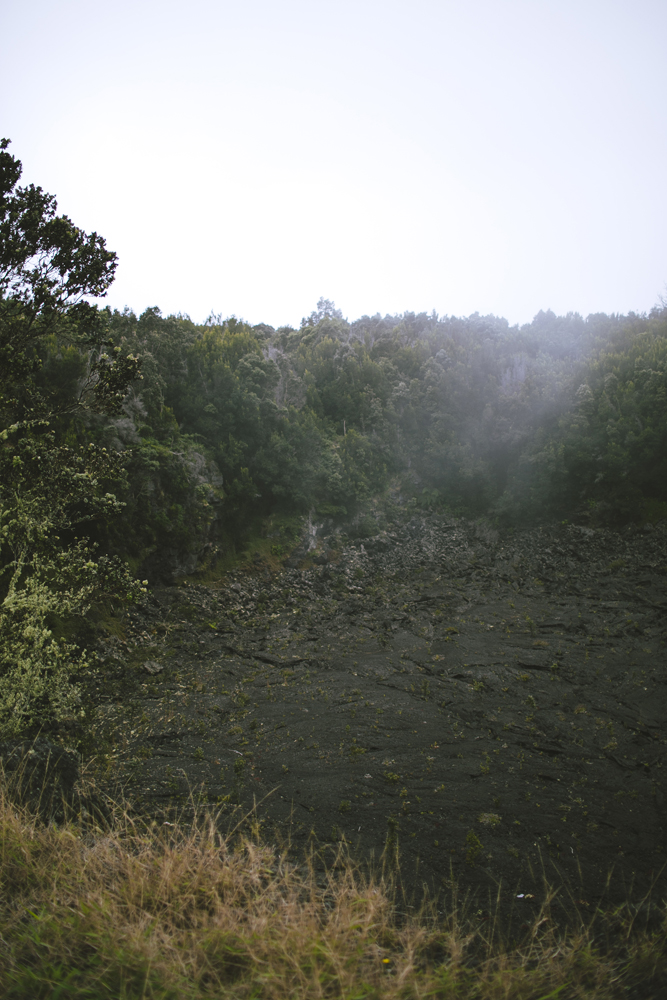
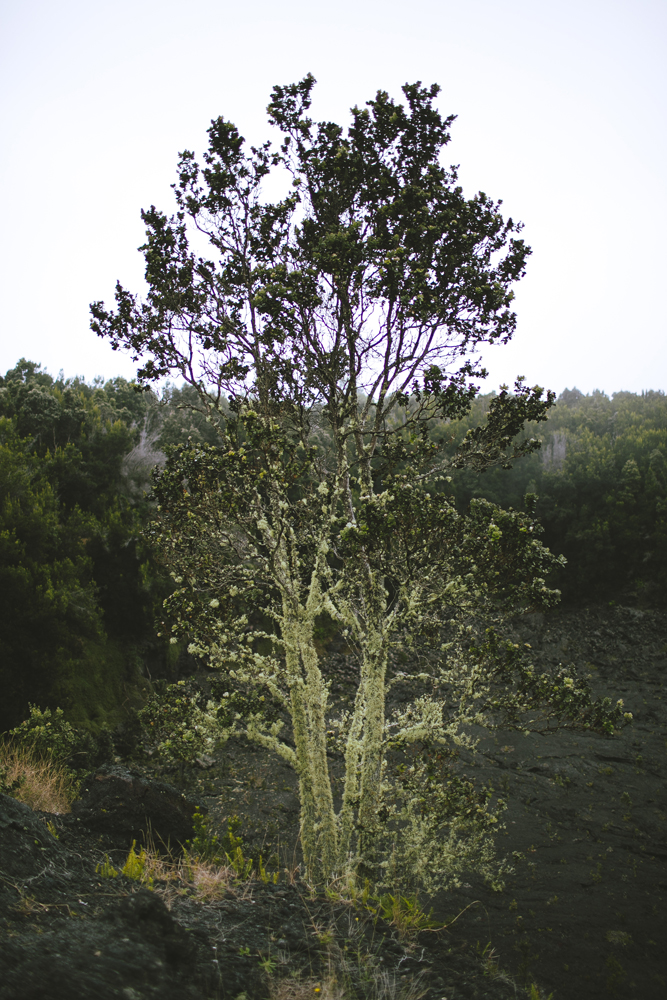
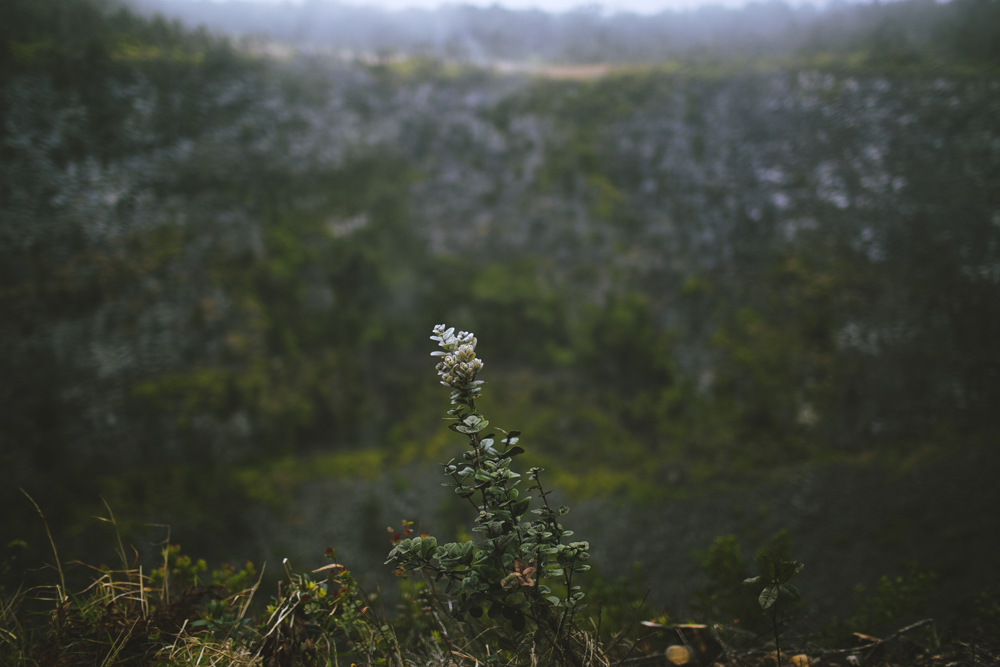
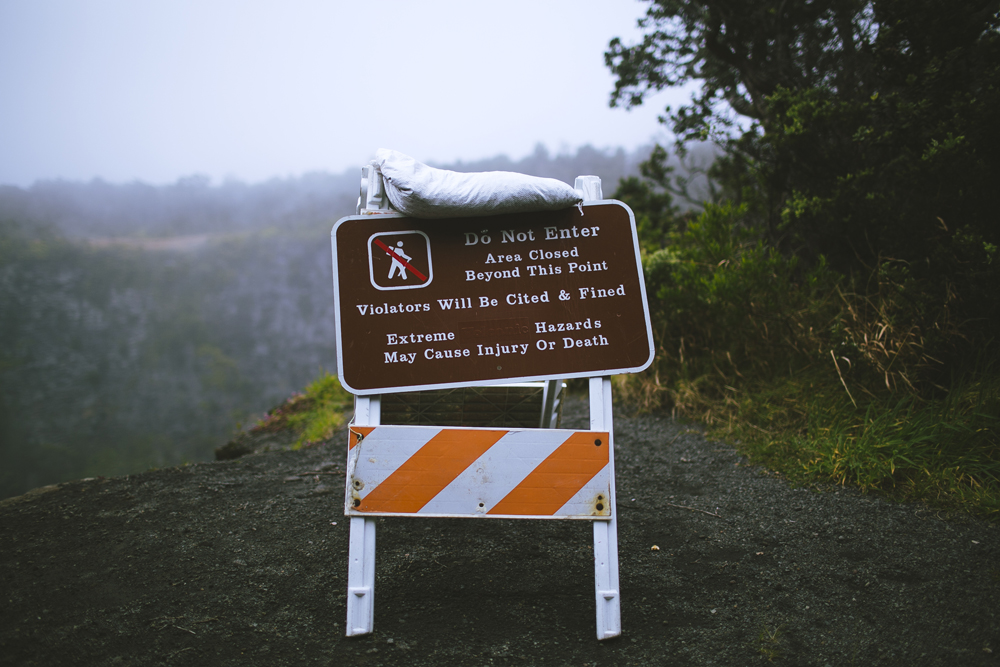
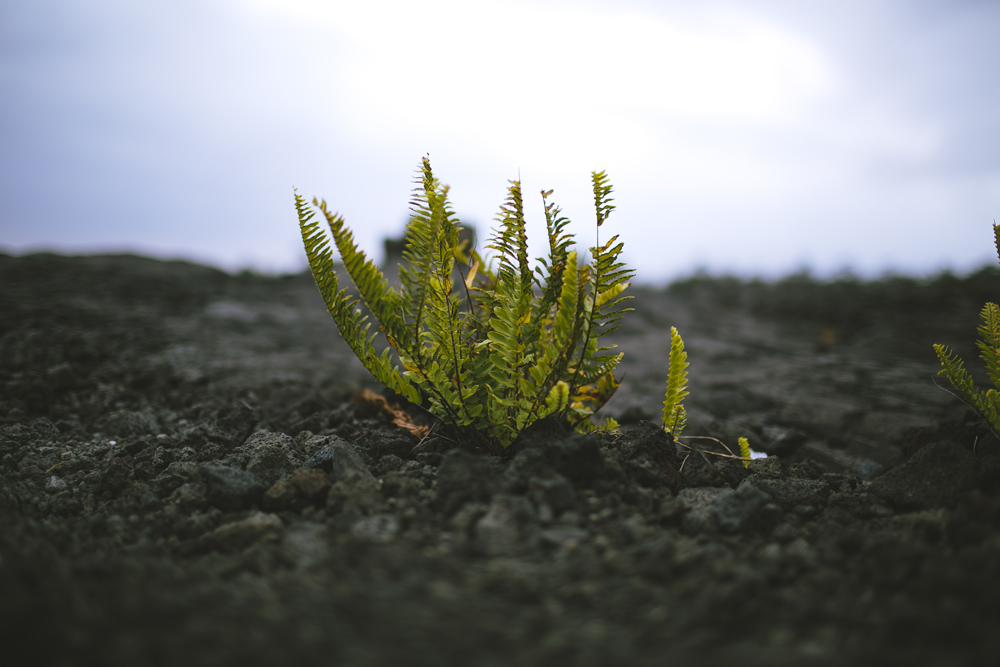
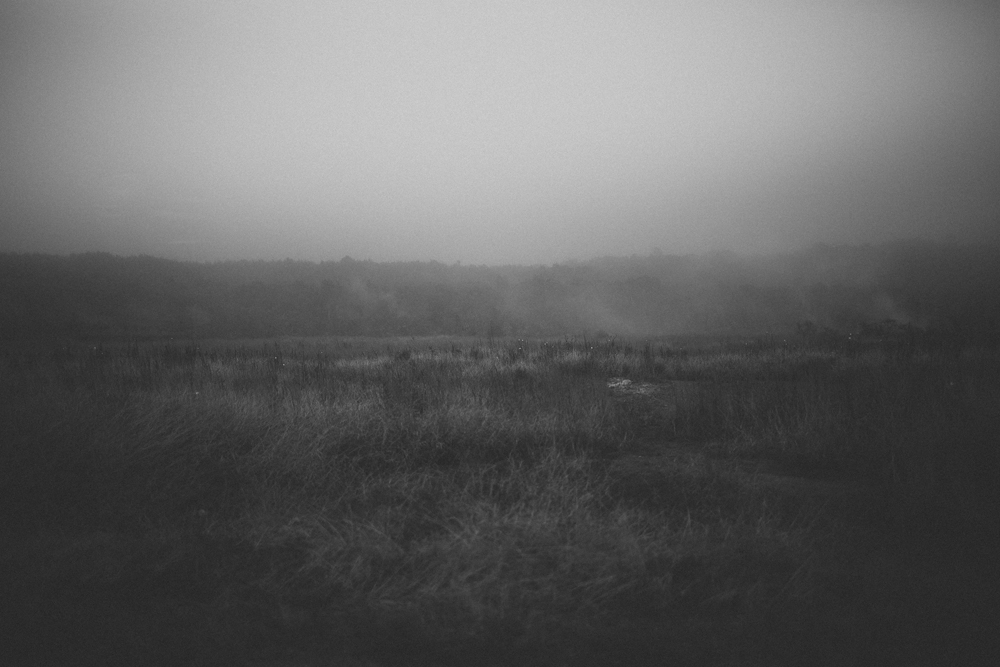
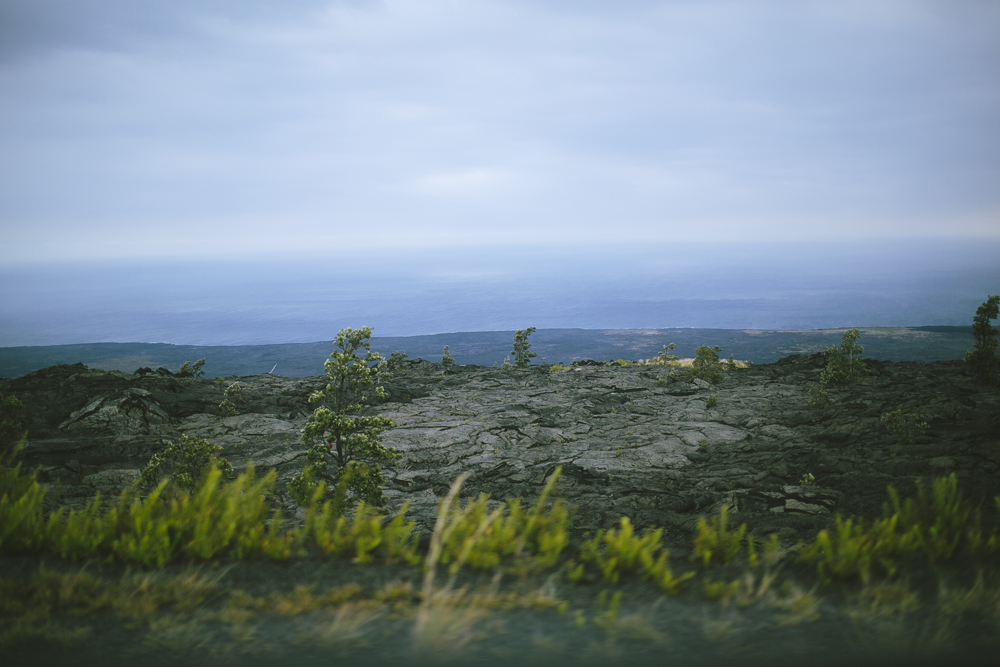
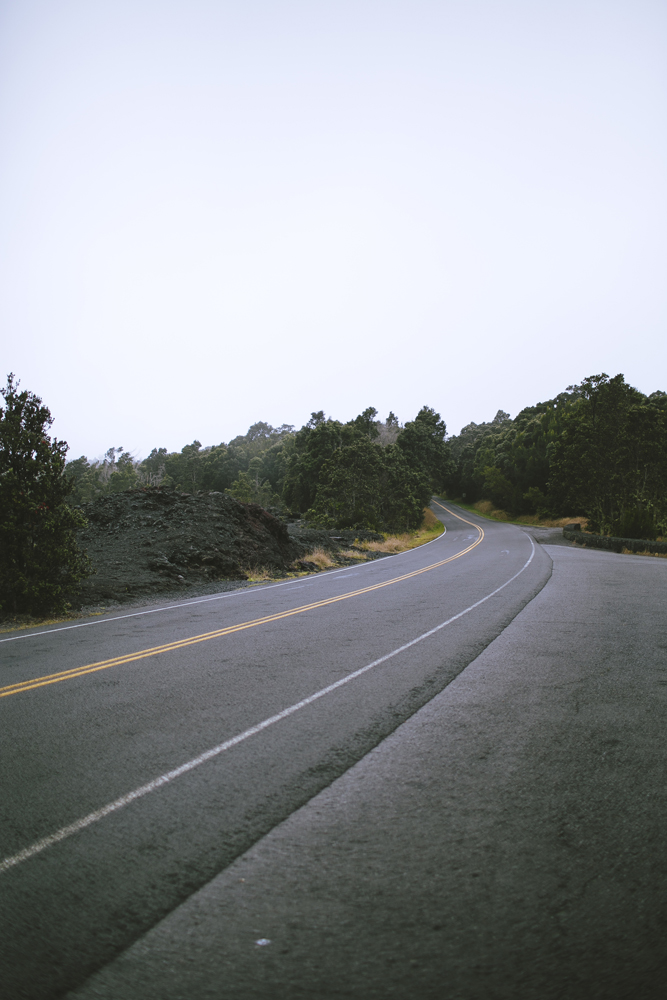
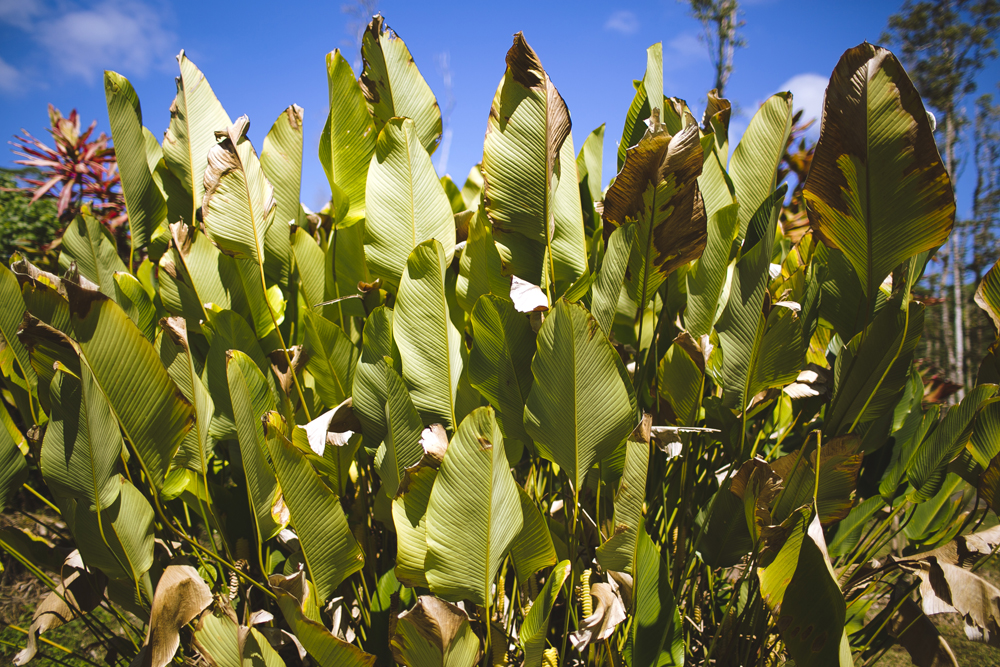
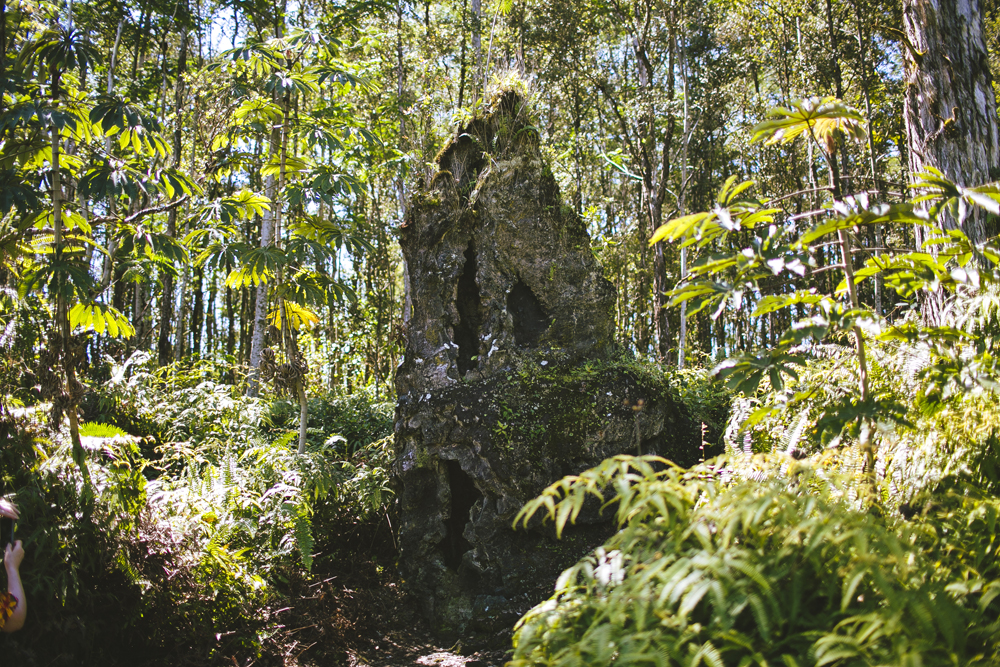
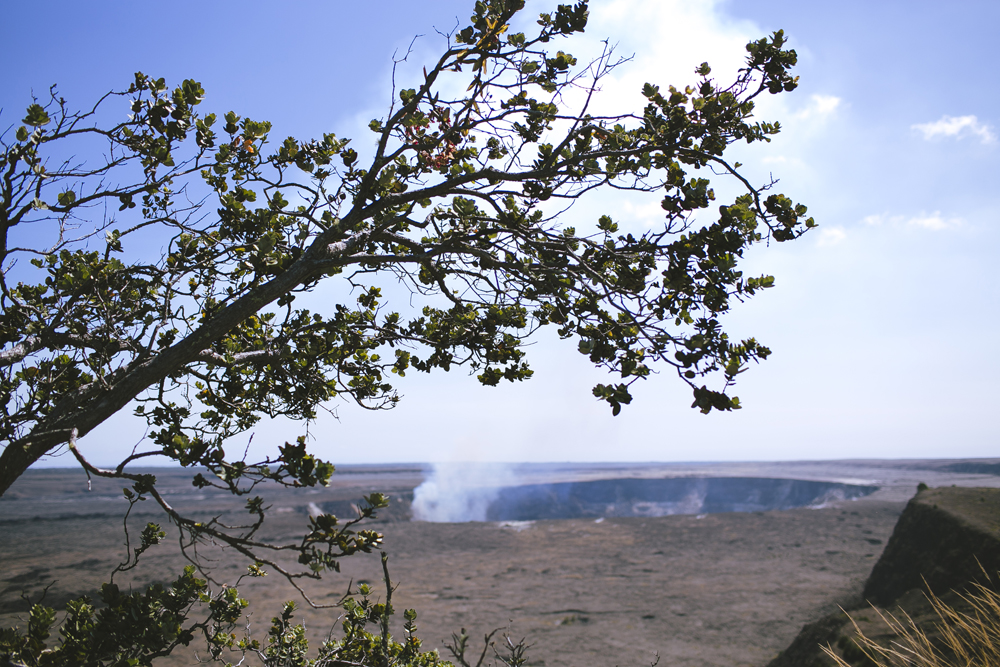
Day two in Hilo, we make a coffee, get ready and head off to Volcanoes National Park - the place I am most excited to visit. Our drive to the National Park started off sunny, but as we ascended 1km and more above sea level, we were eventually driving inside the clouds where the temperature dropped to 14°C, fog surrounded us at there was a constant drizzle of rain. We grabbed a map from the park entrance and headed off in the wrong direction at first before turning around and getting on the road we were supposed to: Chain of Craters Drive. We stopped so many times on our drive through the National Park. We couldn't do any of the long hikes because of the constant rain, but I loved the fog and all the sights. The grass and ferns growing out of the lava rock was my favourite thing to see. We stopped at:
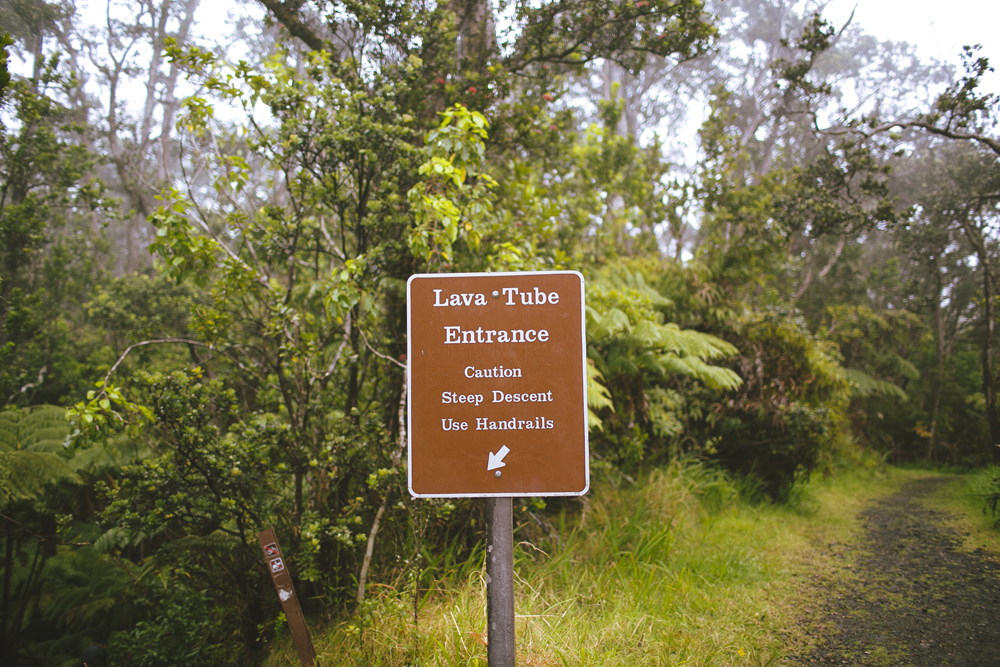
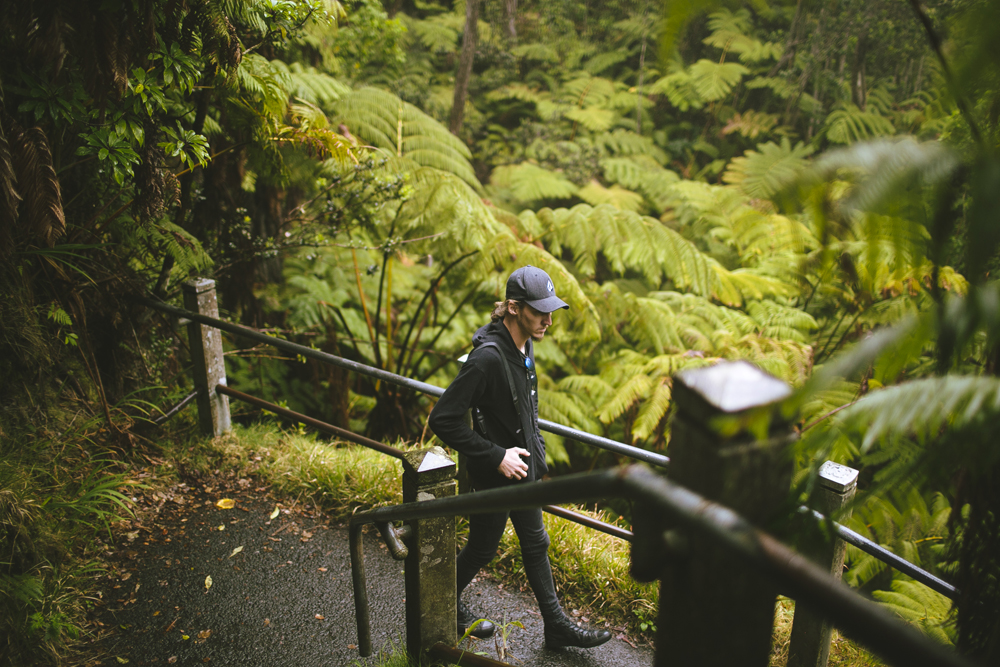
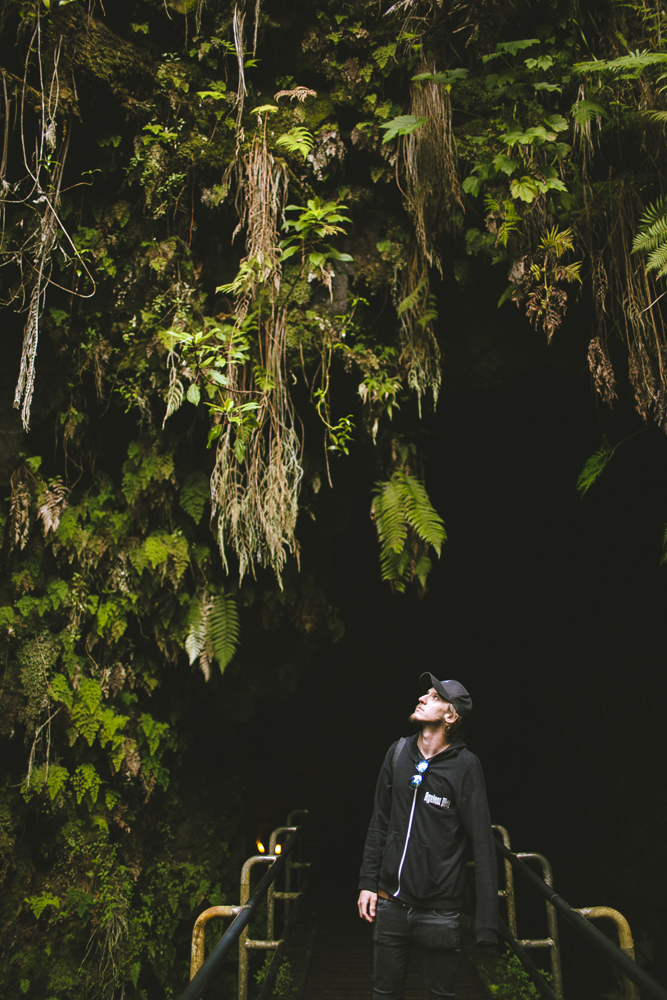
- The Lava Tube (which we luckily had all to ourselves!)
- Lava Flow. July 1974.
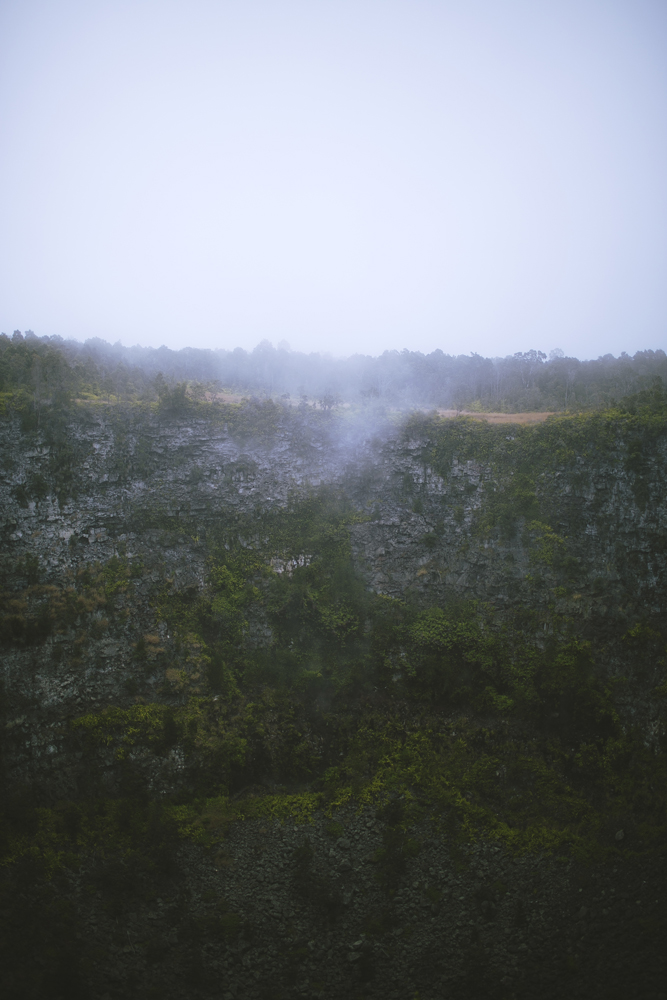
- Pauahi Crater
- Kealakomo Lookout (2000ft above sea level)
- A lookout on our way down the mountain to Hōlei Sea Arch
--
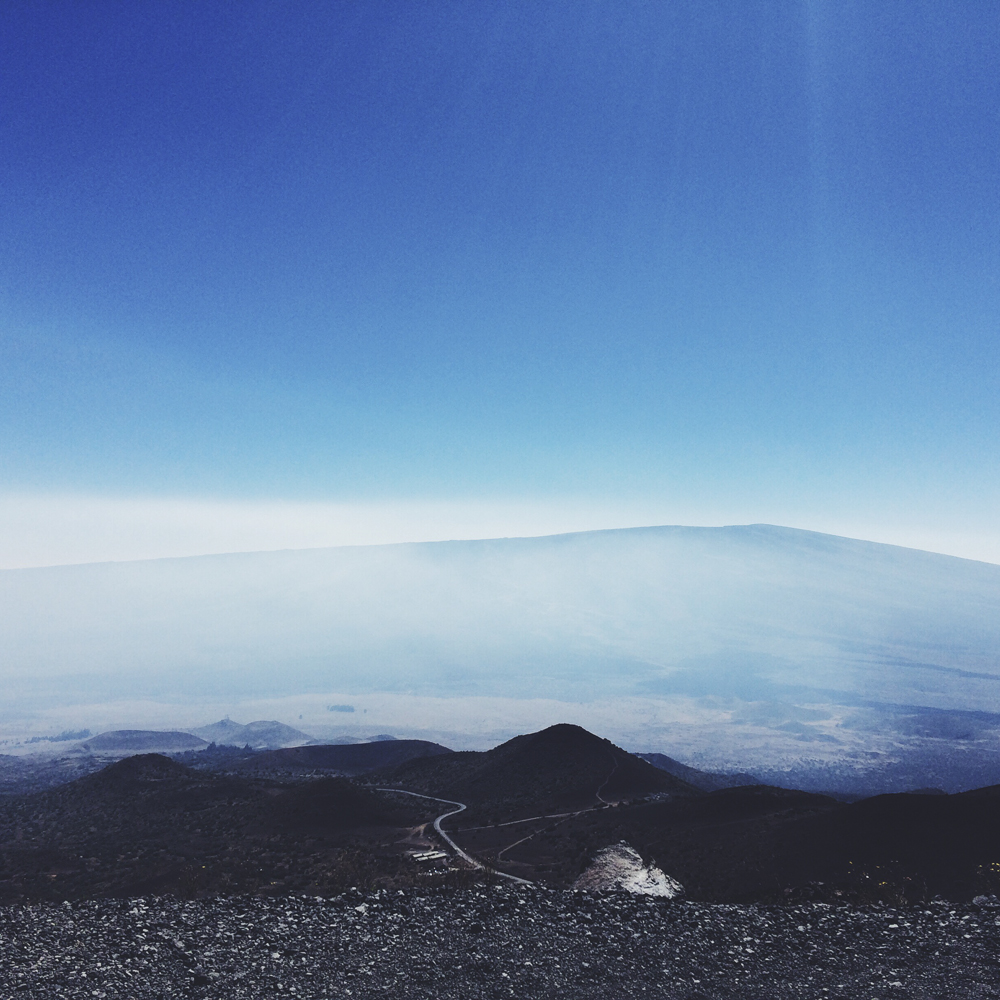
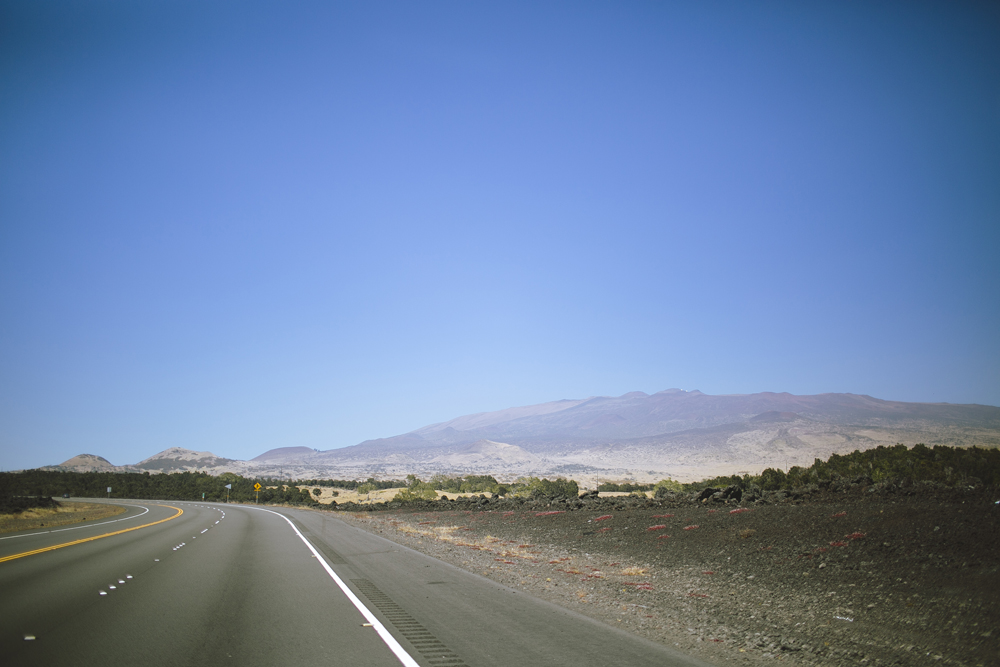
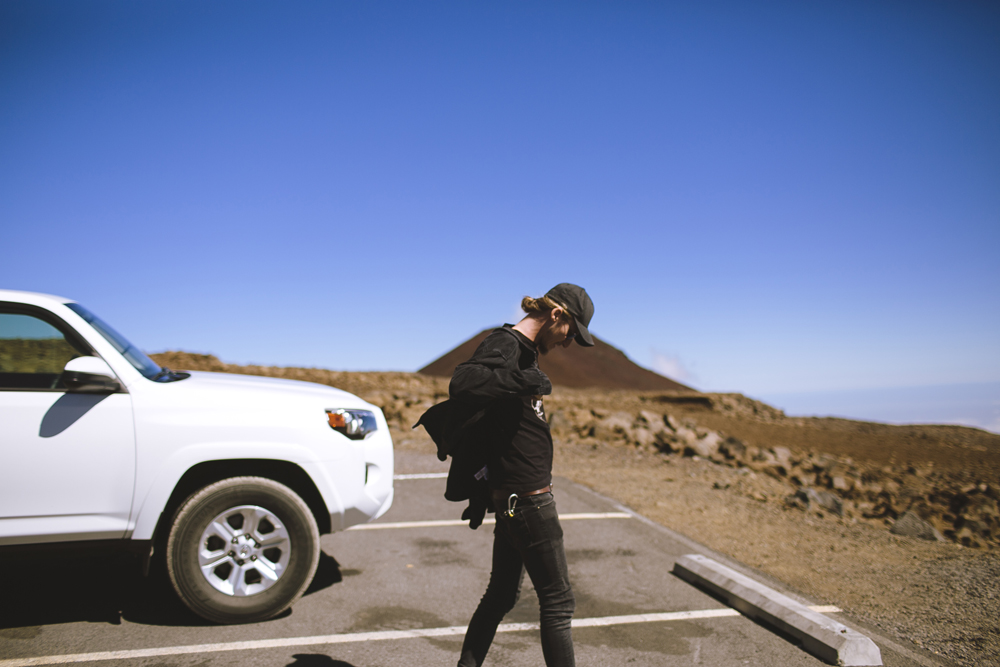
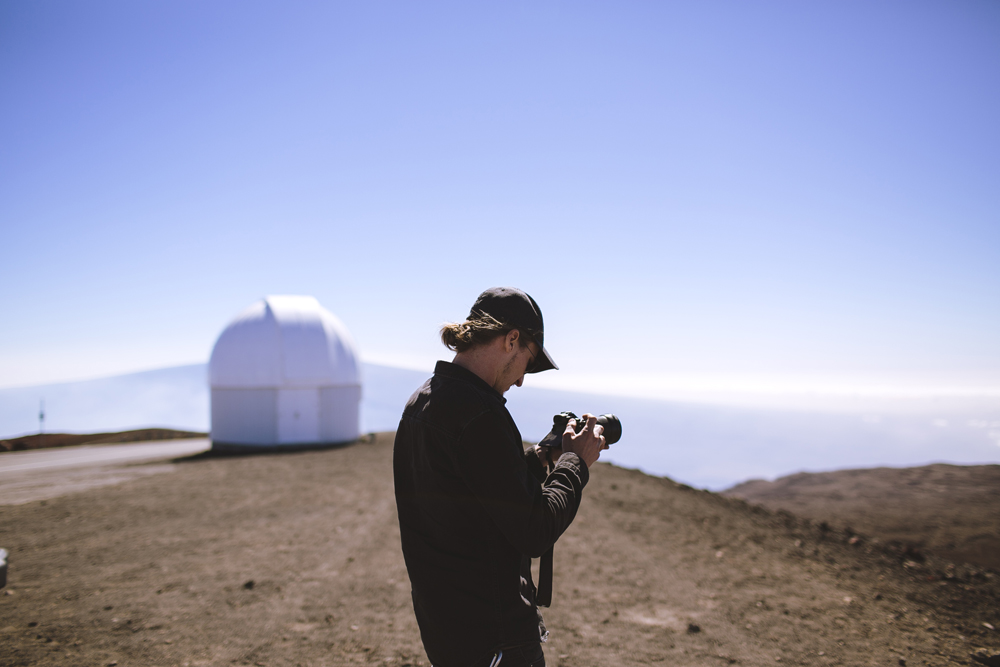
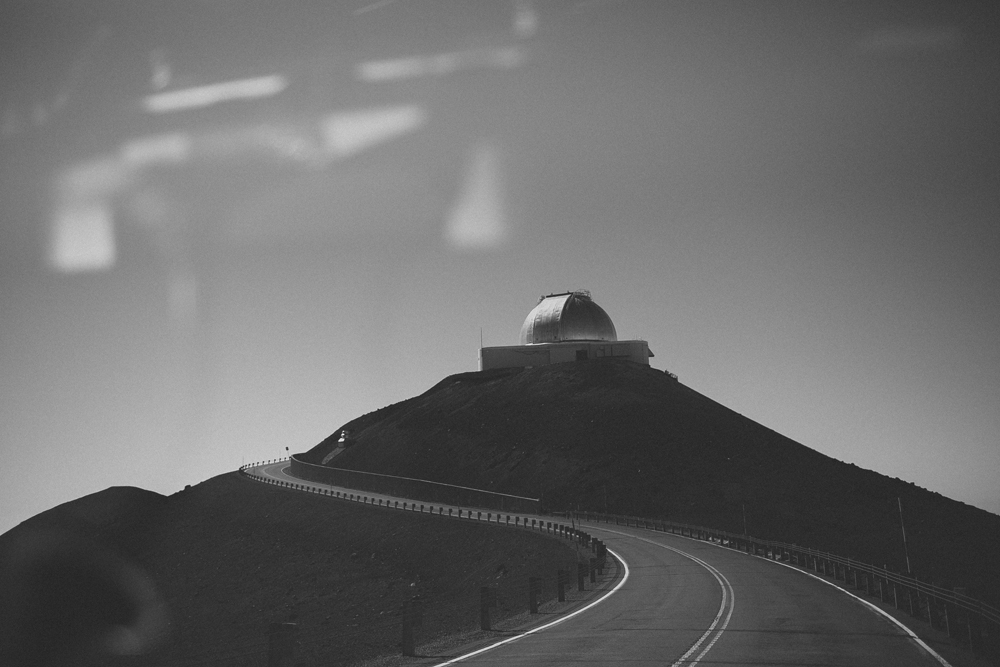
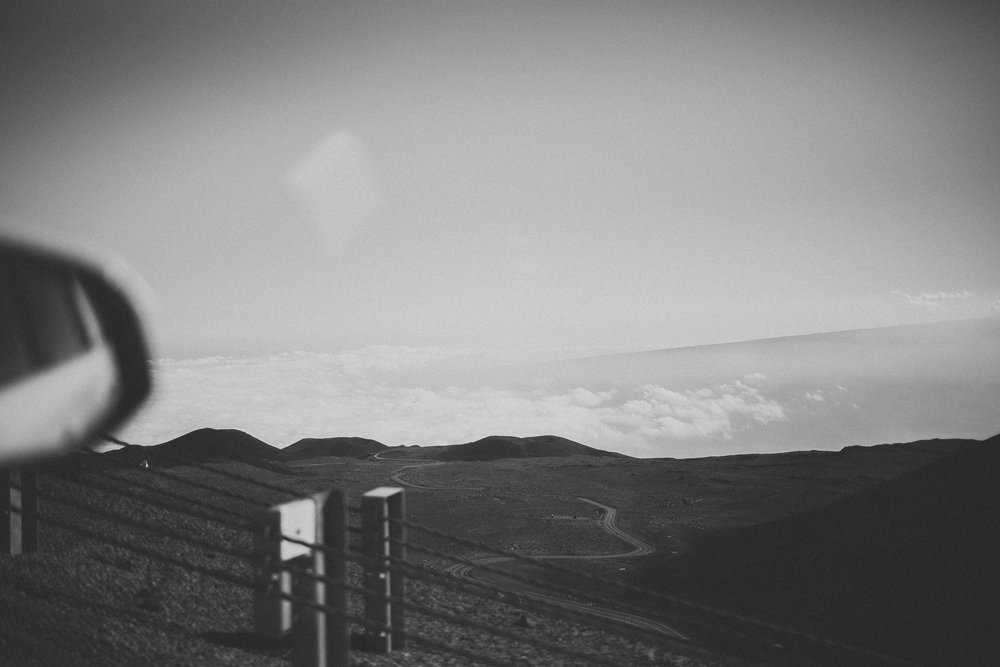
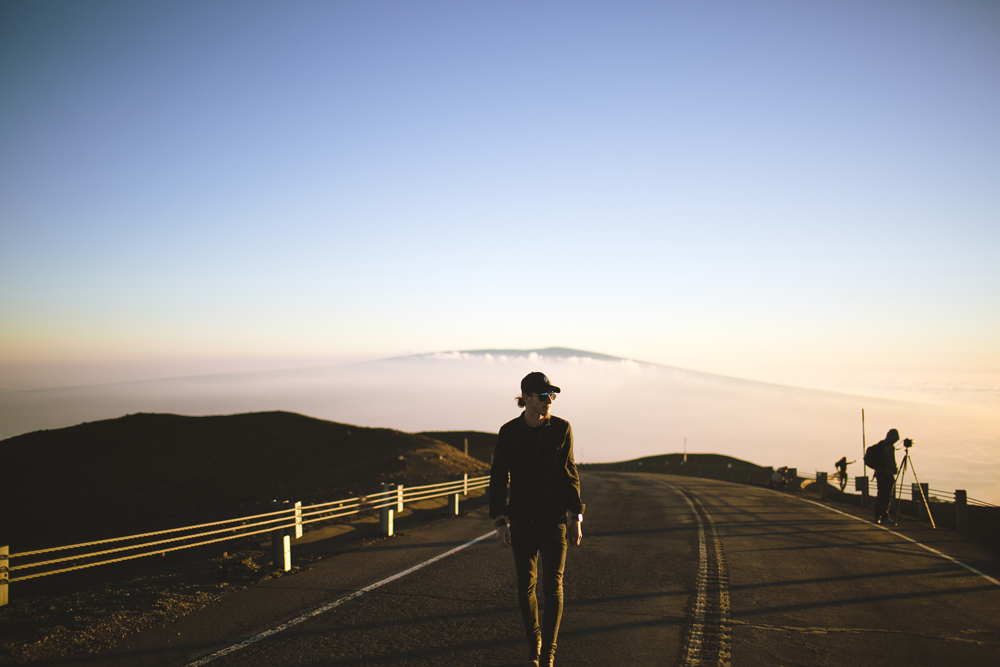
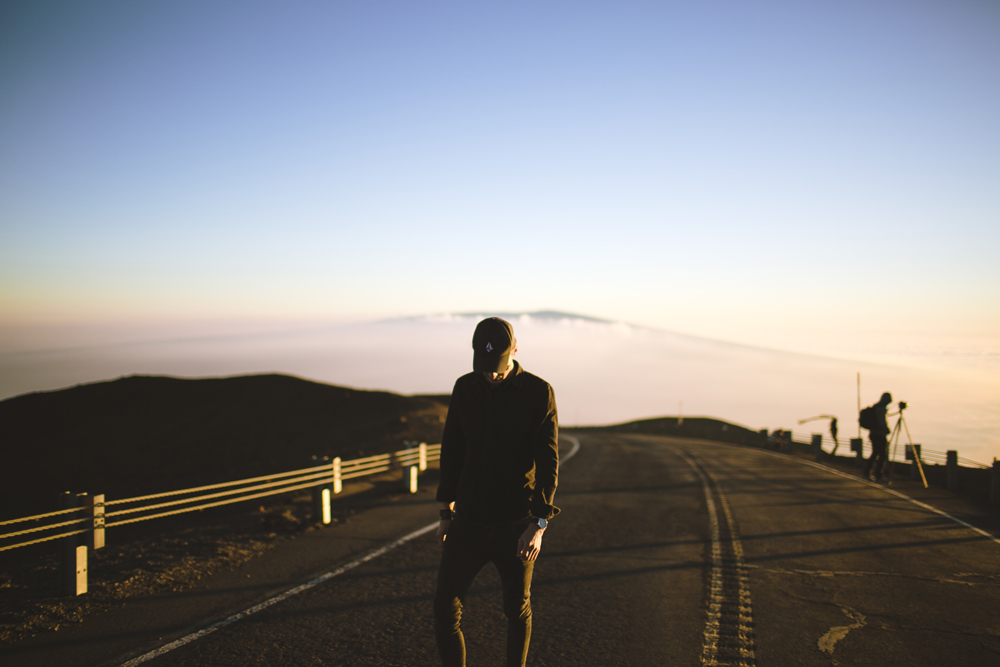
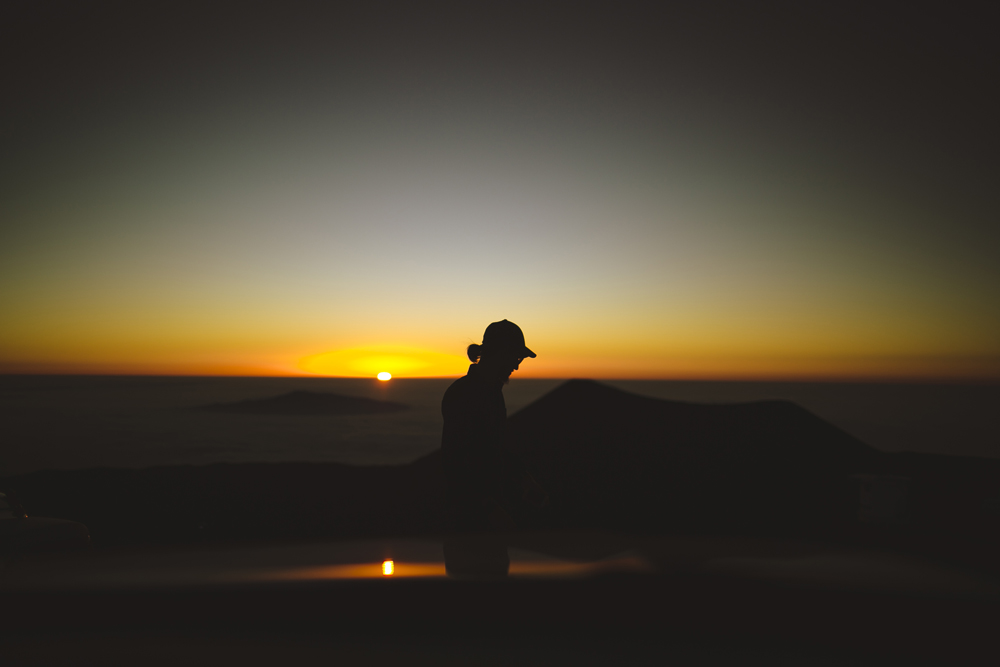
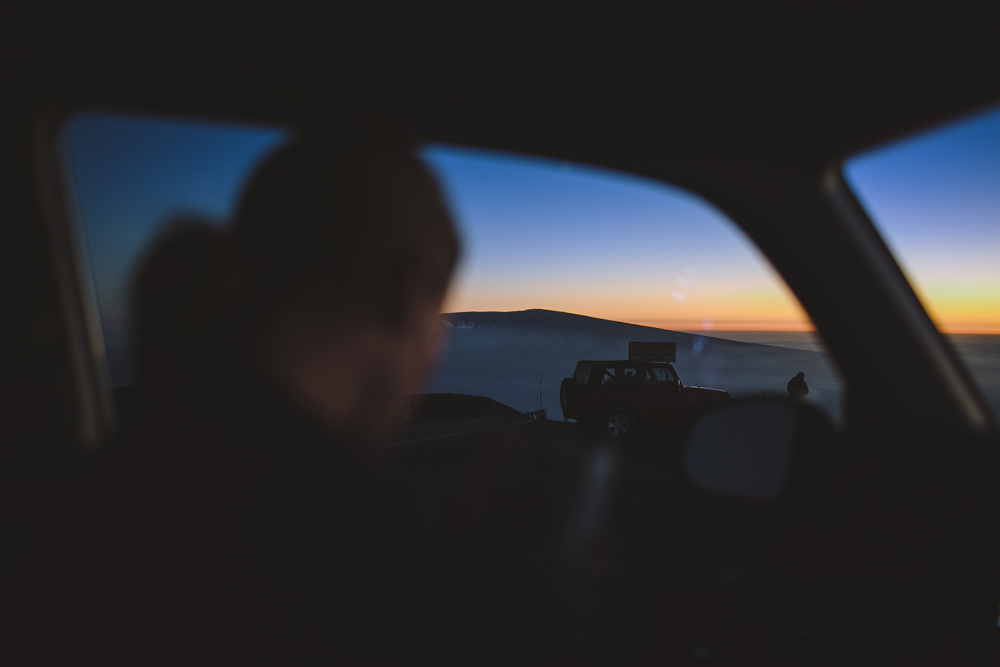
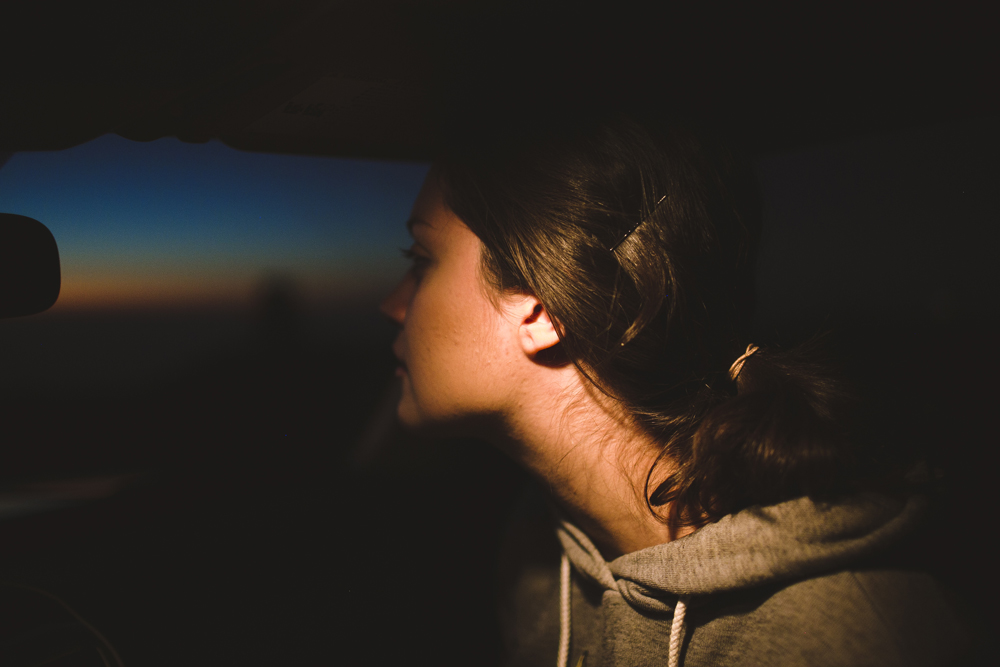
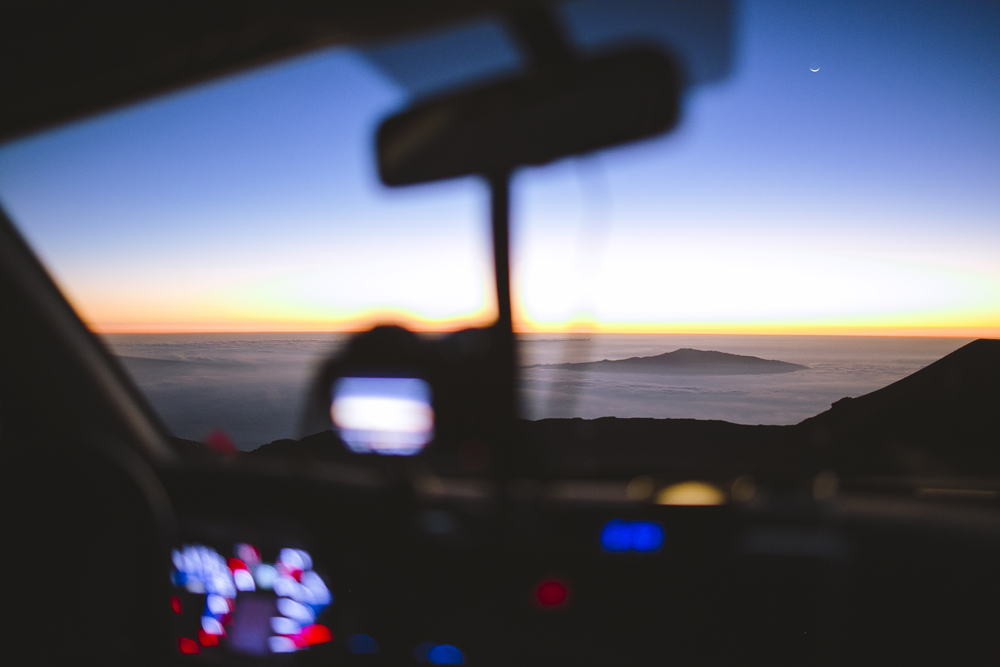
A small sign on the highway to Hilo: "SMILE. ENJOY LIFE". Painted on a small wooden sheet, hidden amongst the trees. But you can see it if you look. Today is the day we are heading up to Mauna Kea Summit. We wake up early to pick up our 4wd rental from Harpers - the only company that rents cars to go to the top of the summit. When we picked up the car, they photograph everything, even using a floor mirror on wheels to take photos of the under side of the car. Any scratch, dent or mark that wasn't there before you rented it, you would have to pay for it on your return. It was a little nerve-wrecking to rent from here but it was nice being back in a 4wd.
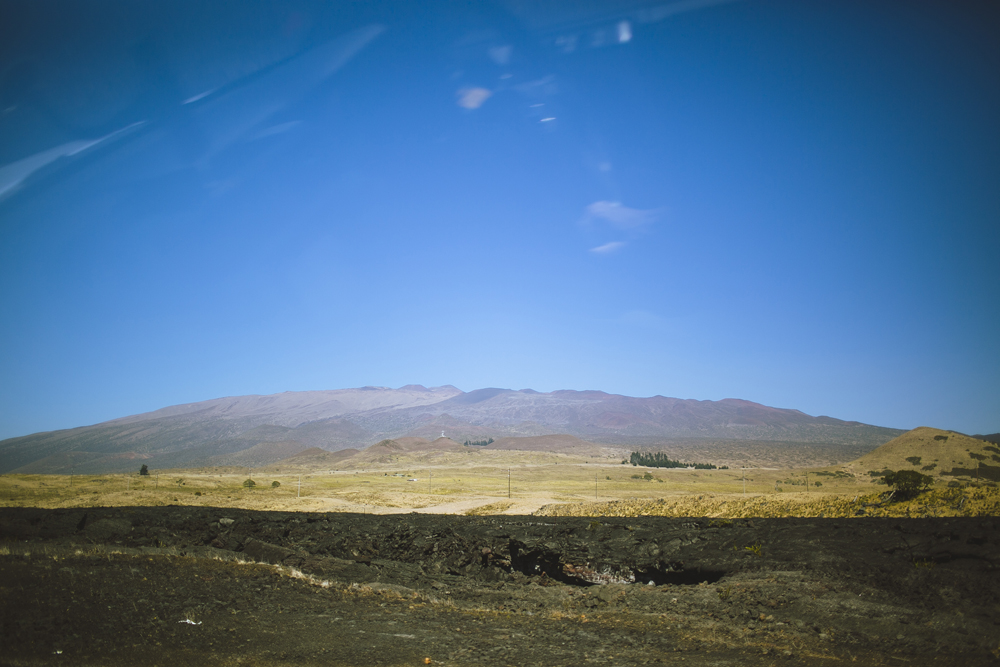
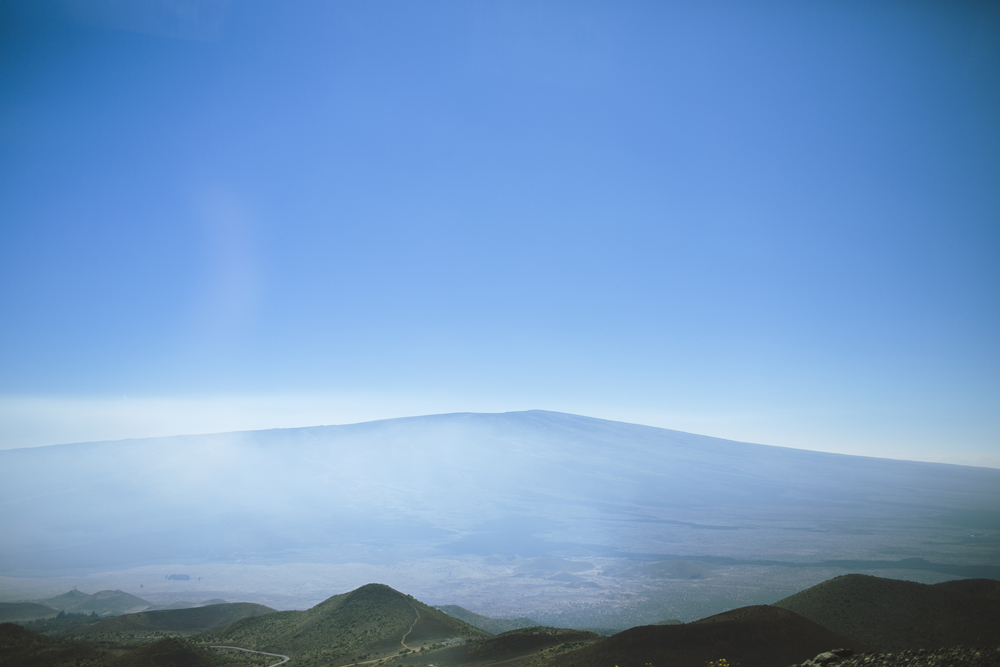
We started the ascent up Mauna Kea, which at first was a smooth highway road. We decided to stop when we reached 2000m above sea level on the side of the road, get out and adjust to the altitude. As soon as we got out of the car, it instantly reminded me of when we first landed in Poland in the early Spring time. The air was cool, but not too cold and the breeze was so fresh. It was perfect.
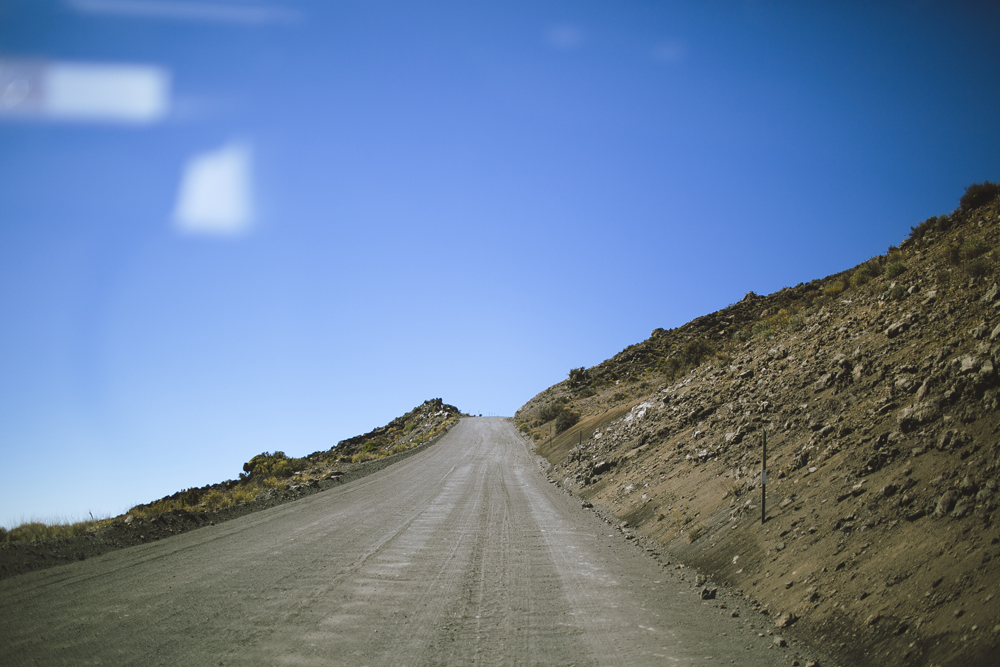
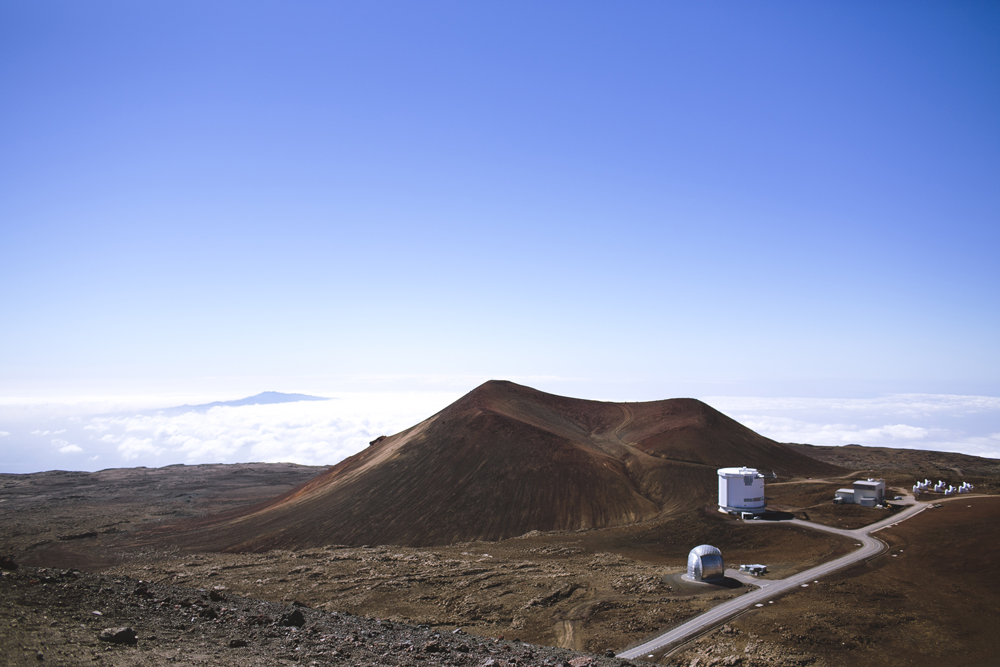
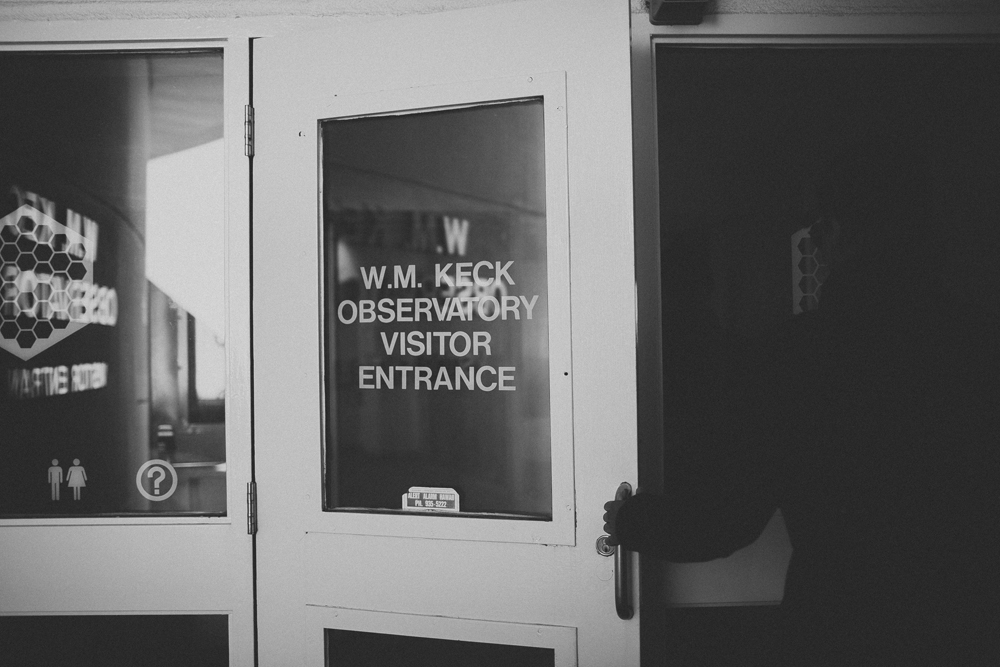
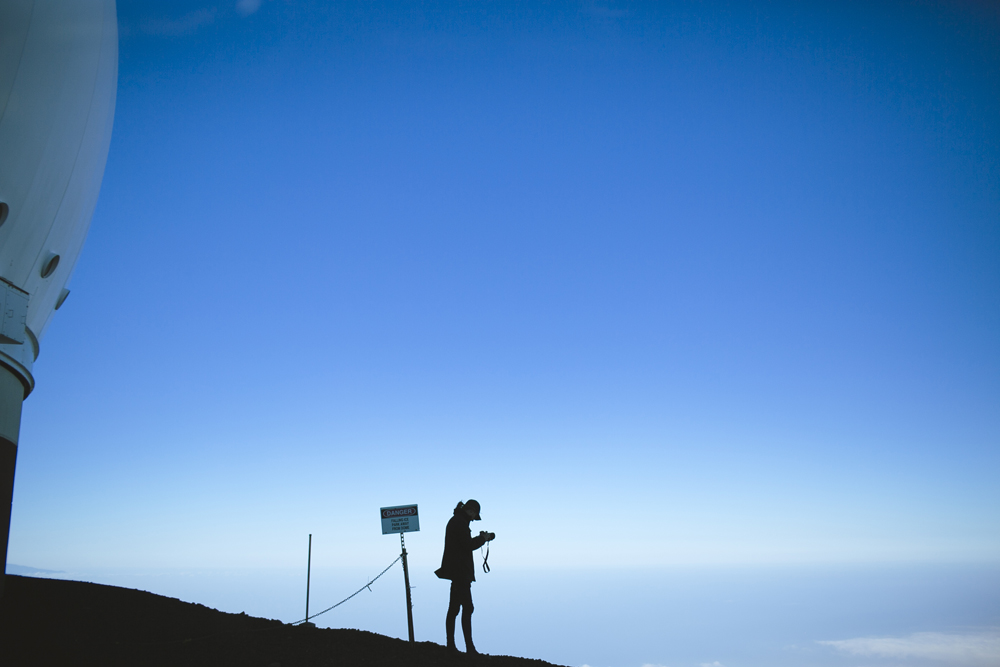
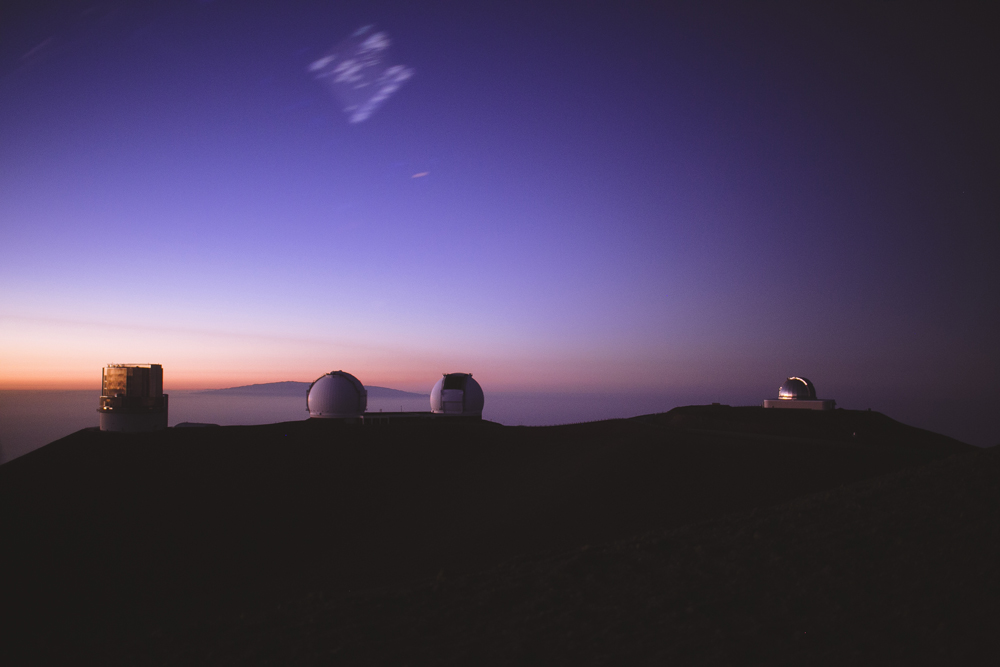
Onwards we headed to the Visitor Information Centre, 2800m above sea level, where we bought some souvenirs and got a map for the mountain. After another half an hour break to adjust to the altitude, we decided to tackle the road to the summit. From the bottom, the gravel road up looks scary. Once you're on it, it's actually a lot wider than many other roads we've been on. At first the road looked like we were on the moon and the further up we drove, the dirt and rocks turned red and it looked like we were on Mars. When we reached the summit - 4,400m, we both felt fine - no signs of altitude sickness. We headed to one of the telescopes that was open to the public and were the only ones there. While we were reading the information up on the walls, a man in a lab coat comes in to let me know that the telescope is about to do a 360° spin if we want to have a look.
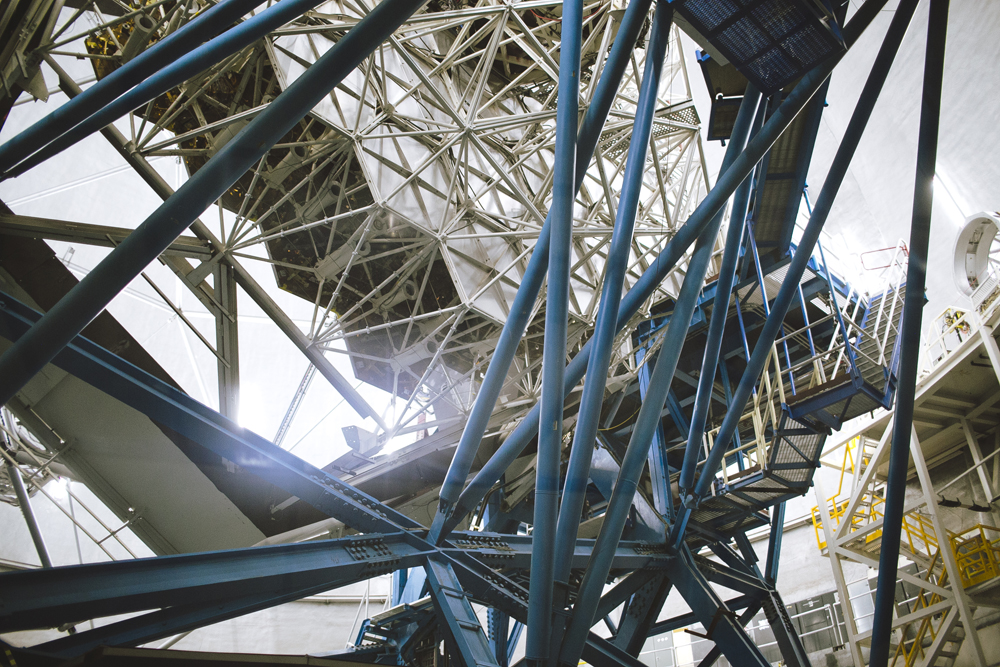
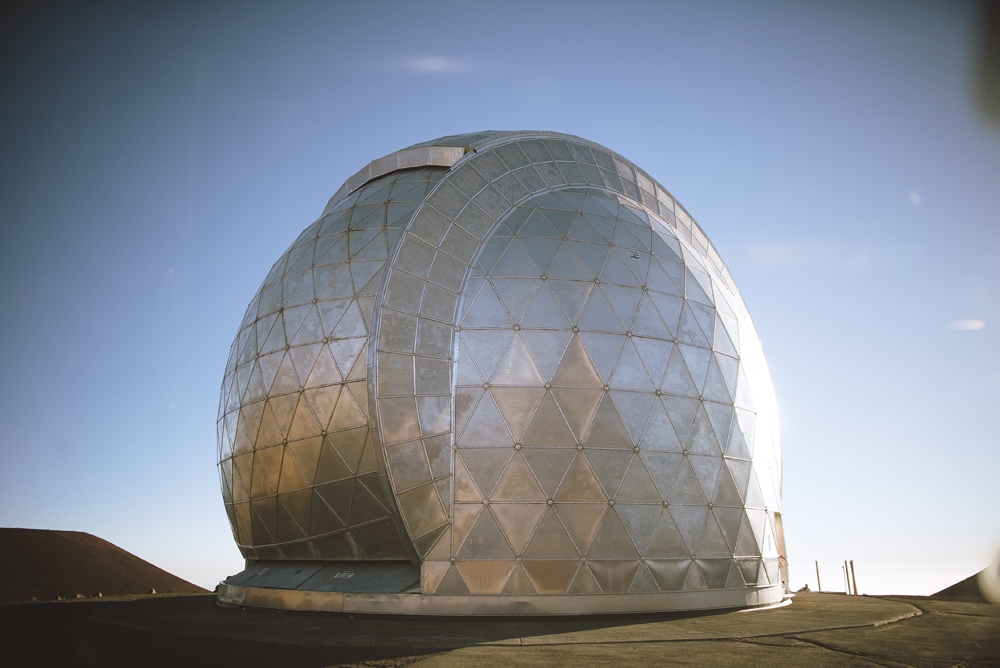
We ended up talking to David the Technician for about half an hour while watching the telescope spin around slowly. He was telling us so many things about his job and his life up on the mountain. He also told us so many interesting facts:
- He is the main driver of this telescope
- He fixes/tends to it during the day before using it at night
- The telescope is so perfectly balanced you could push the 635 tonne instrument with your hand. And he has personally done that.
- It costs just under a quarter of a billion dollars
- This is the telescope used to prove the Big Bang Theory
- He was working on the night and saw it happen: A star was expanding and got sucked into the black hole in the universe and disappeared
- This telescope proves that every star you see and don't see in the sky has it's own planets and solar system
- Water exists on every planet - it is created while the planet is being created
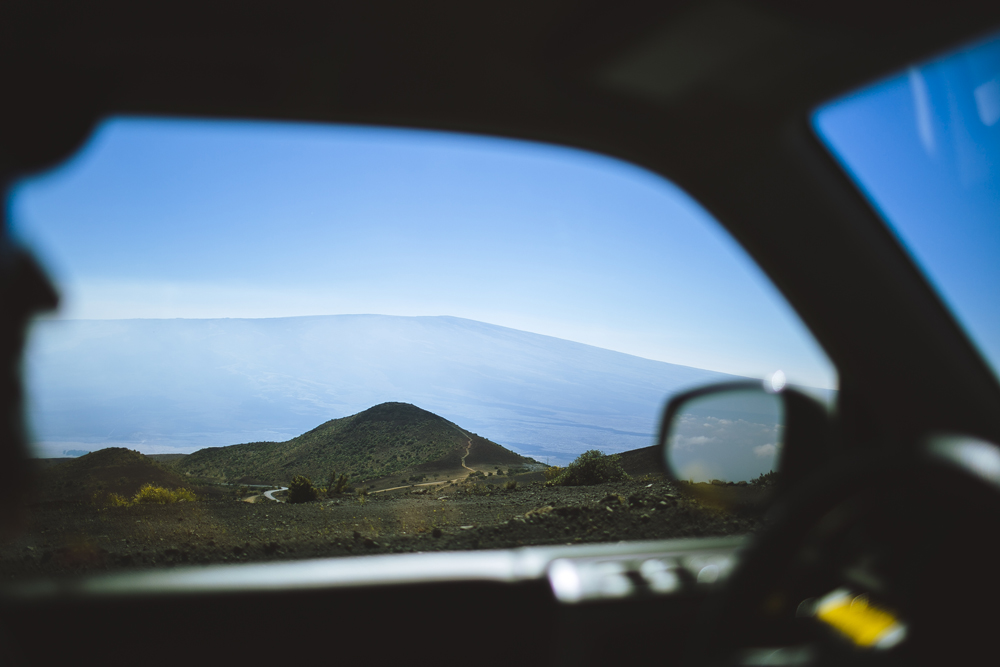
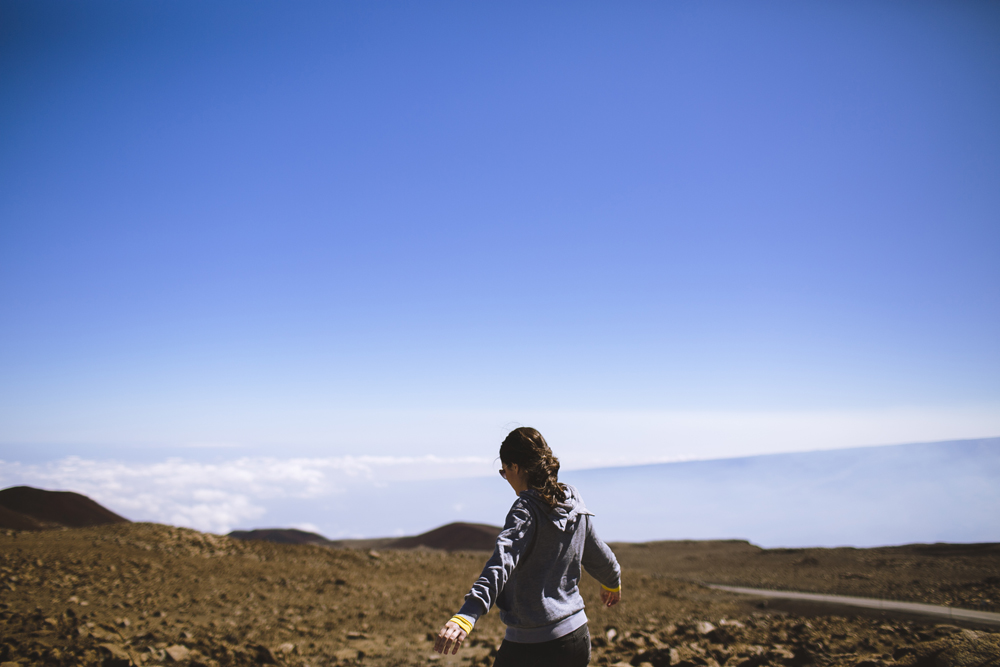
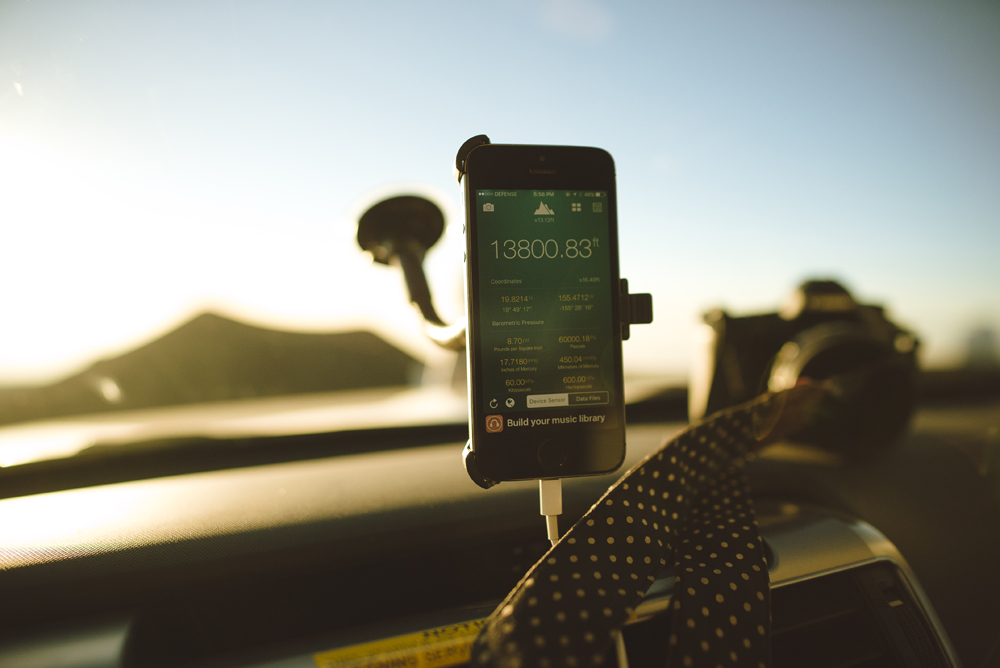
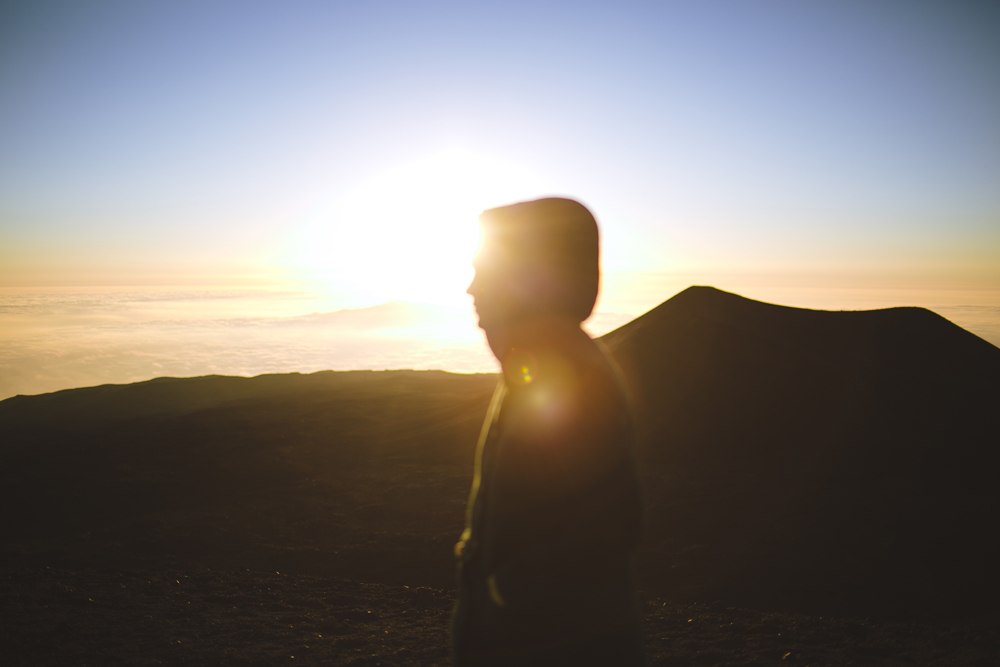
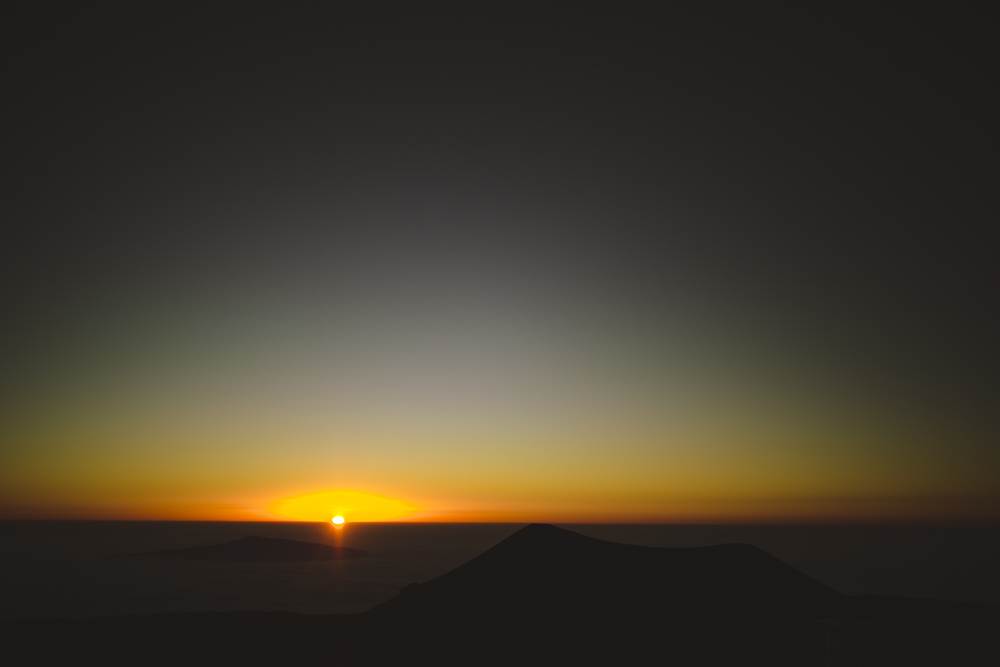
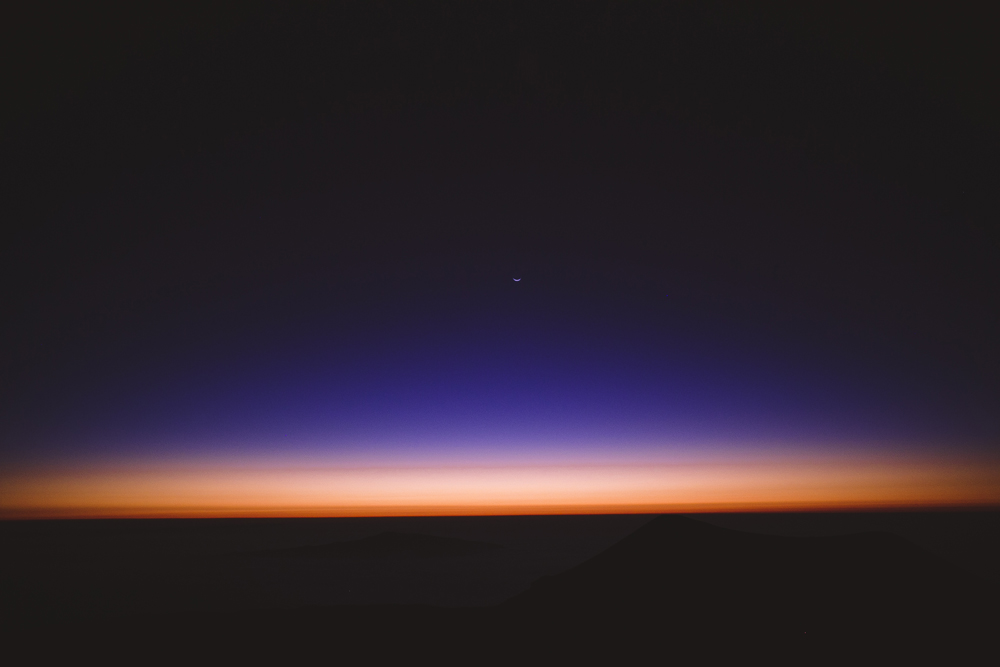
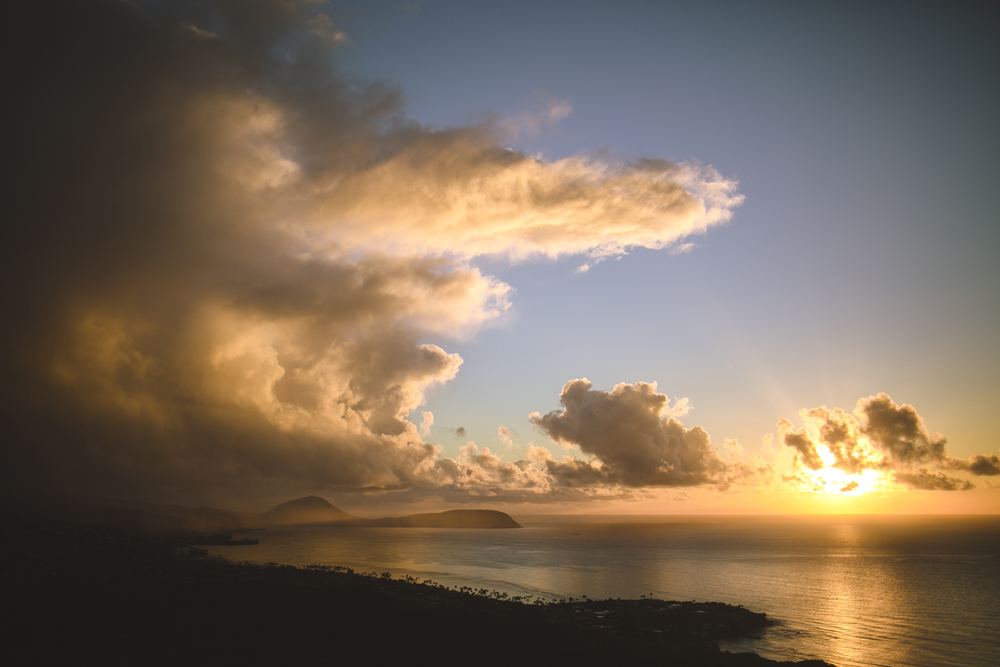
Dan and I then spent the rest of the afternoon watching the sun set from above the clouds. It was beyond freezing cold and ridiculously windy but watching the sun set from above 4,400m was something I'll never forget. On the way back down to the Visitor Centre, we got out of the car to adjust to the altitude again and I've never seen so many starts in the sky in my entire life!
--
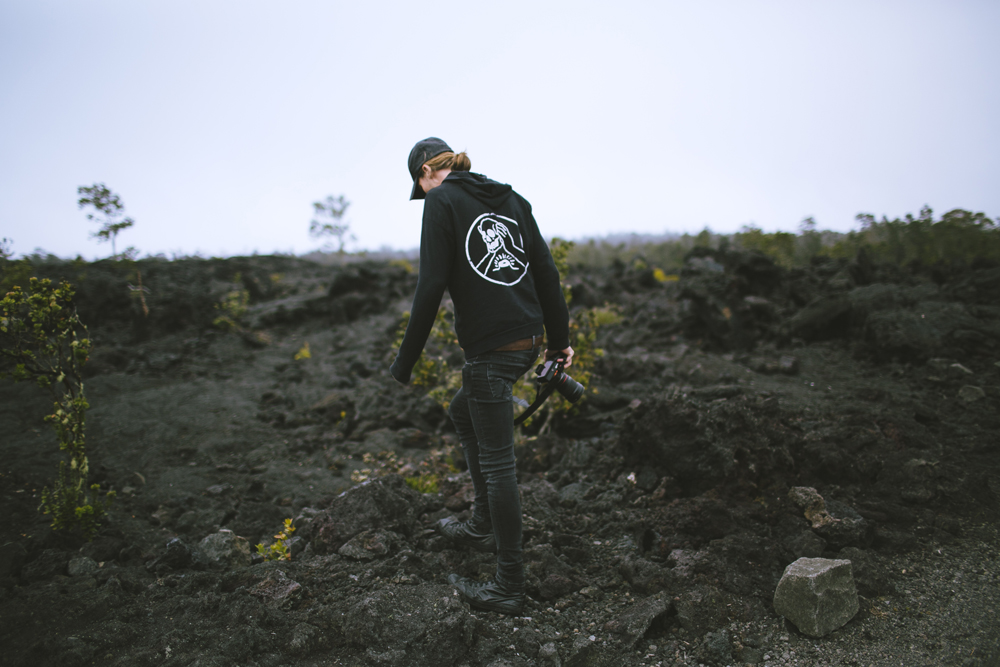
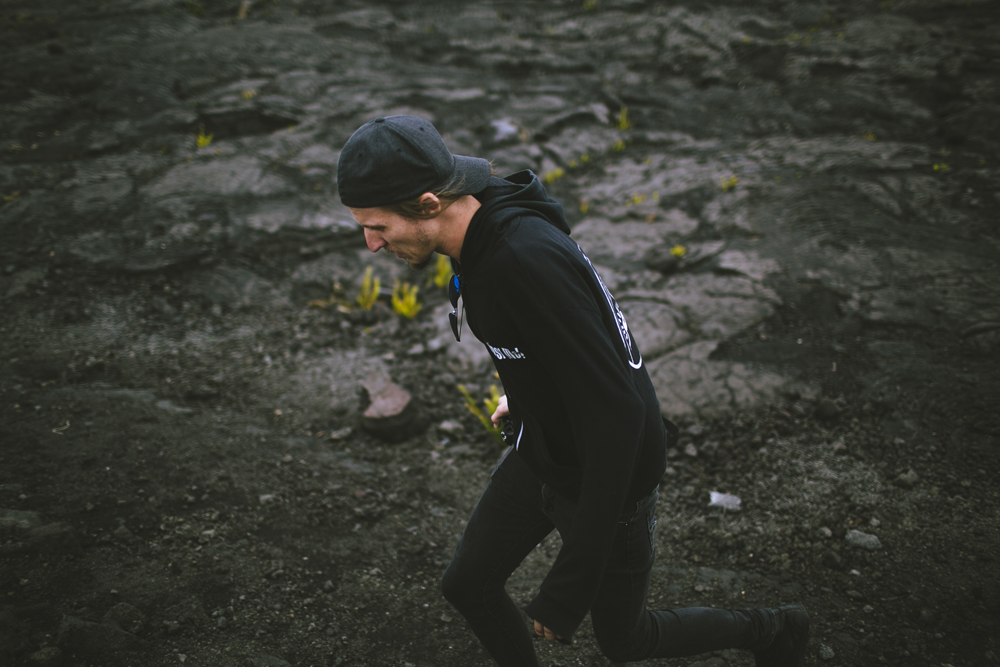
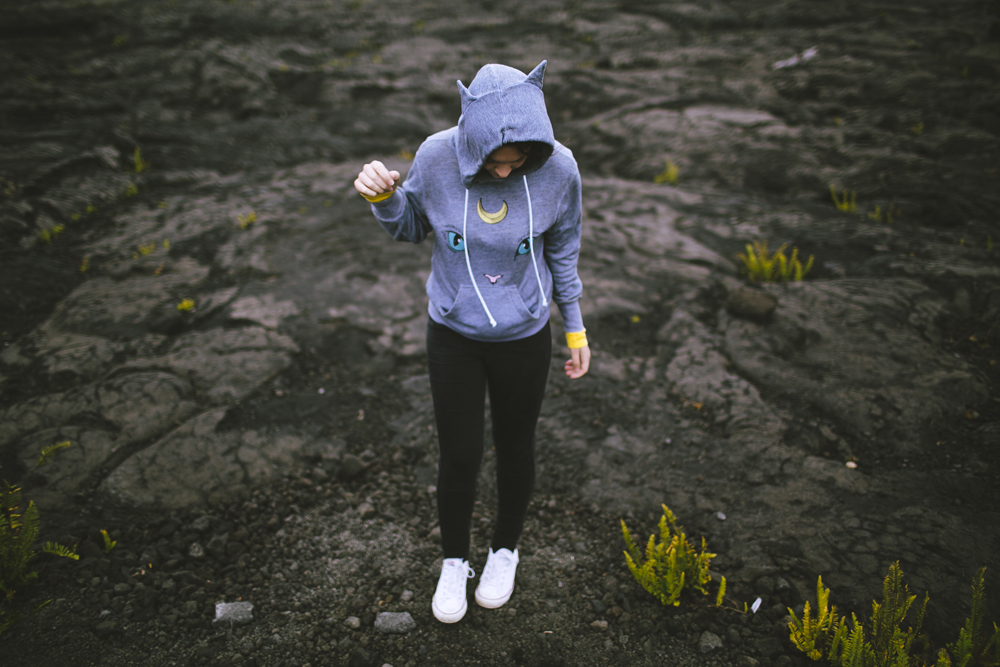
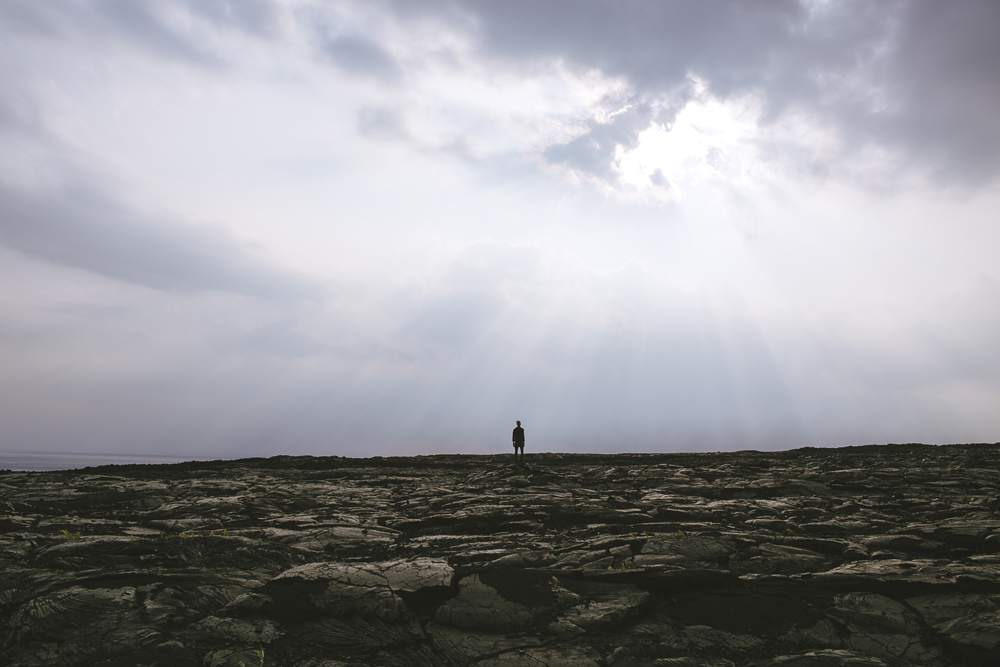
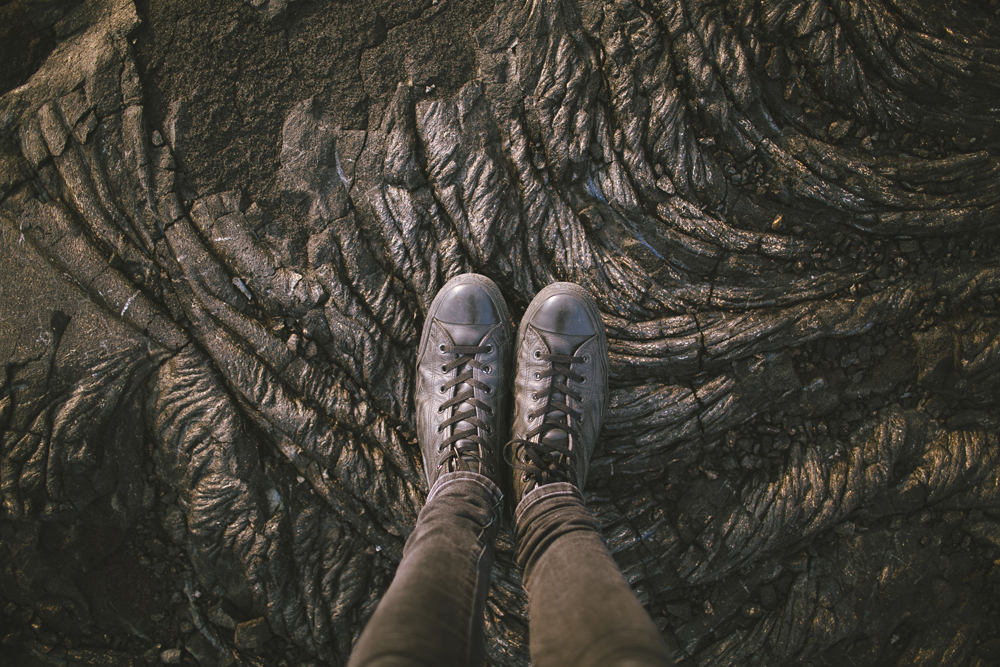
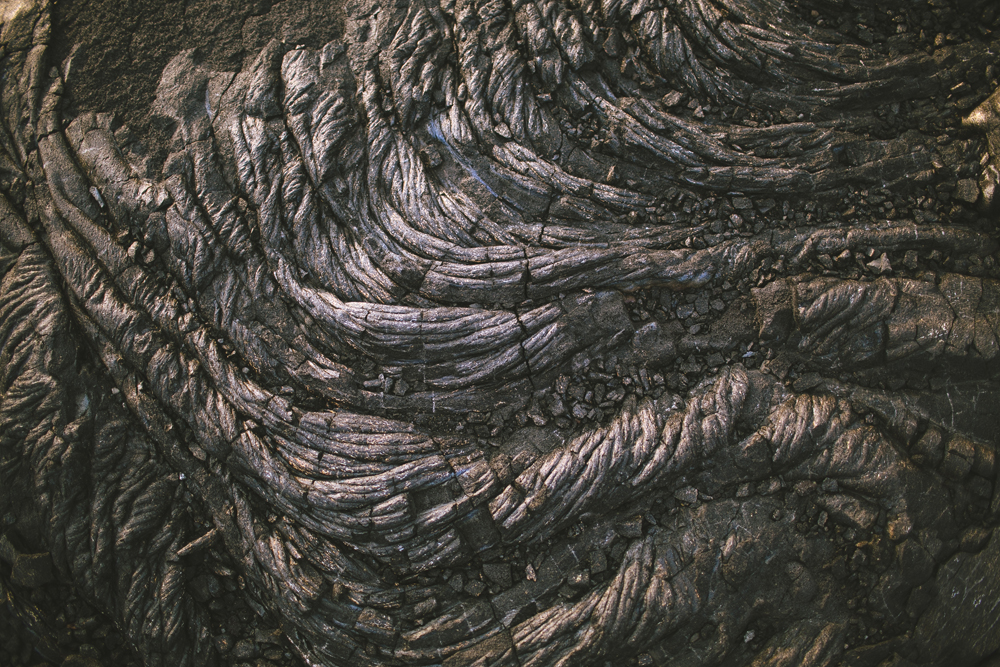
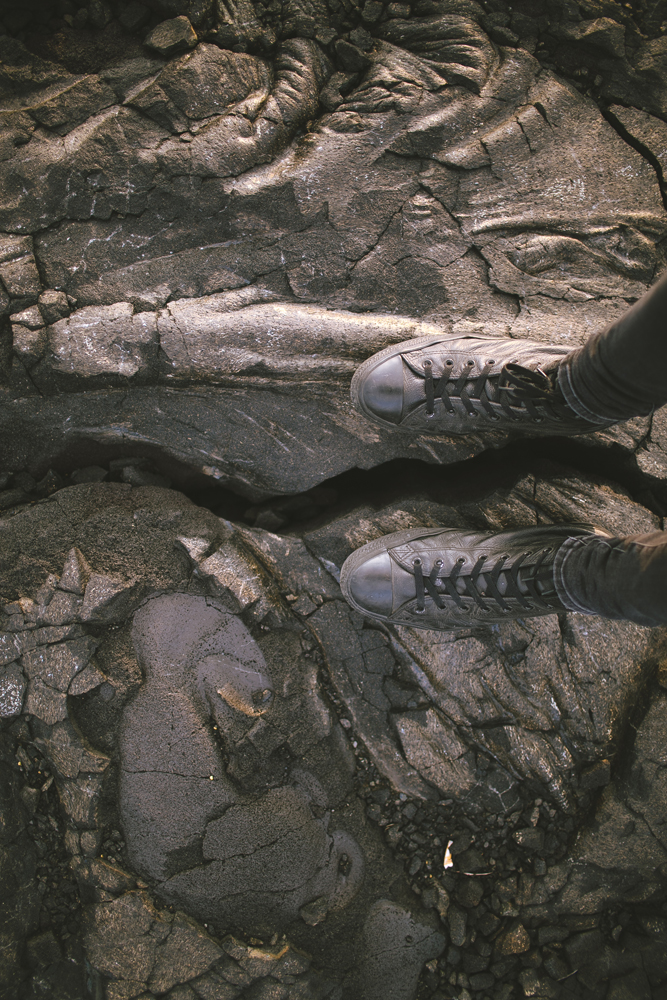
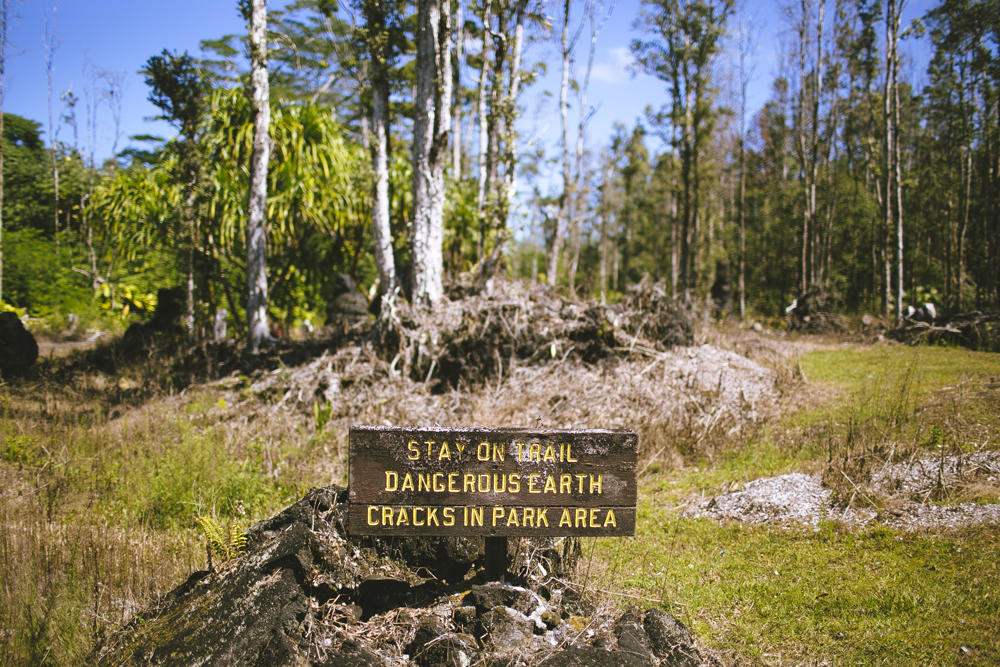
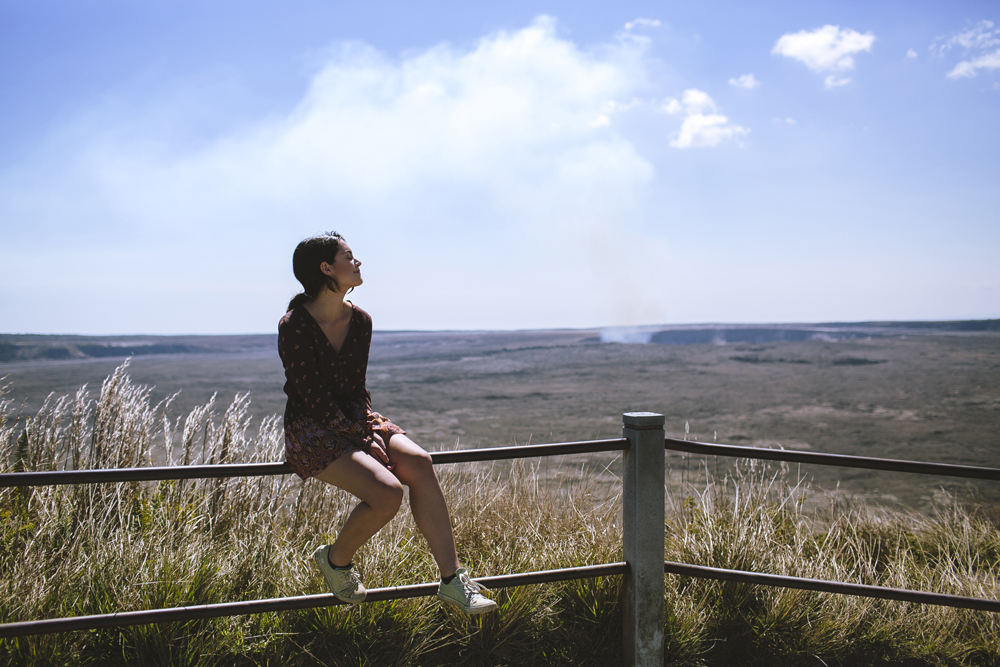
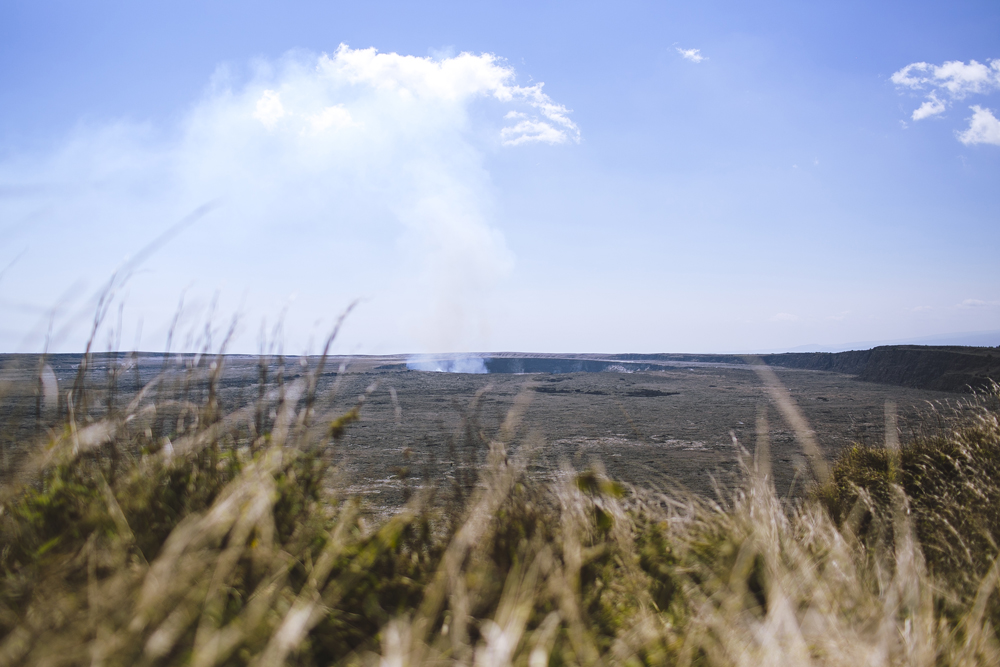
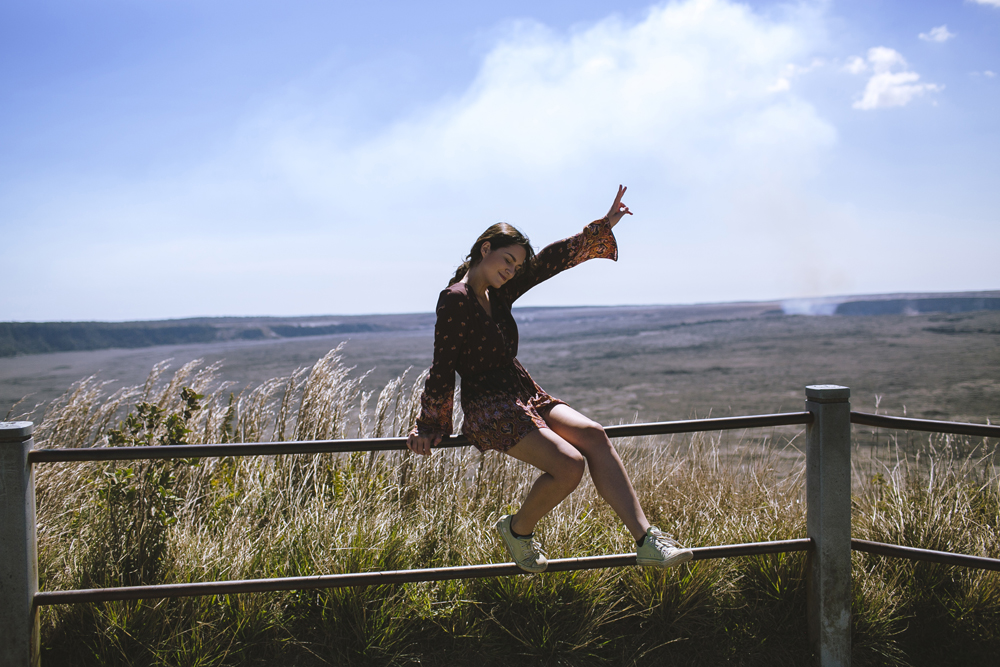
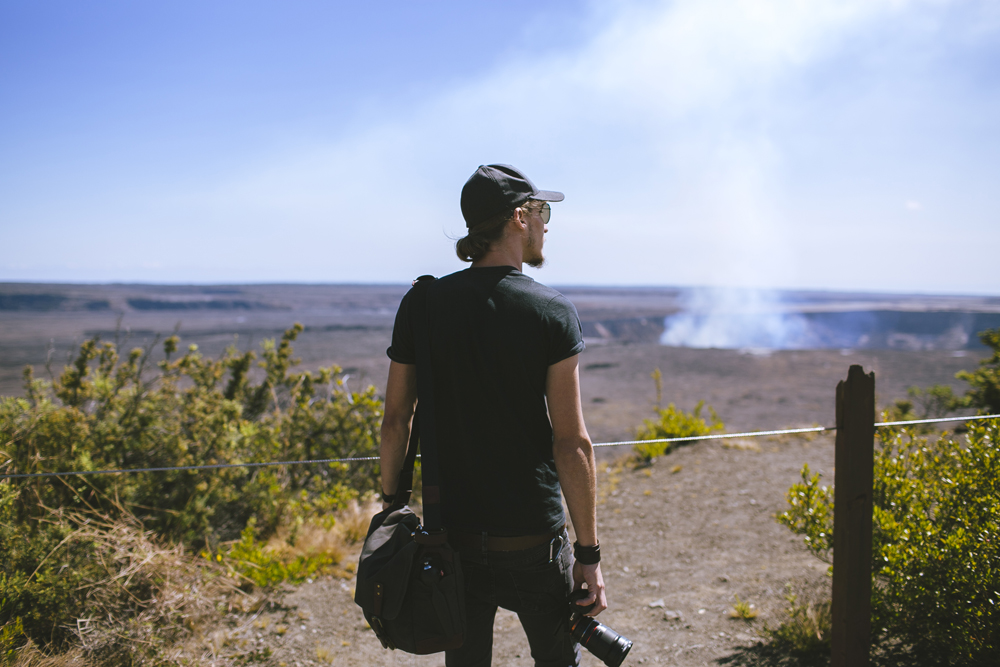
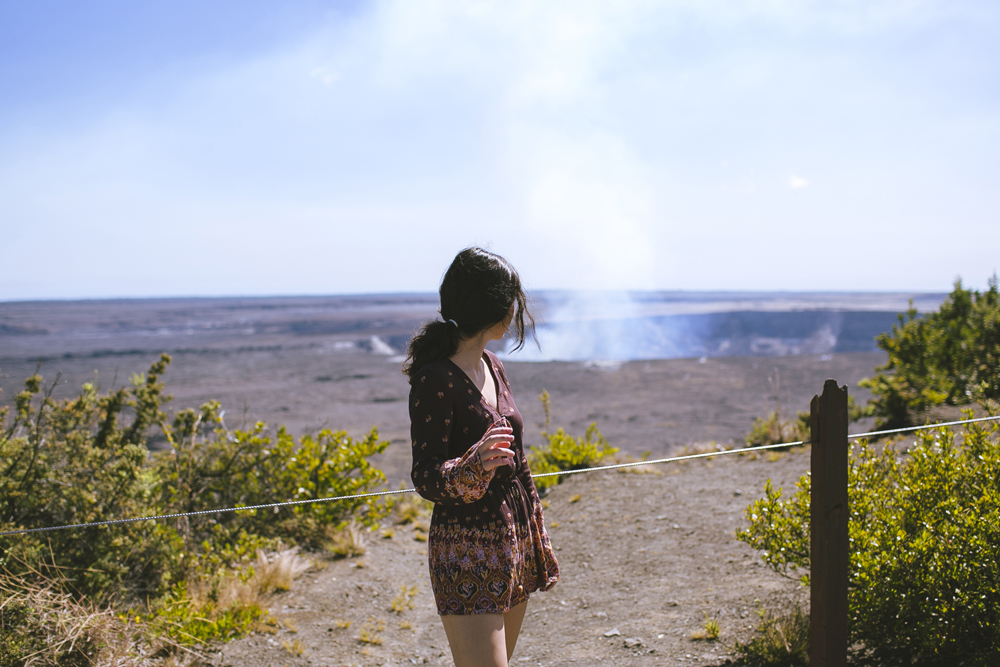
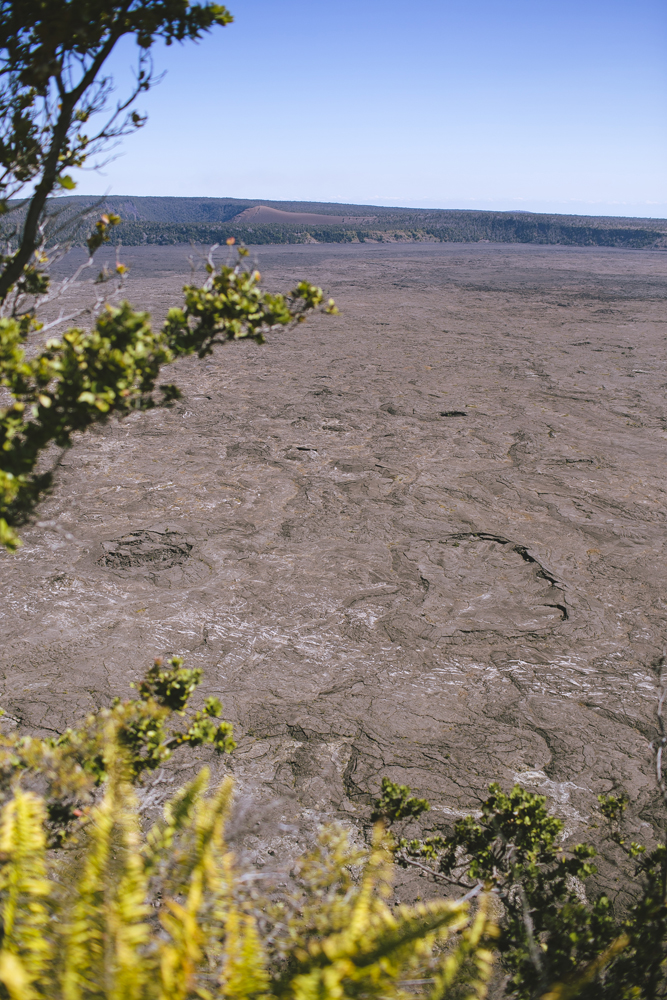
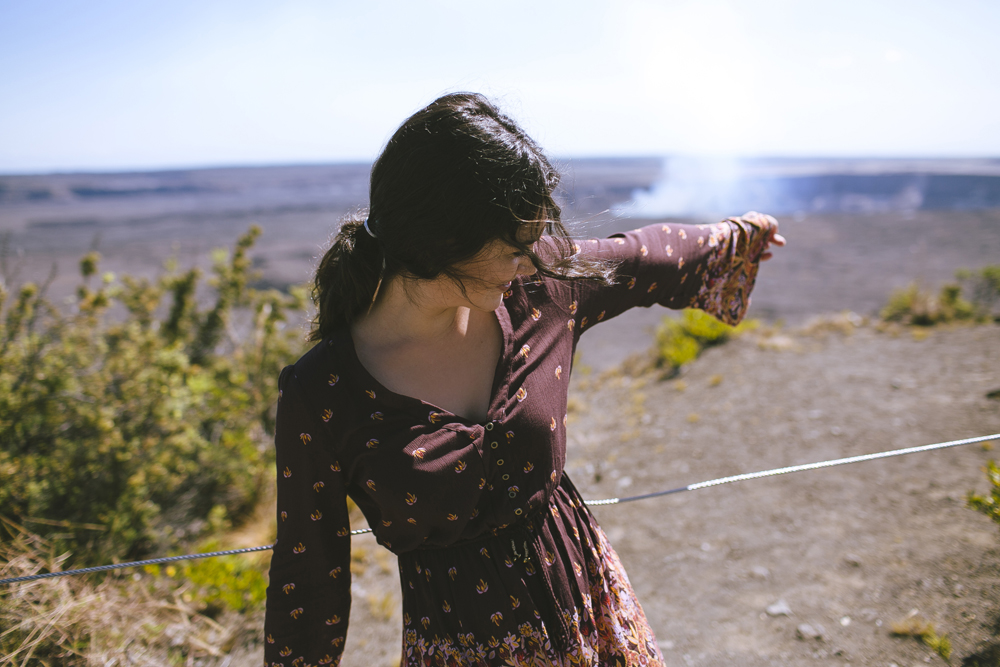
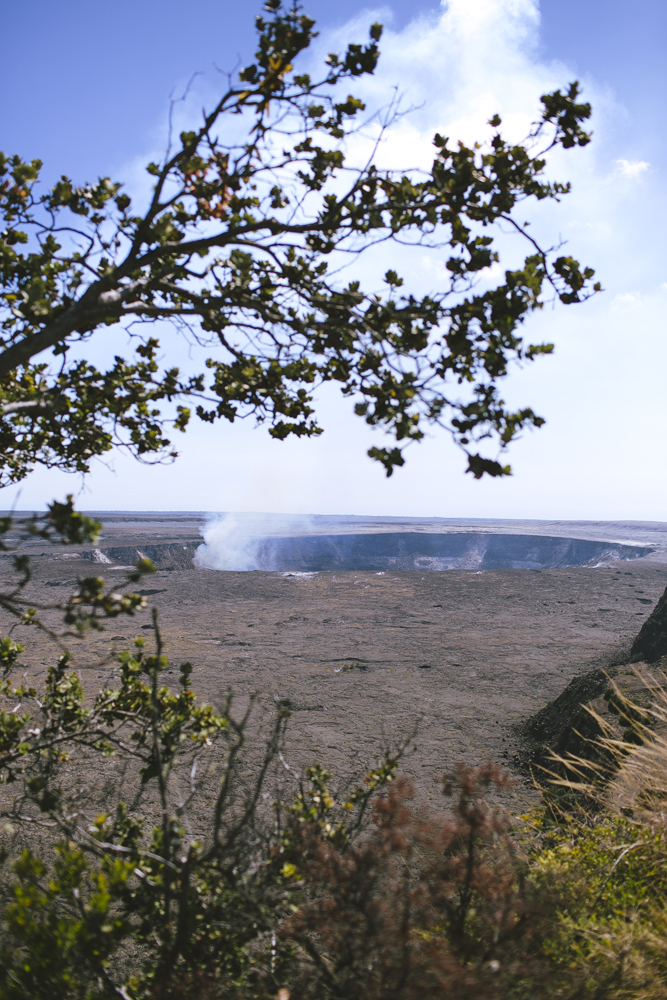
On a sunny day we headed back to Volcanoes National Park. The first time we were there, it was so cloudy and foggy that we couldn't see the actual volcano at all. When we arrived, it was my first time seeing a live, active, erupting volcano - and it was amazing! On our way back home, we took a quick detour to the lava viewing area which is only open from 3pm-9pm. Here we saw the land that was destroyed by the 2008 lava flow - it was a desolate, barren landscape of thick, black, jagged lava rocks that wiped out all the suburbs in it's way. Even more amazingly, we also saw the people who used to live here before the lava flow that re-built their houses in the same spots again, this time just on top of the lava.
I also have some exciting news because I've started sharing more fashion shoot behind the scenes videos + Lightroom & Photoshop Tutorials on my YouTube Channel! Be sure to subscribe as I upload 2 new videos every week x


all photos edited with my Gdansk Lightroom Preset and Light Leaks Lightroom Collection


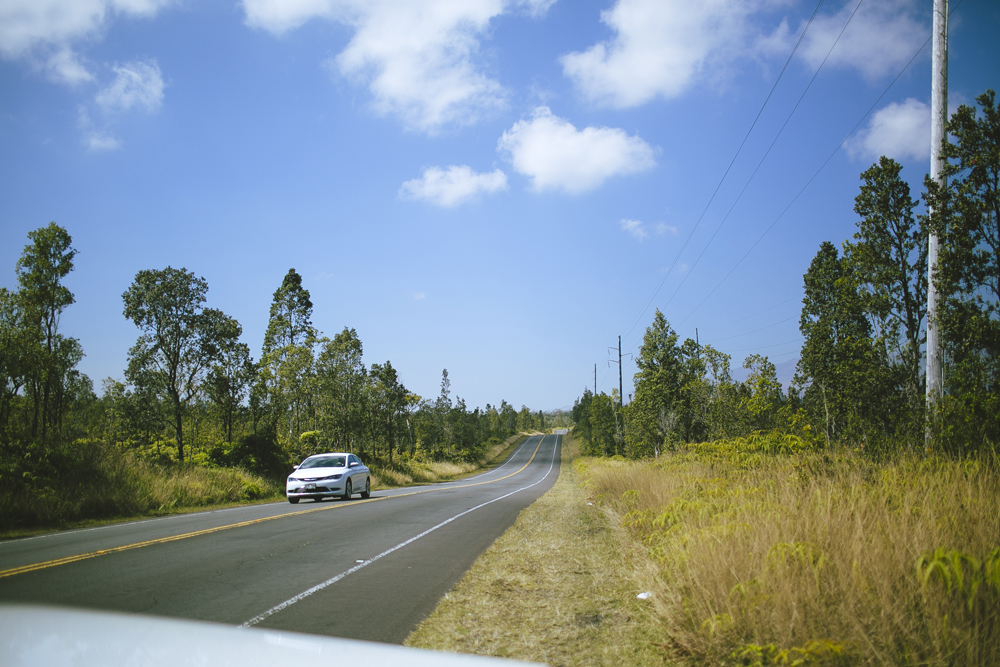
We woke up early, took our time with coffee in our cabin and made our way to Hilo. The drive from Kalapana where we were staying near the Volcano to Hilo would take us about an hour. I was feeling a little low on energy and had a headache which I read online could be caused by vog which is volcanic ash mixed with smog. This was something the area we were staying in was very susceptible to since we were so close to the volcano - so a day far away from it and out in the fresh air was sure to do me some good!
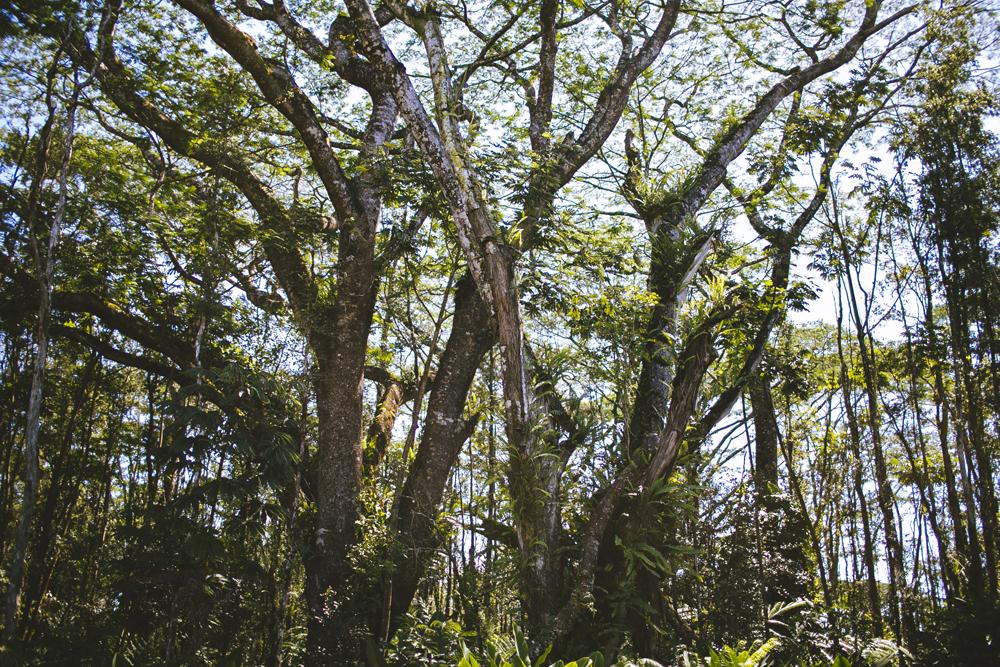
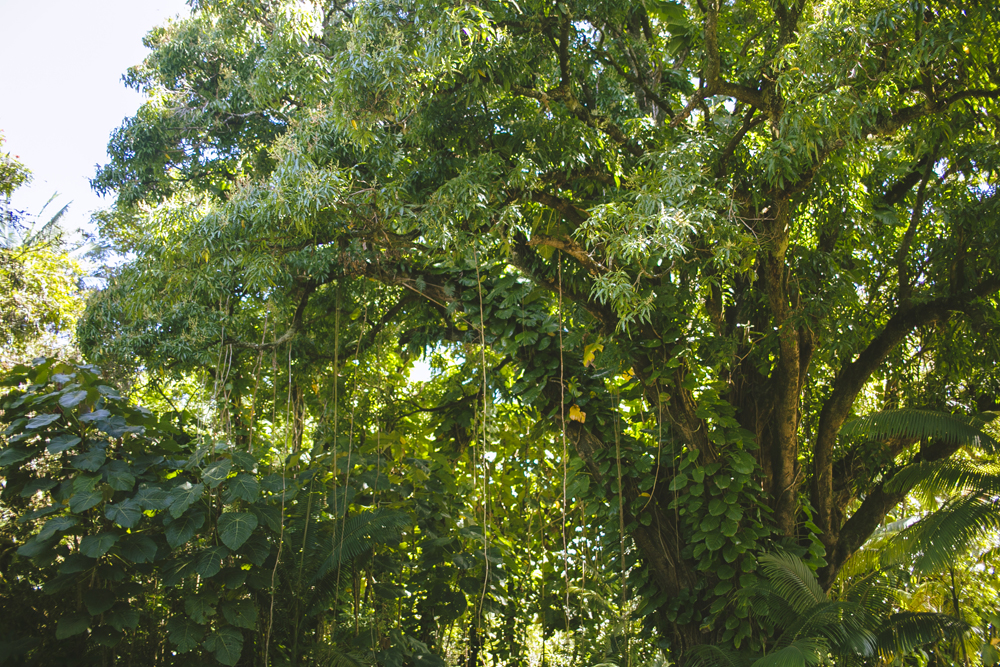
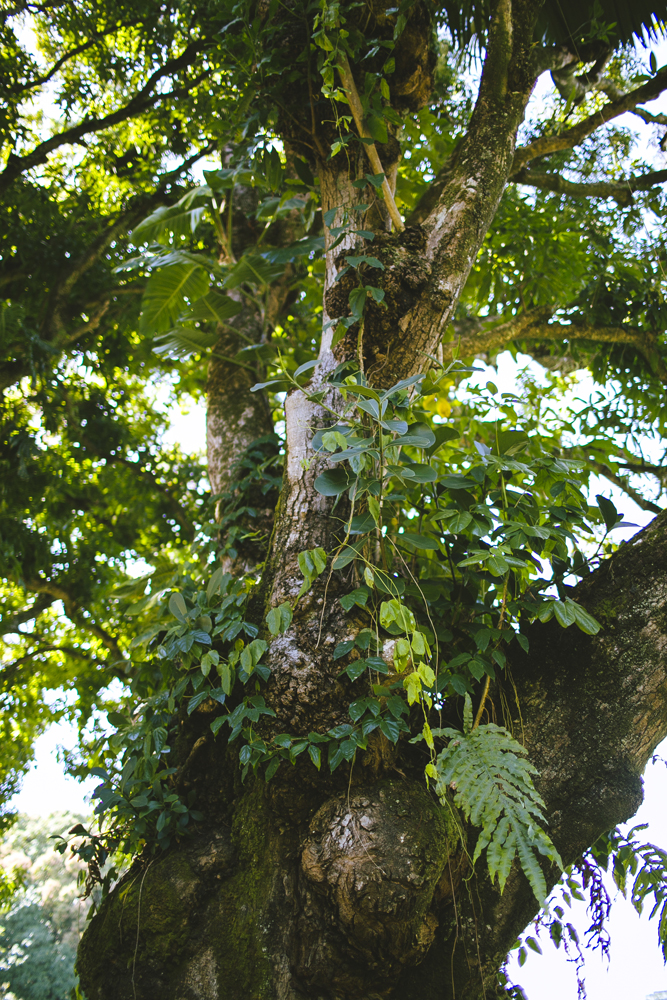
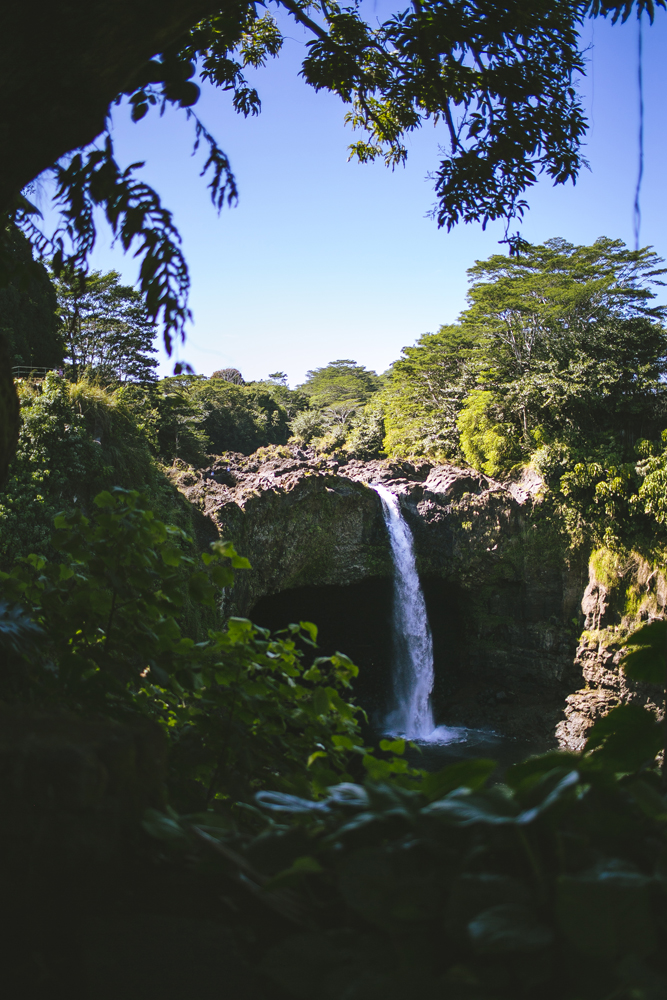
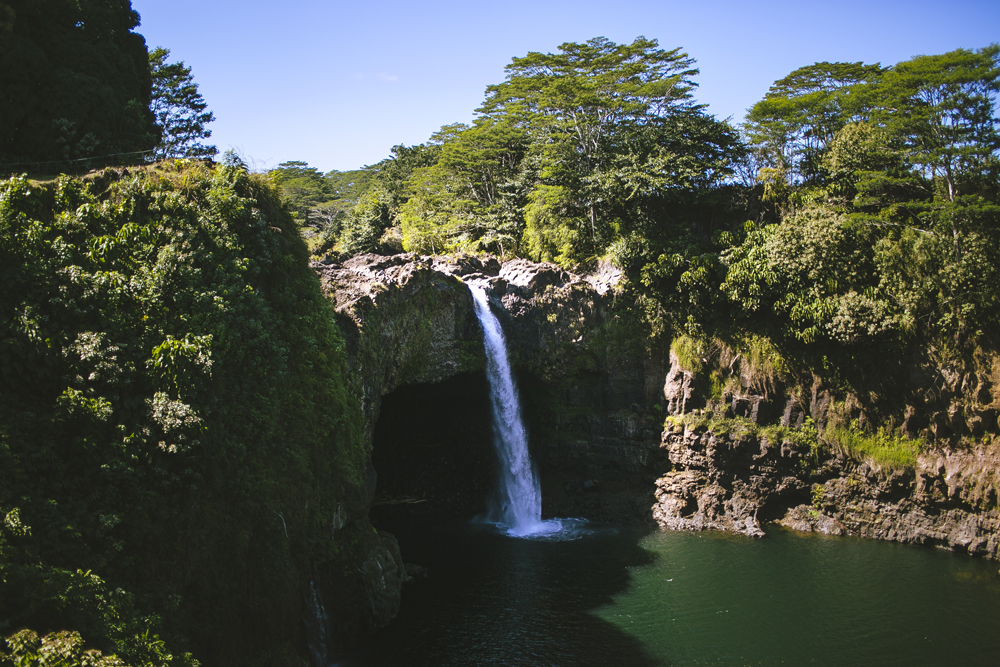
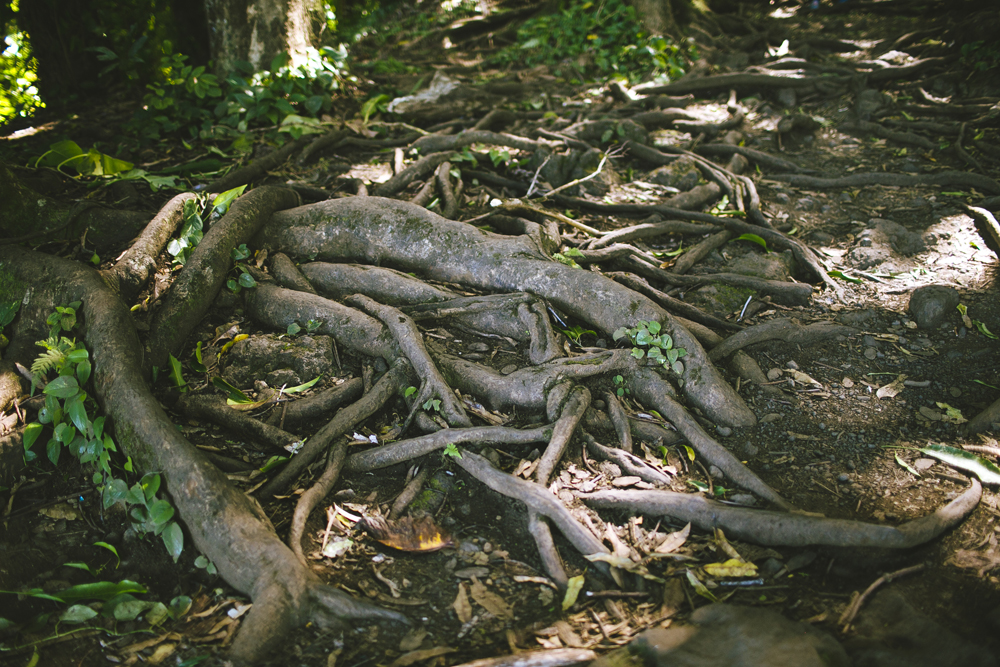
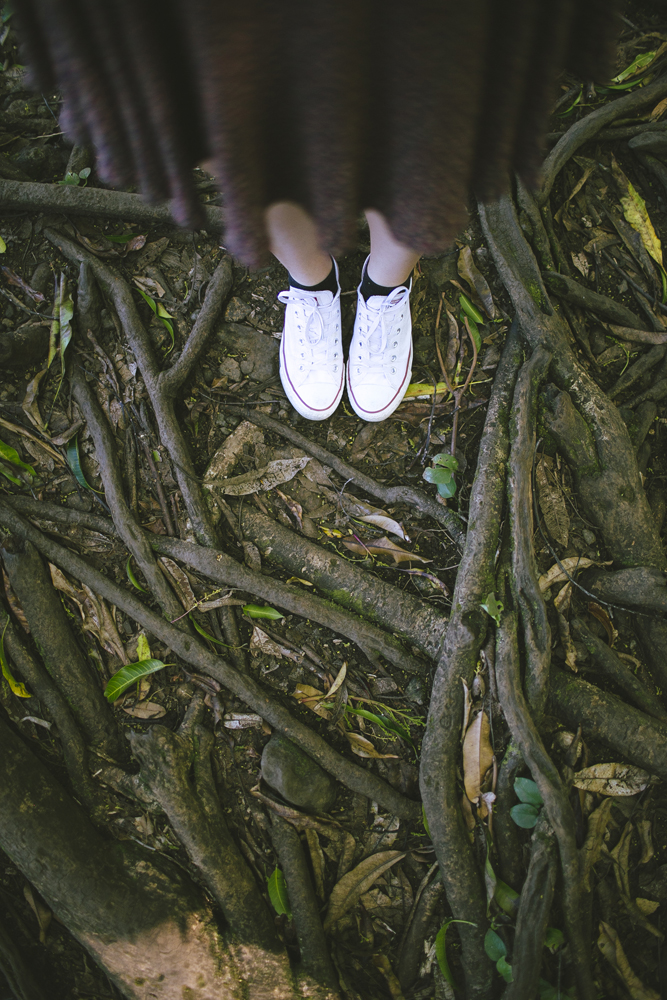
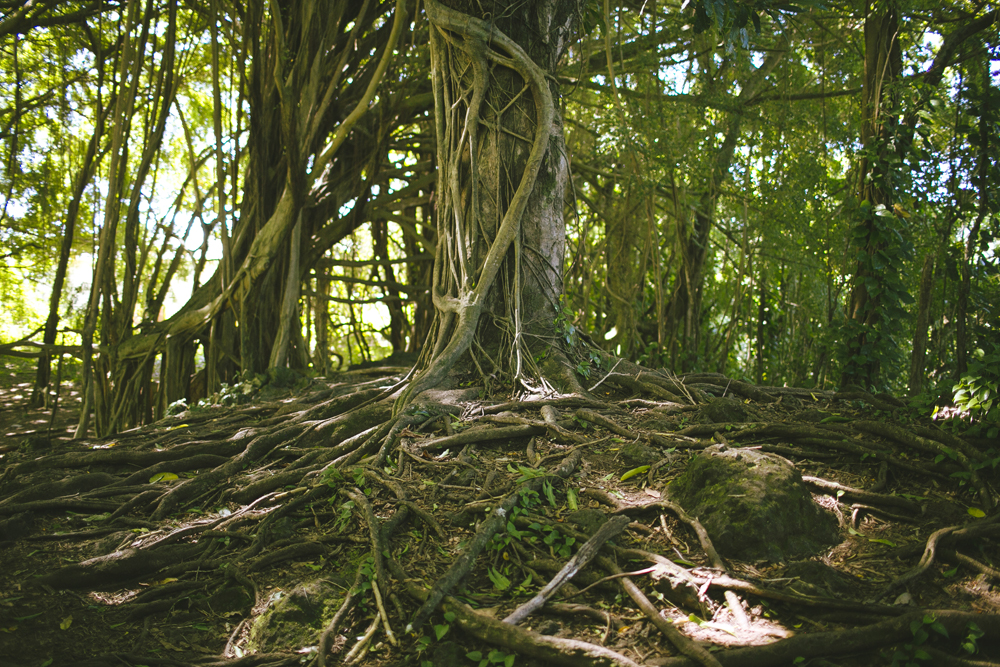
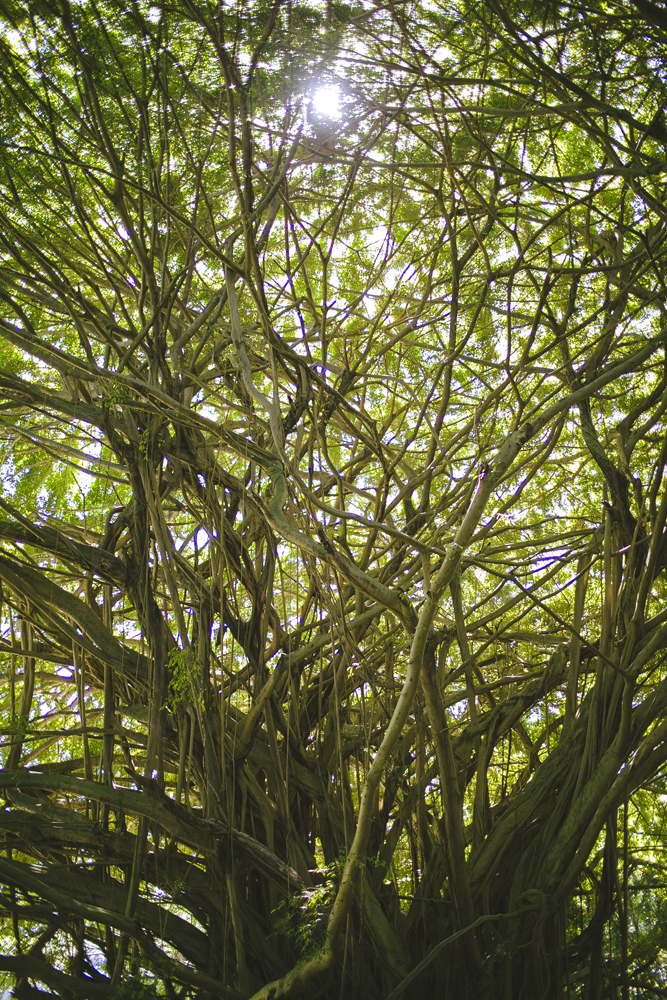
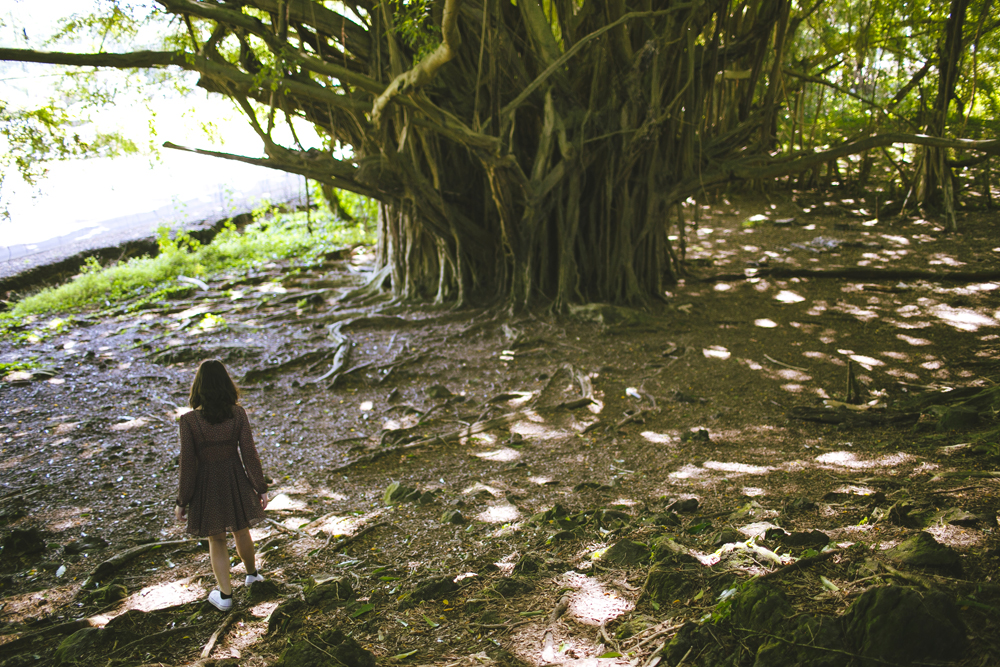
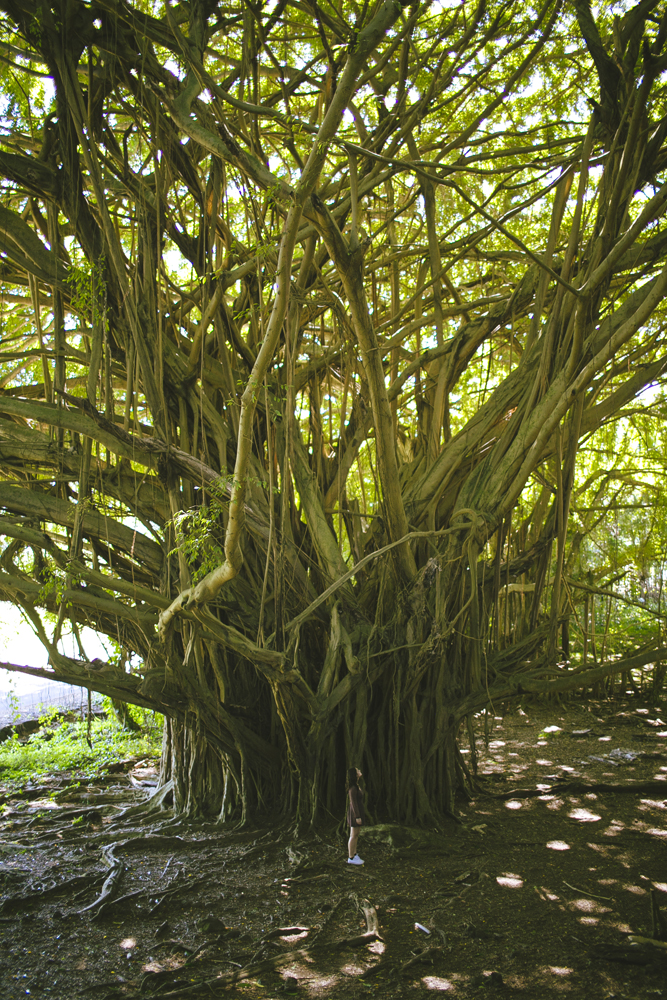
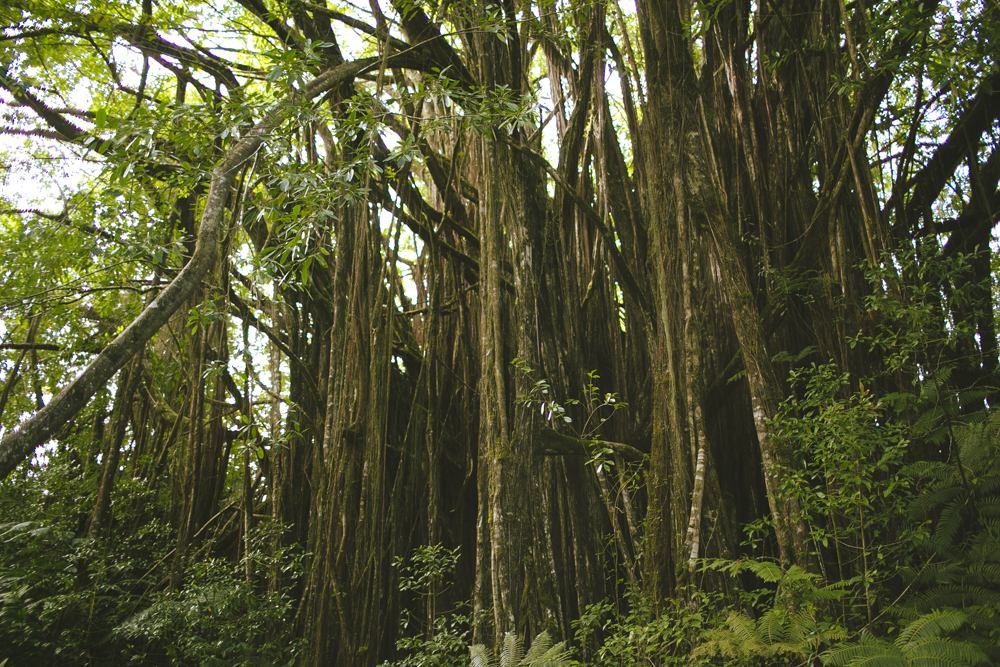
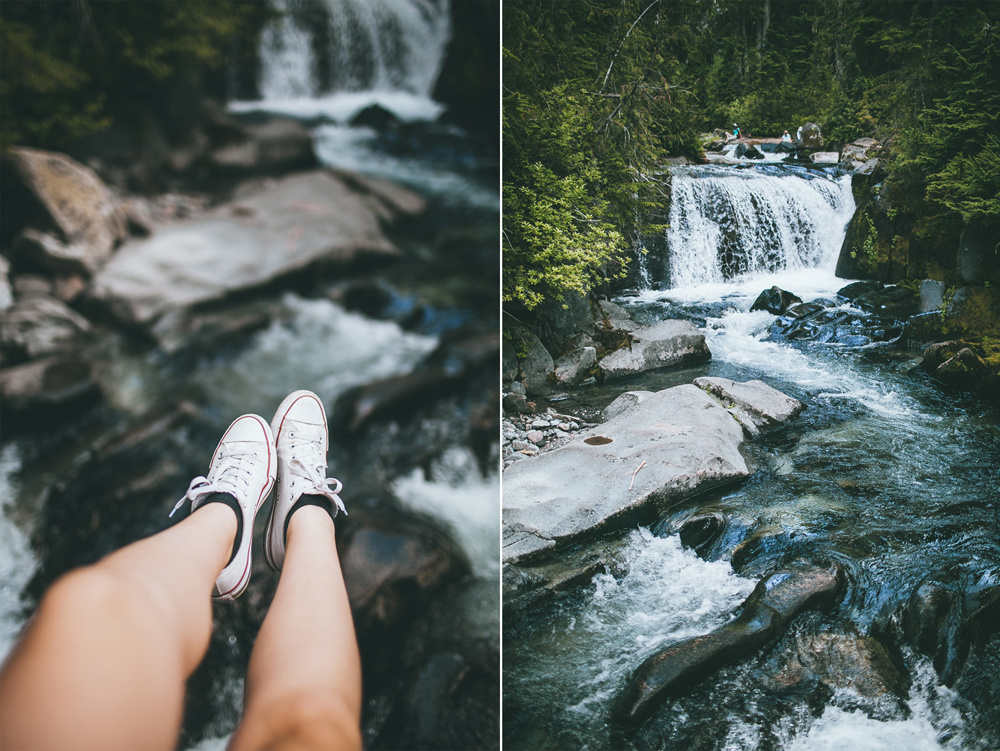
Our first stop was Rainbow Falls, where the water flows freely just over some caves in the cliff. There was a small walk to the top of the falls and at the top was a forest filled with some of the biggest Banyan trees I've ever seen. They were incredible. I walked down towards the largest tree we could see in the forest and felt so tiny standing next to it.
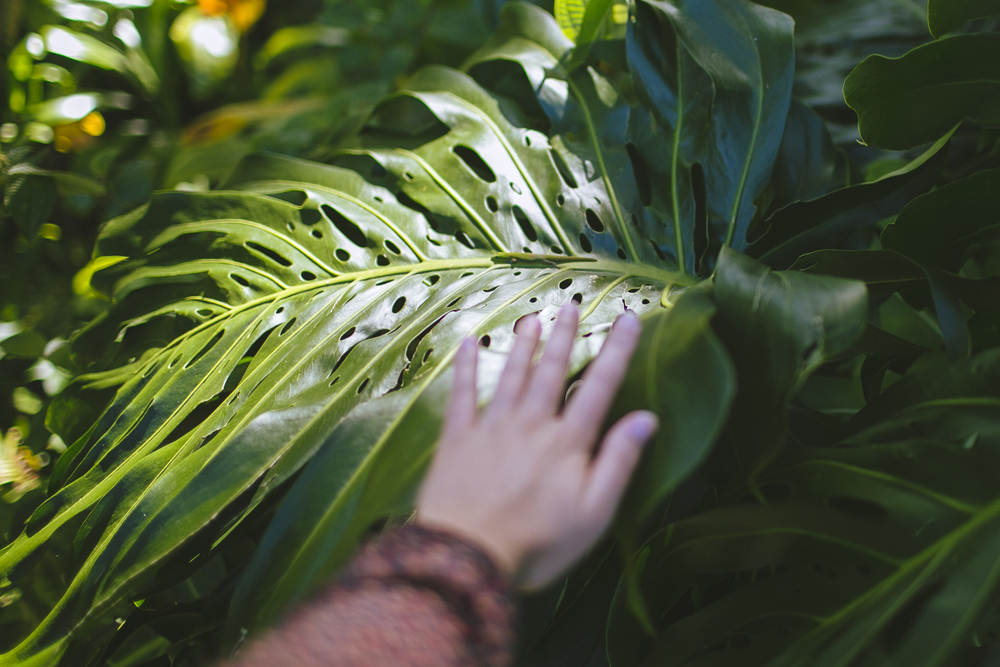
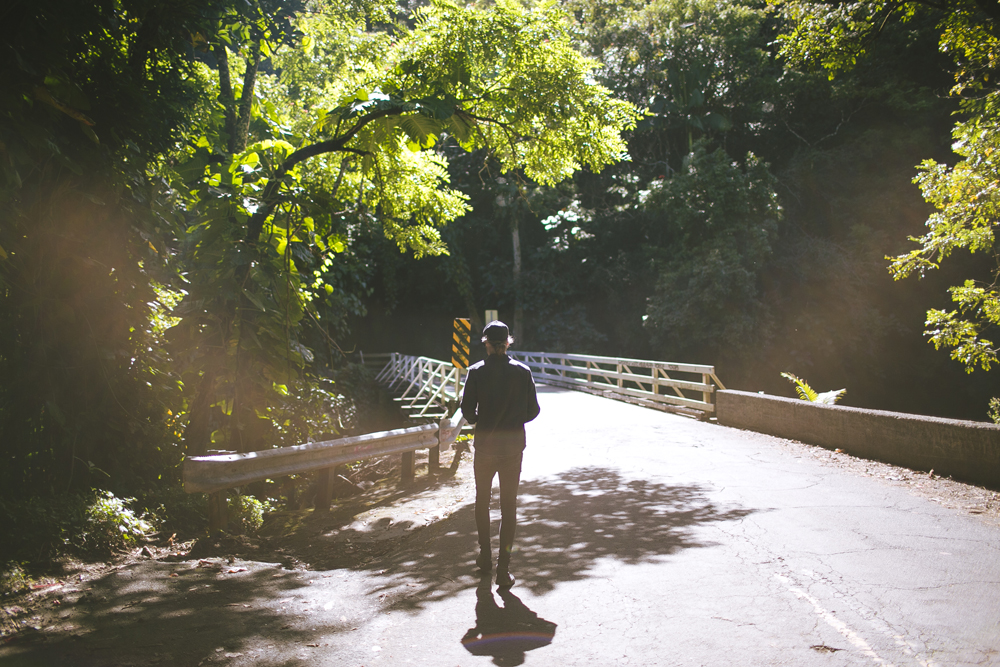
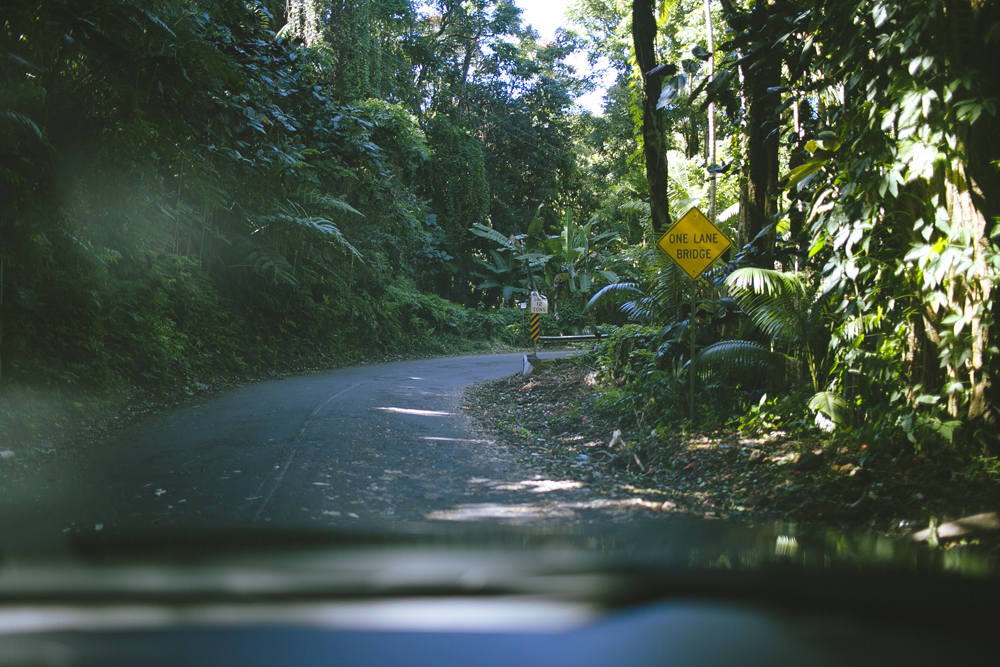
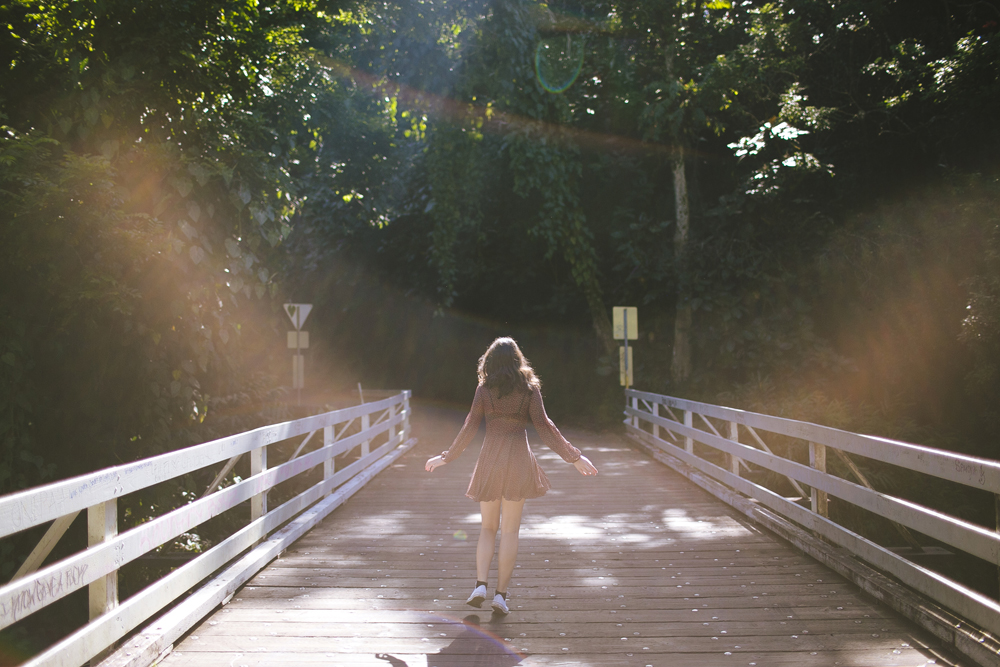
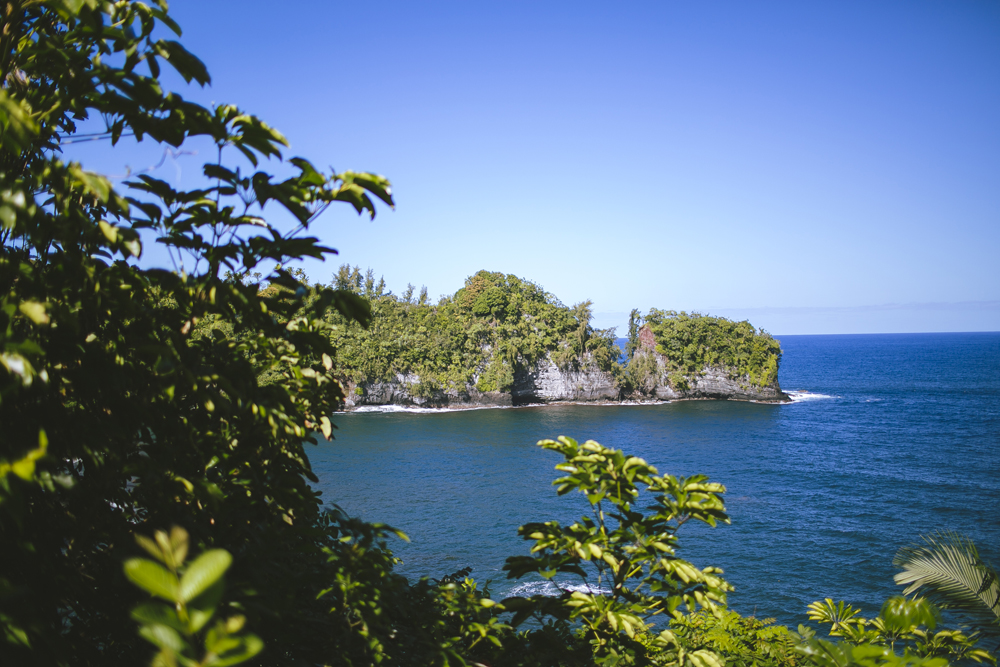
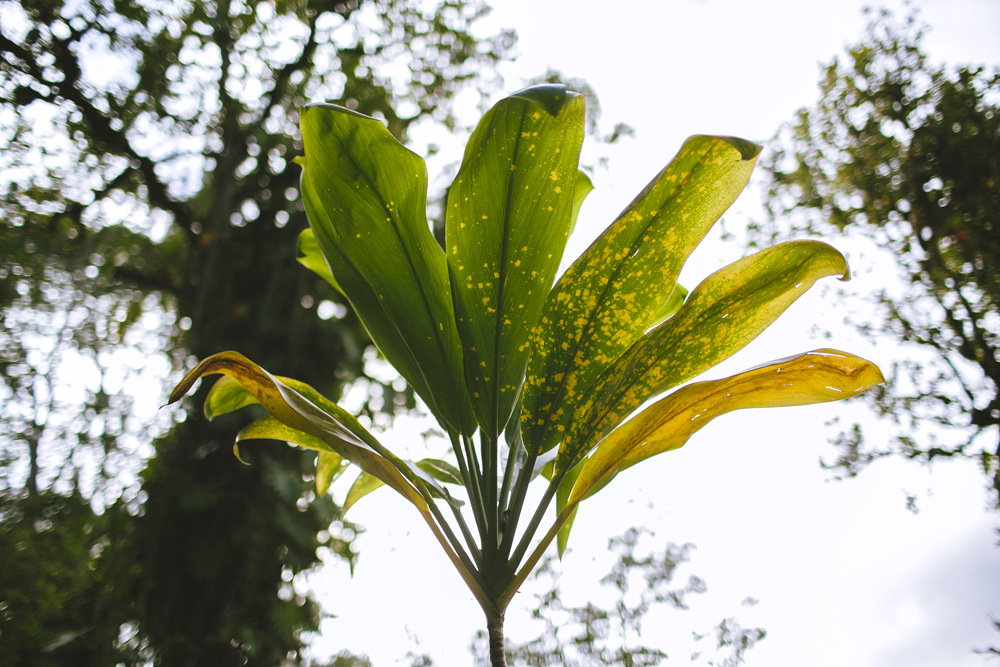
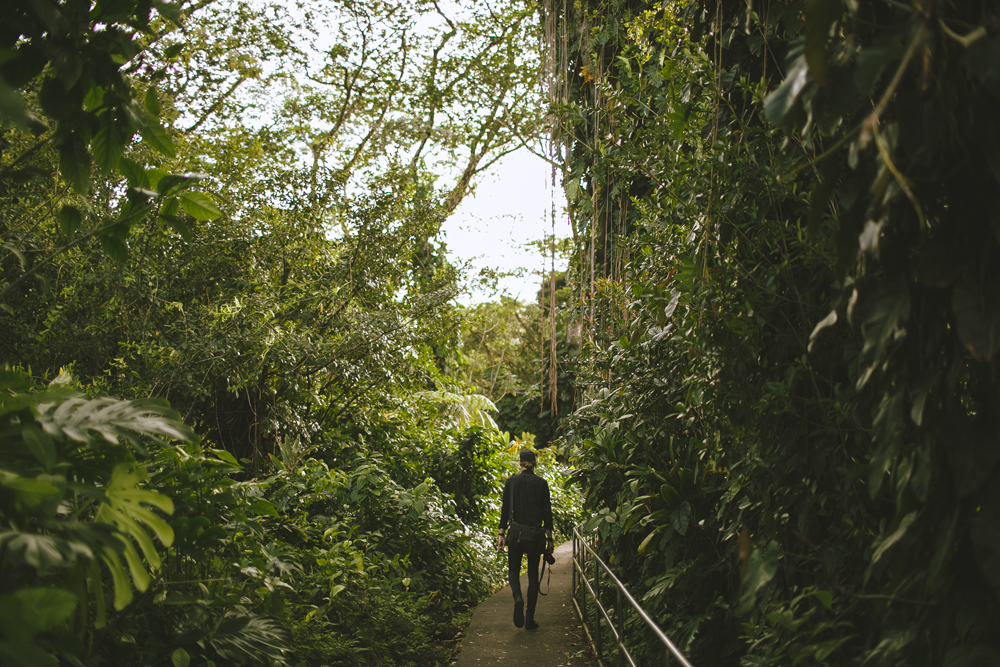
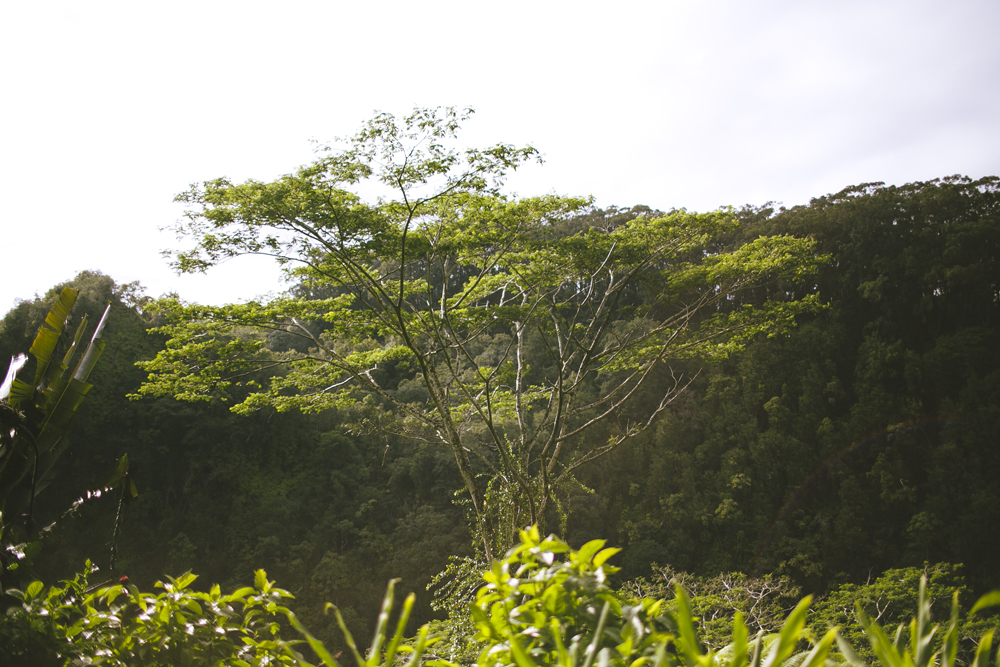
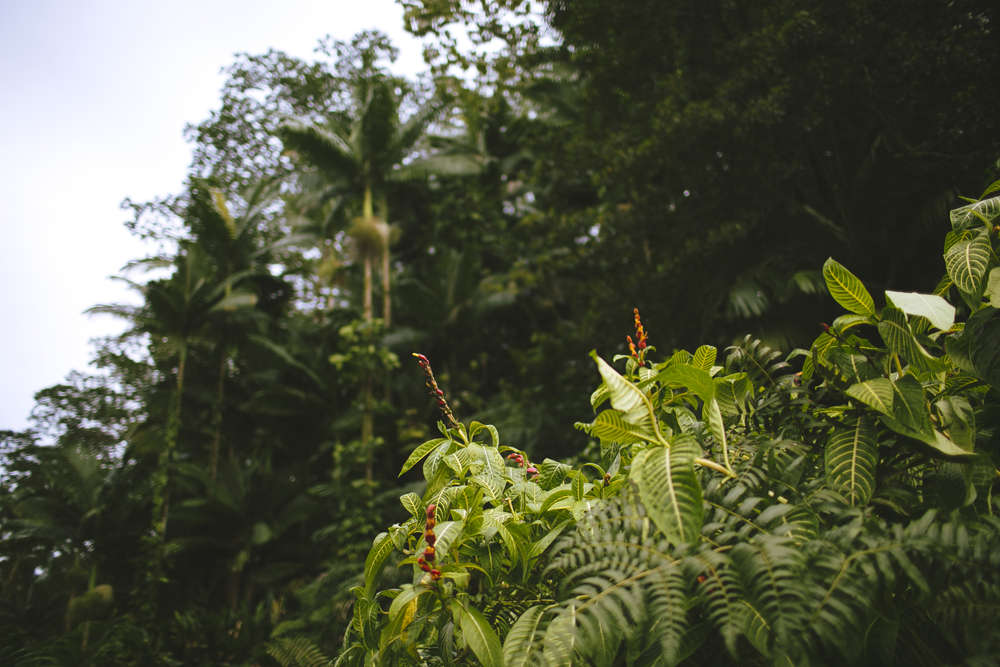
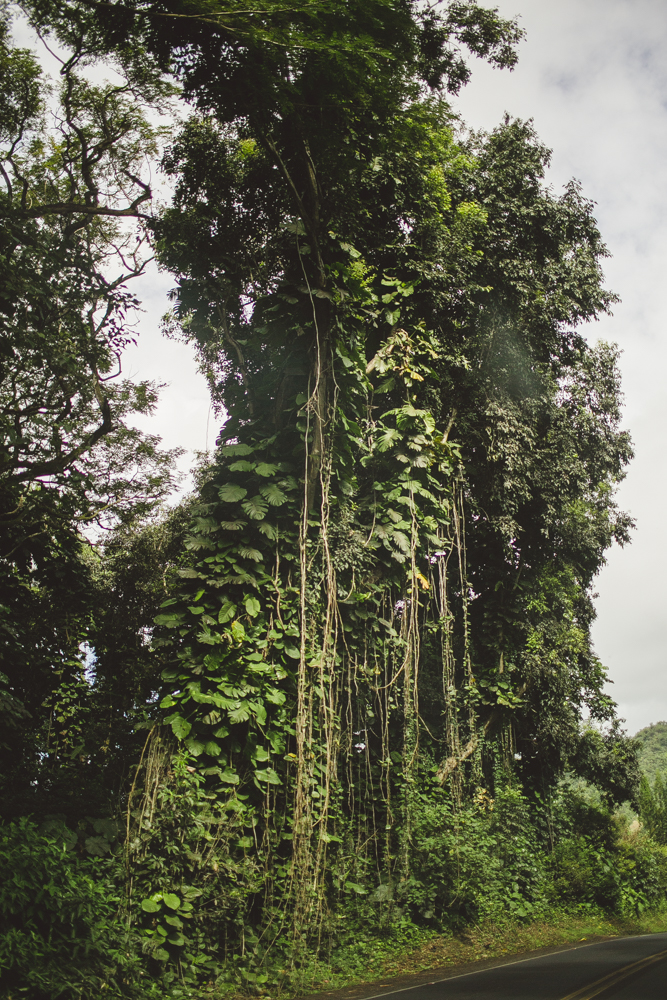
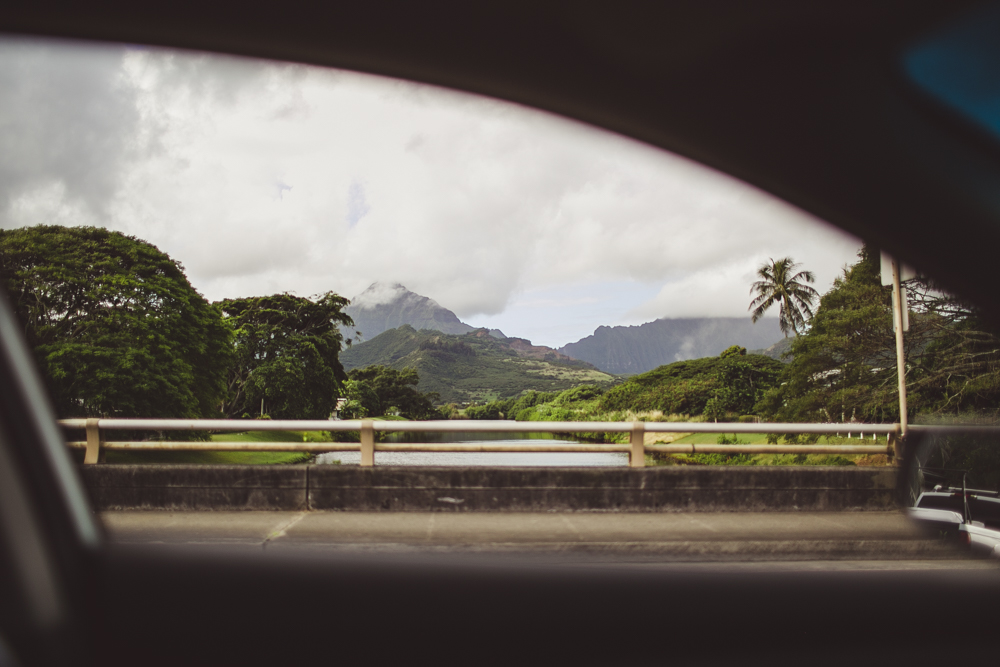
We took the scenic route to our next destination, driving through some beautiful tropical rainforest areas. I remember watching in awe out the window at the vines hanging low from the branches of the giant trees. We stopped off on the side of the road to look at the cliff scenery, the ocean angry against the rock formations that still stood, drove past the Hawaii Tropical Botanic Gardens and stopped on a bridge where you could see a waterfall if you peered off the edge.
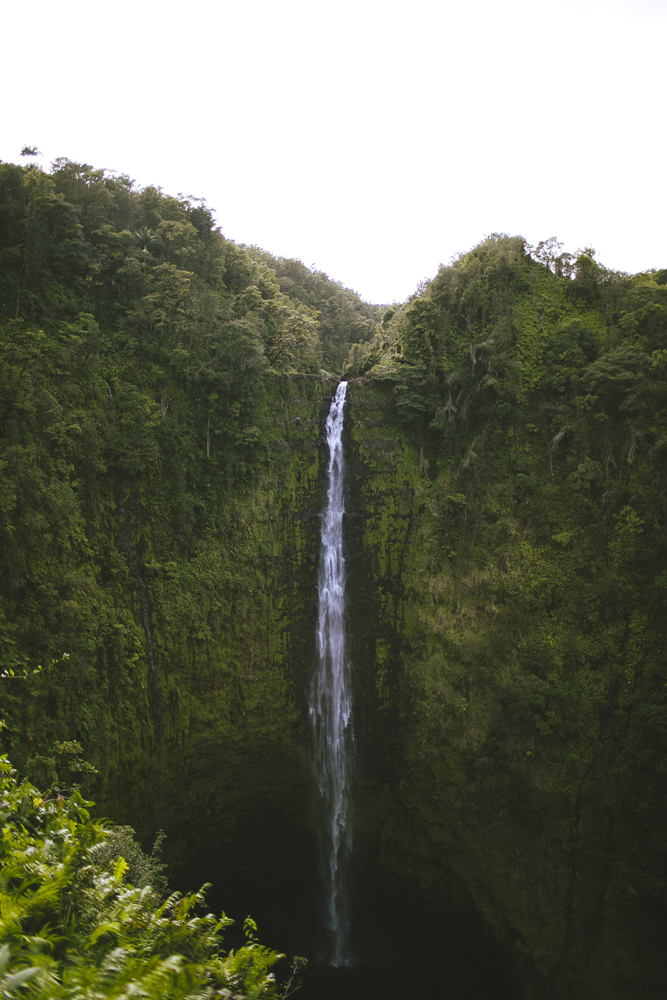
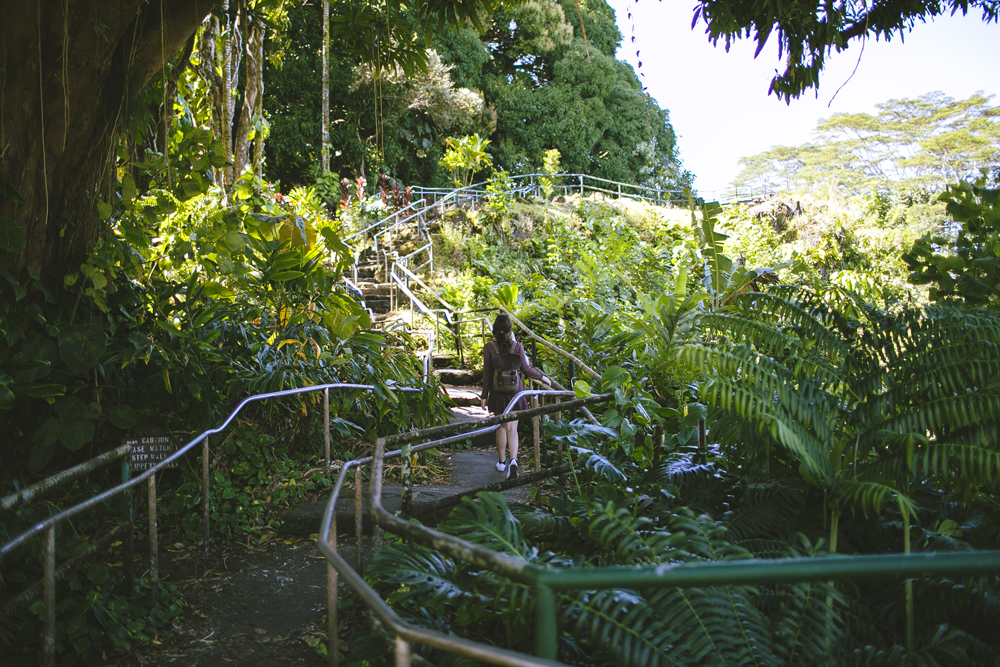
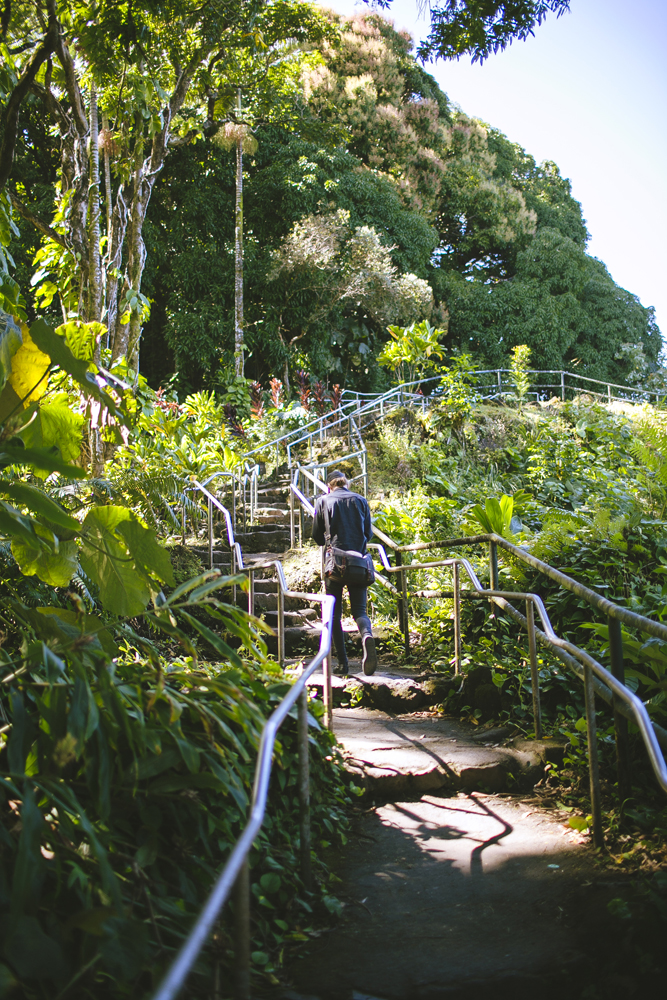
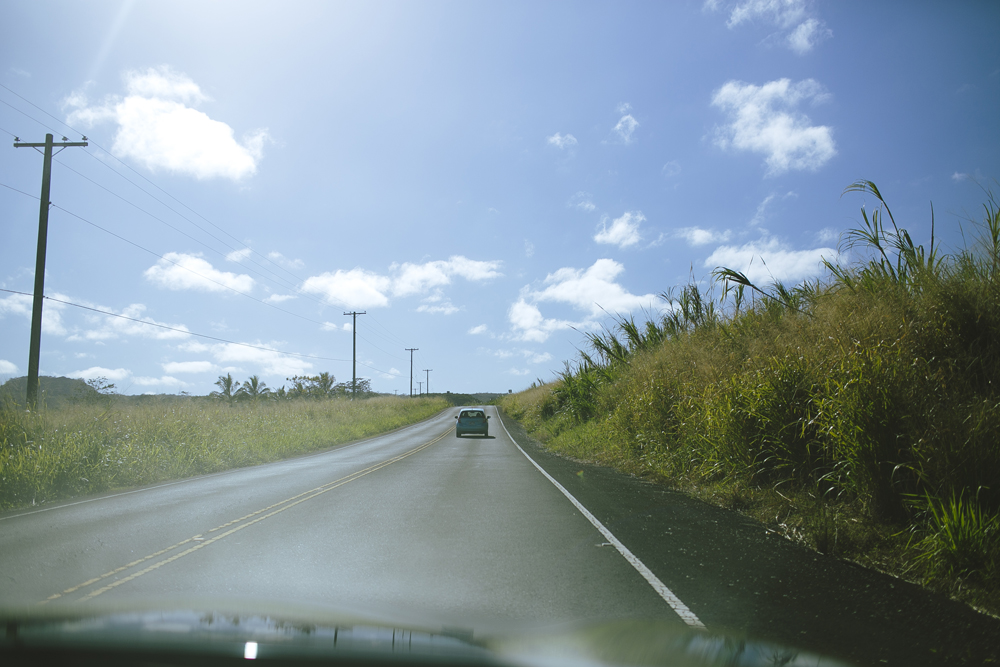
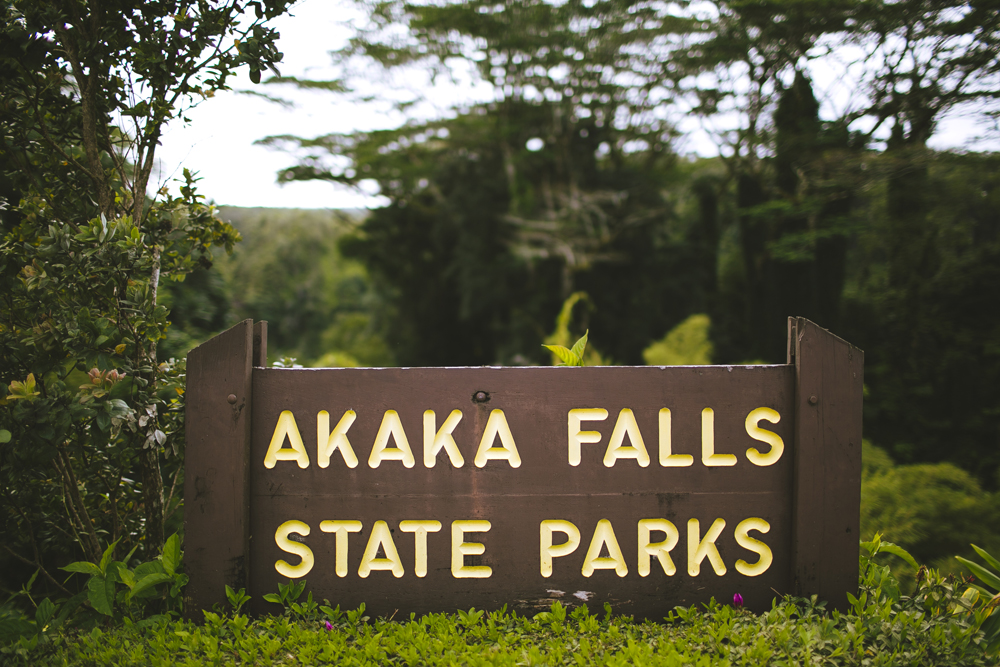
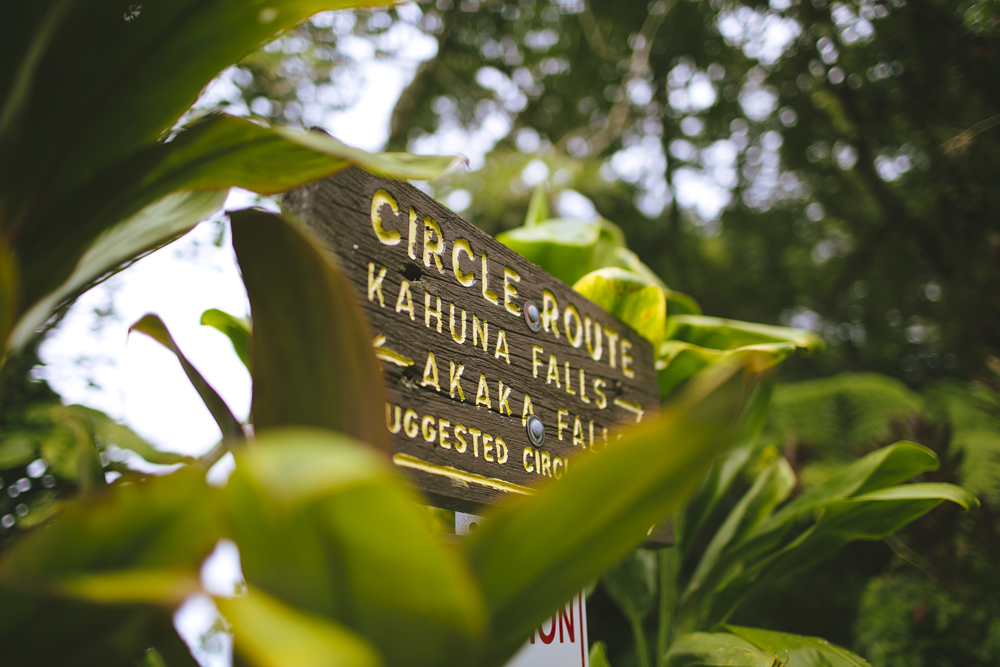
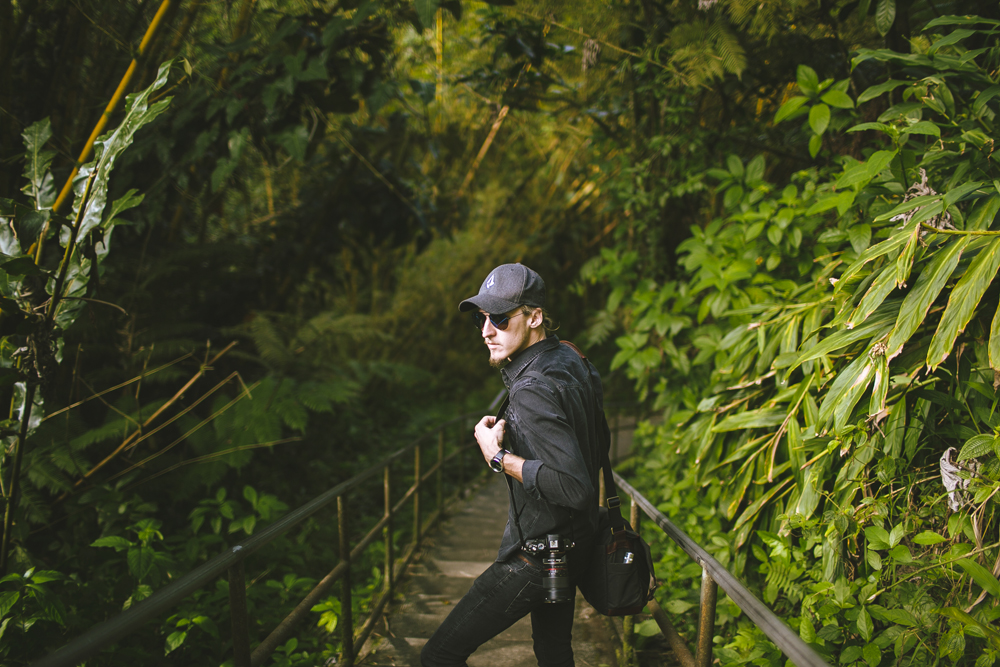
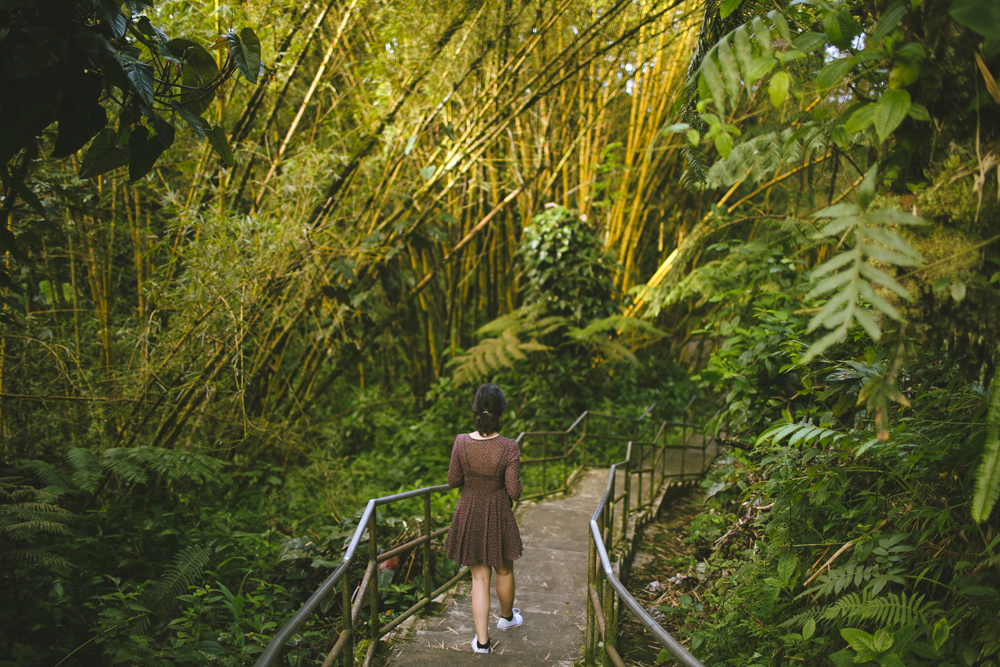
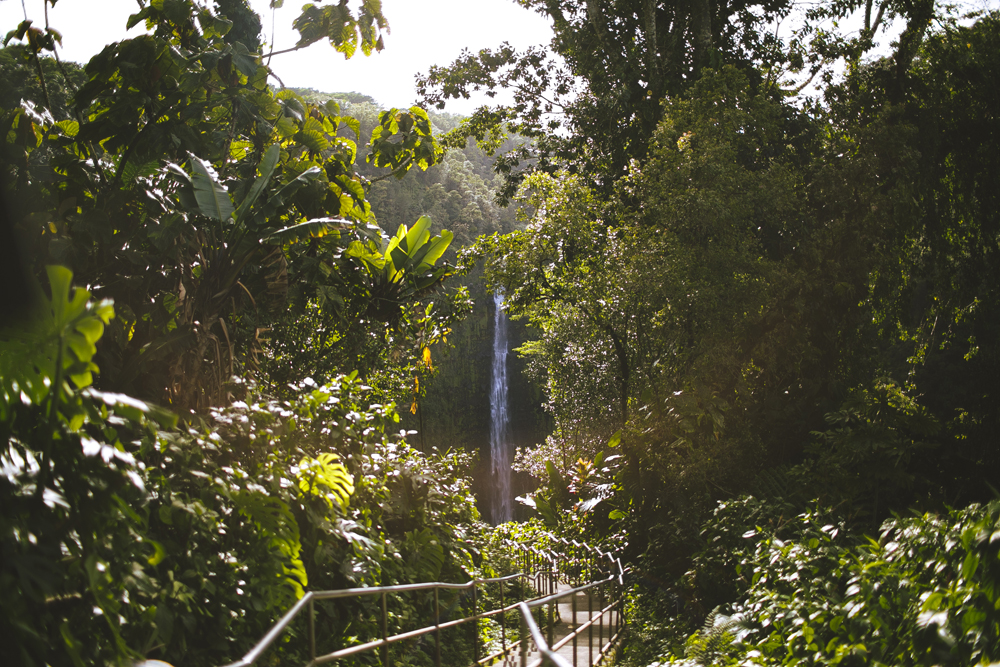
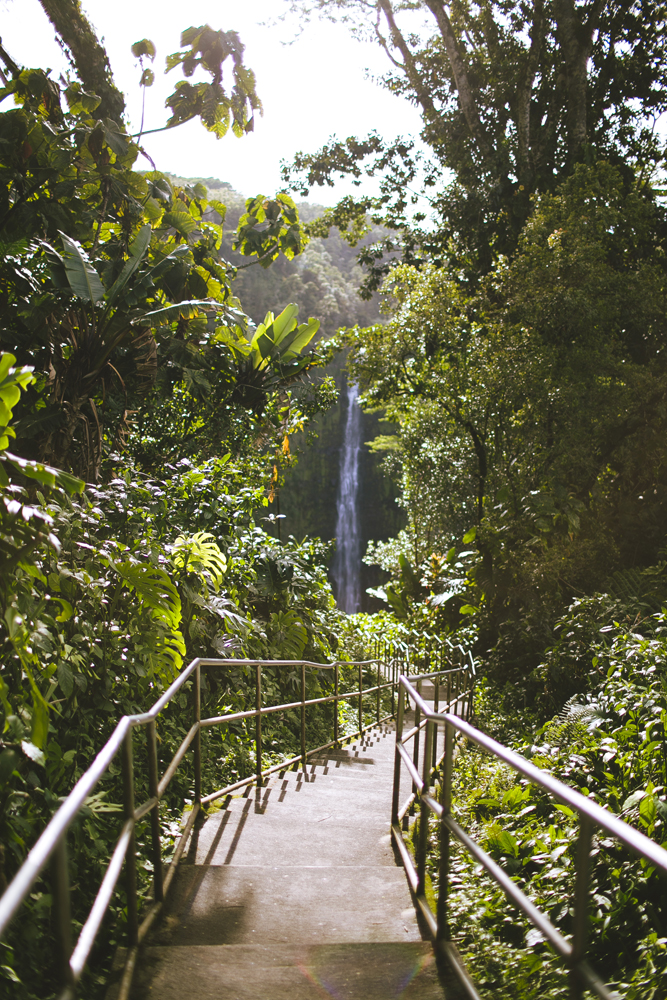
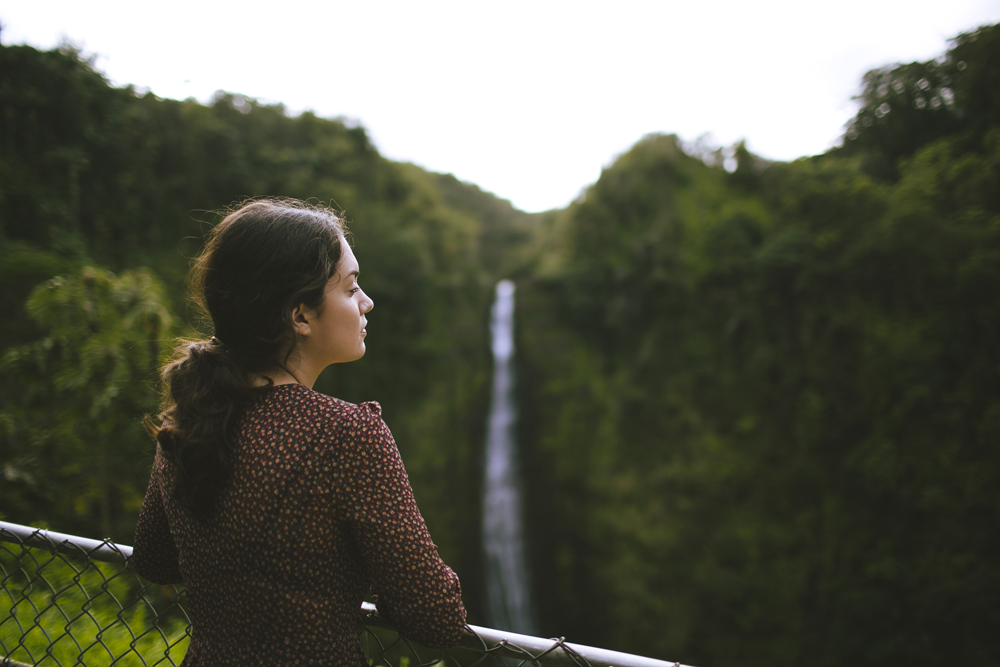
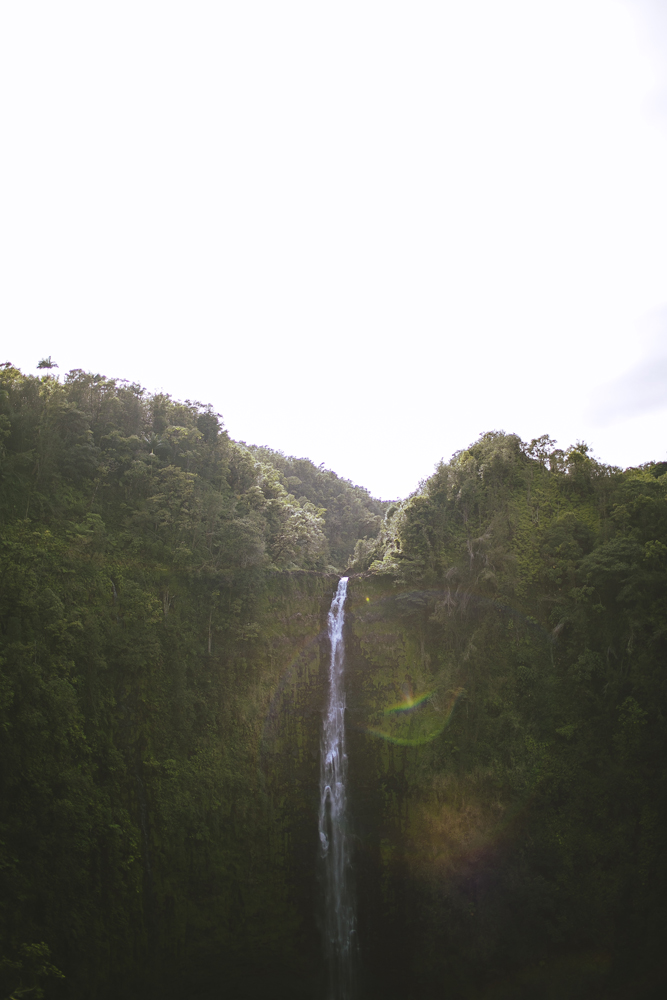
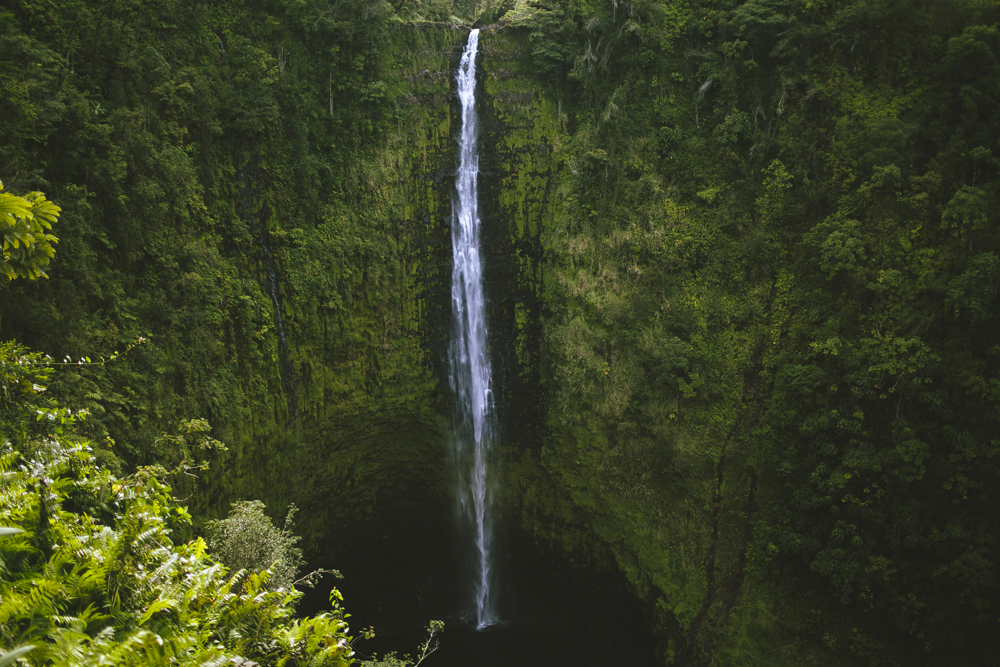
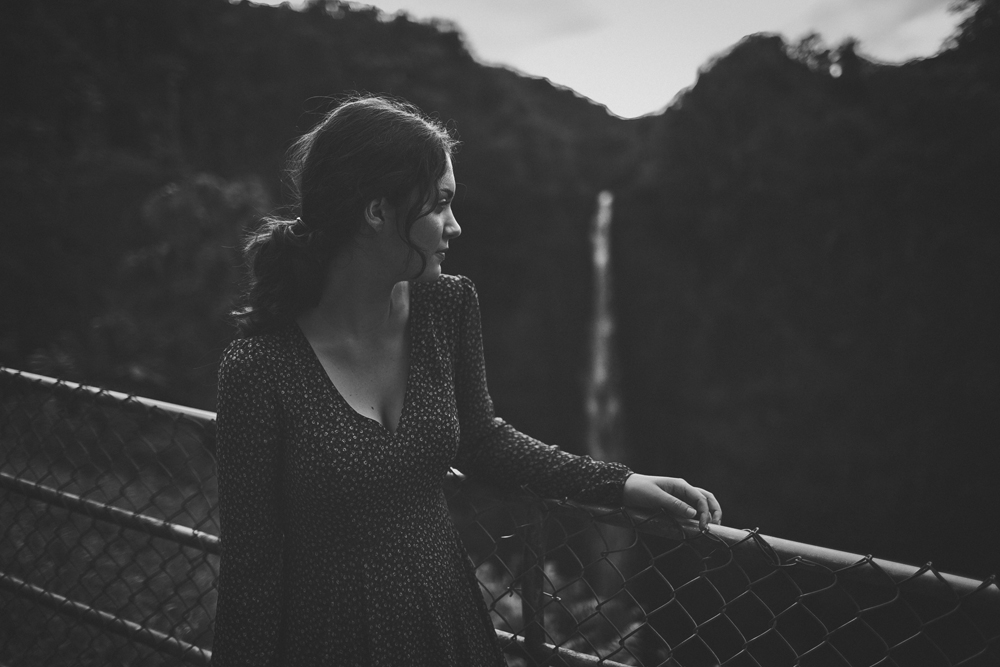
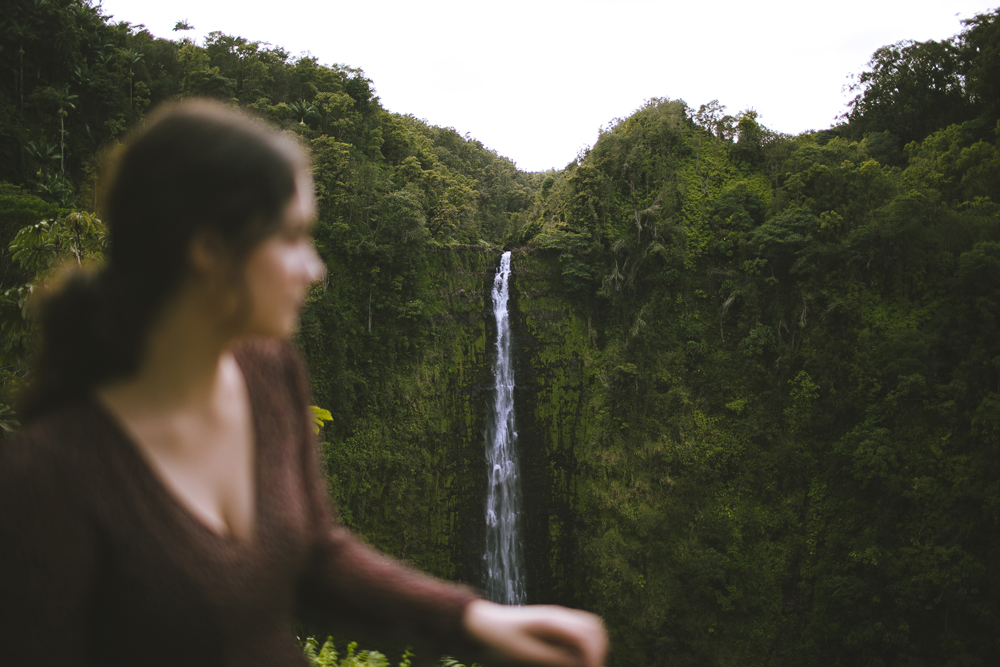
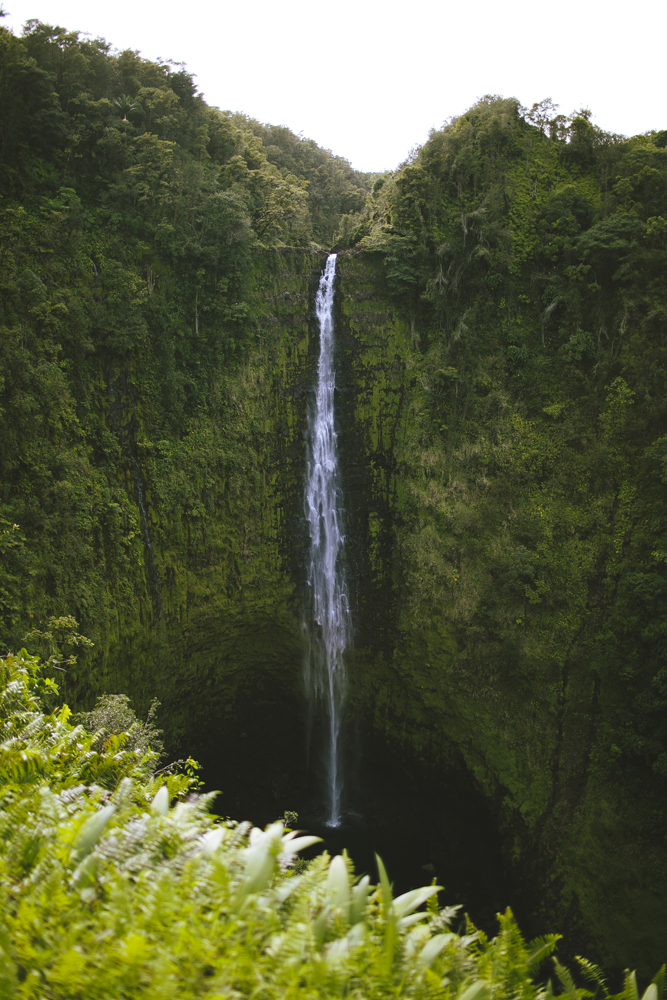
The jungle broke and we drove through an uphill road with towering corn pastures on either side, the sun beating down on the windshield. The end of this road turned into a carpark surrounded by trees - almost like a jungle oasis in the middle of a barren field. We reached Akaka Falls and I could hear them in the distance. The hike to the falls was wonderful. It was an easy trail through the vividly green jungle. We crossed a river and the first stop was a lookout to a waterfall in the distance that you honestly couldn't see because of all the overgrown trees. We continued, climbing up stairs and eventually reaching the top of the trees when a metal barrier and walkway full of stairs down started to pave the way for us. At the end of the stairs we reached Akaka Falls and they took my breath away. This is probably one of the most beautiful waterfalls I've ever seen in my life. I loved the way the cliff surrounding it was covered in moss, and the trail of water made it's way down to the ground covered in large rocks and a small cave.
By the time we were finished with Akaka Falls, we were a long way from home - almost all the way on the other side of the island. I wanted to buy some flowers from a roadside stall that I kept seeing while we were here of fresh poppies, but by the time we were driving past the man was already gone. We reached our house at night time, the geckos scurrying away quickly as we walked up the steps to unlock our front door and then reappearing by poking their heads out of random gaps in the veranda rooftop to watch what we were doing. With a head full of sunshine, we layed down only to do it all over again tomorrow.
I also have some exciting news because I've started sharing more fashion shoot behind the scenes videos + Lightroom & Photoshop Tutorials on my YouTube Channel! Be sure to subscribe as I upload 2 new videos every week x


all photos edited with my Gdansk Lightroom Preset and Light Leaks Lightroom Collection


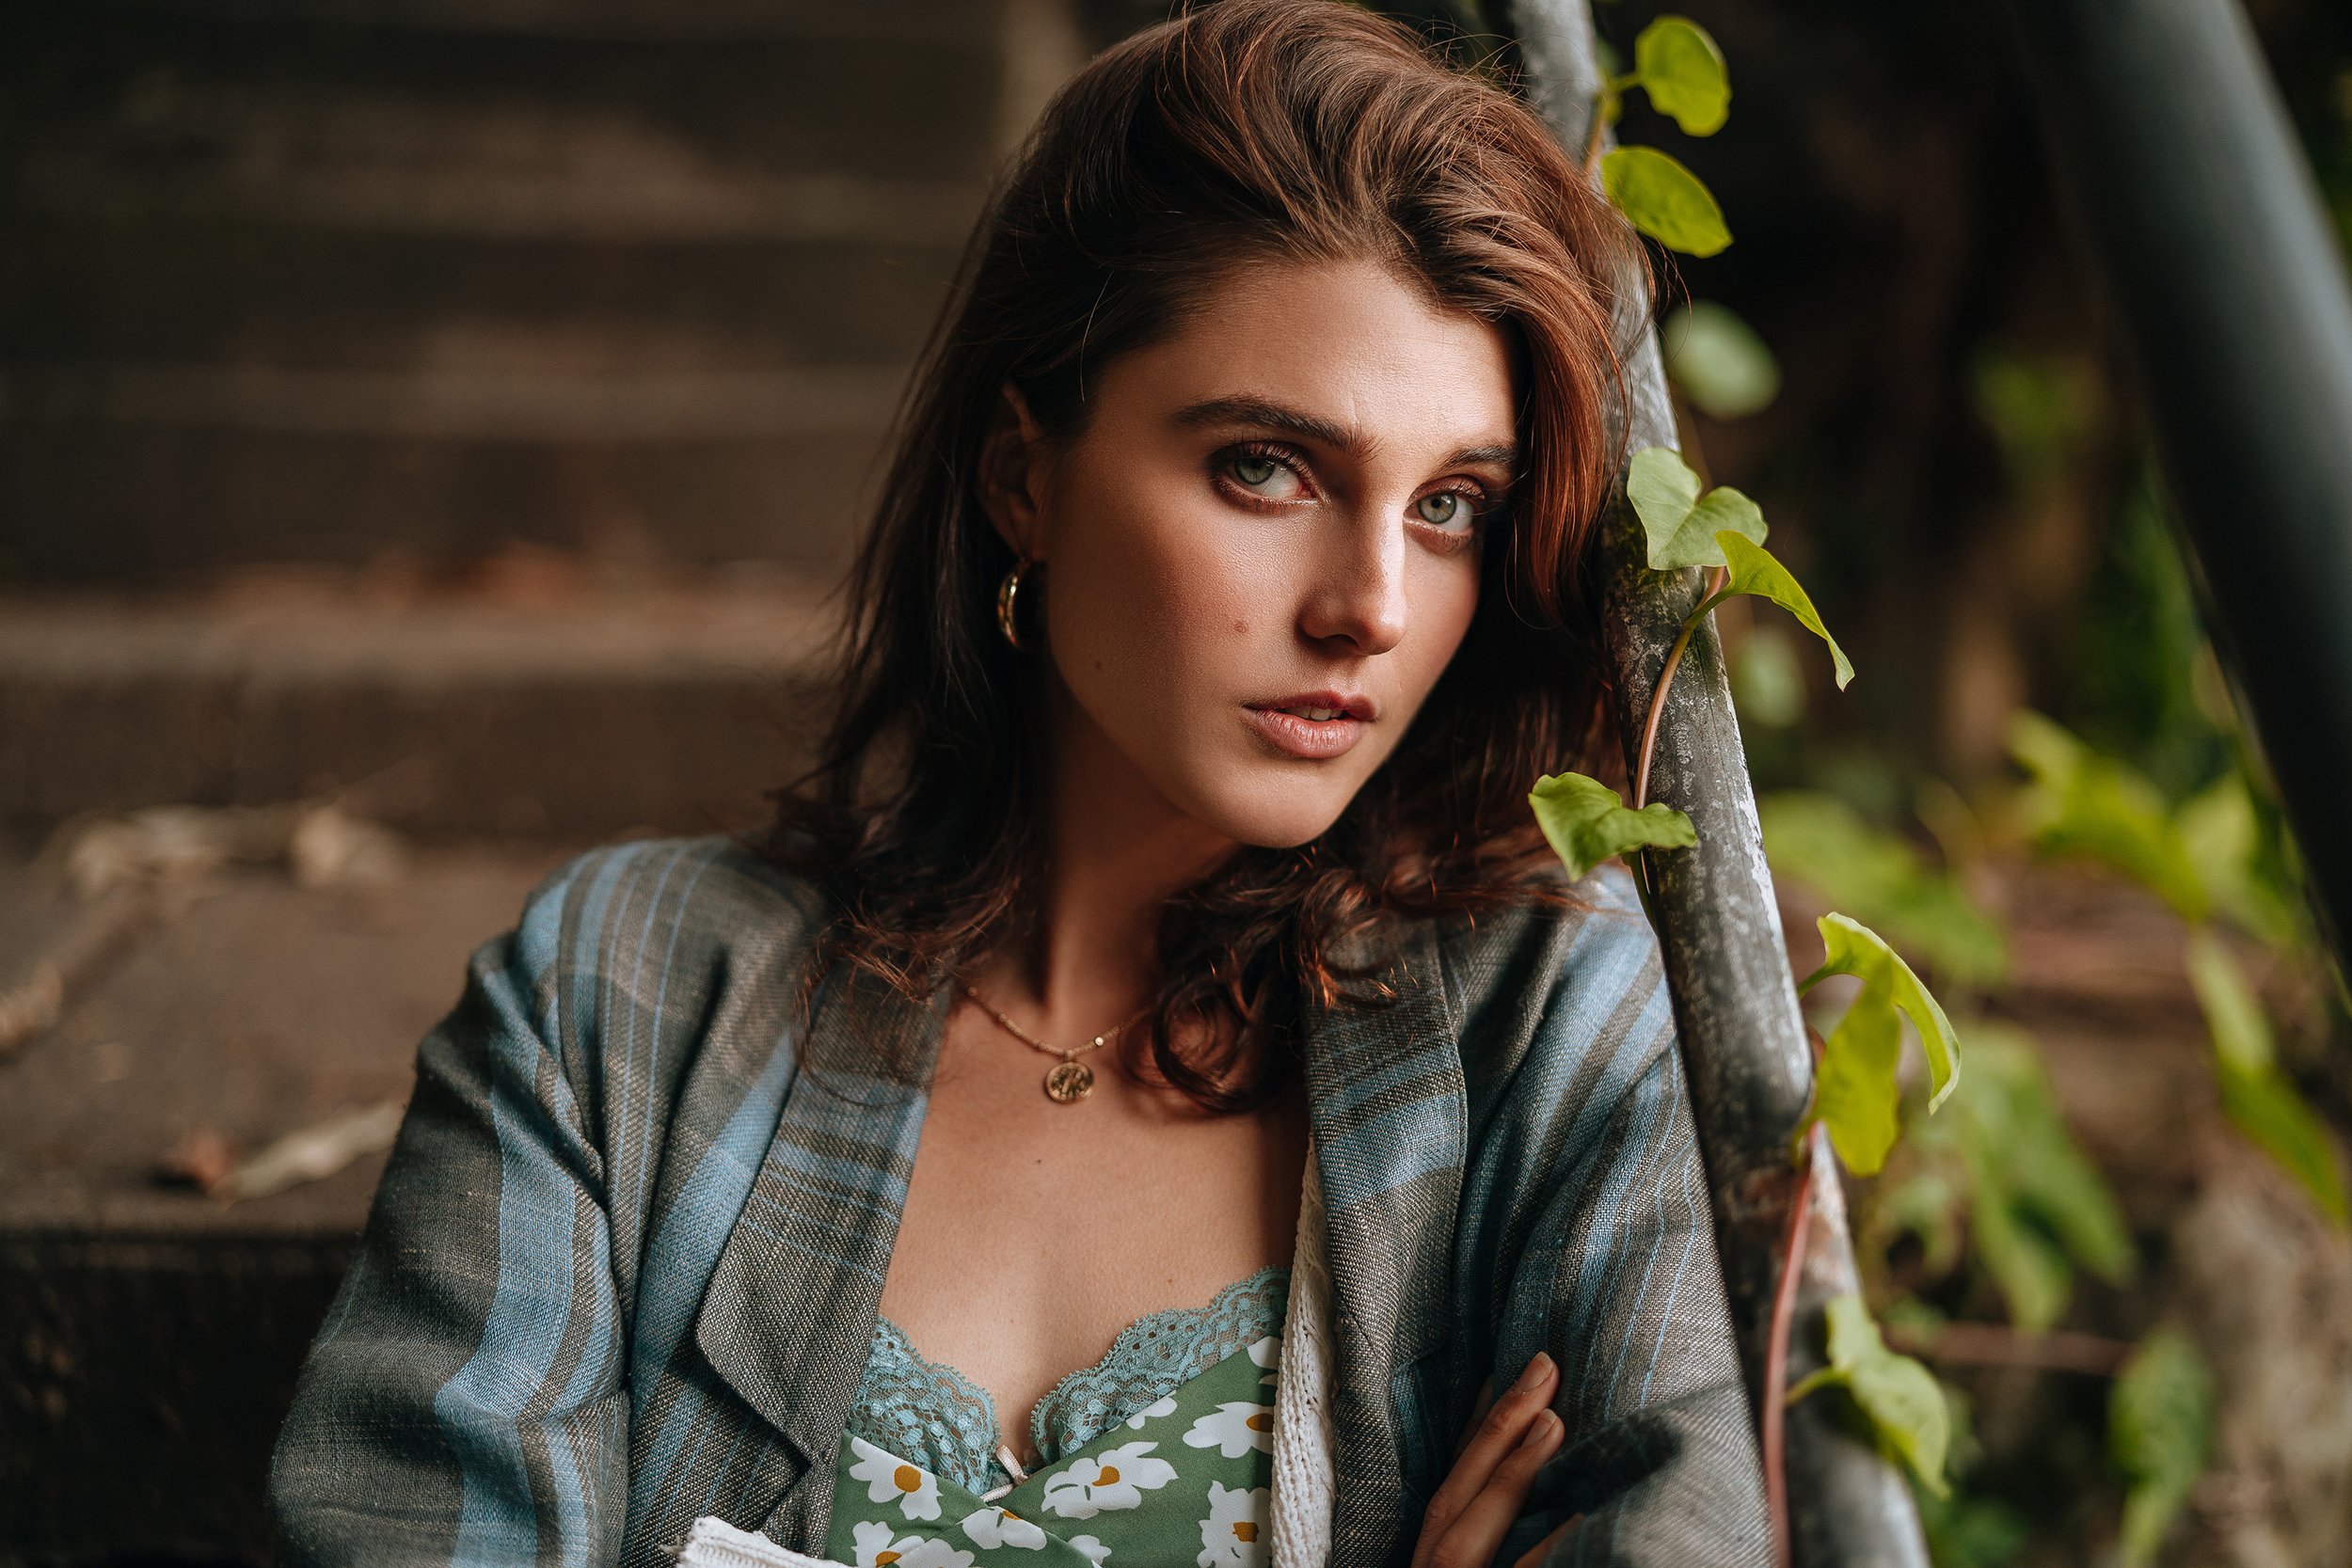
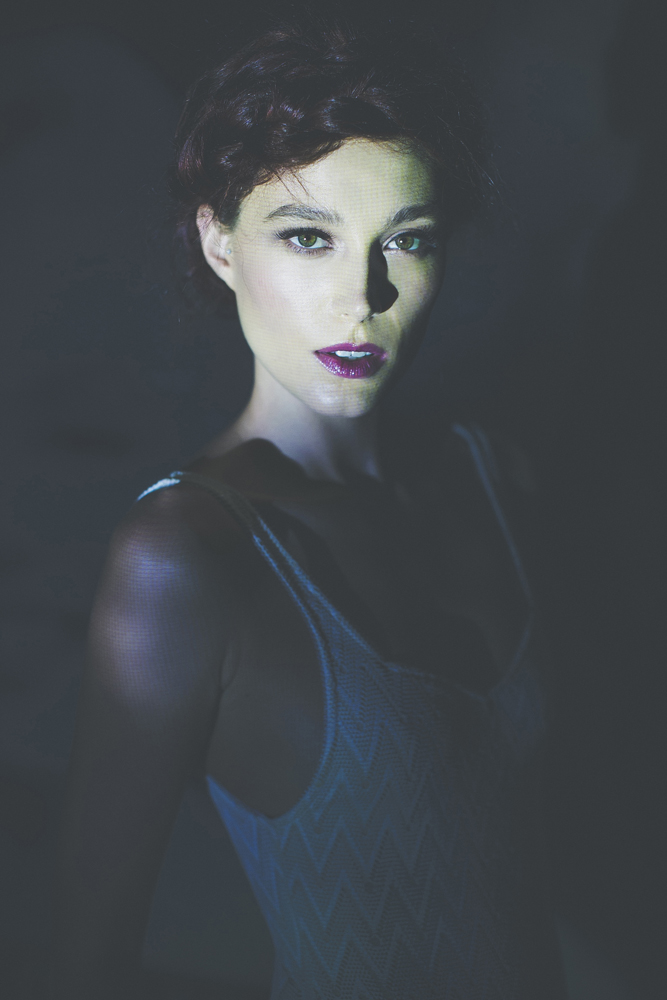
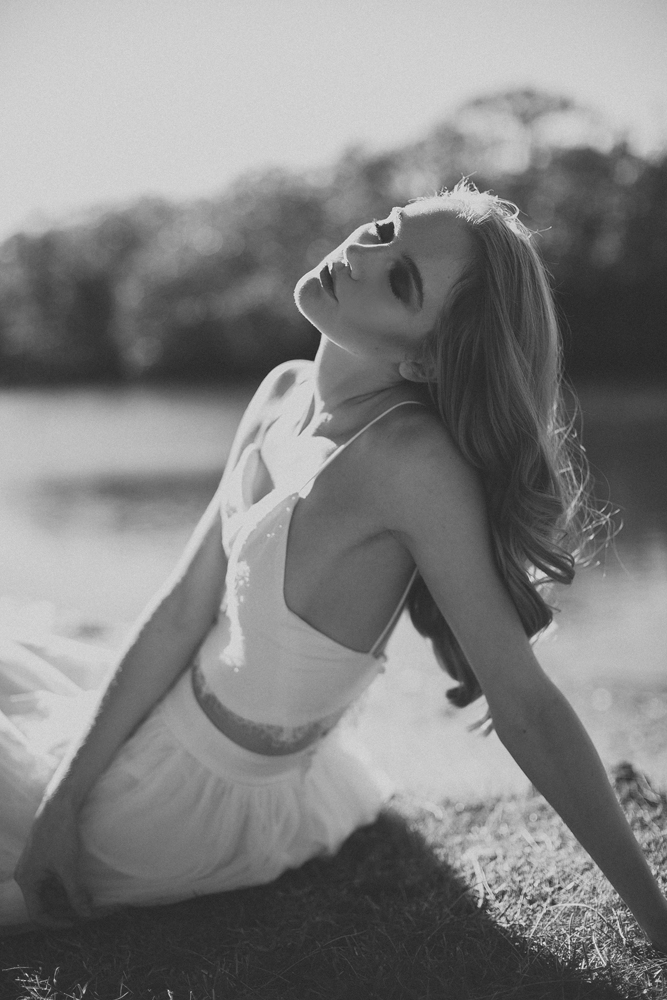
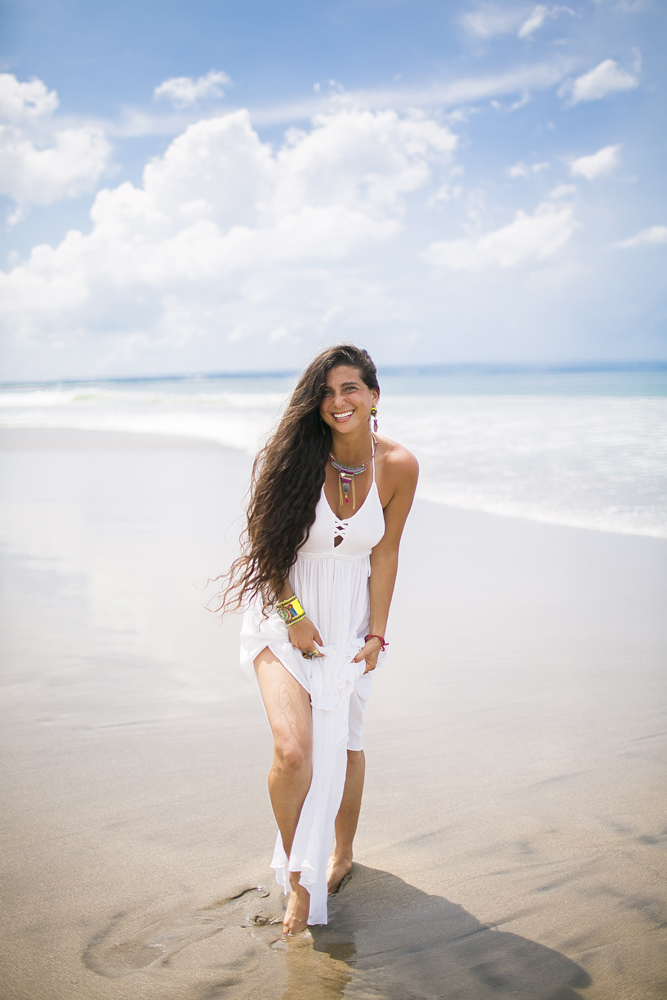
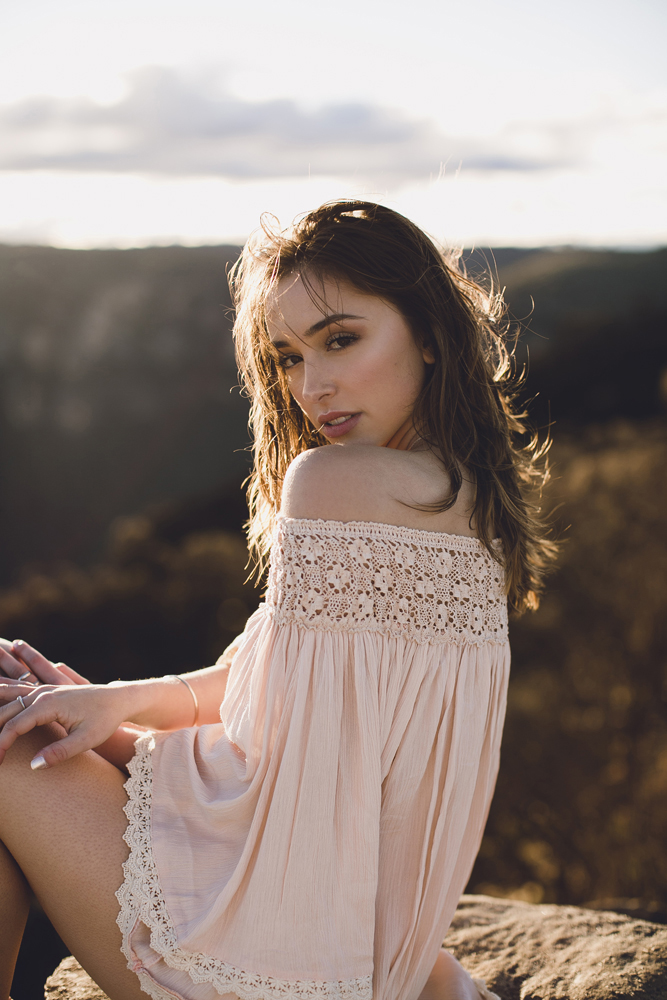
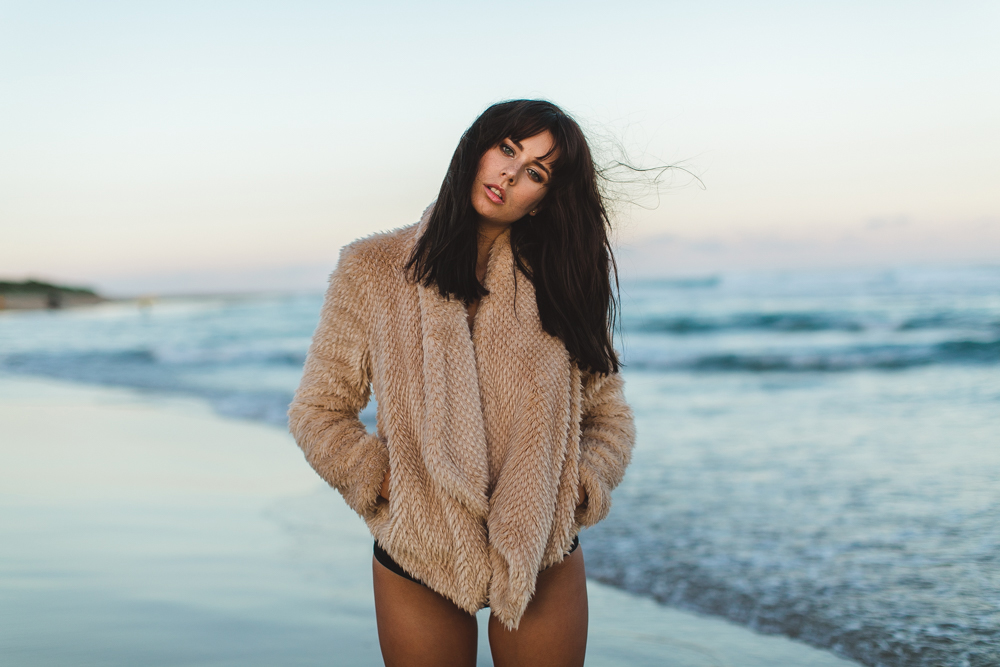
model megan @ debut
makeup lisa fahey
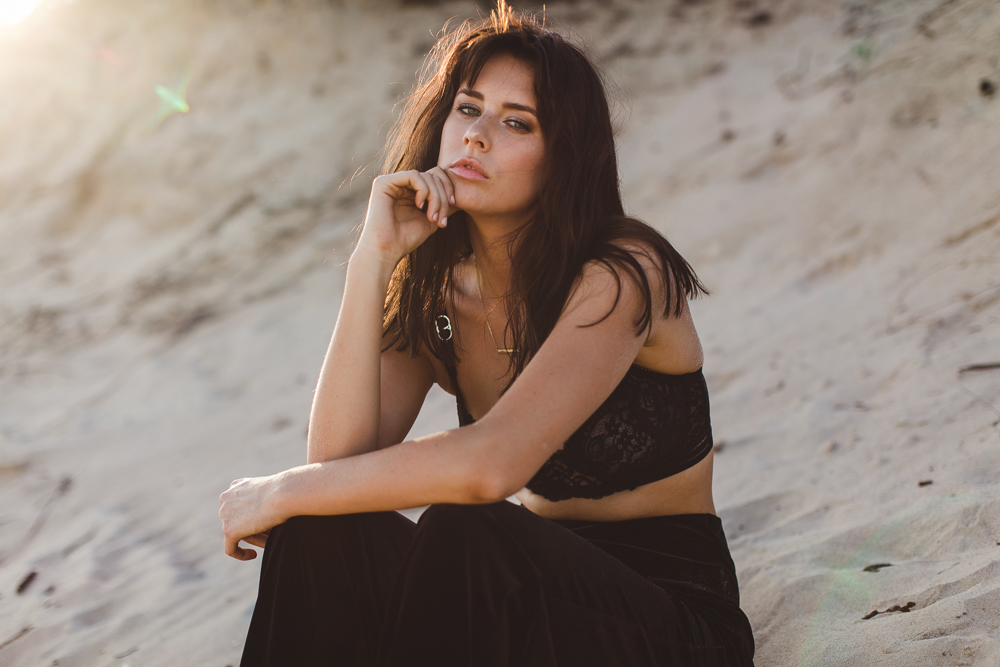
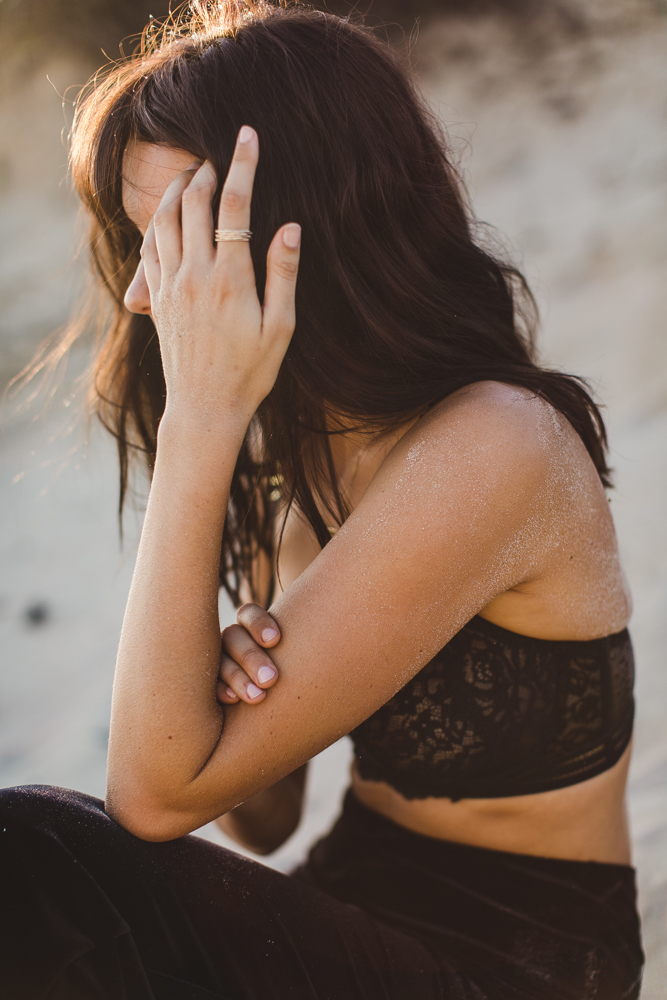
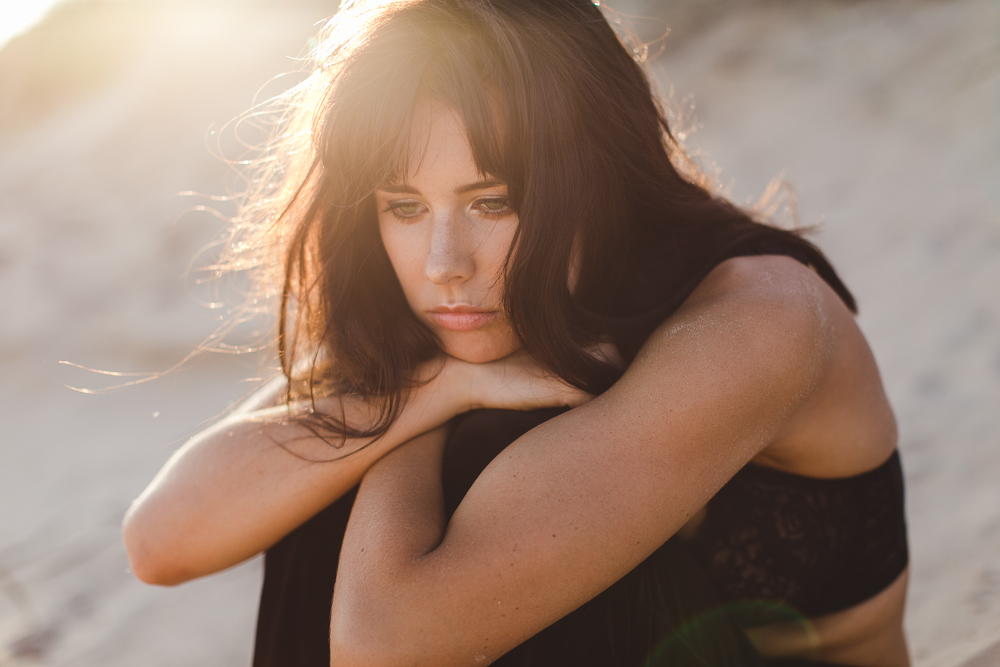
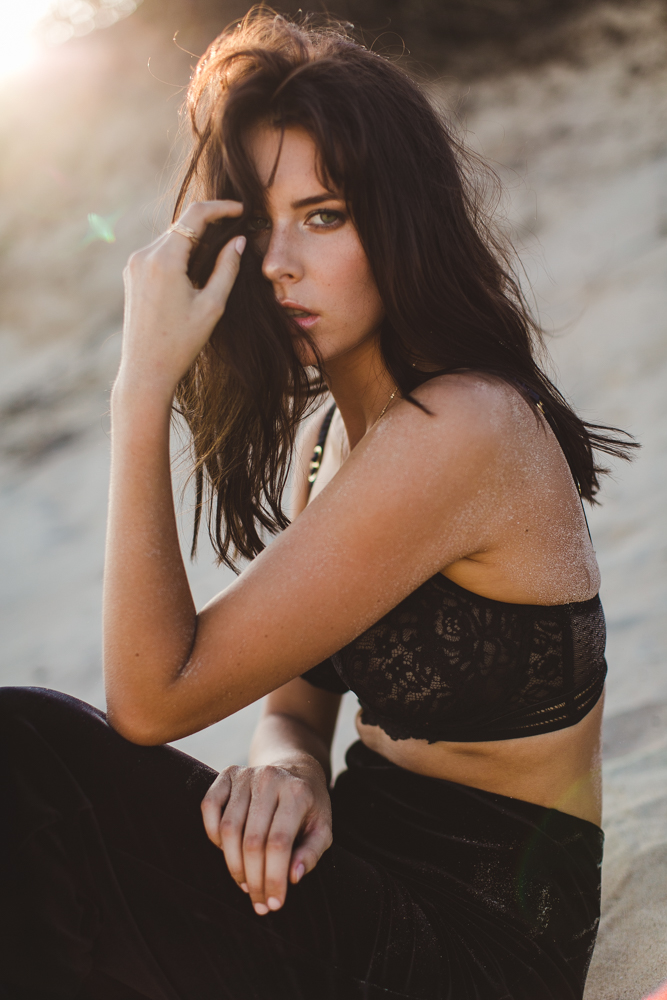
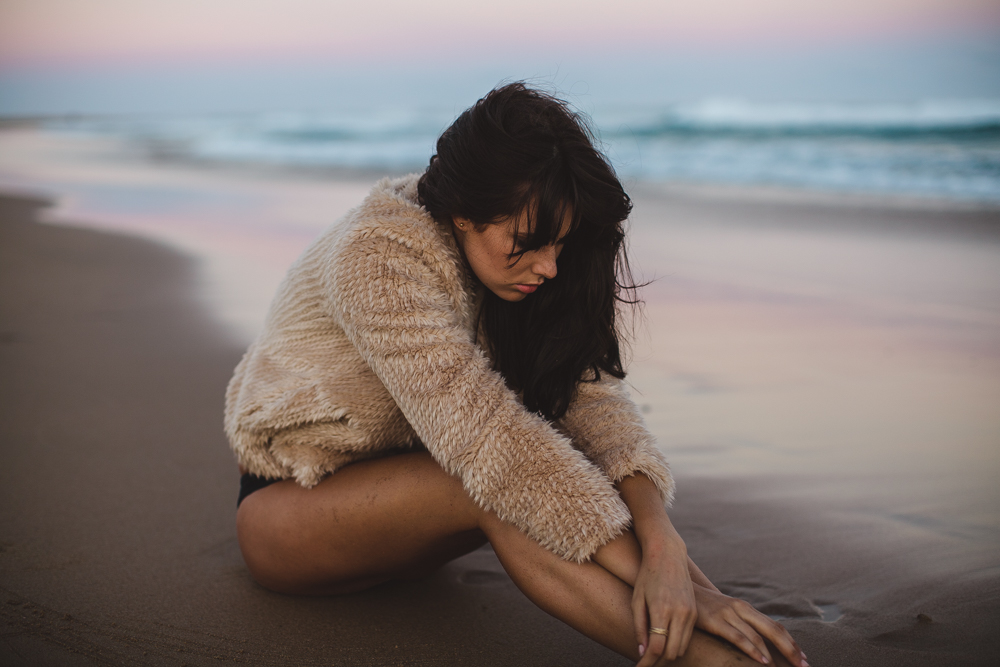
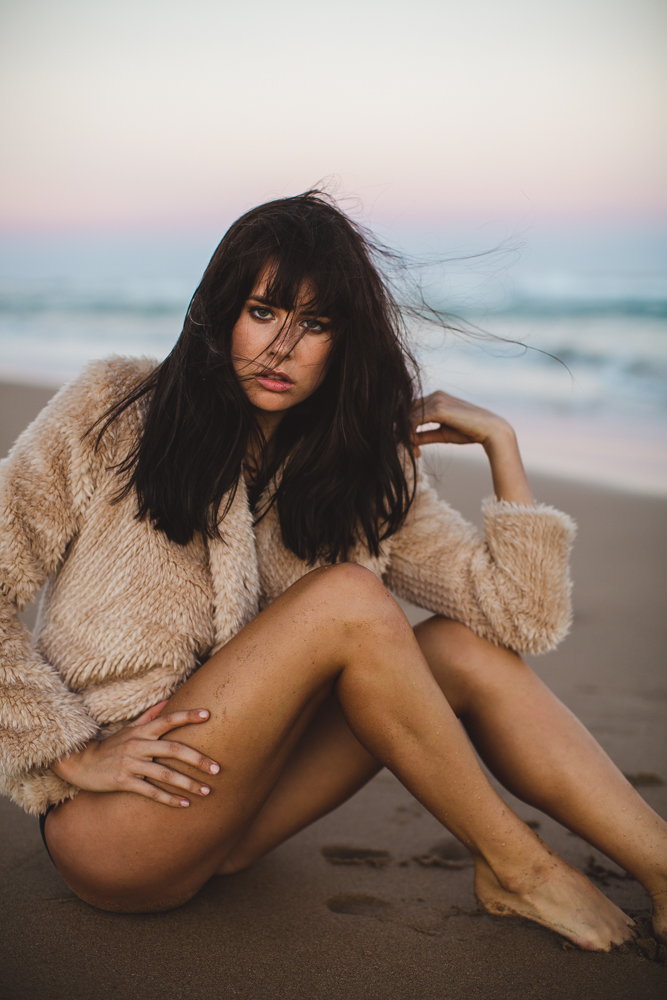
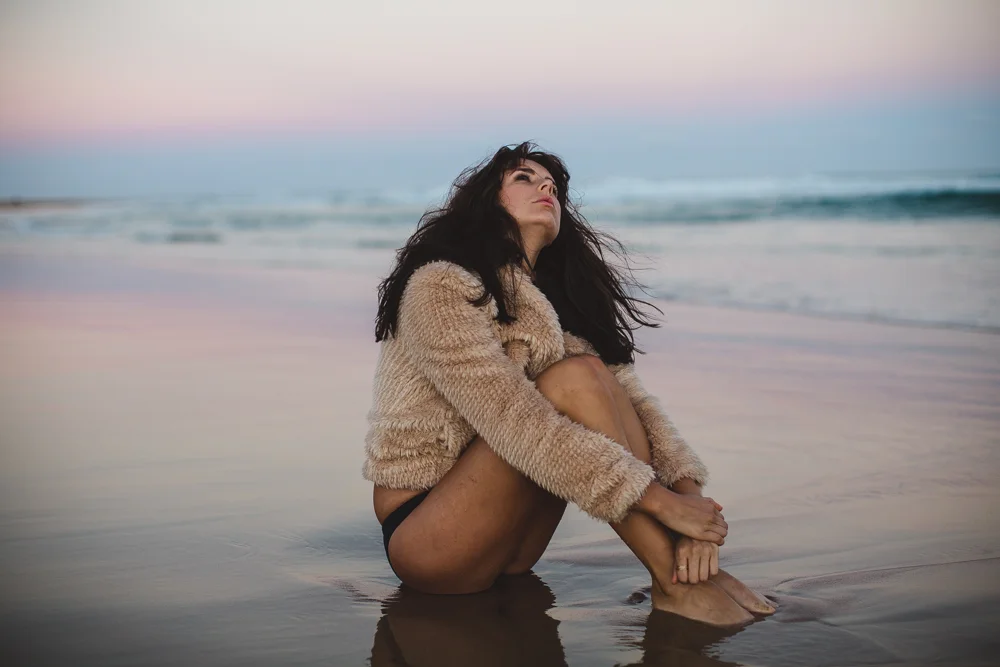
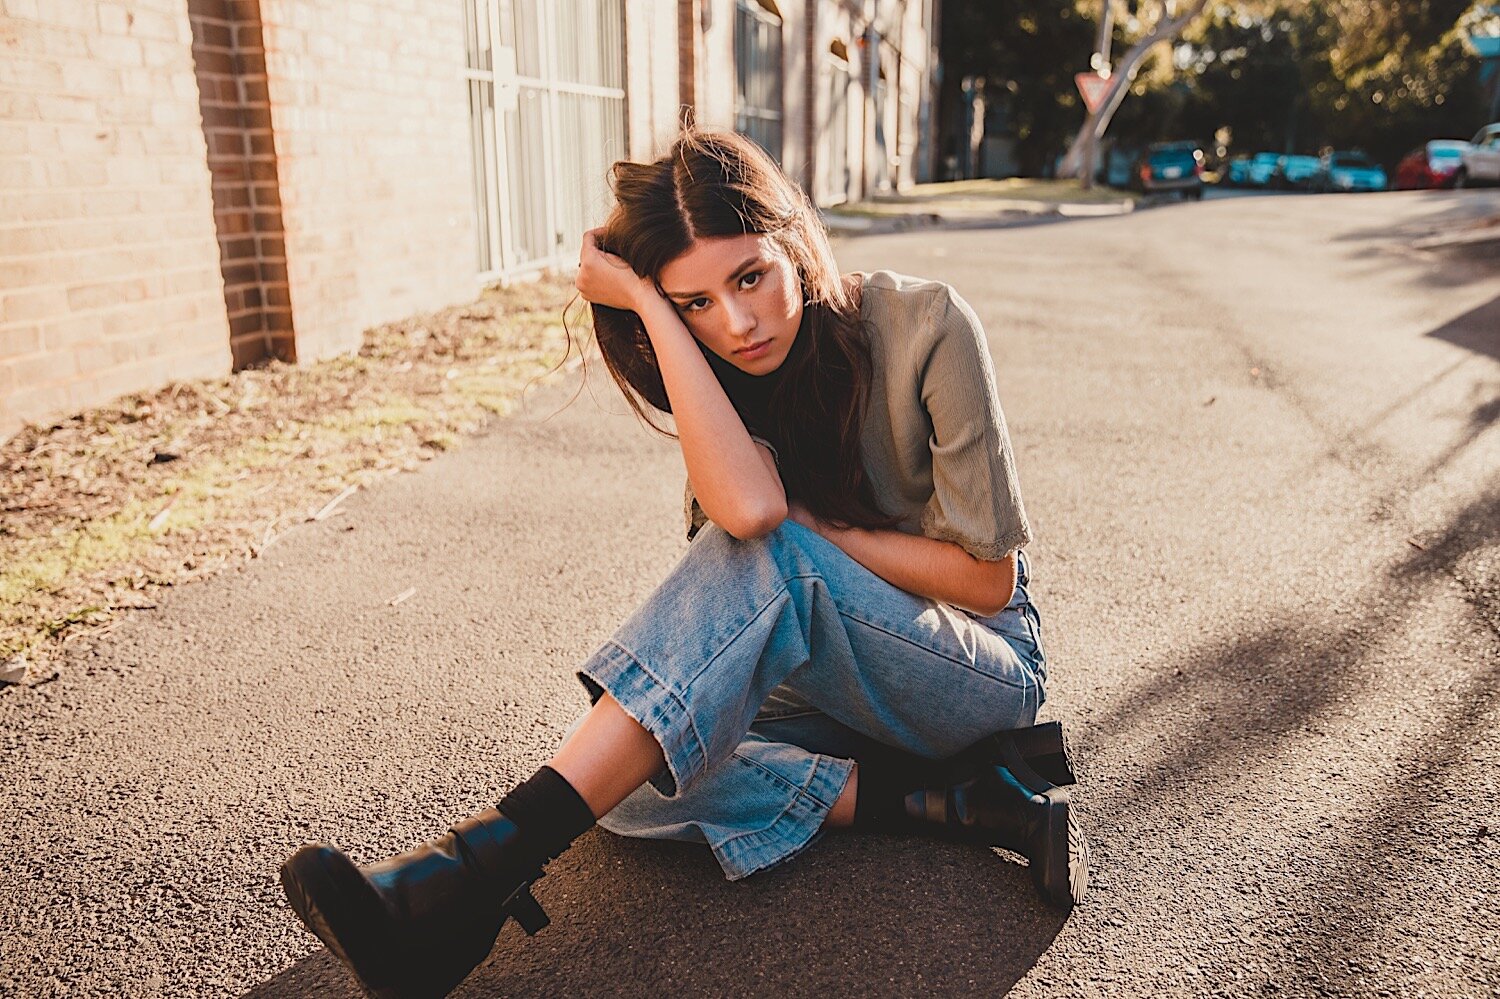
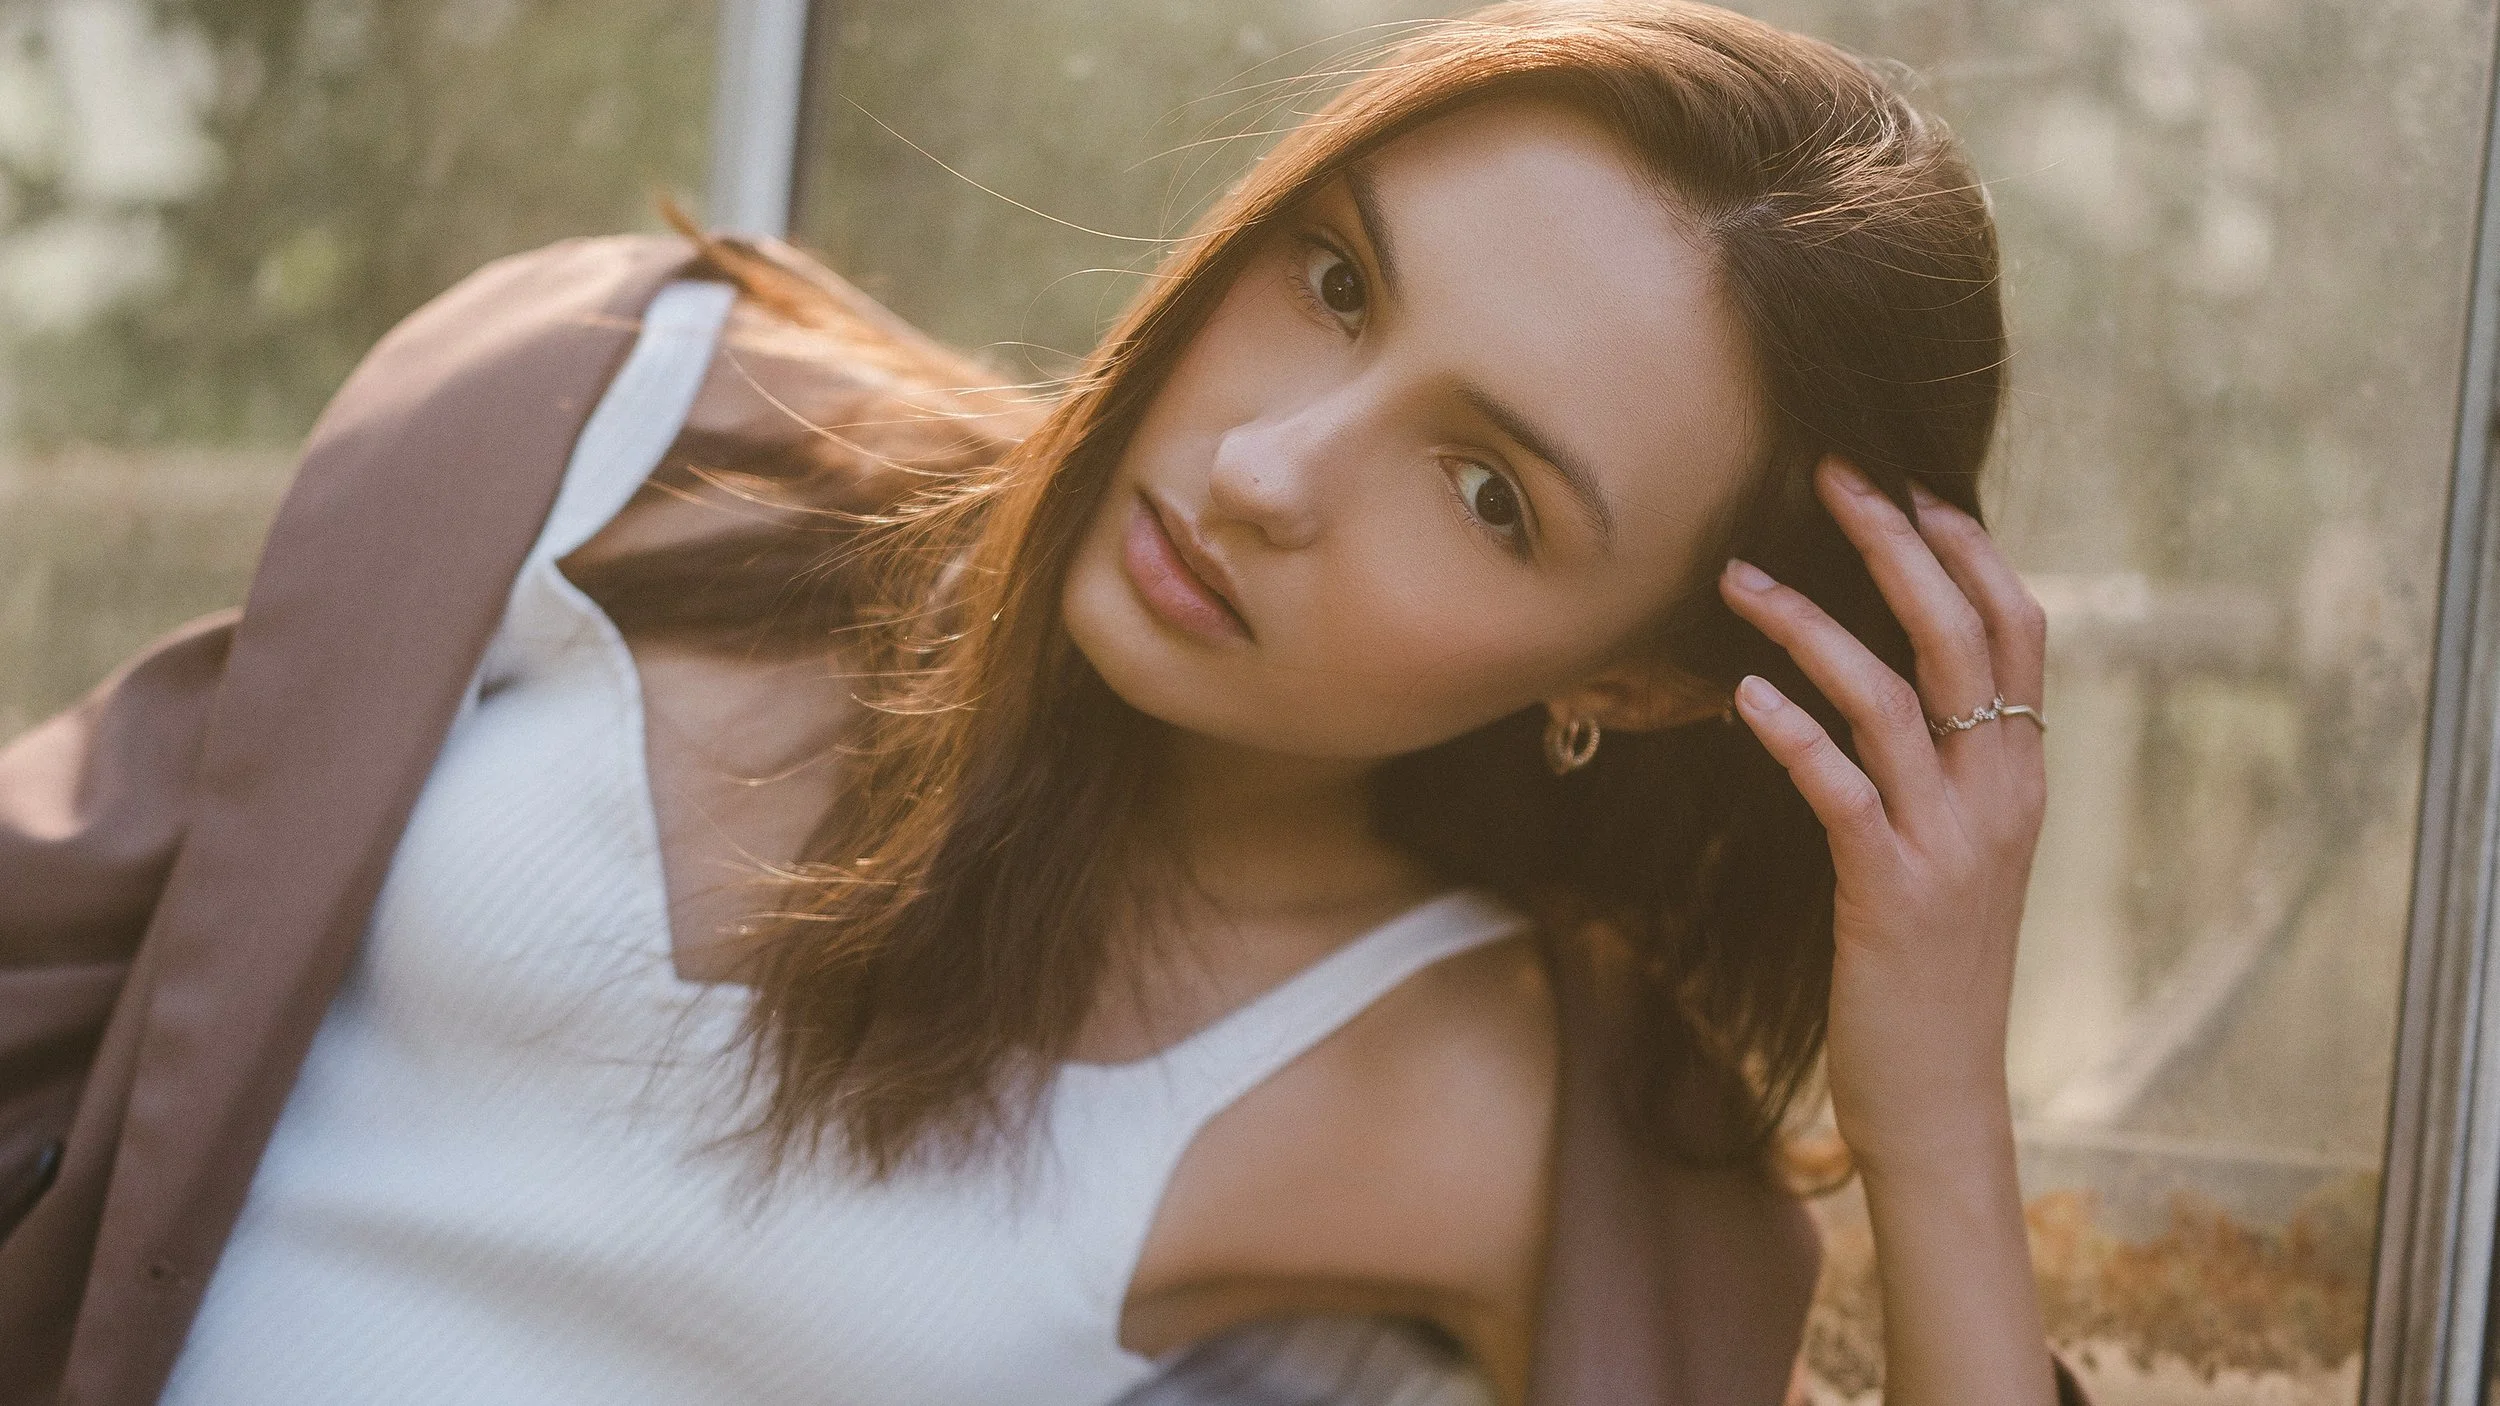
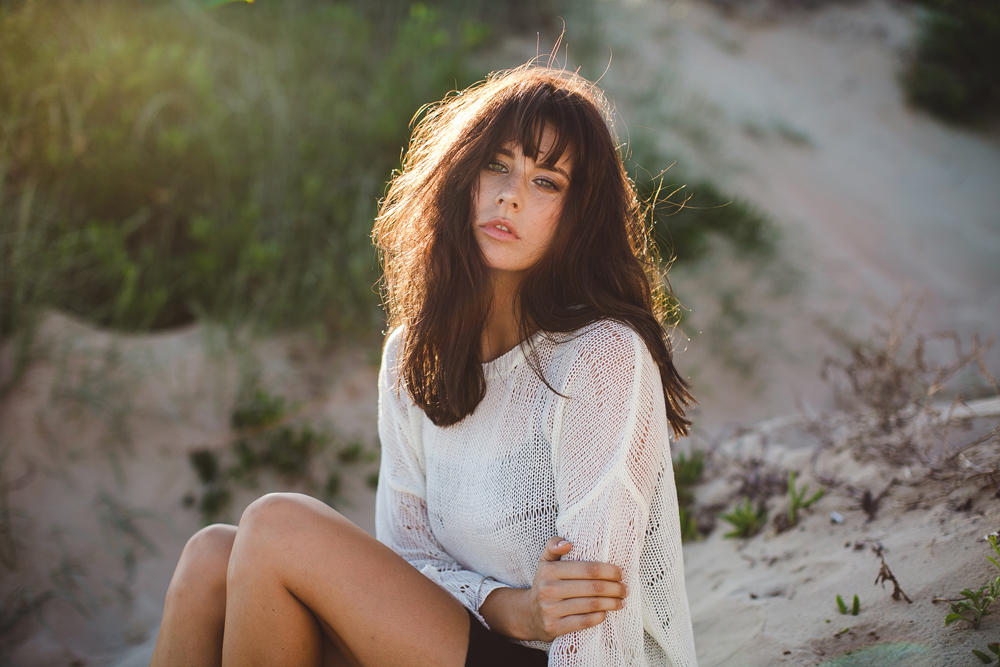
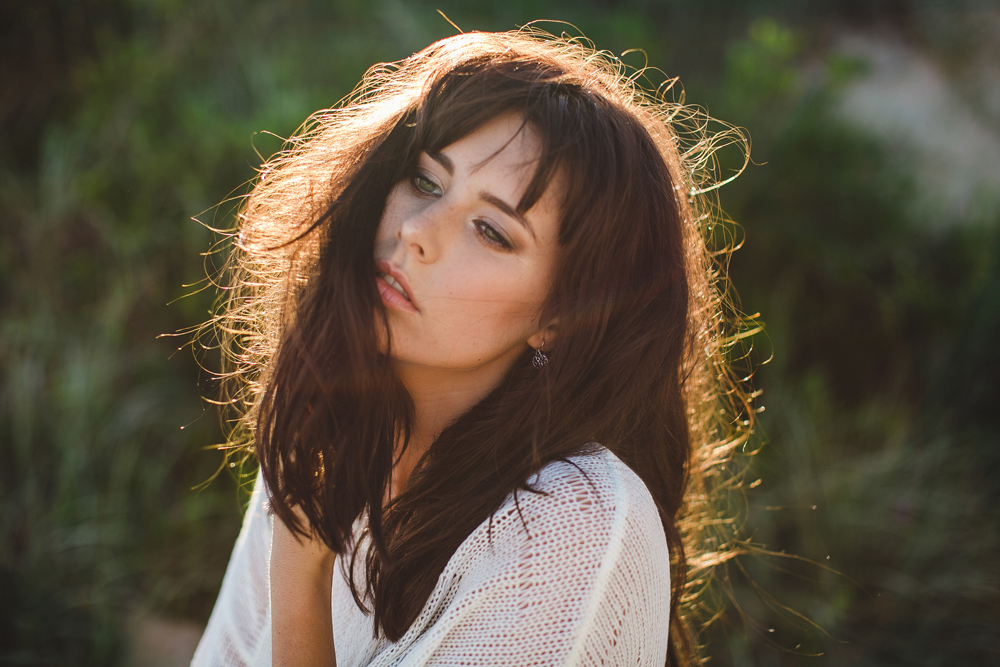
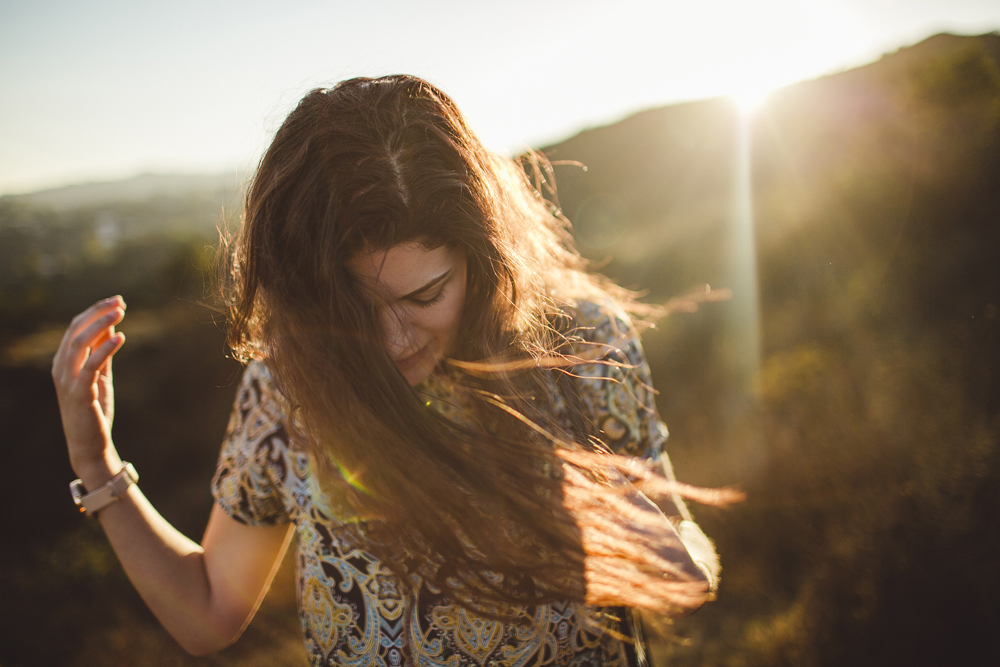
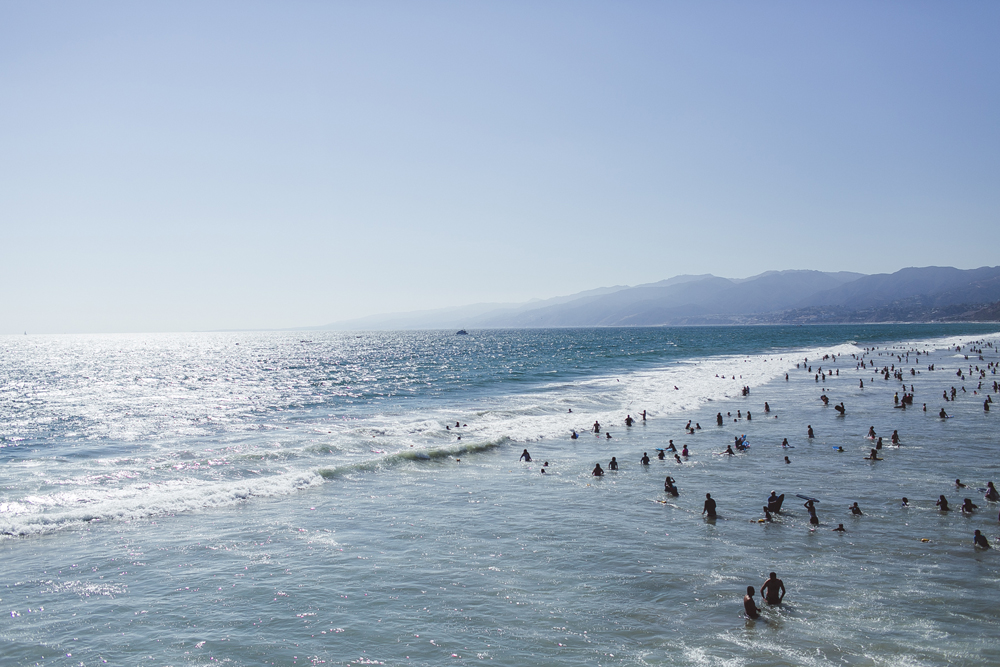
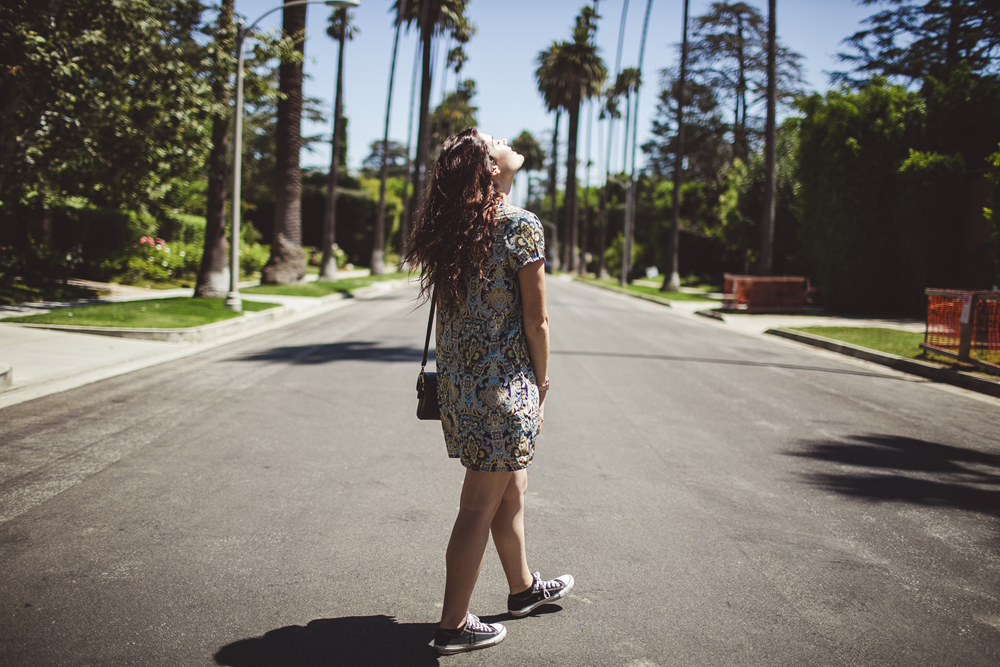
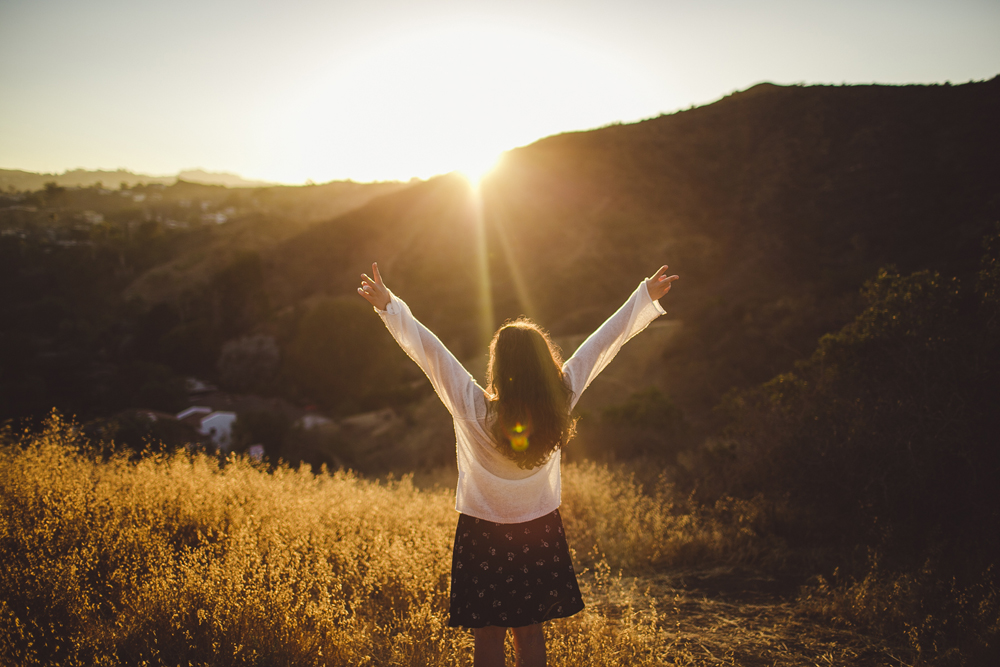
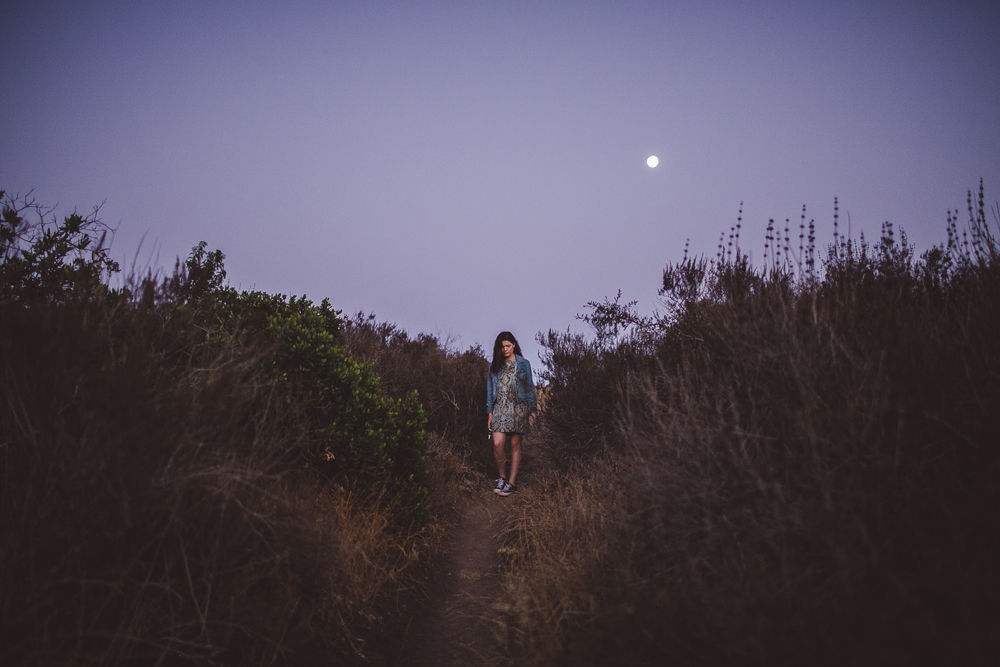
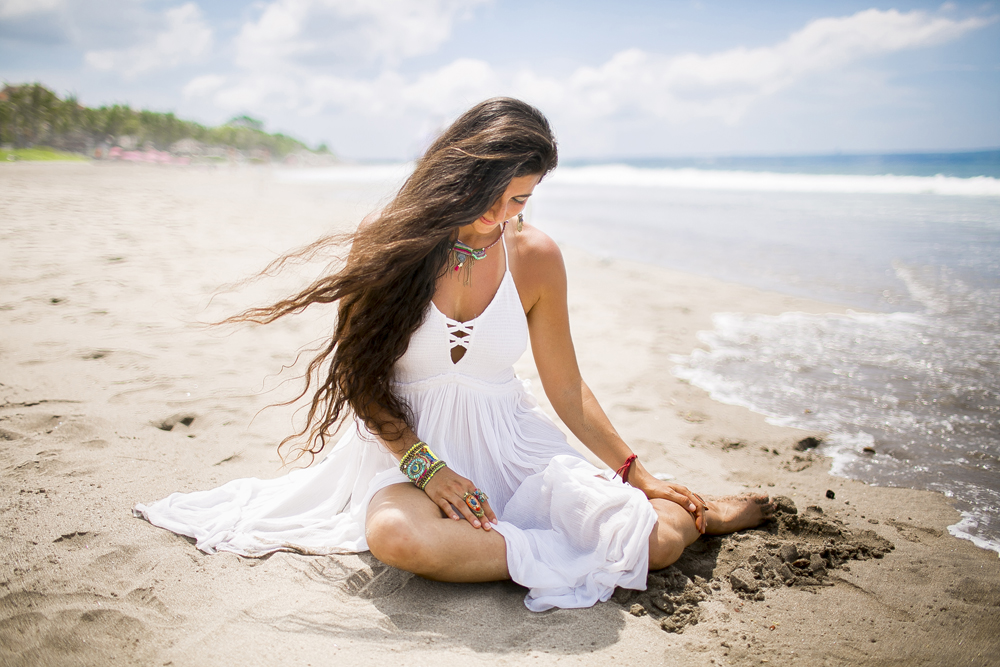
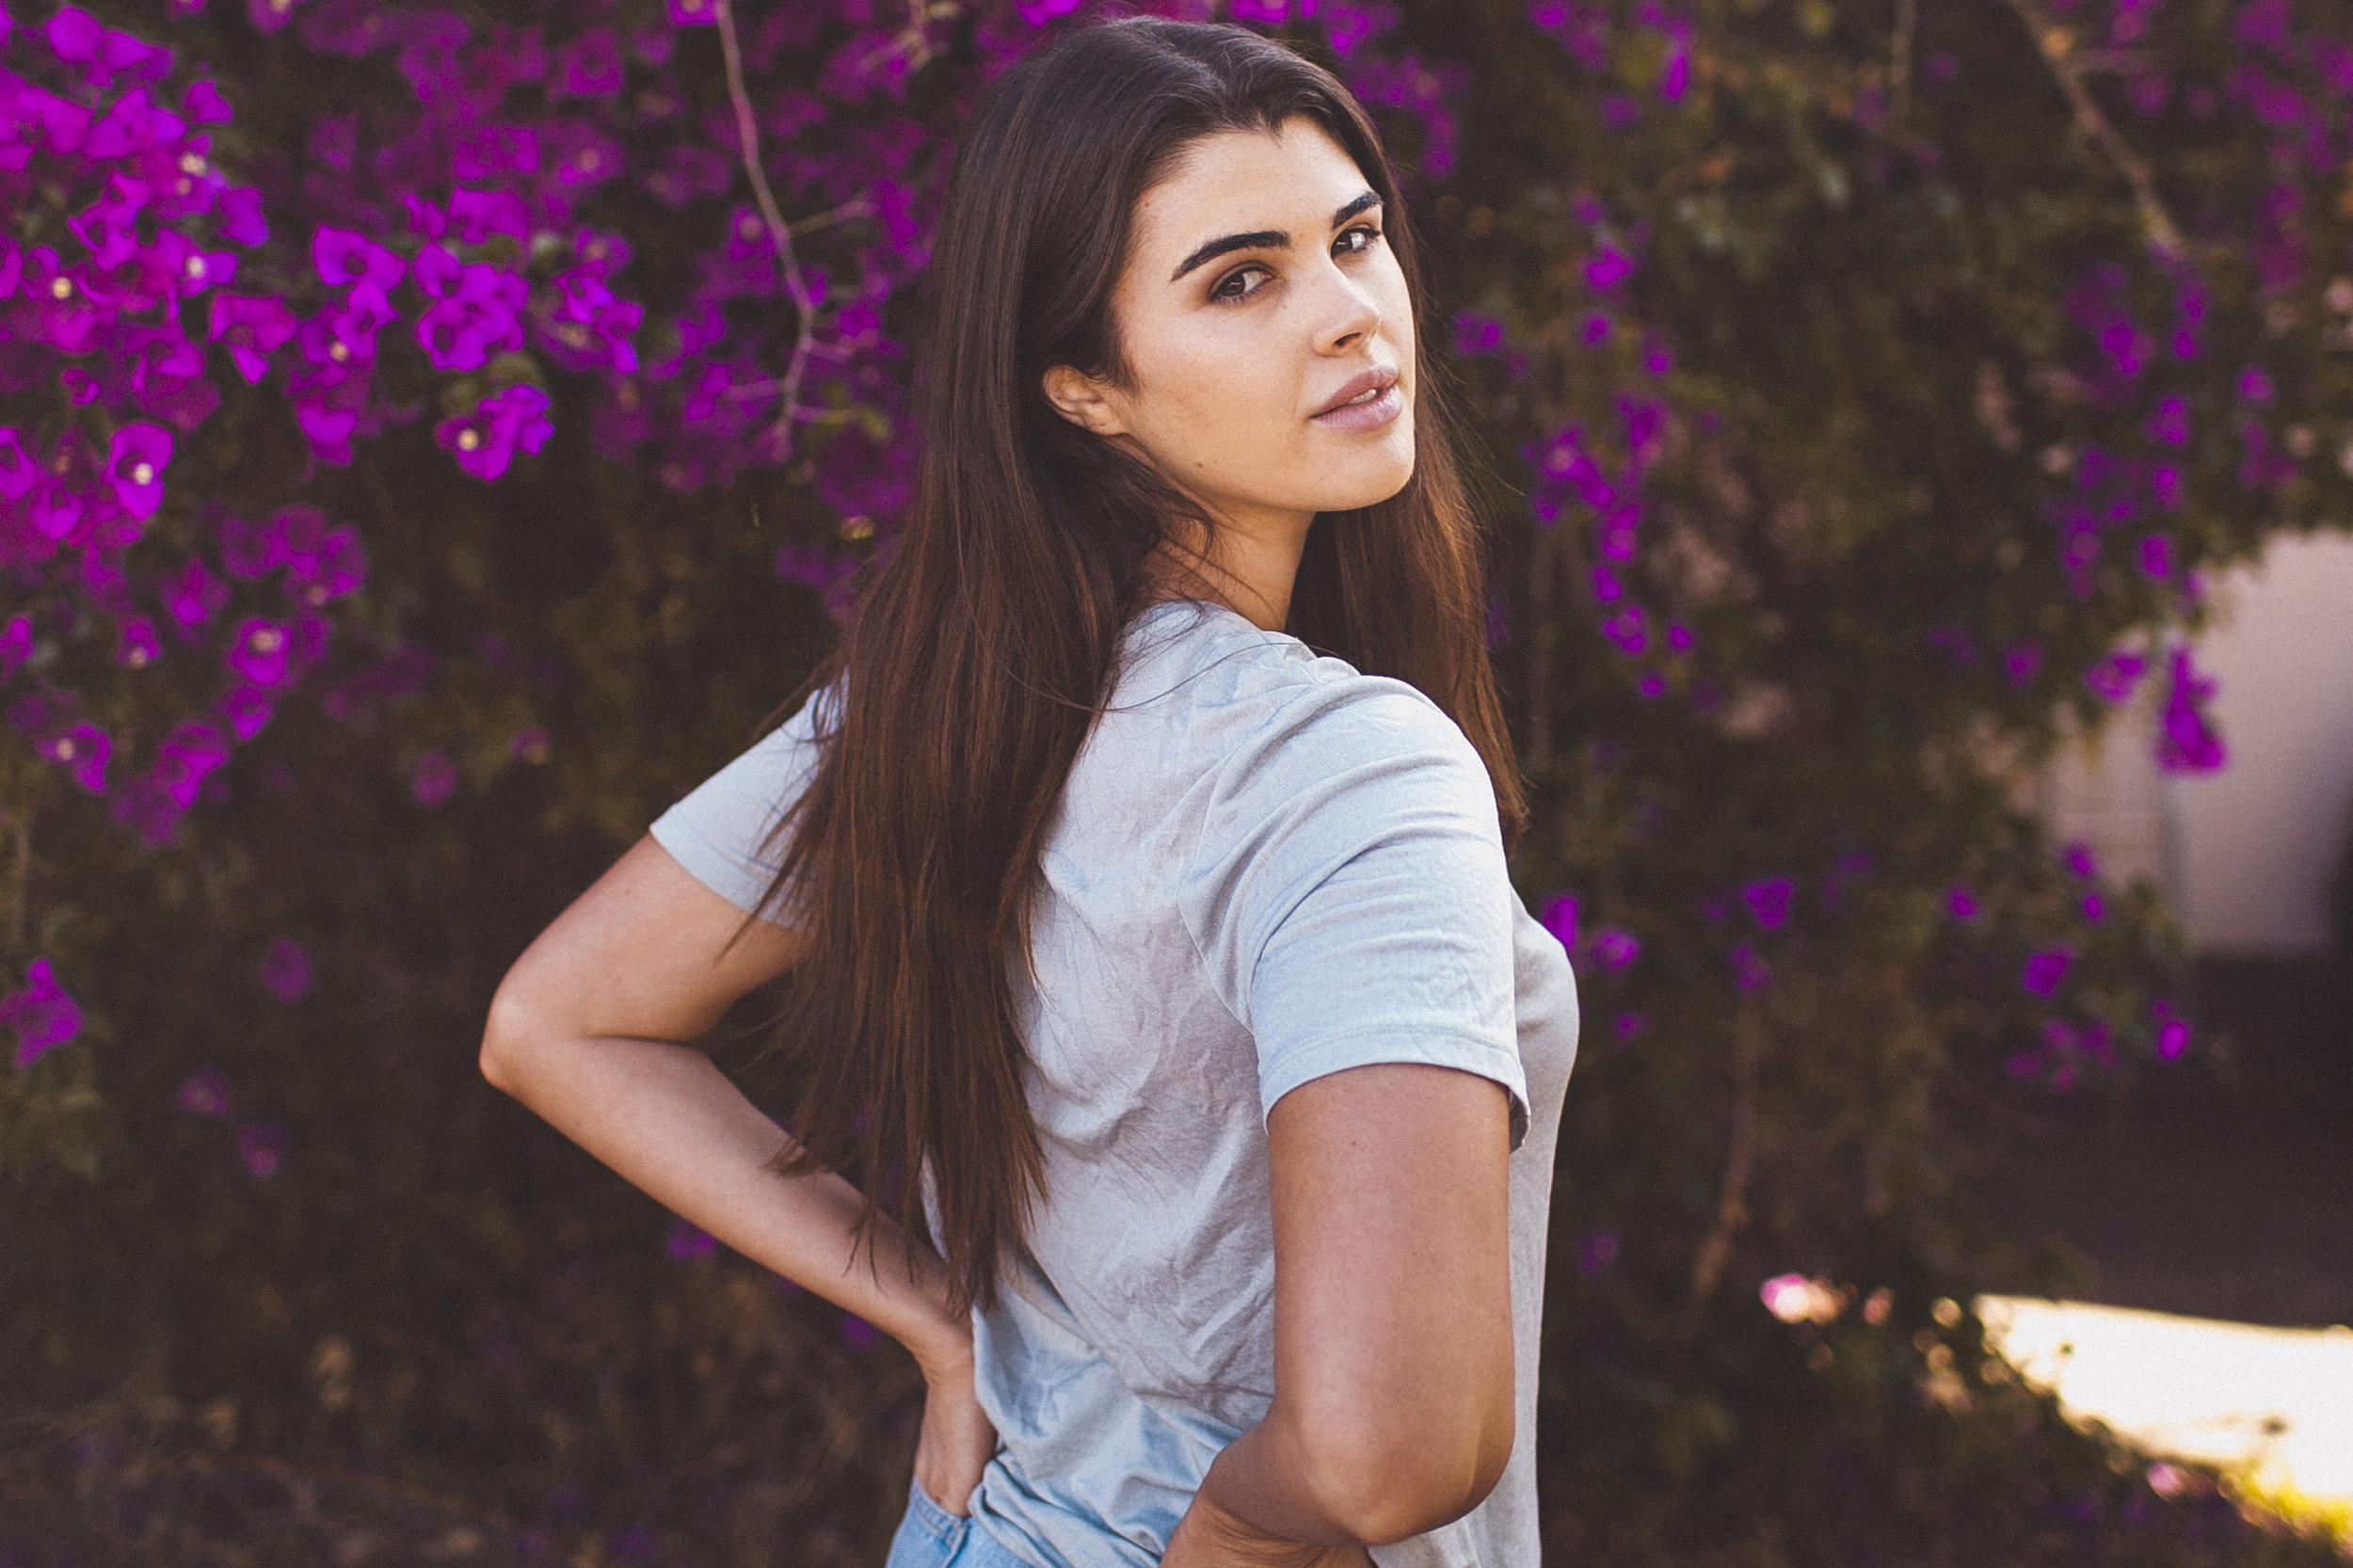
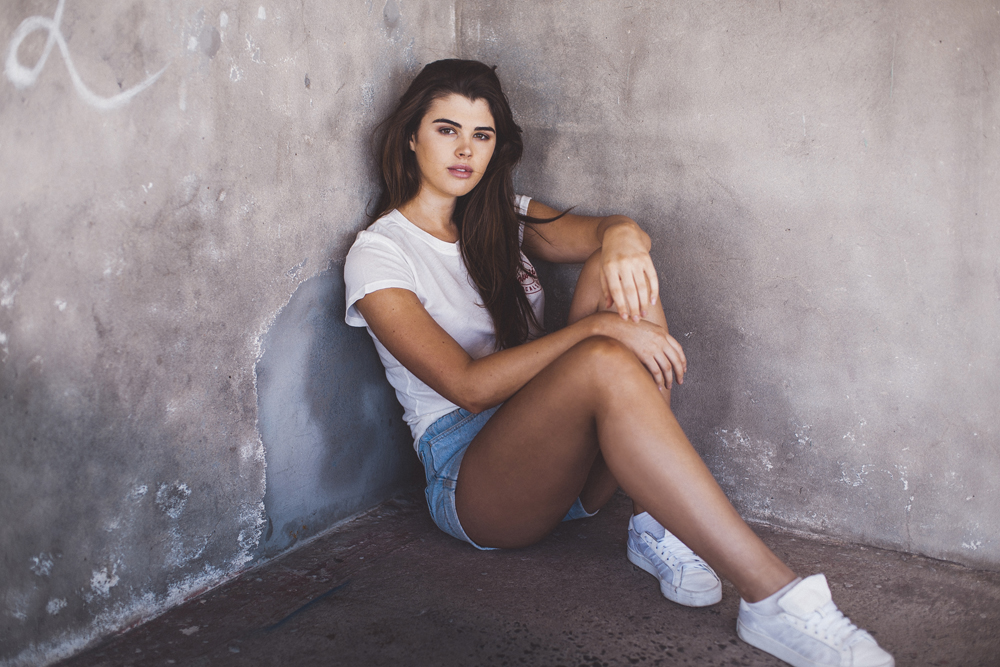
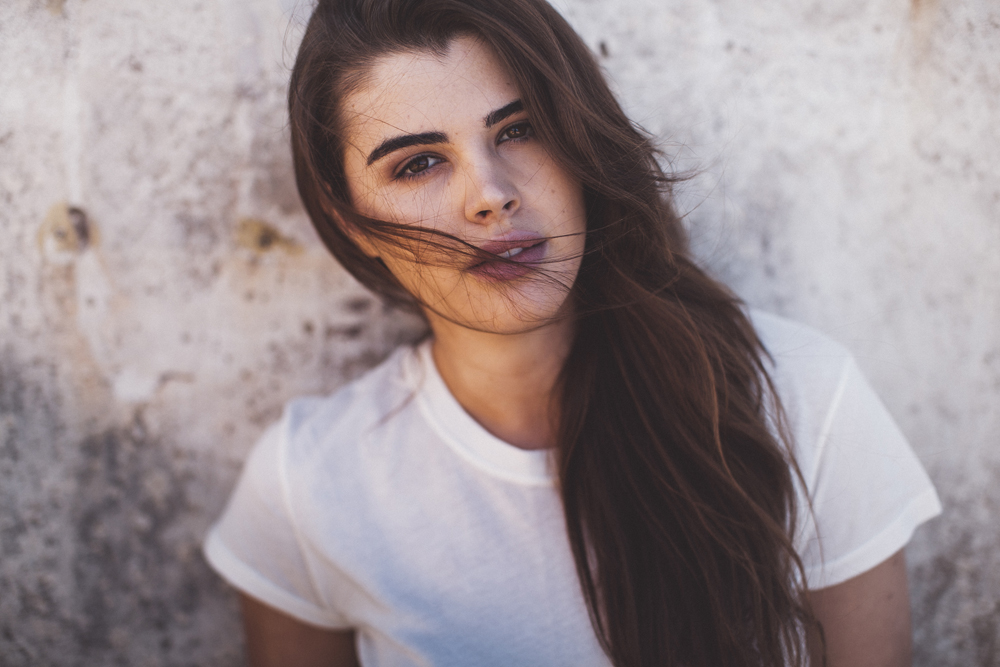
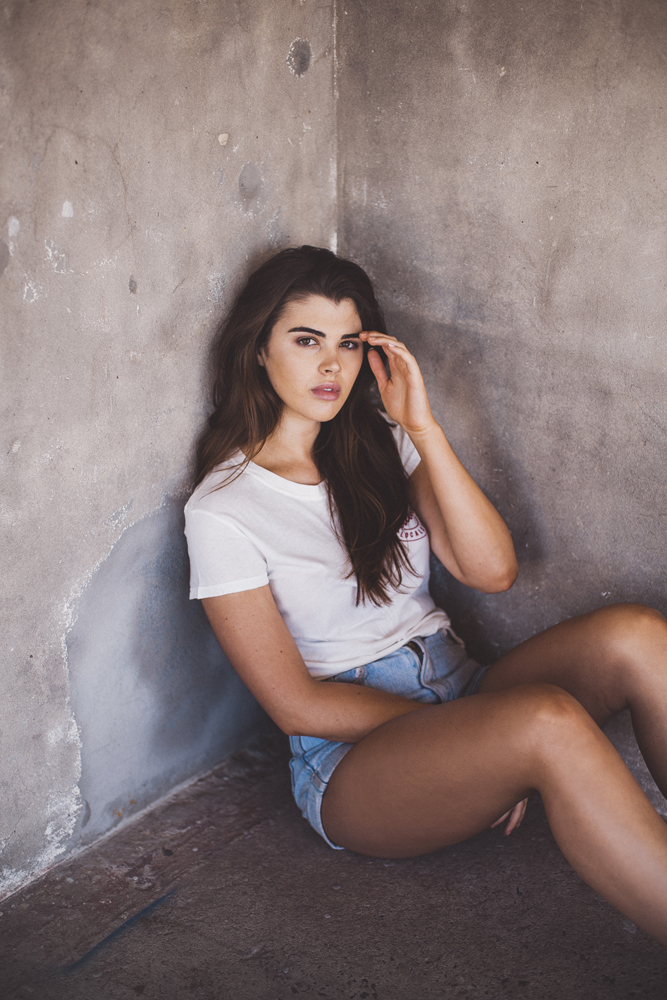
all photos edited with my L.A. lightroom preset + NO retouching


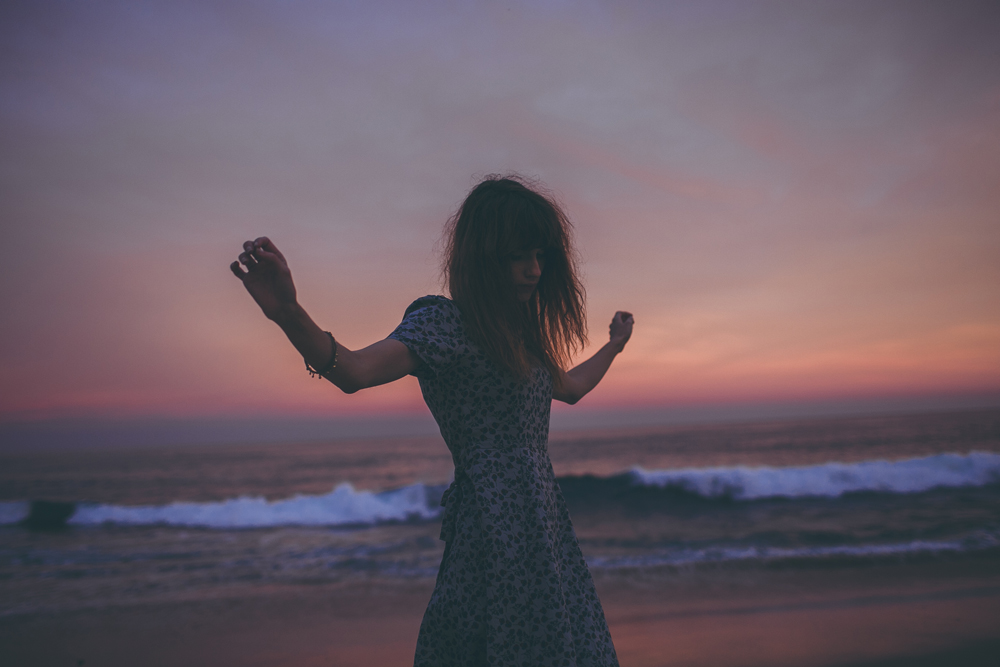
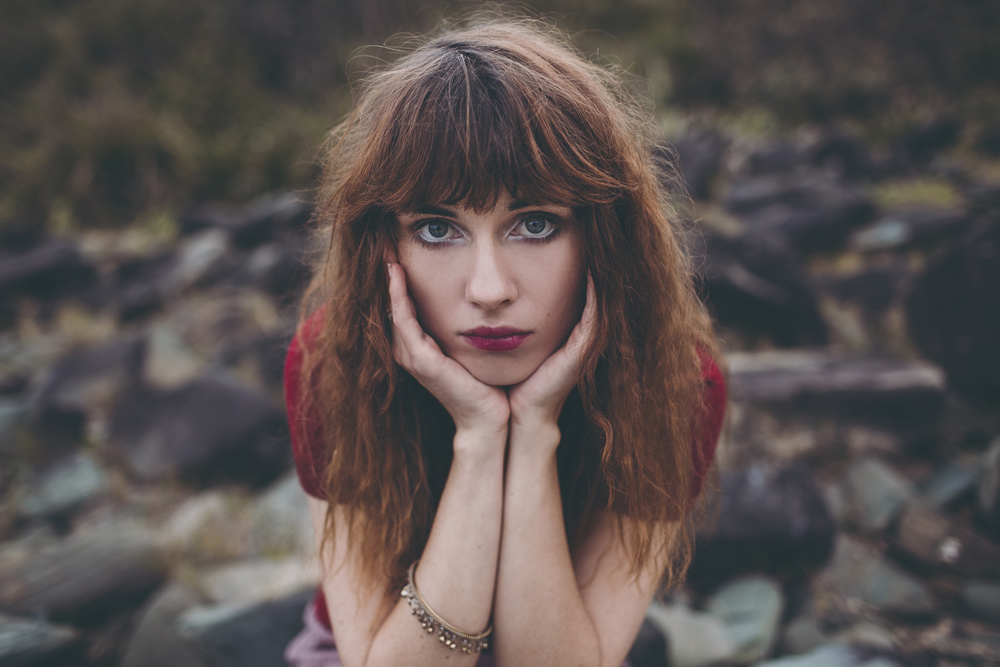
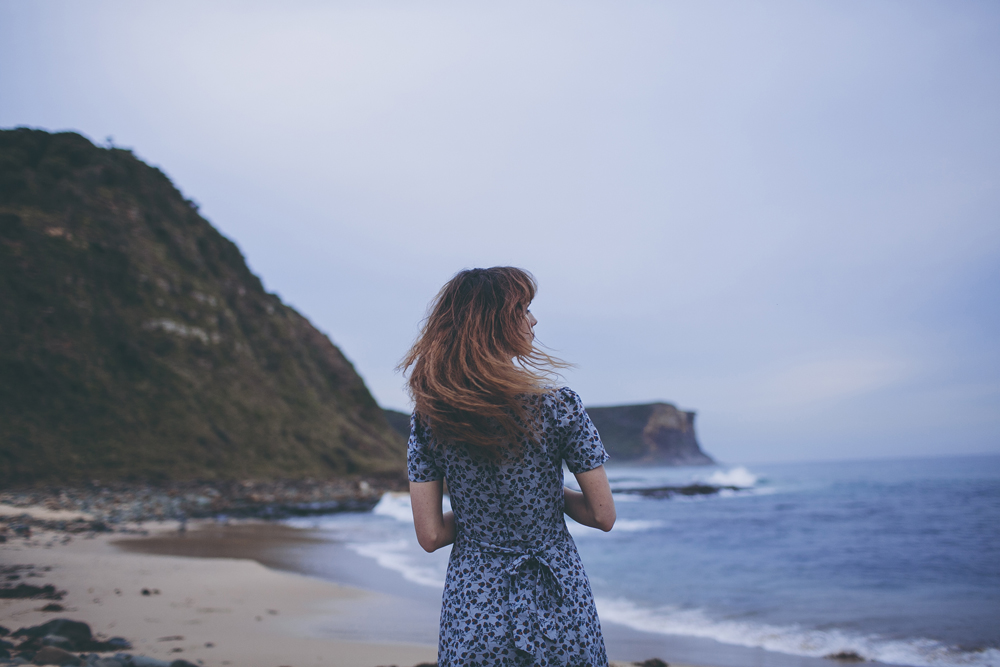
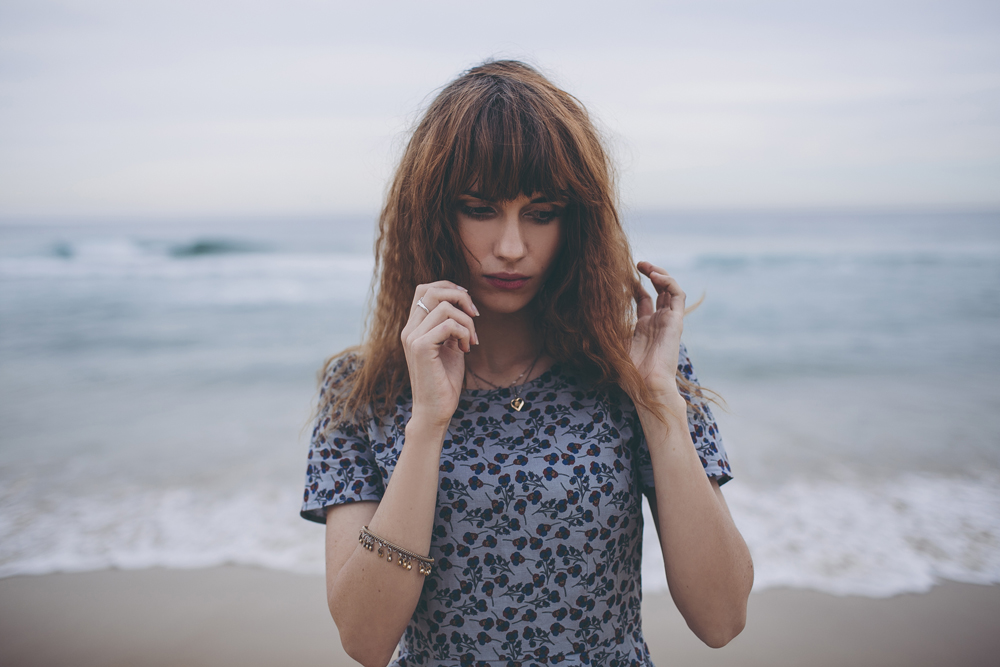
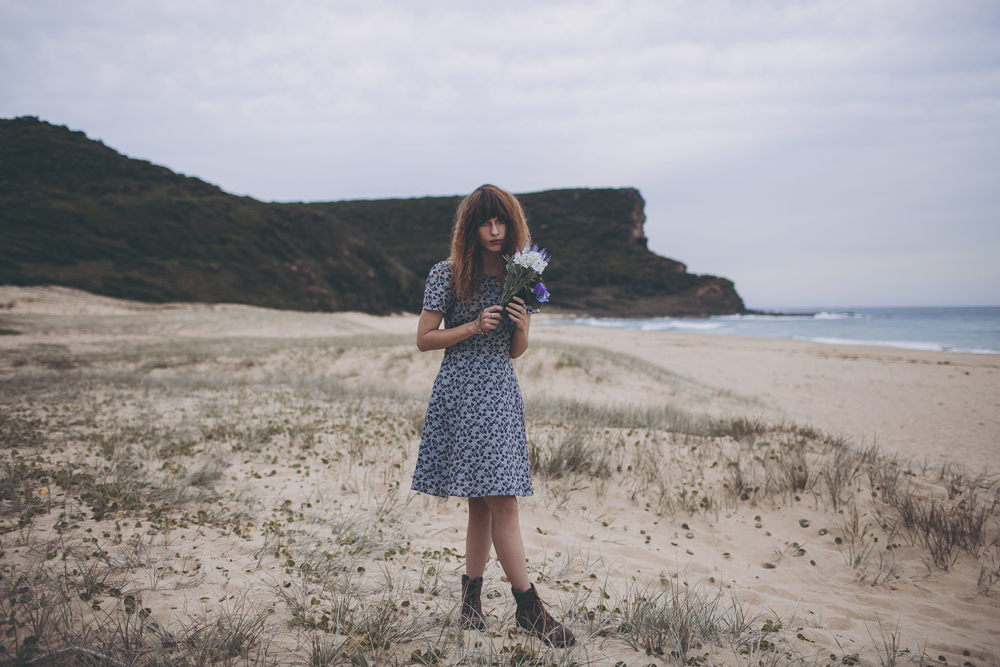

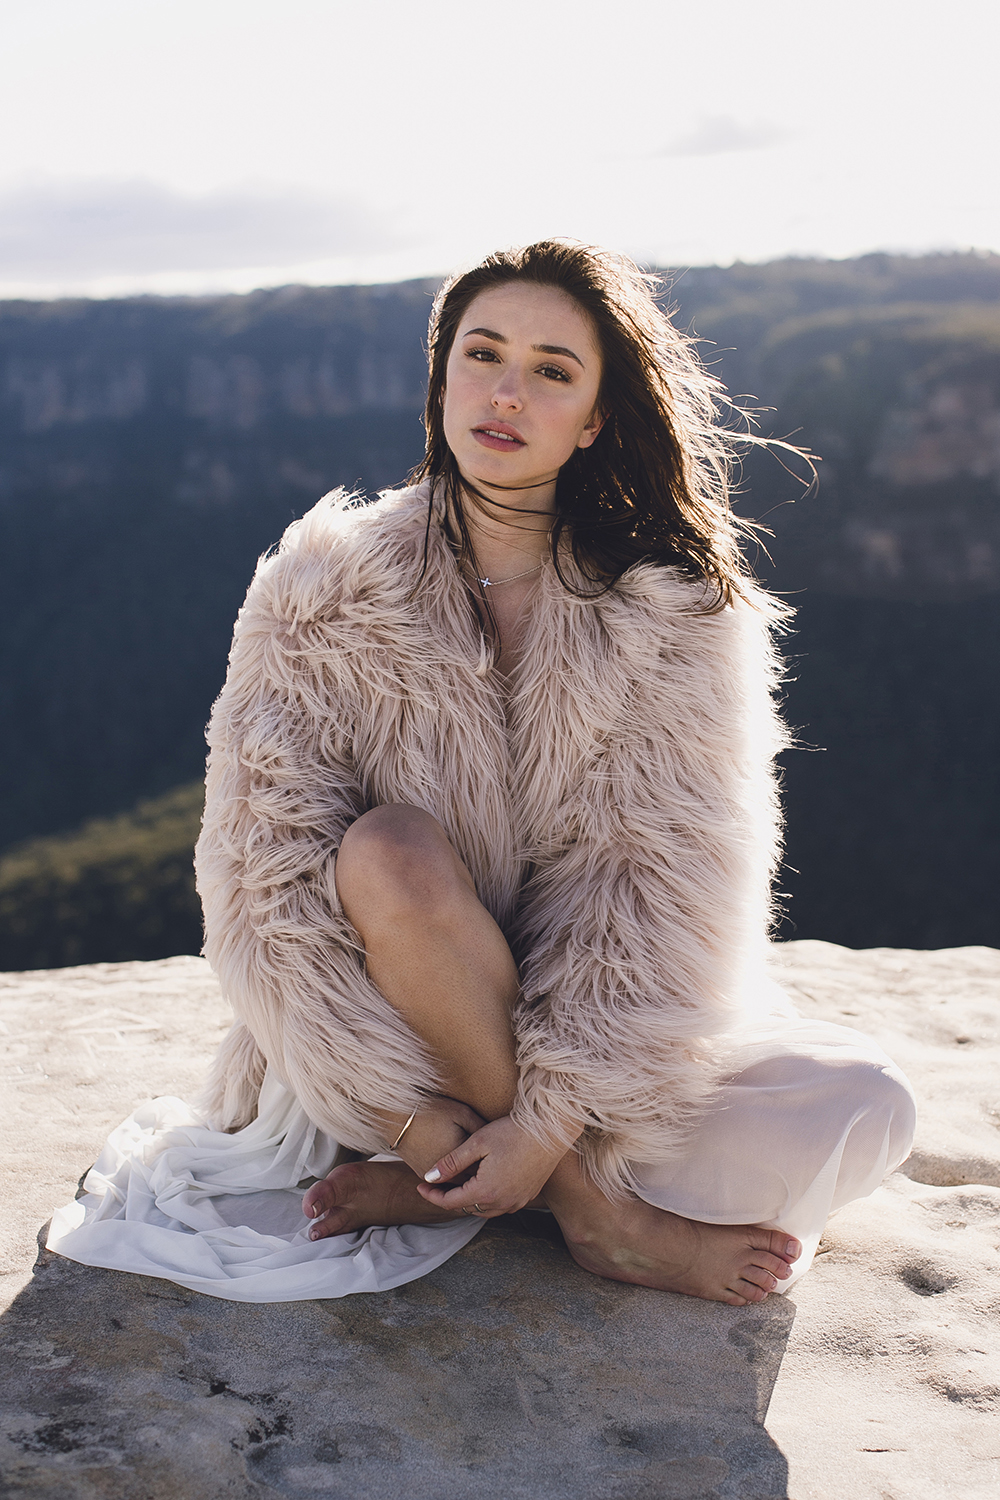
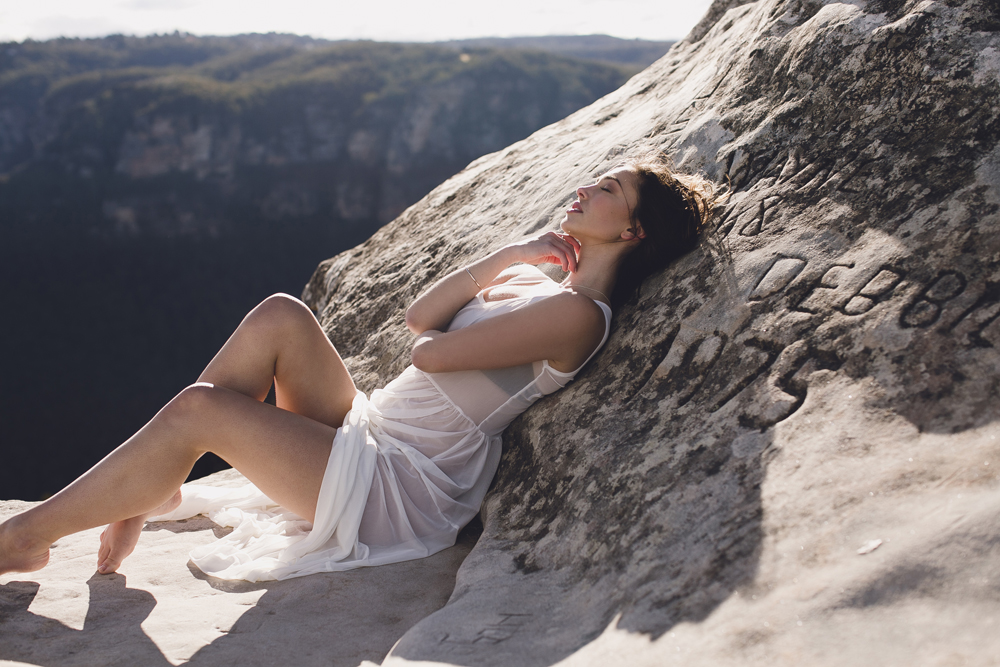
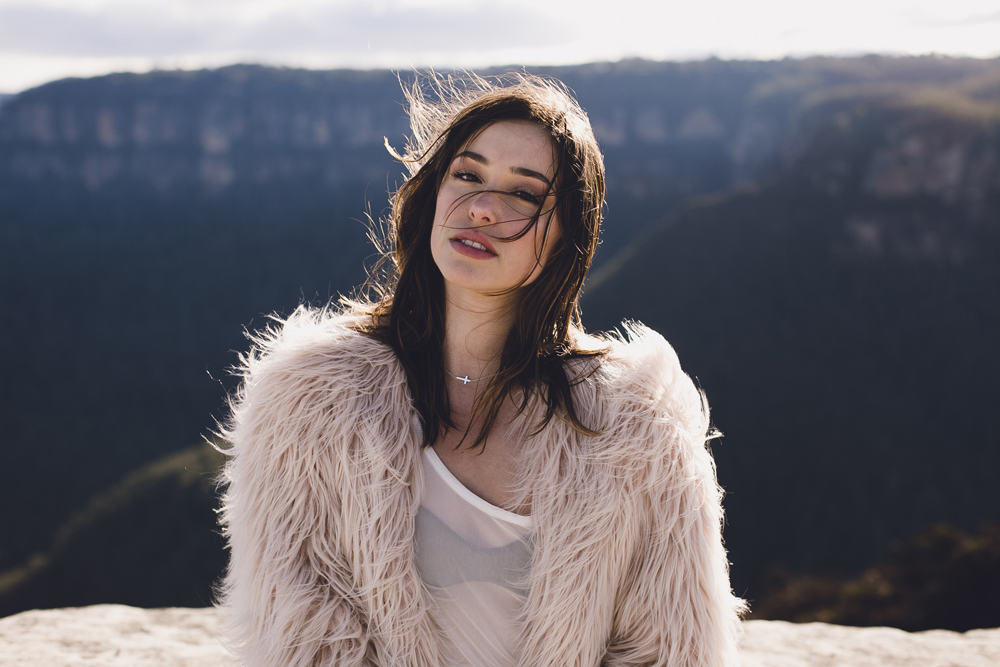
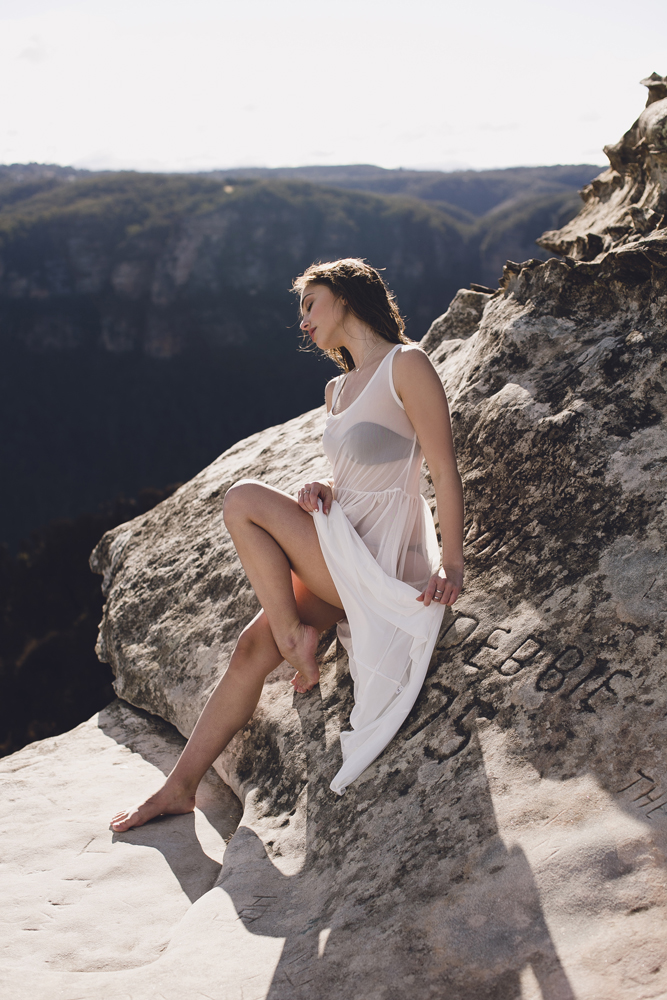
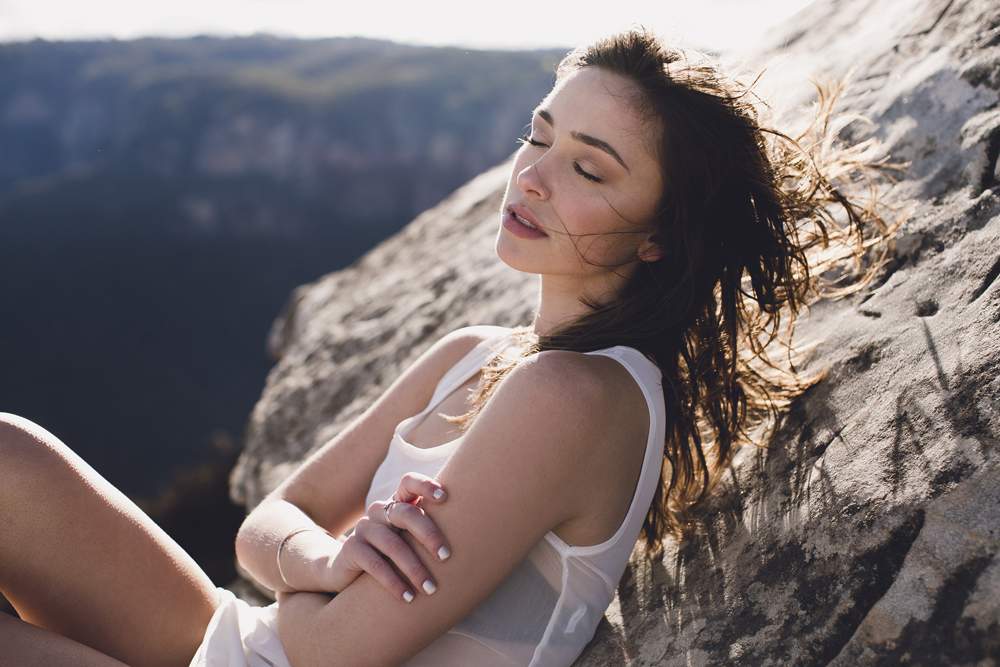
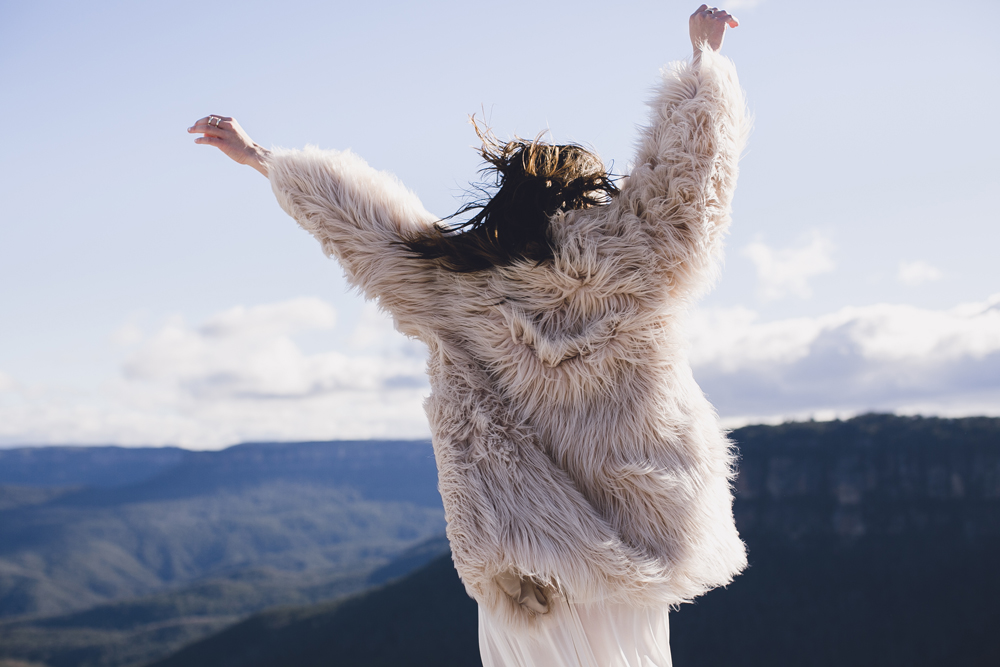
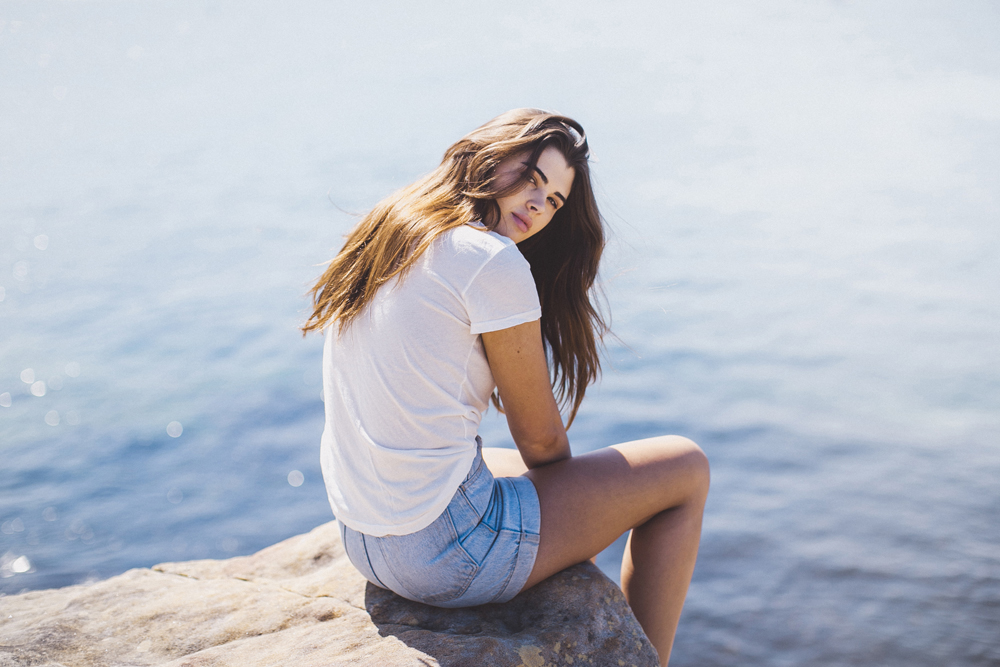
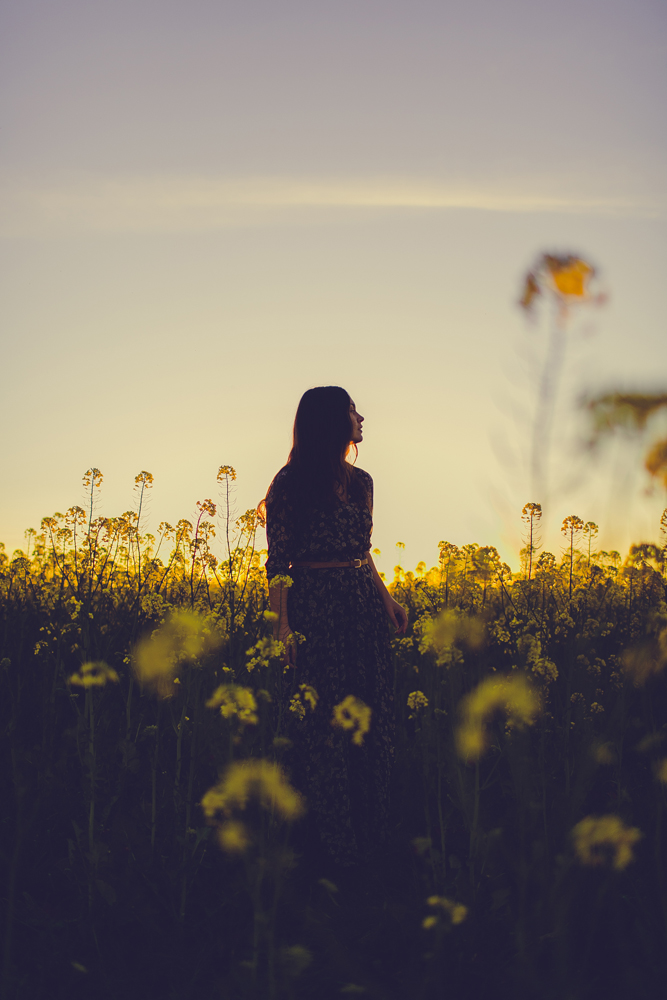
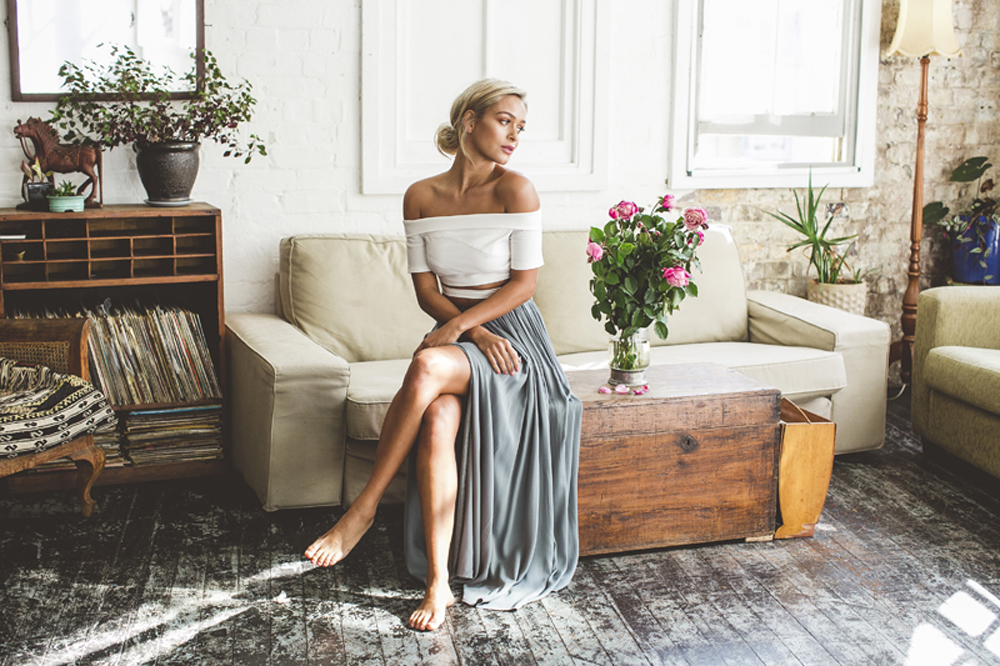
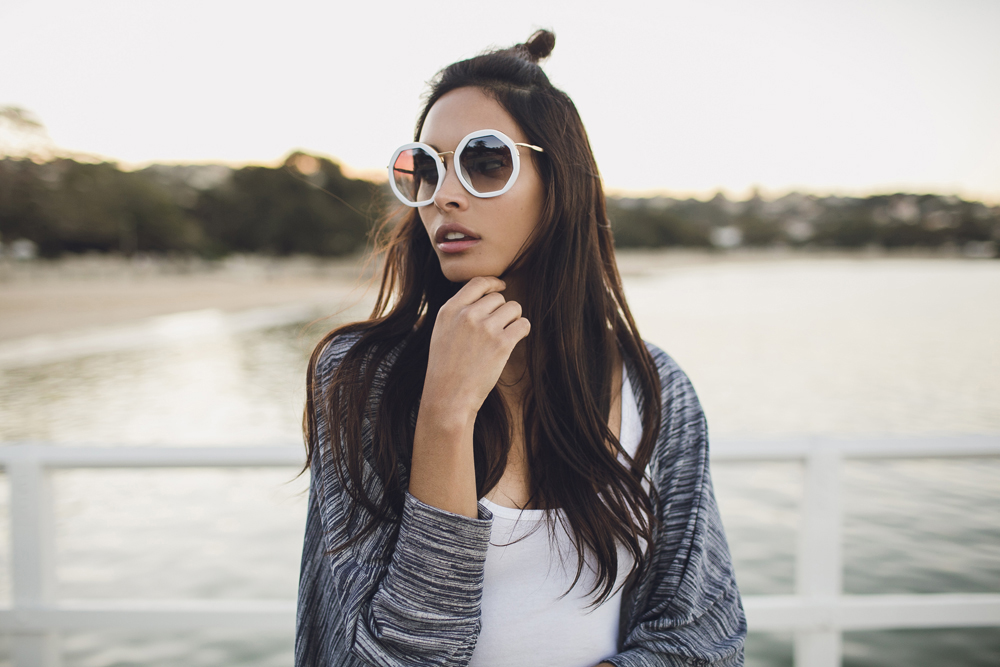
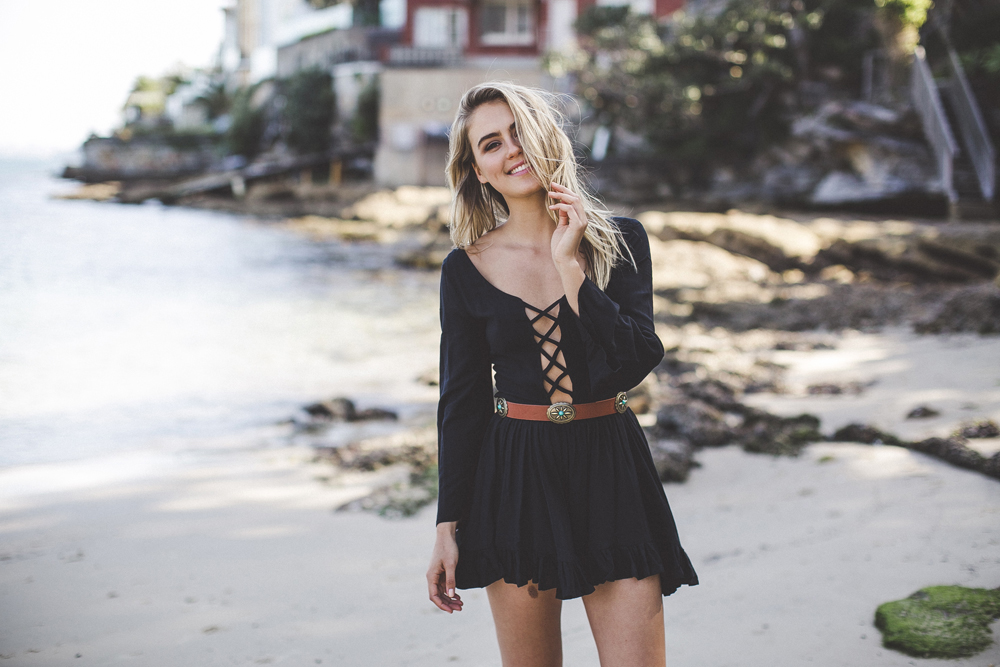
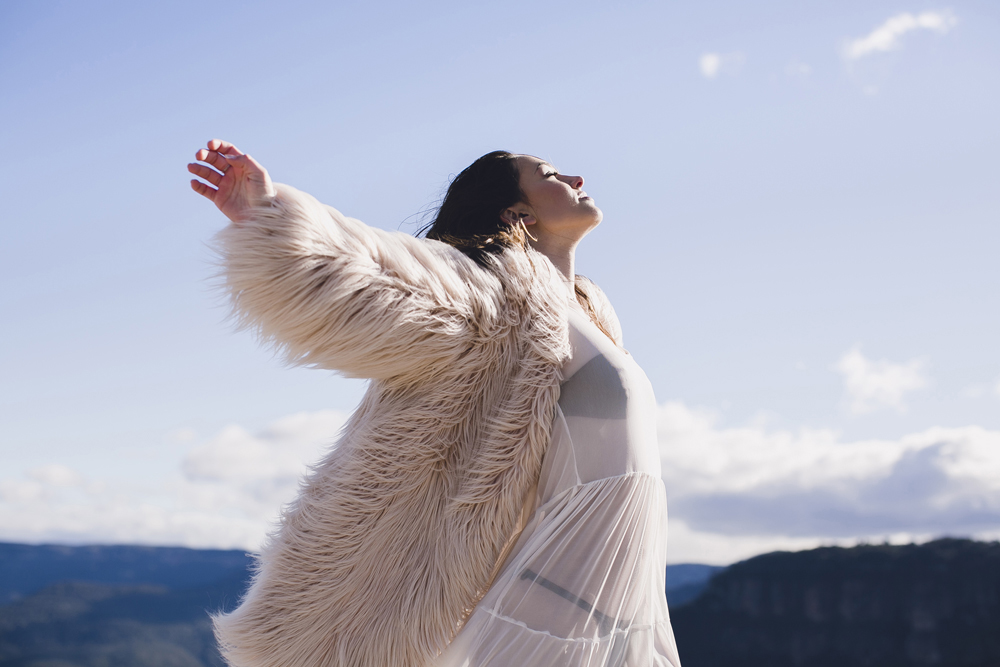
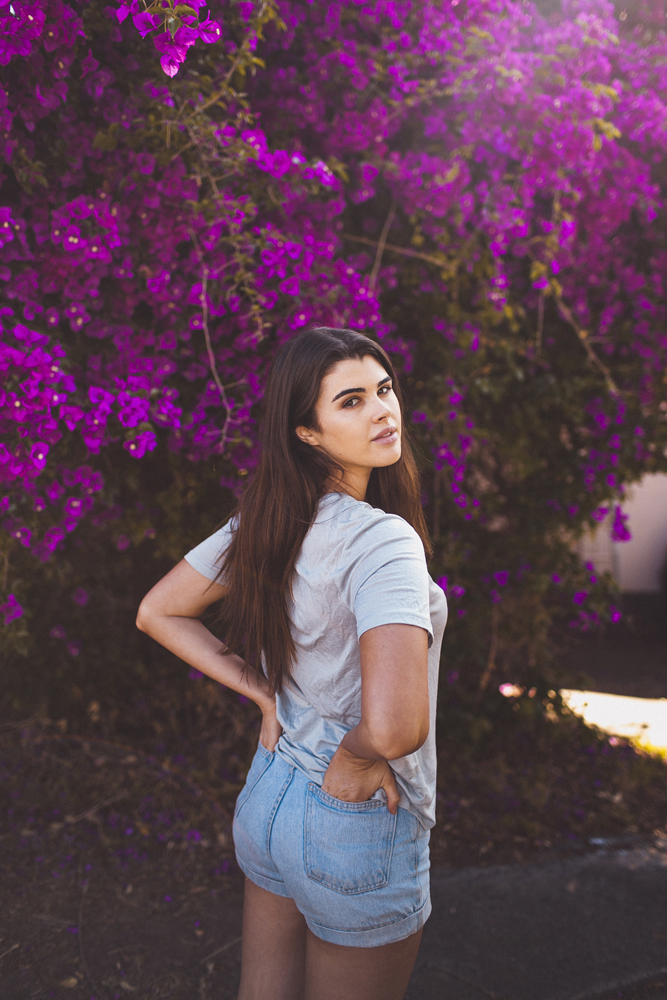
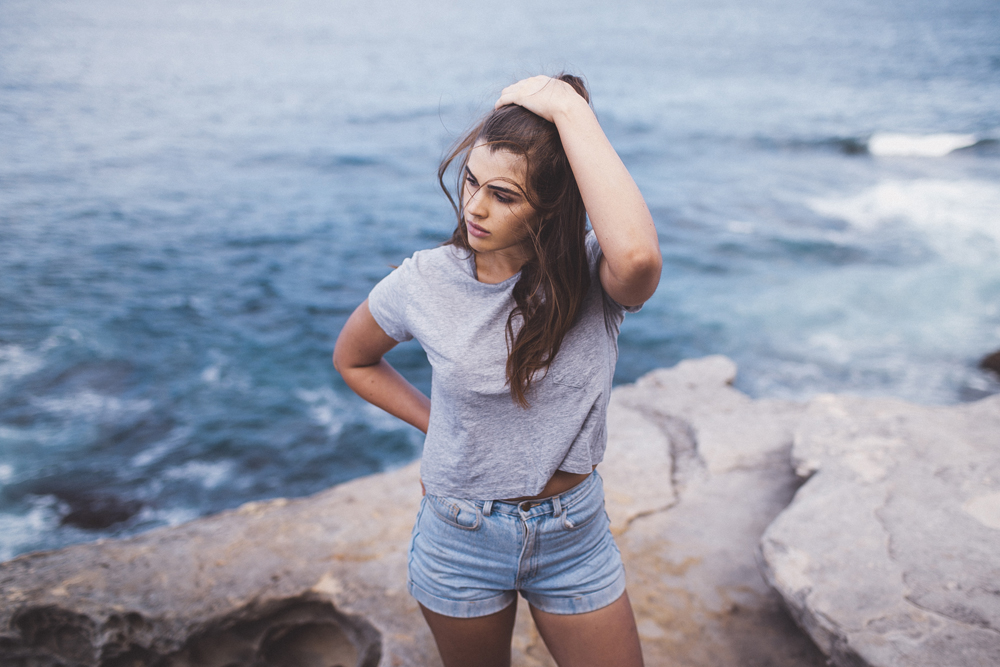
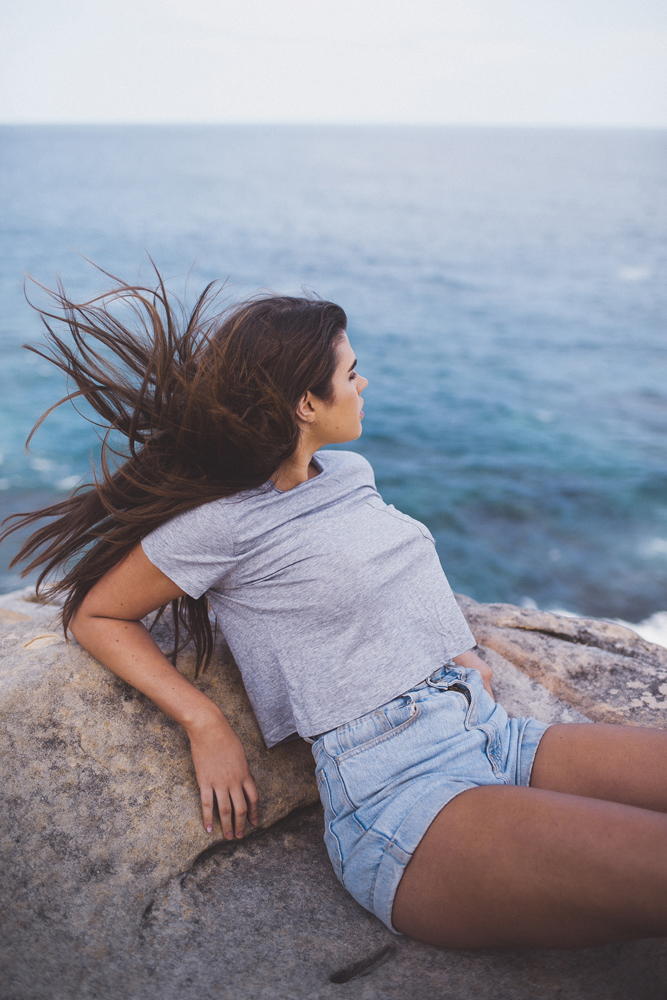
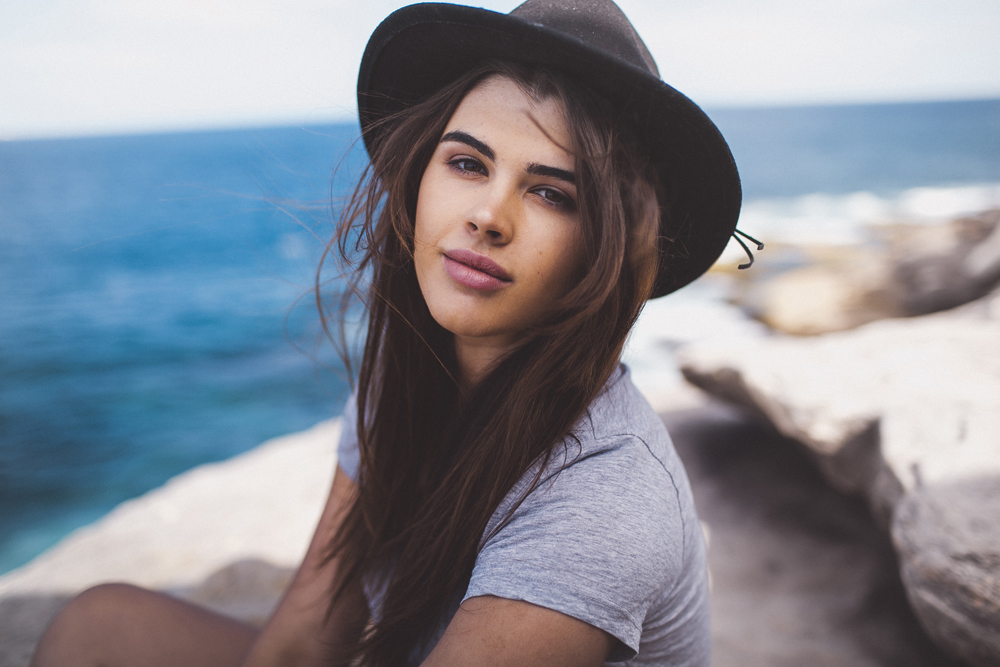
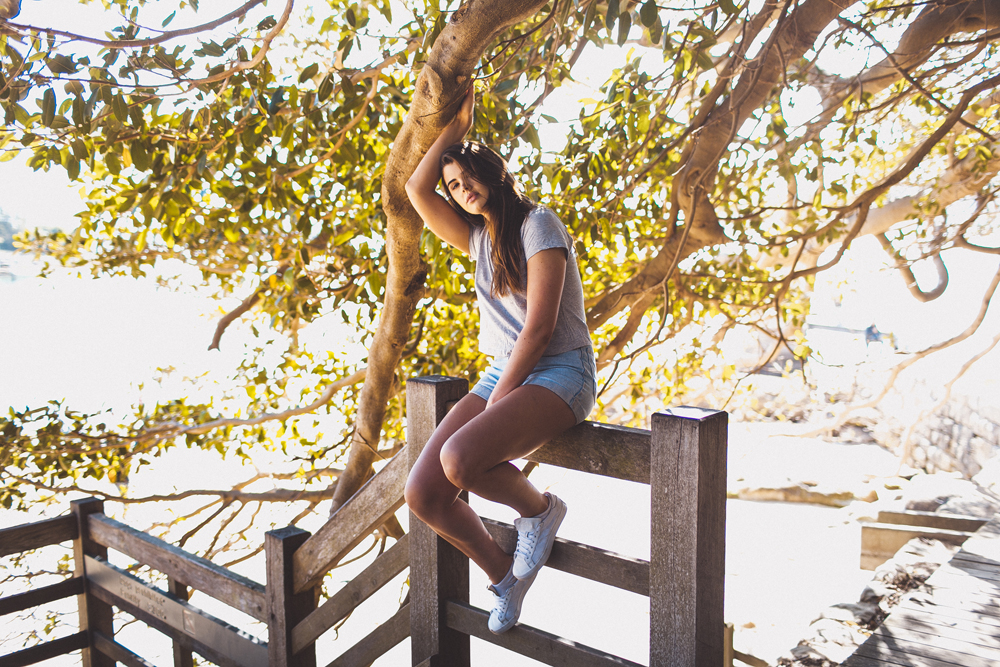
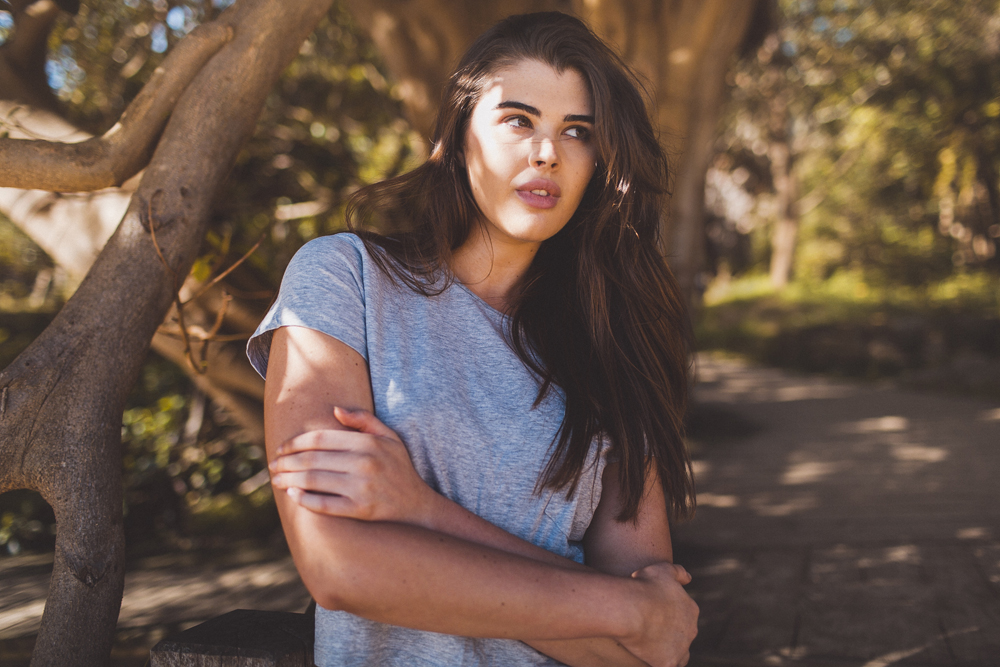
portraits for alanna eileen
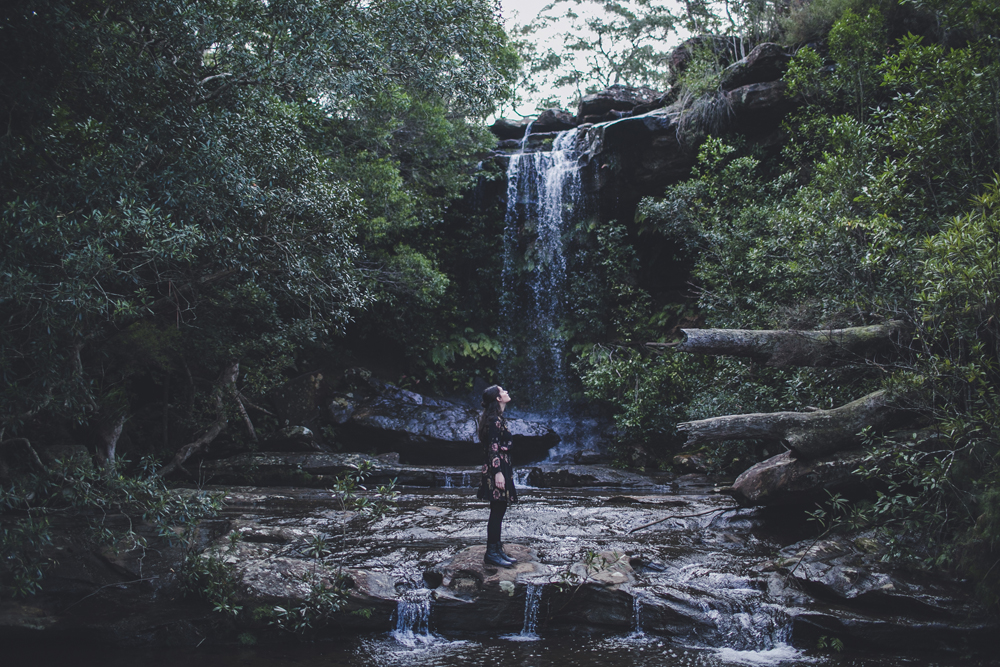
Alanna is a magic-voiced musician who flew down from Melbourne to spend the day with me at one of my favourite locations in Sydney taking photos. You can find her wonderful music here & here!
YOU MIGHT ALSO LIKE


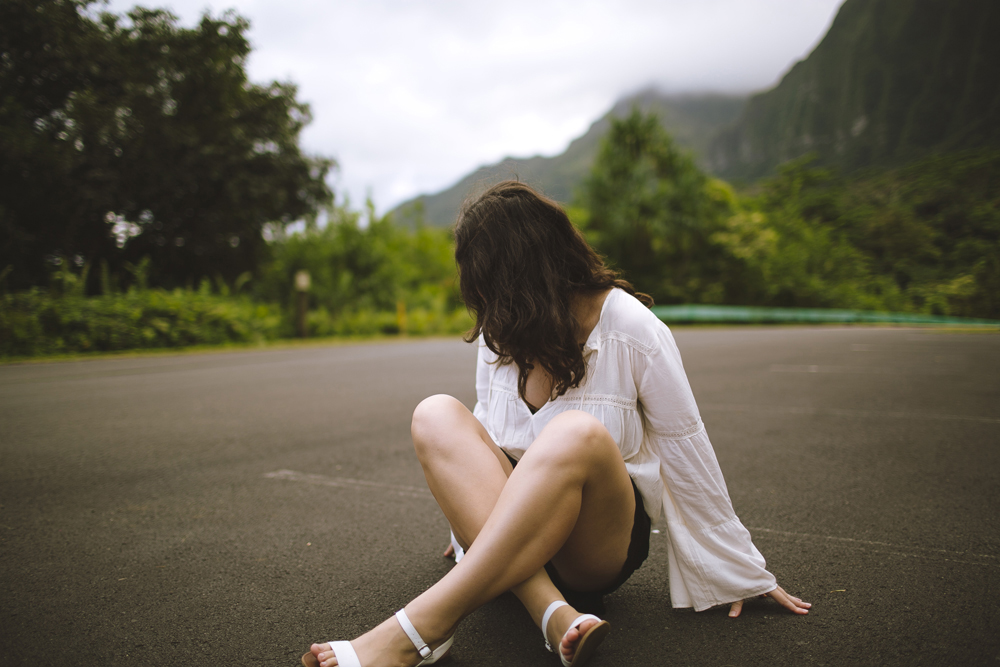


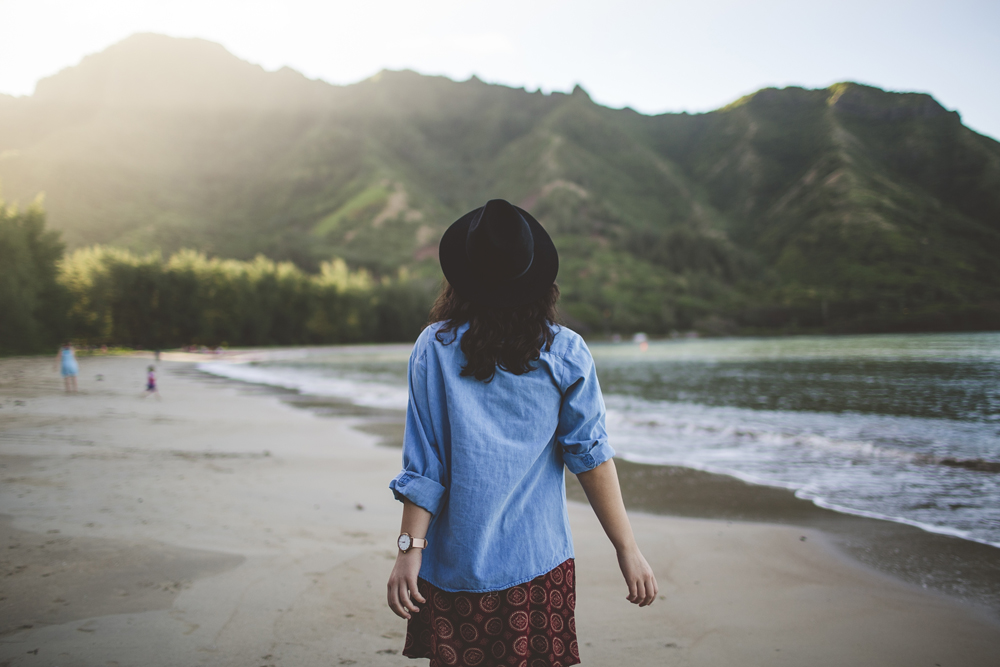
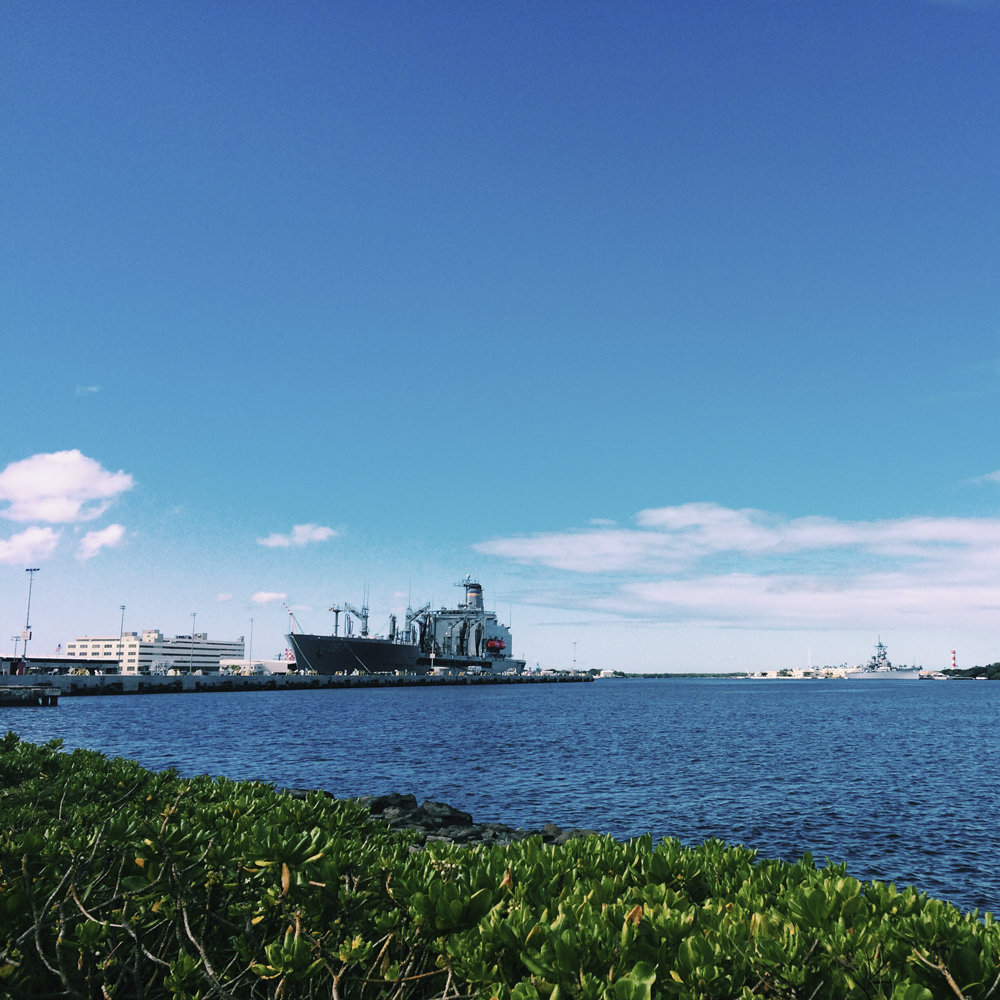
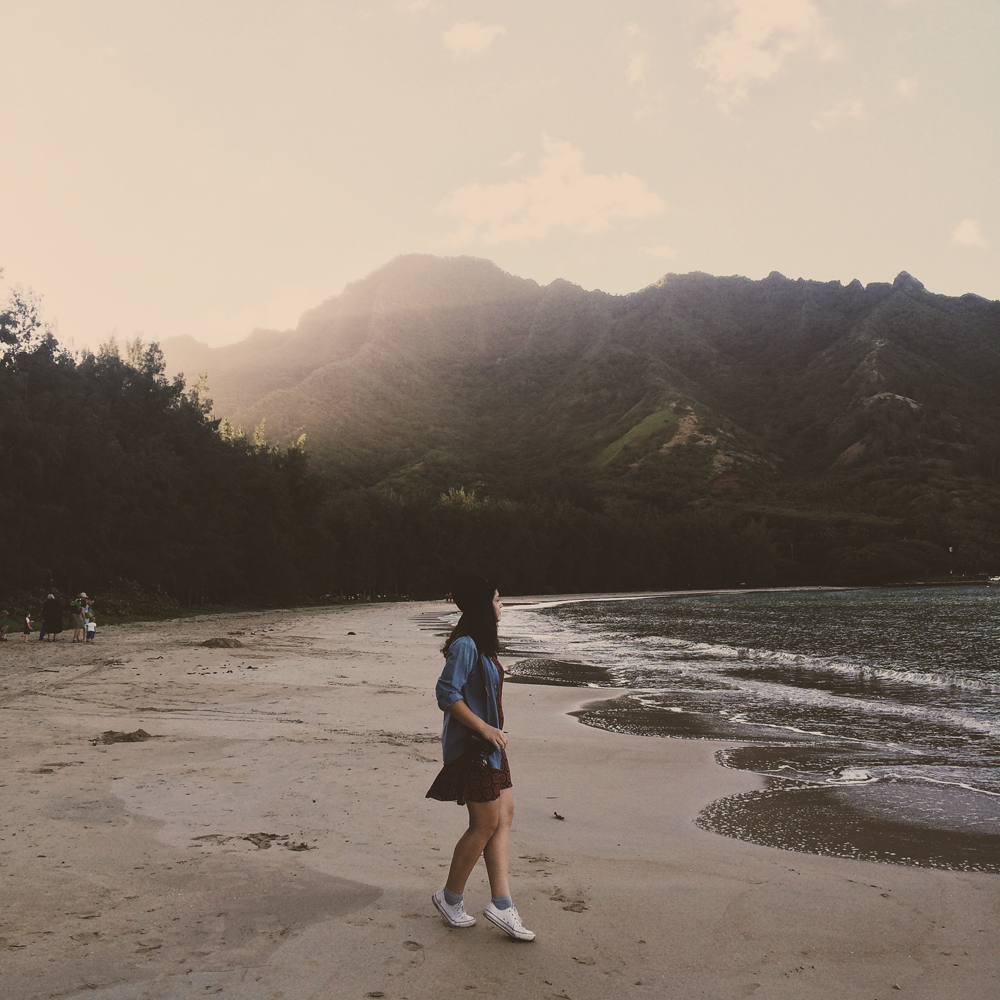
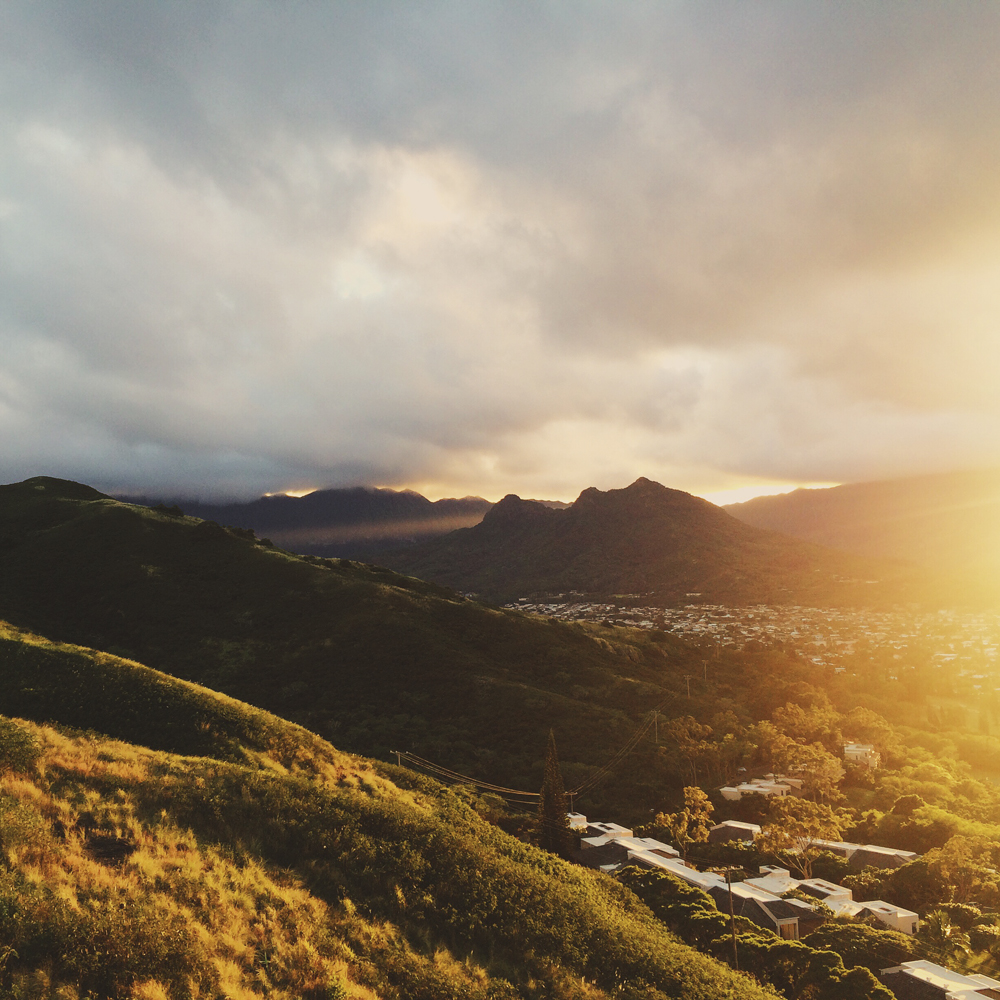
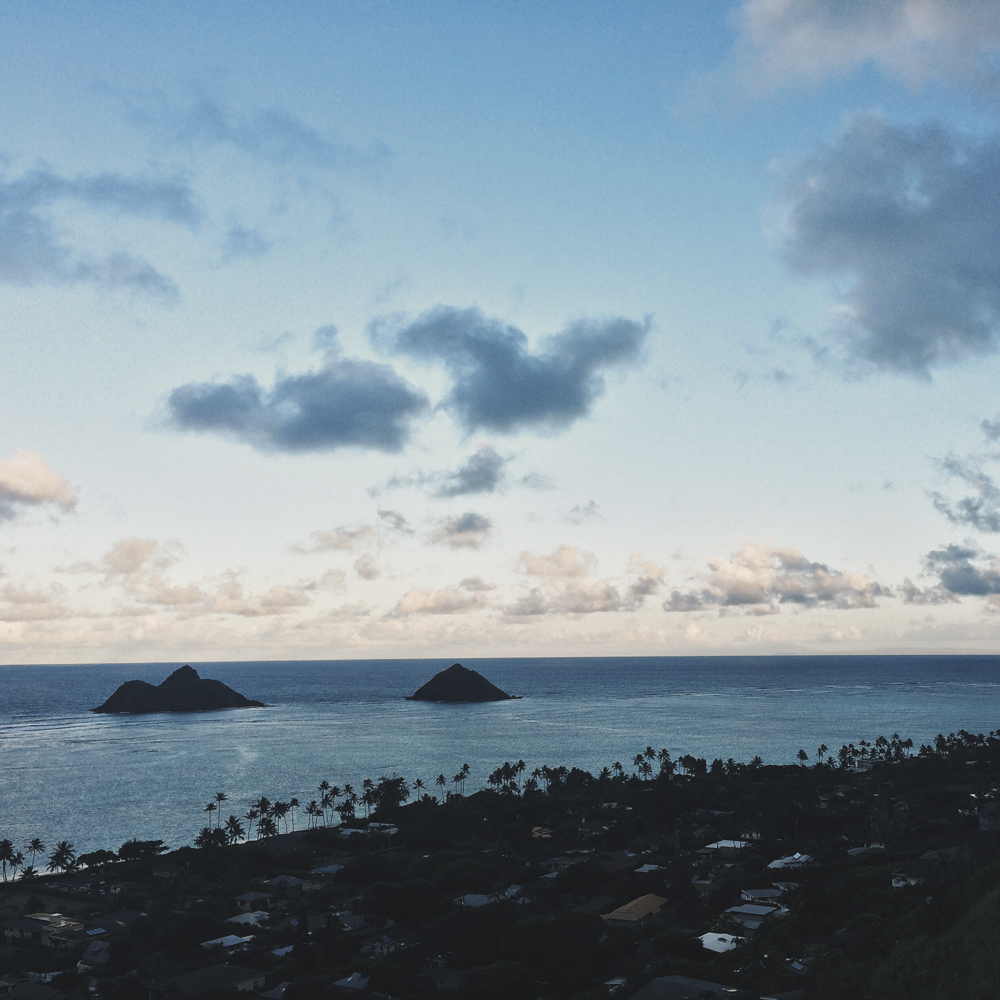
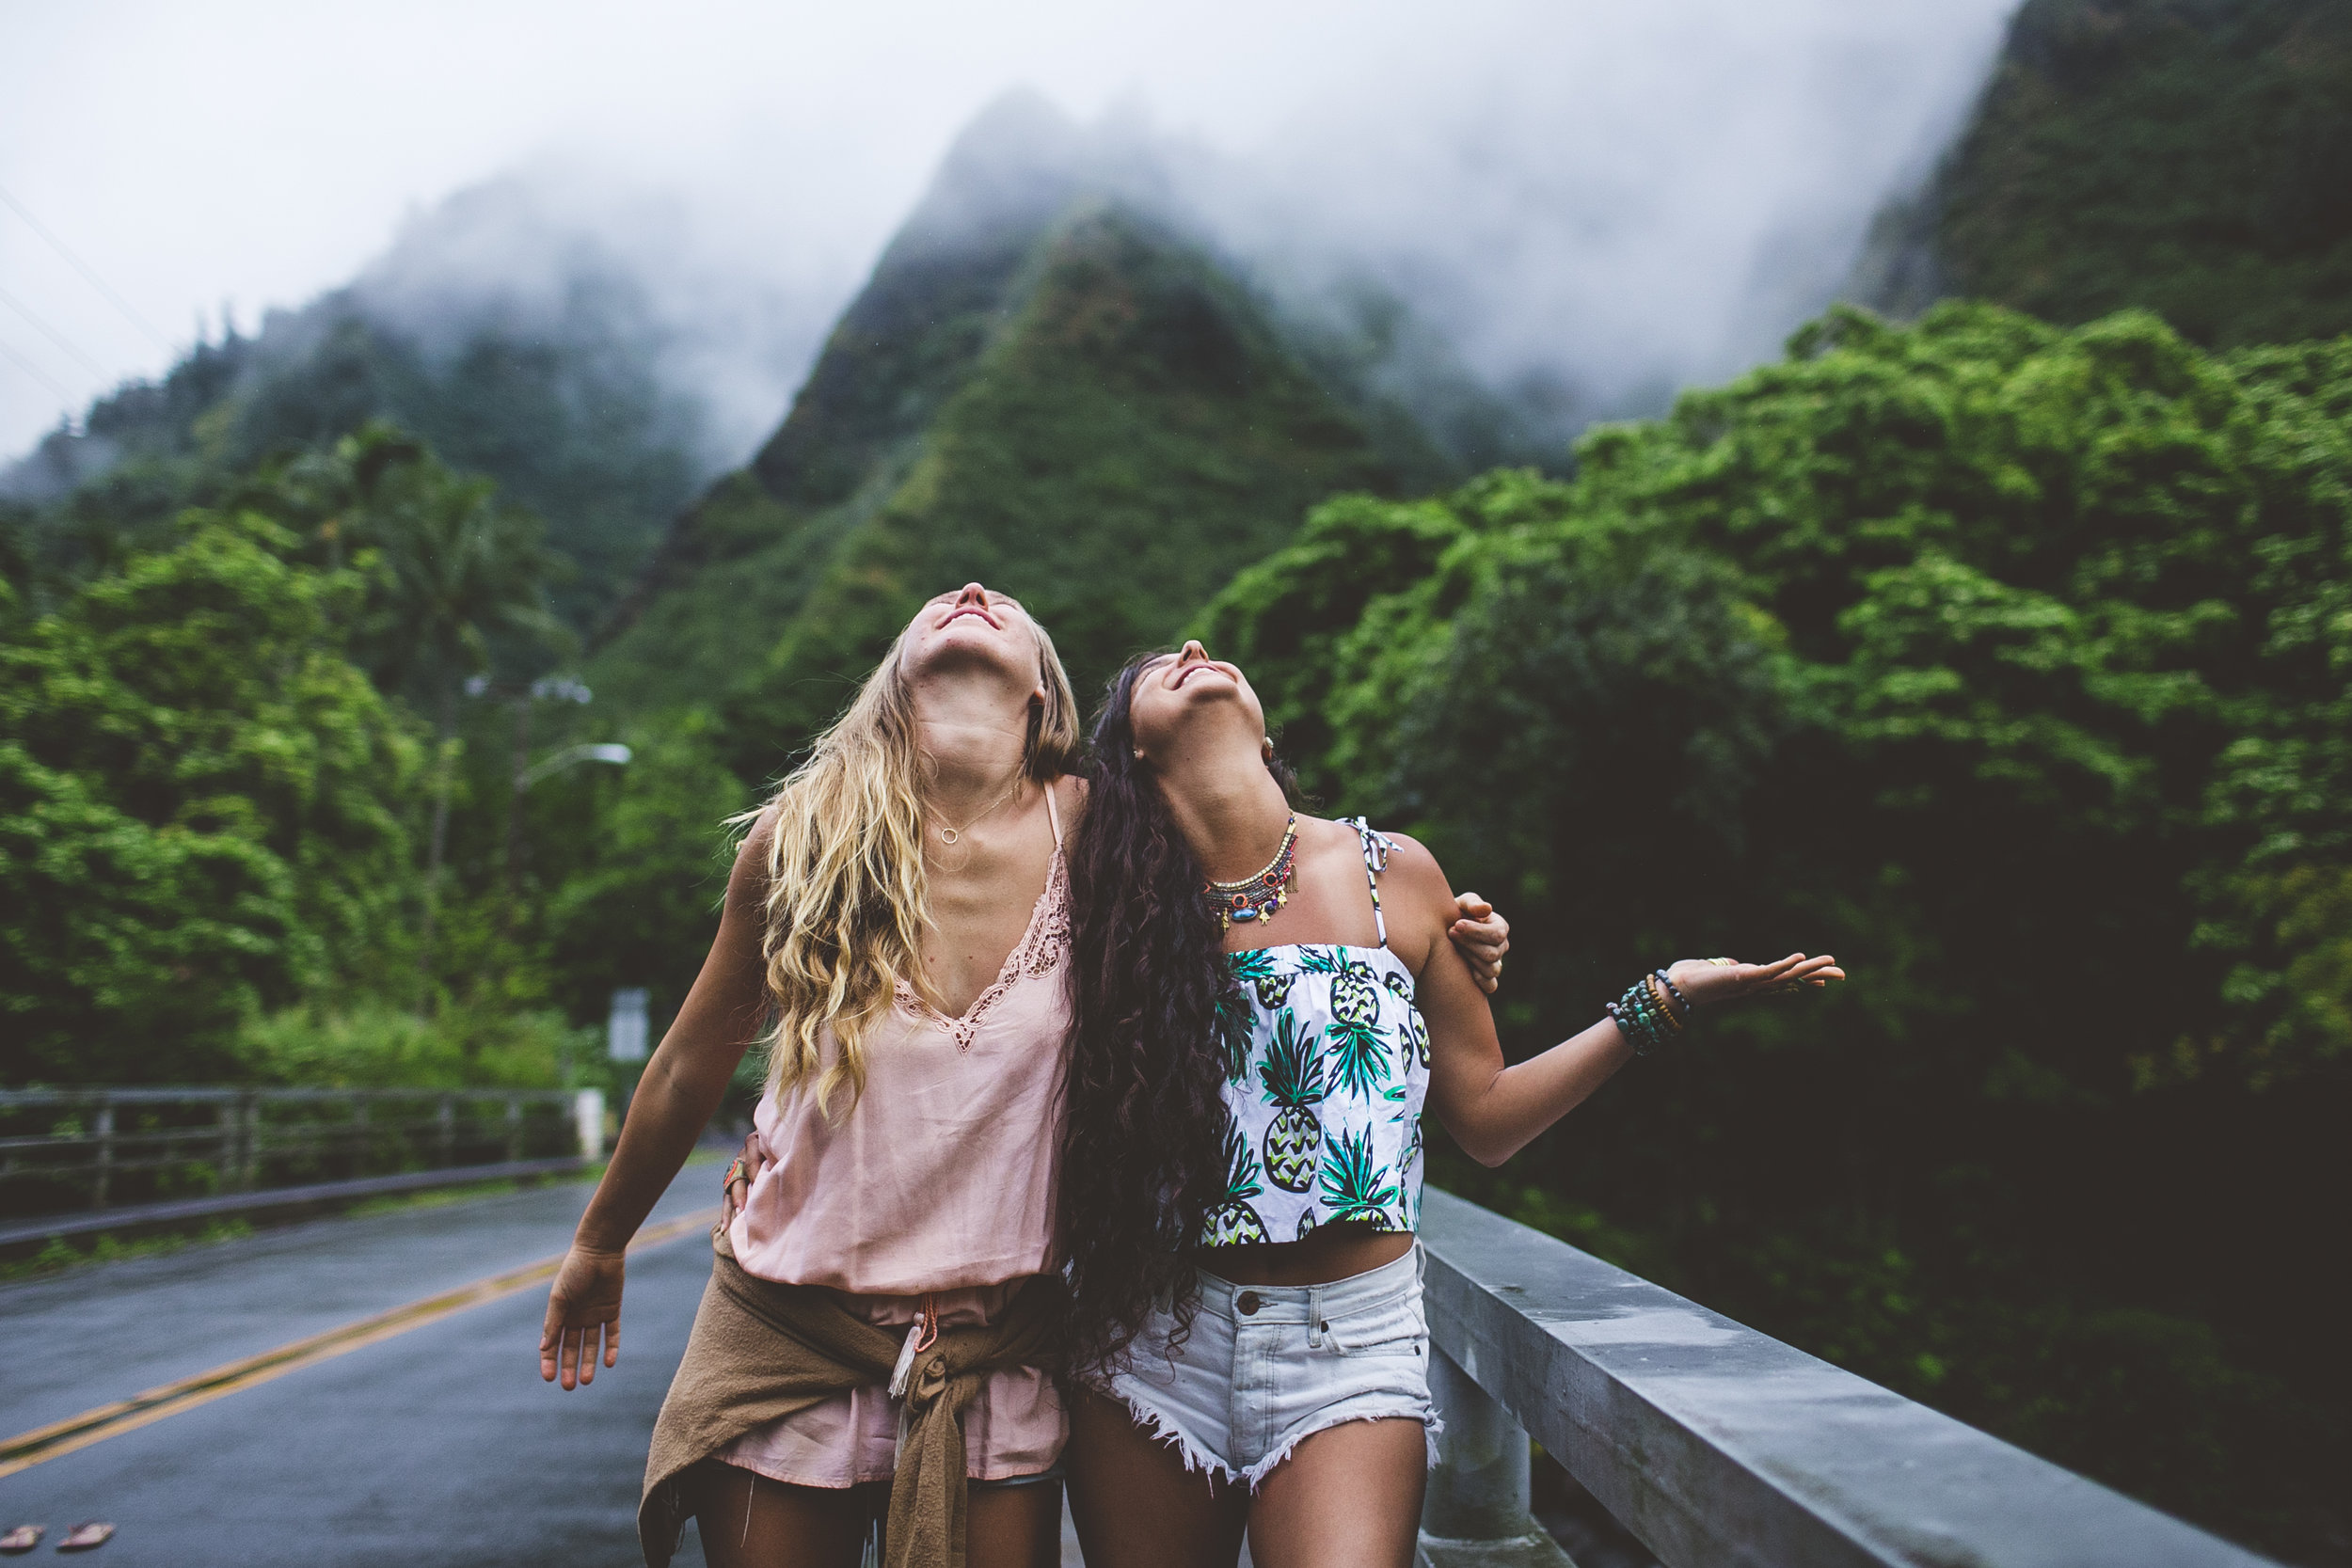
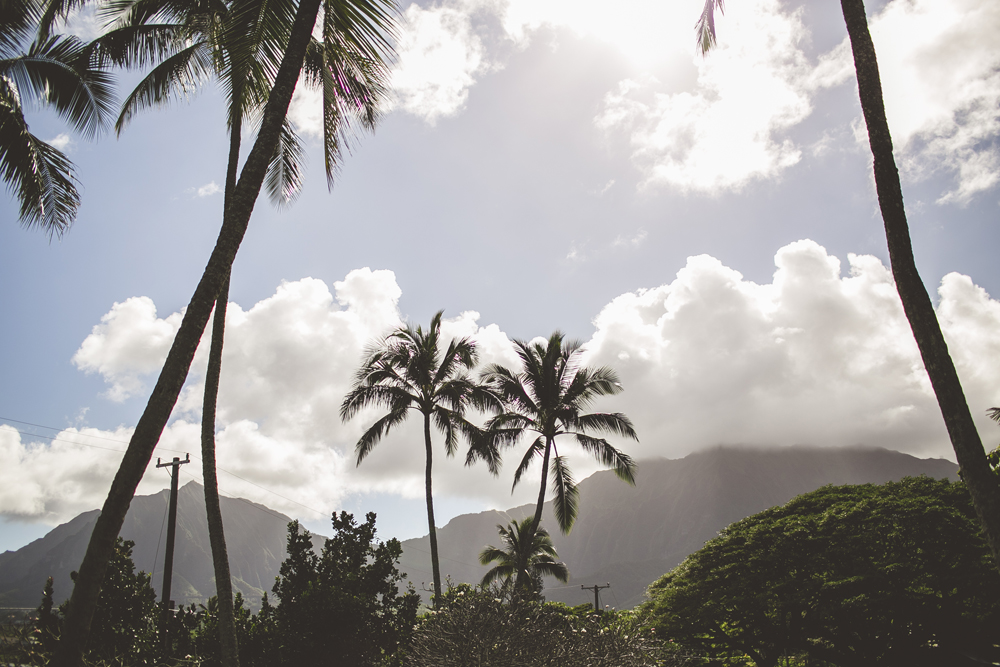
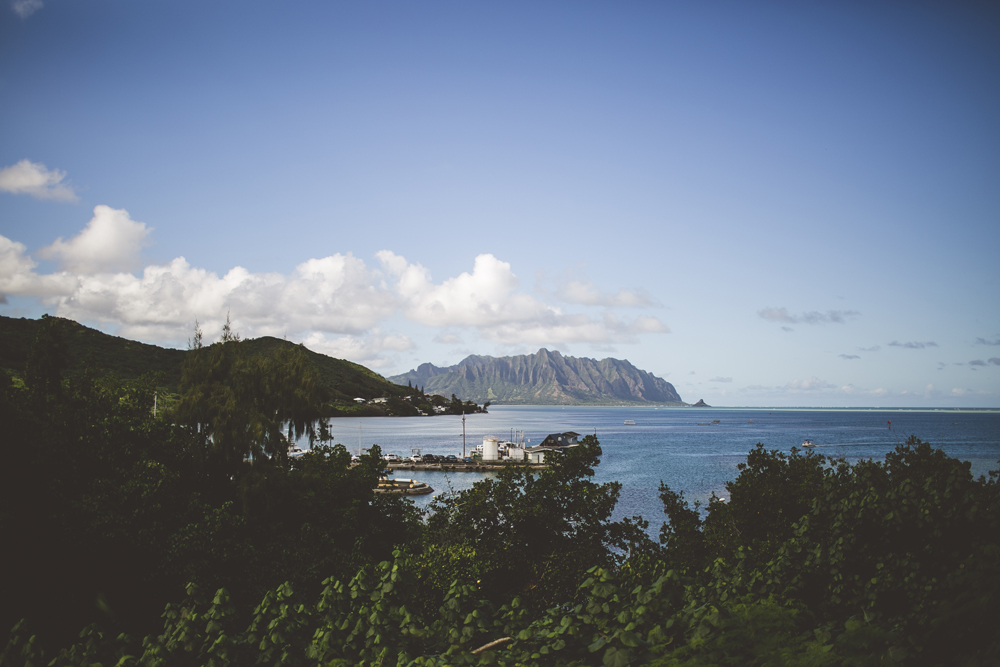
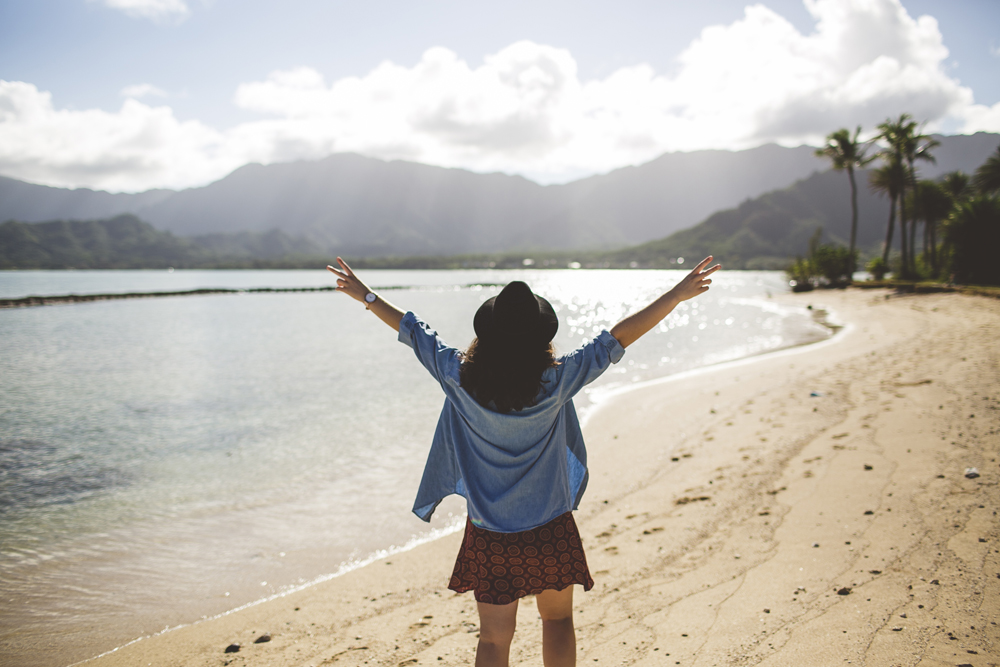
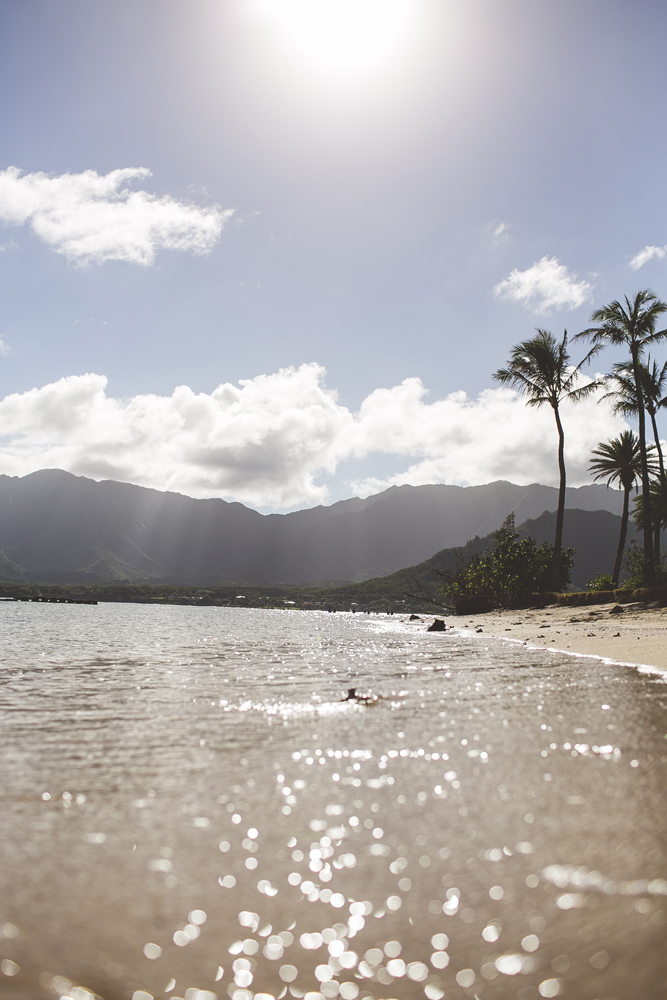
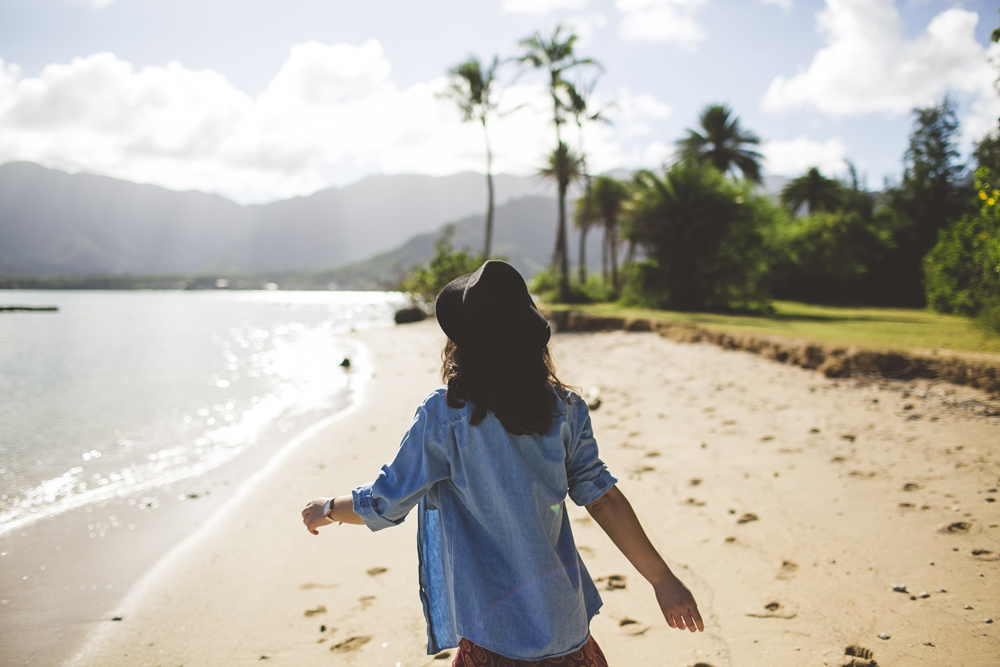
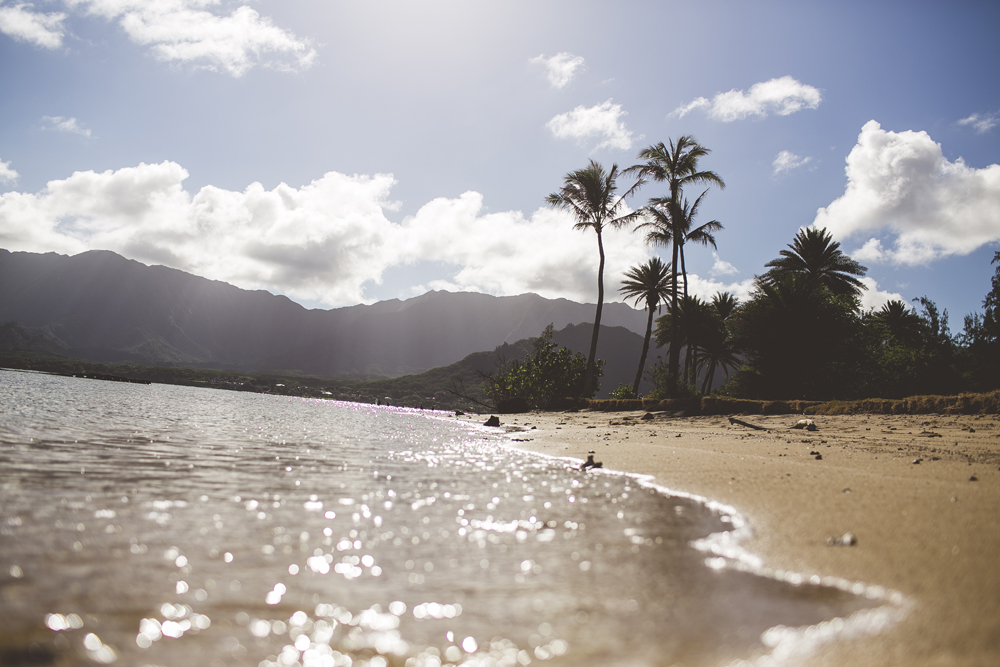
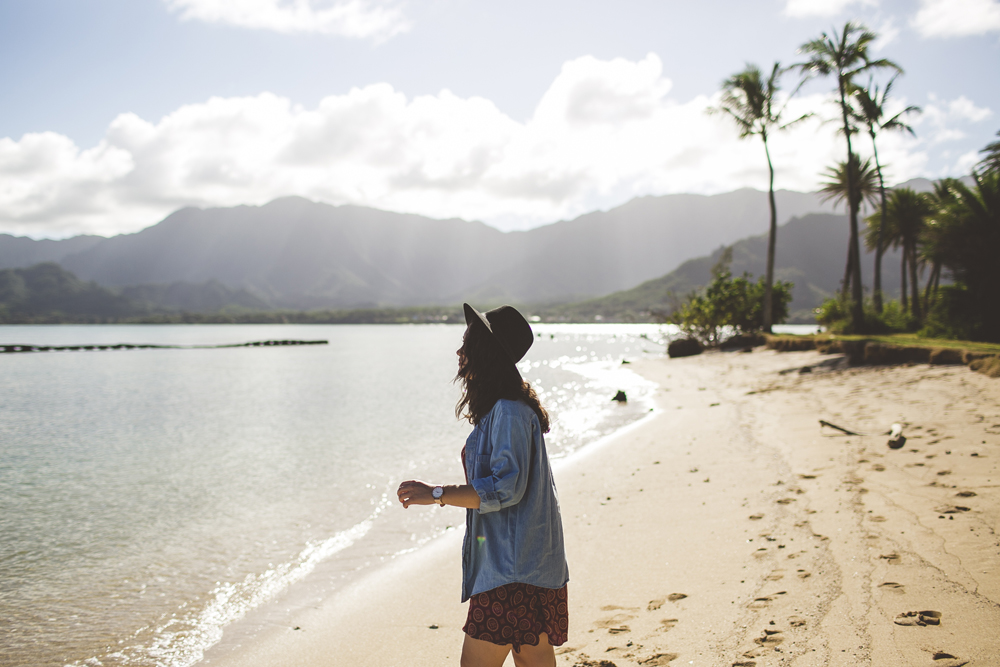
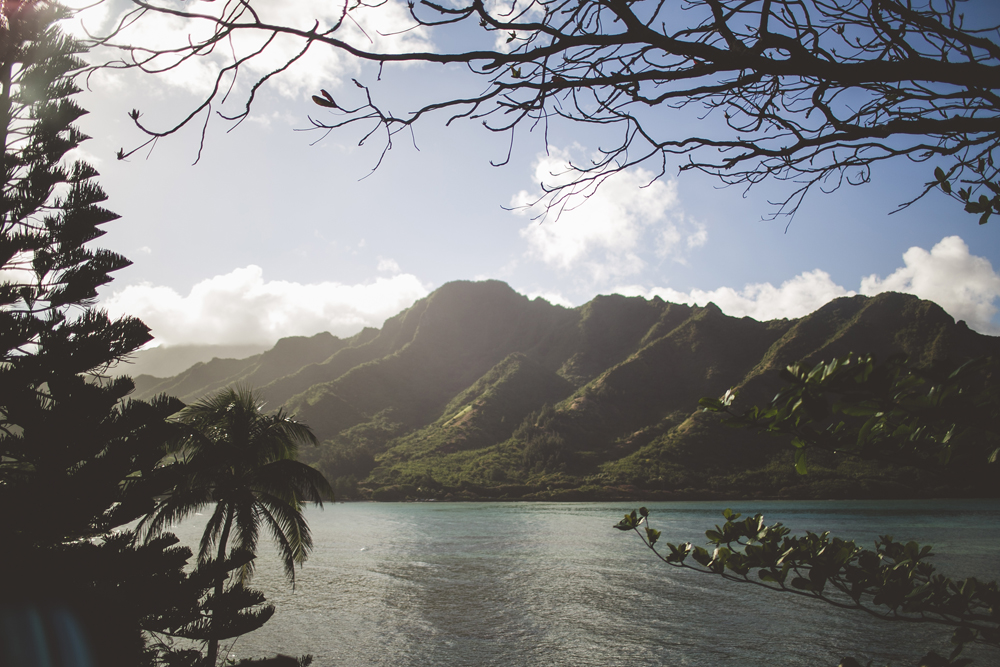
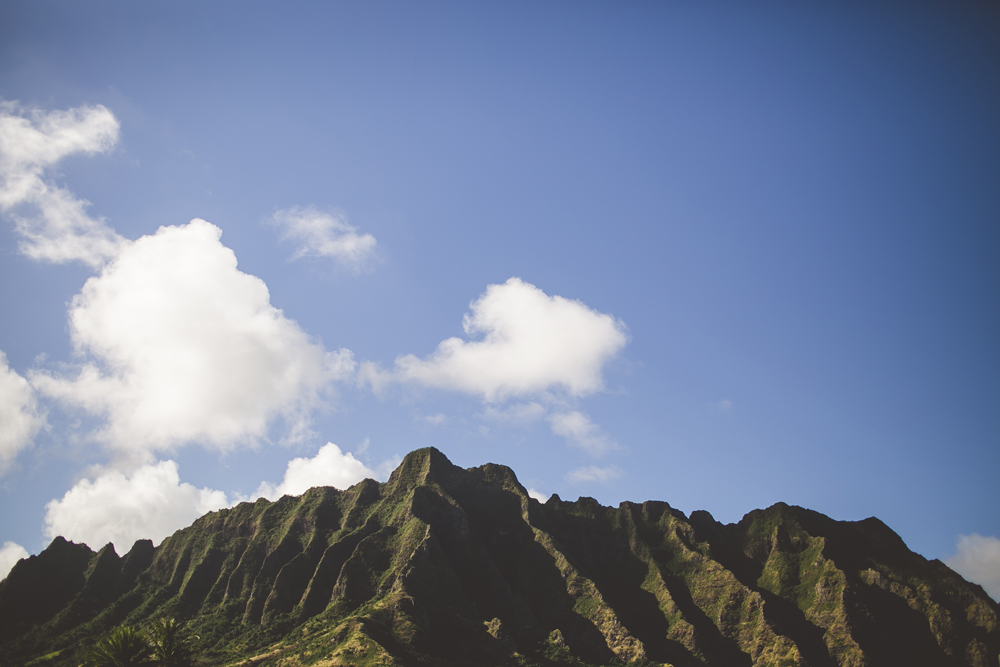
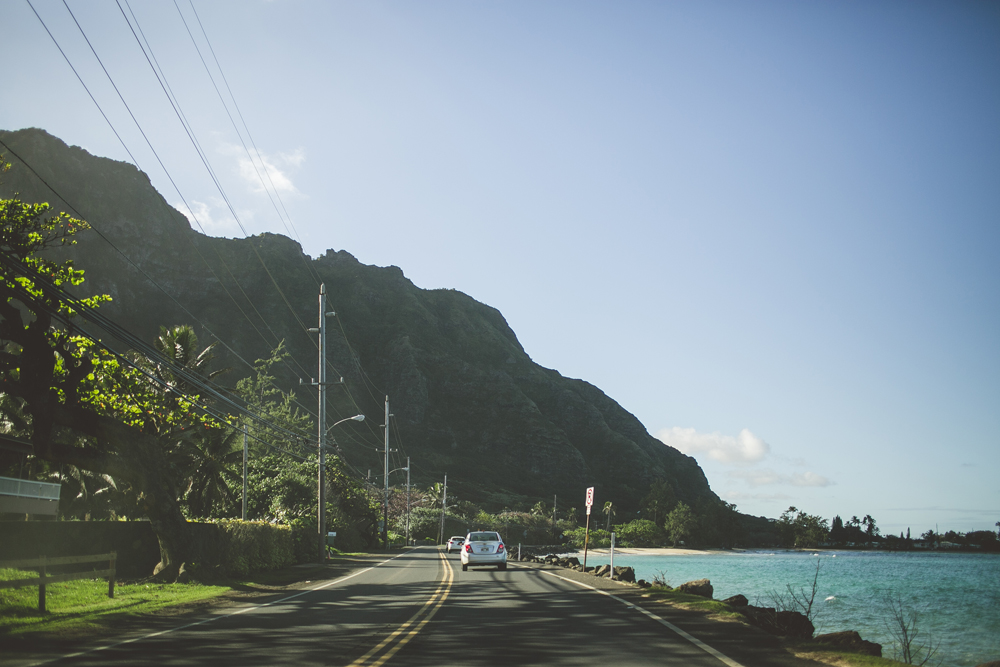
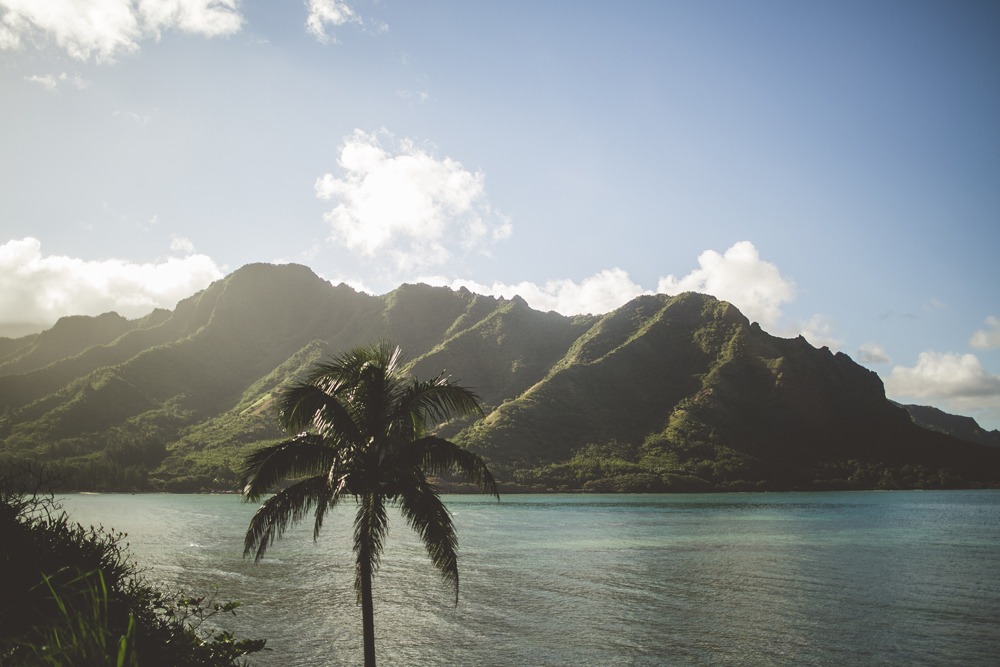
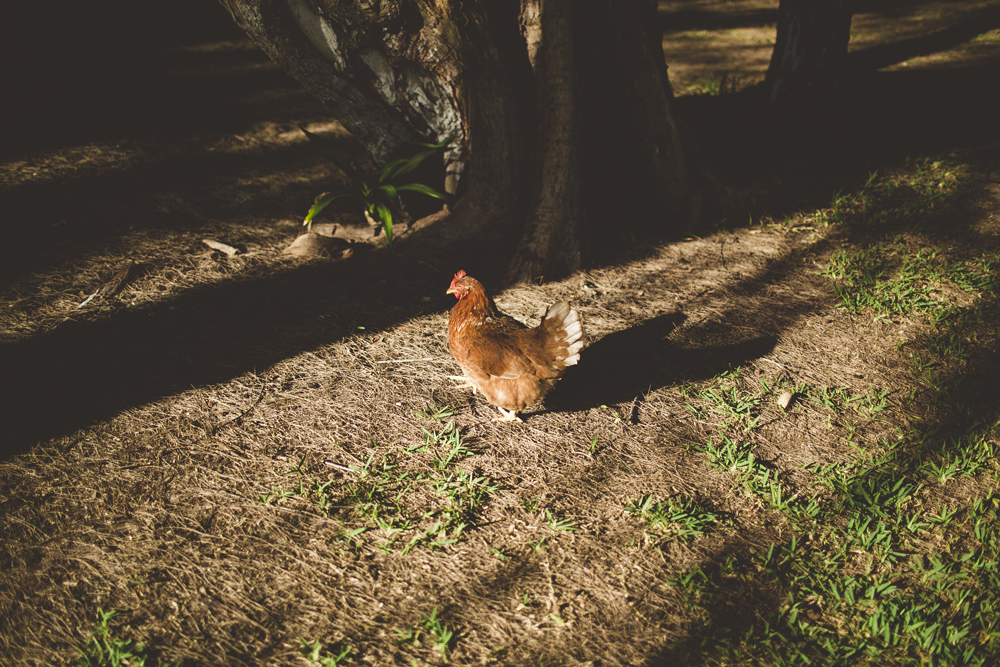
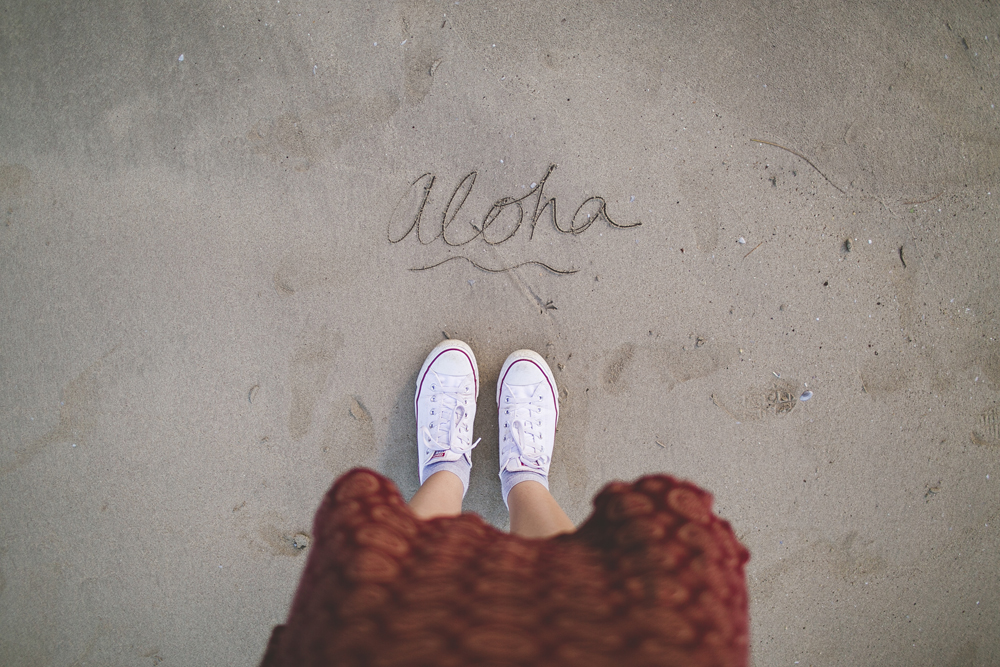
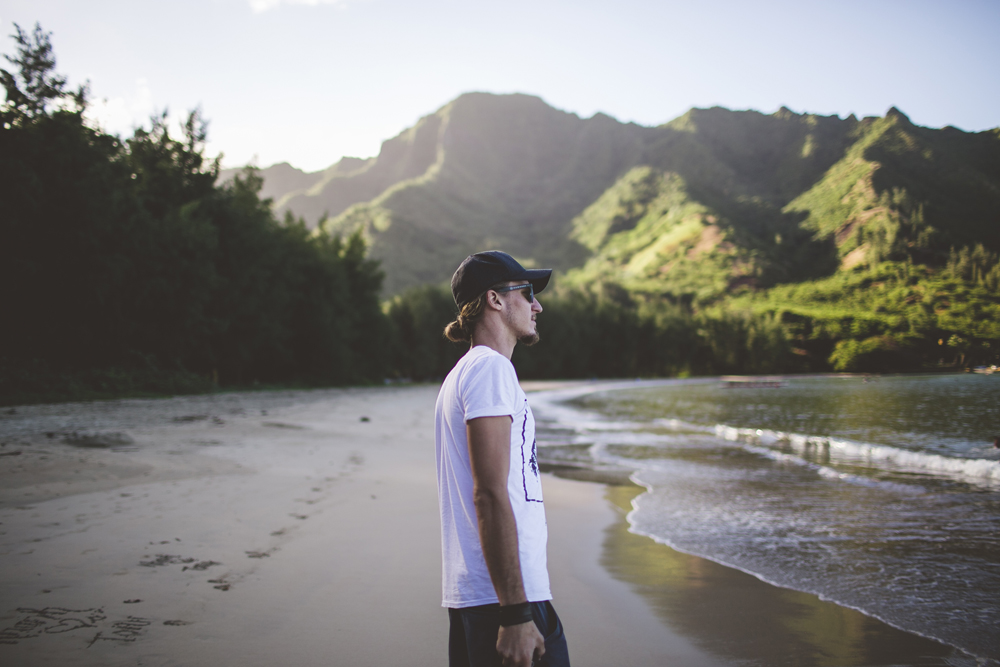
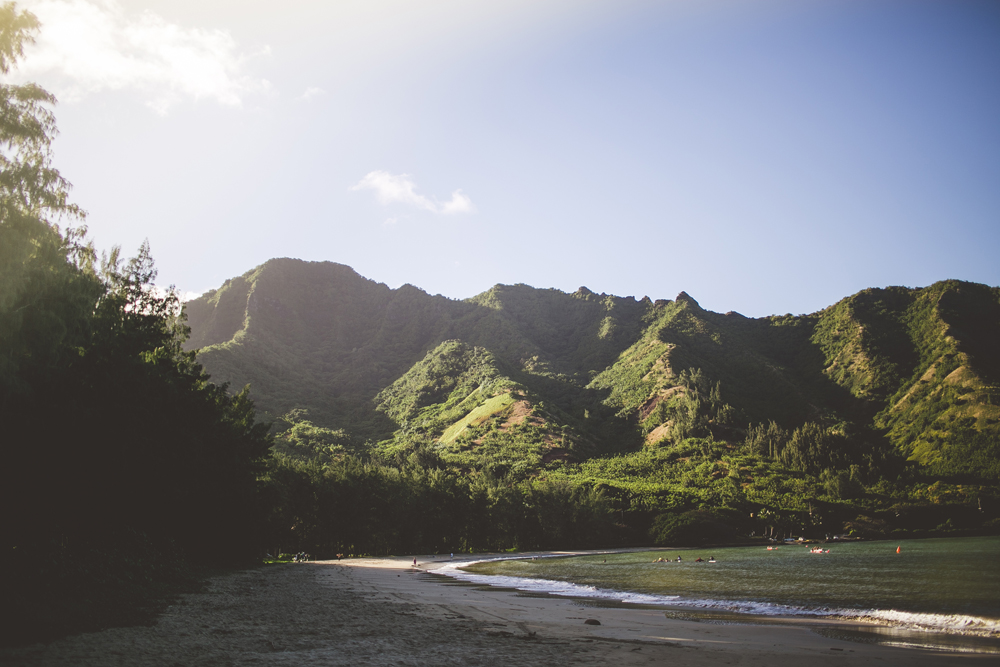
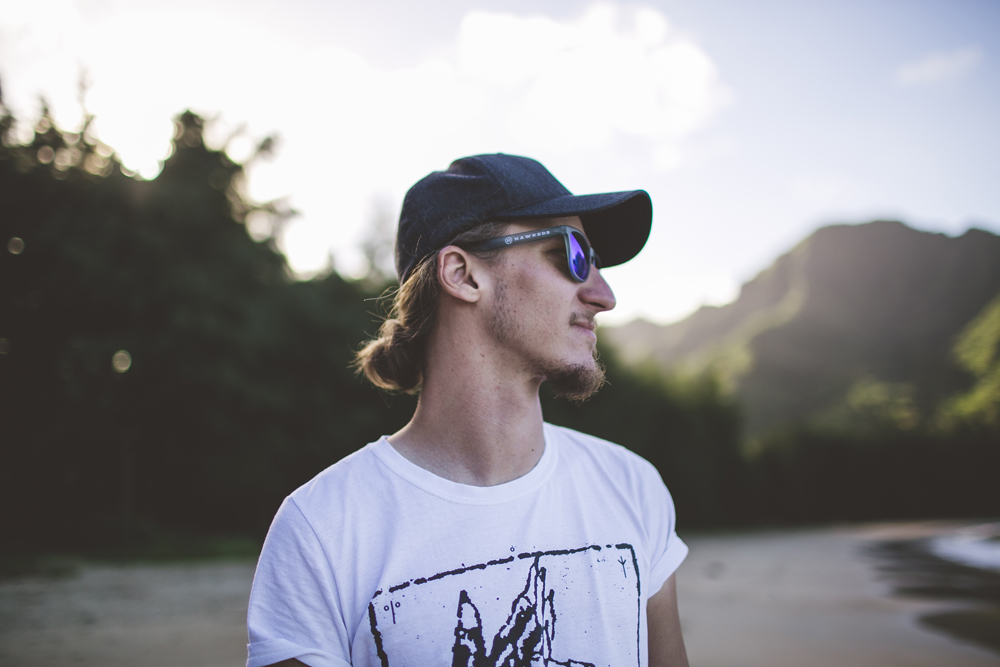
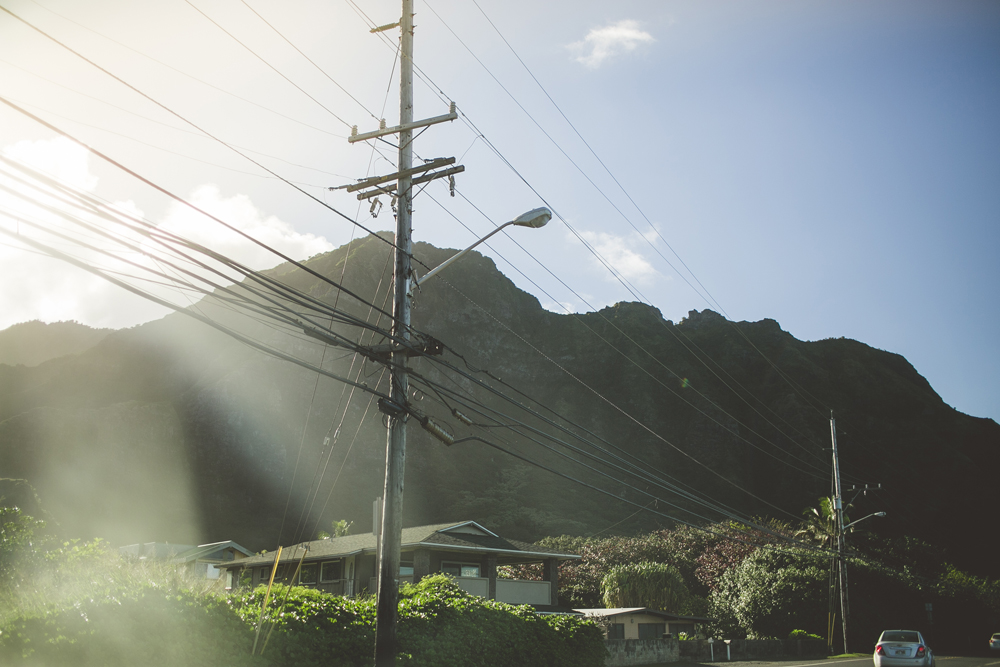
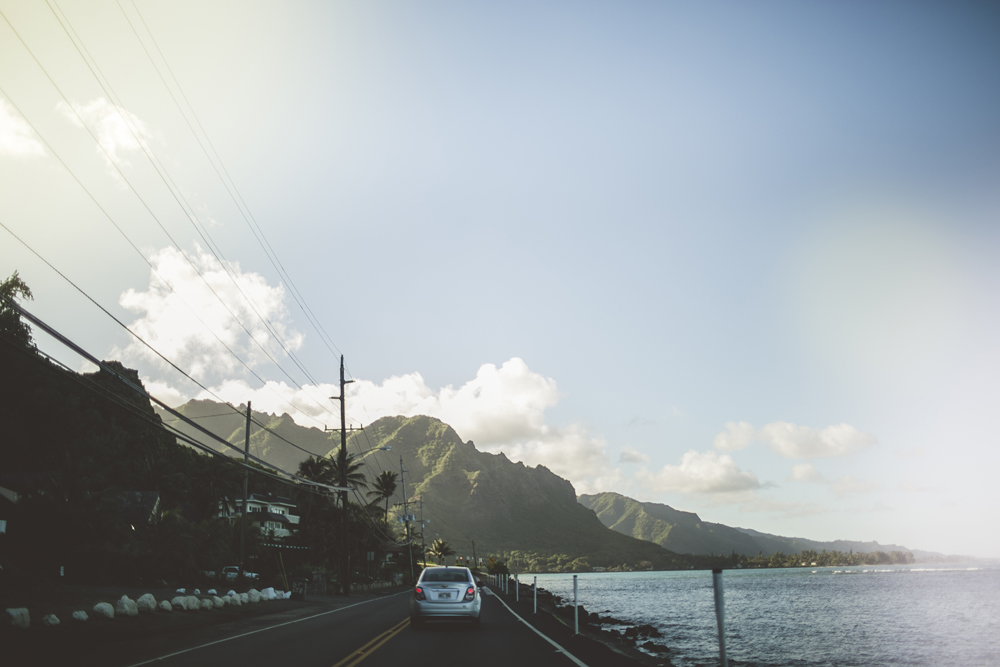
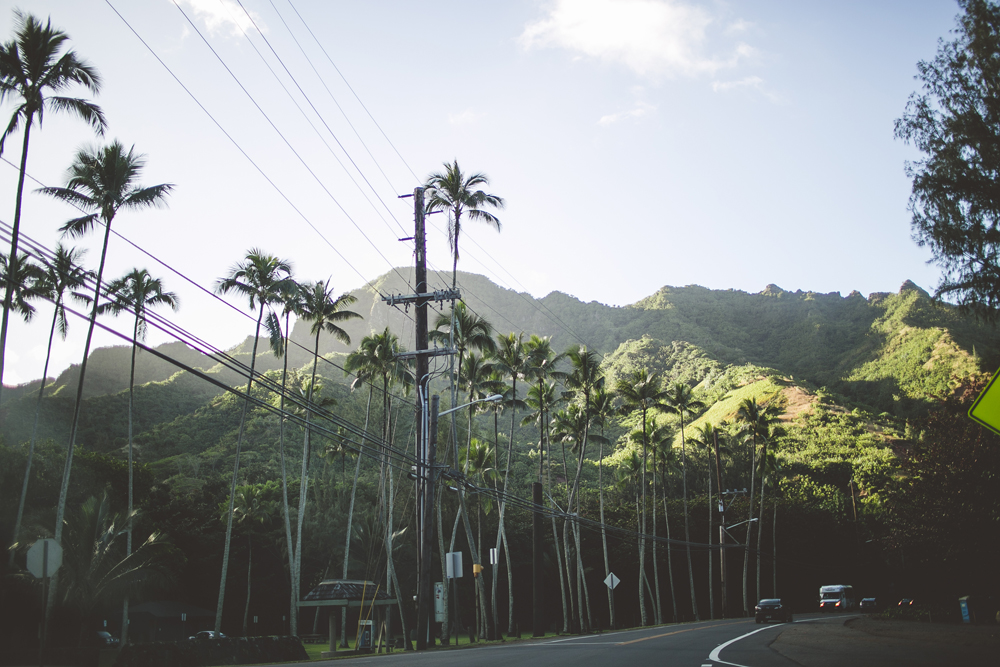
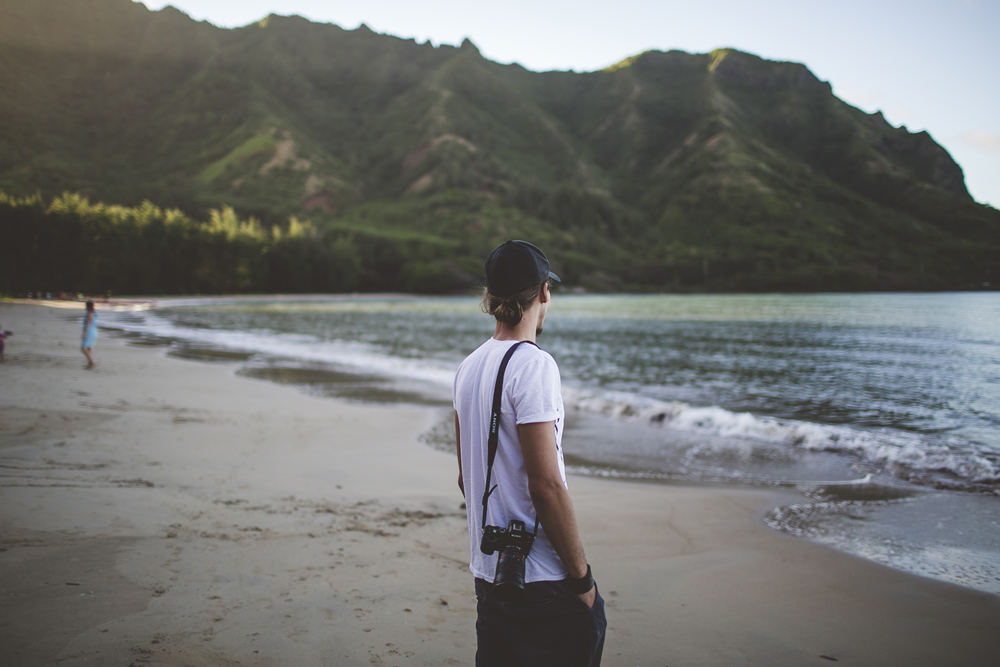
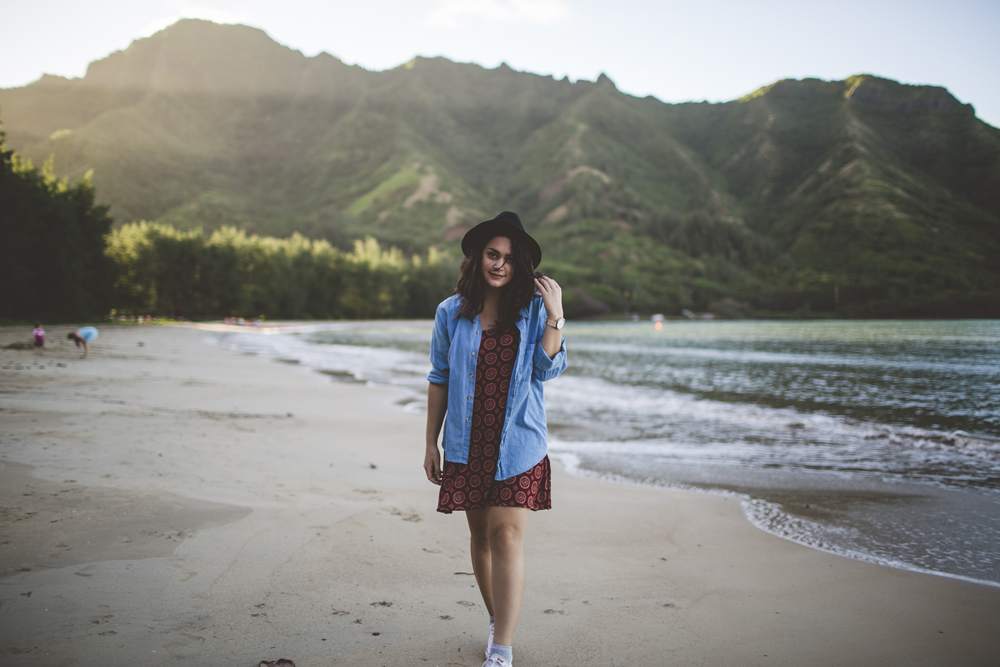
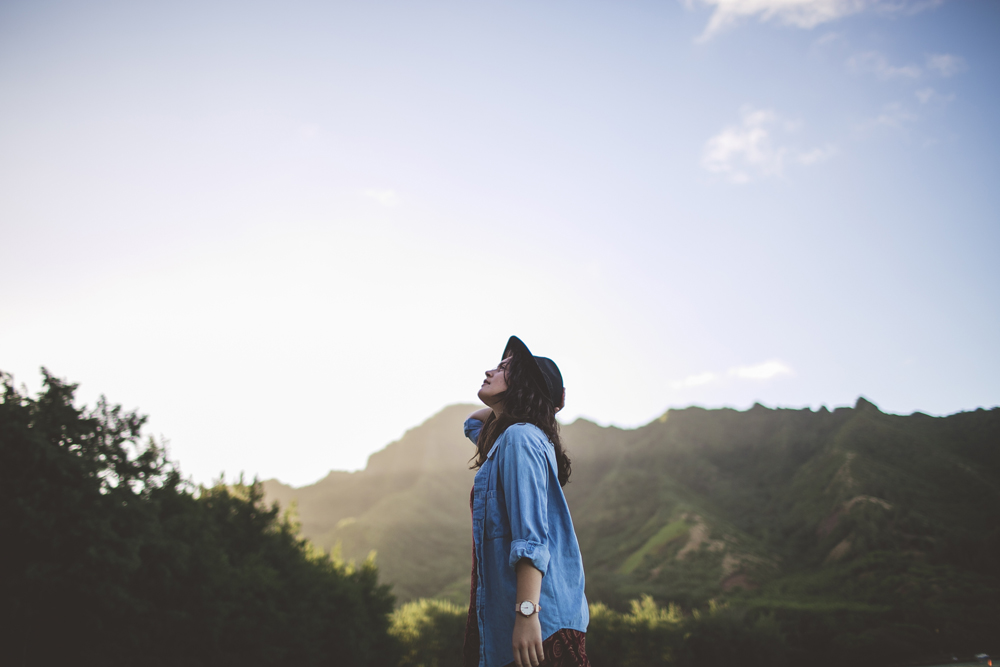
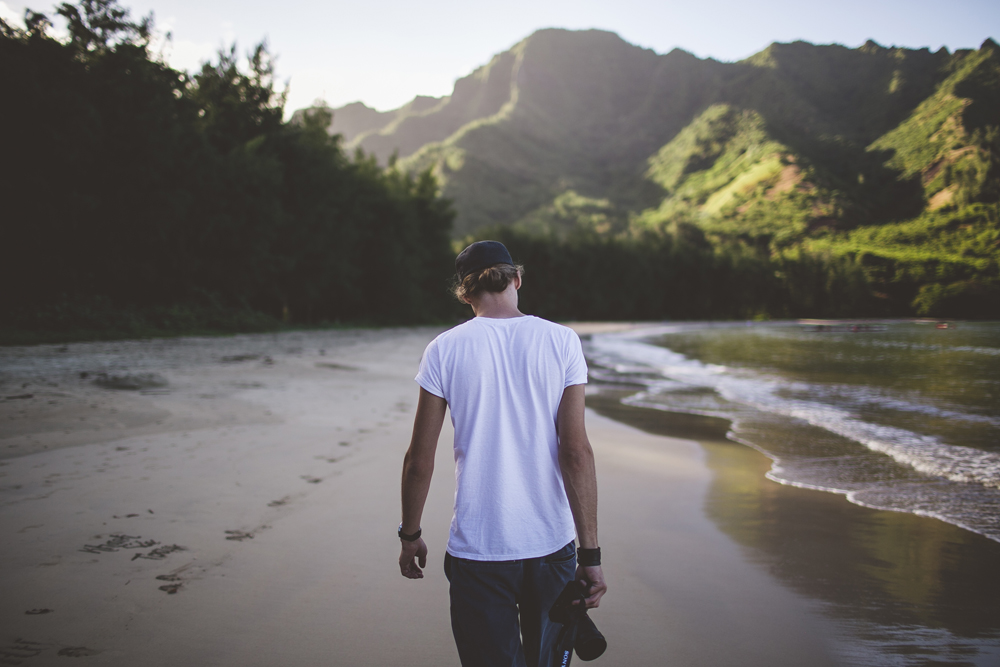
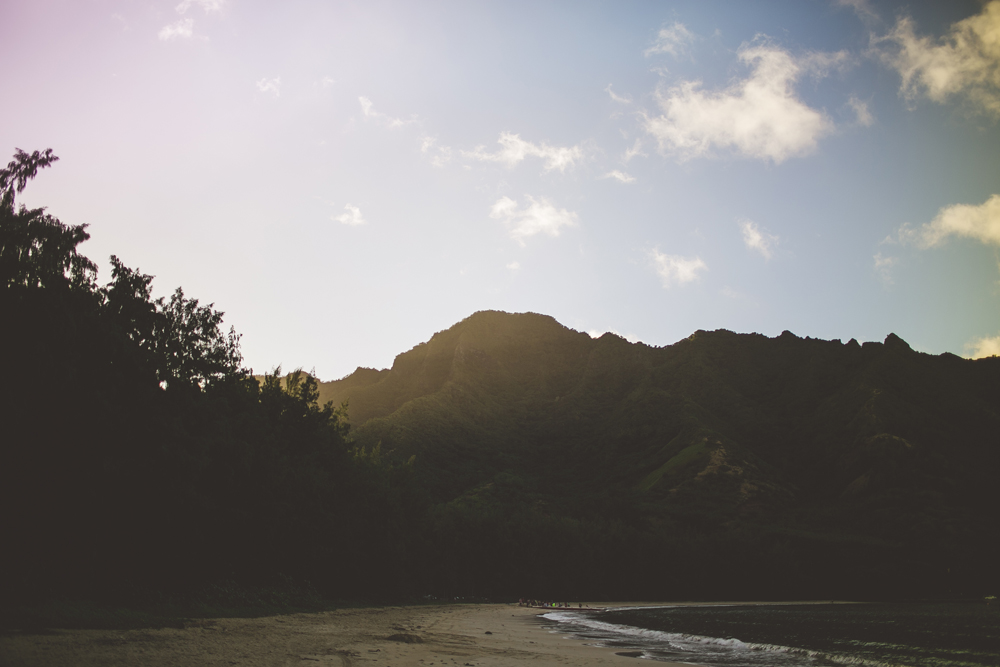
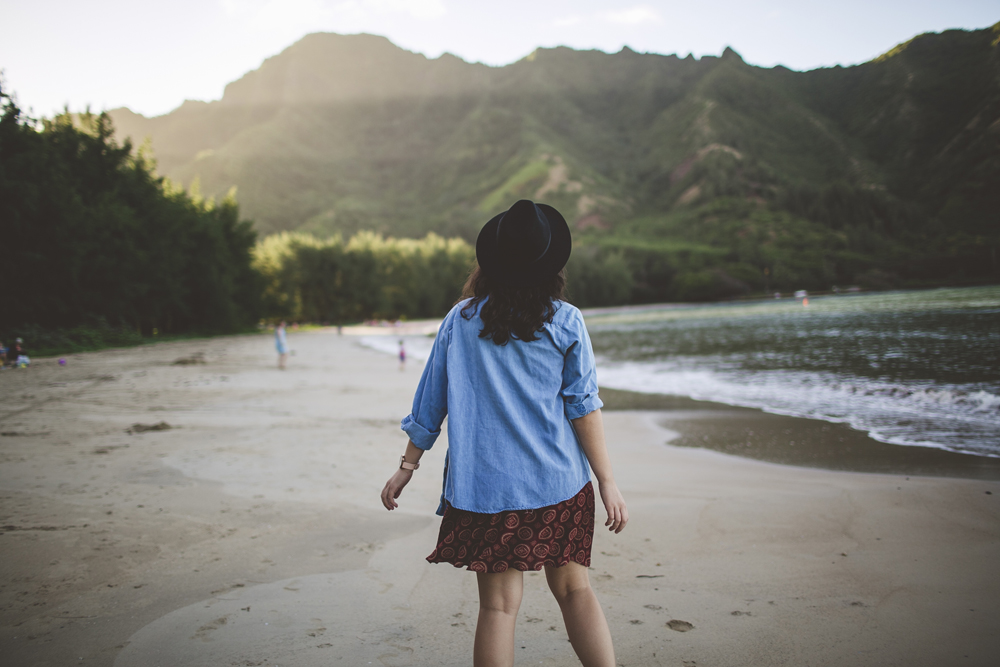
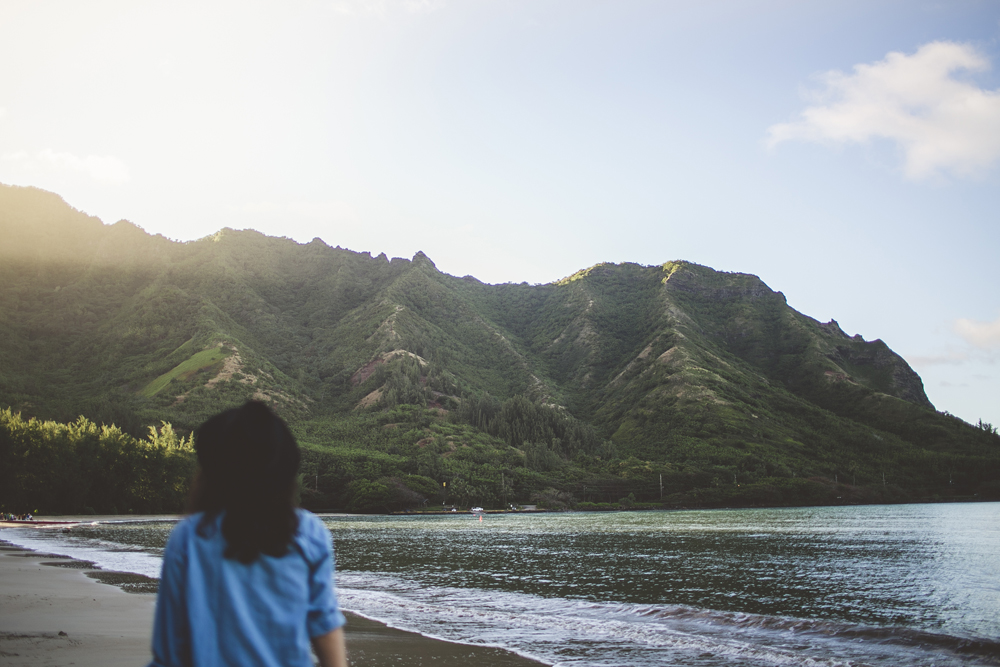
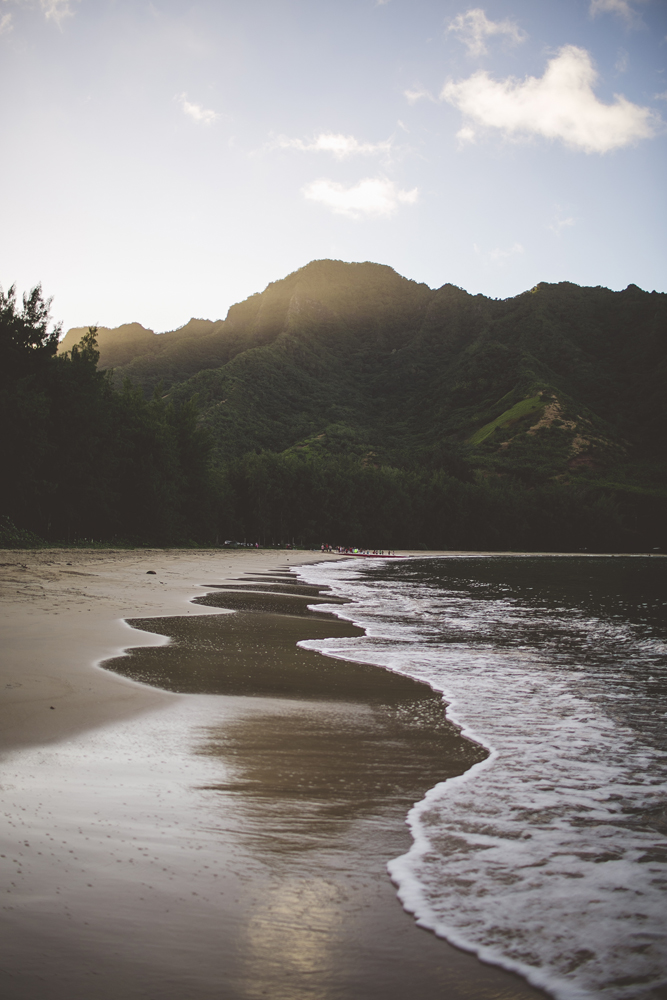
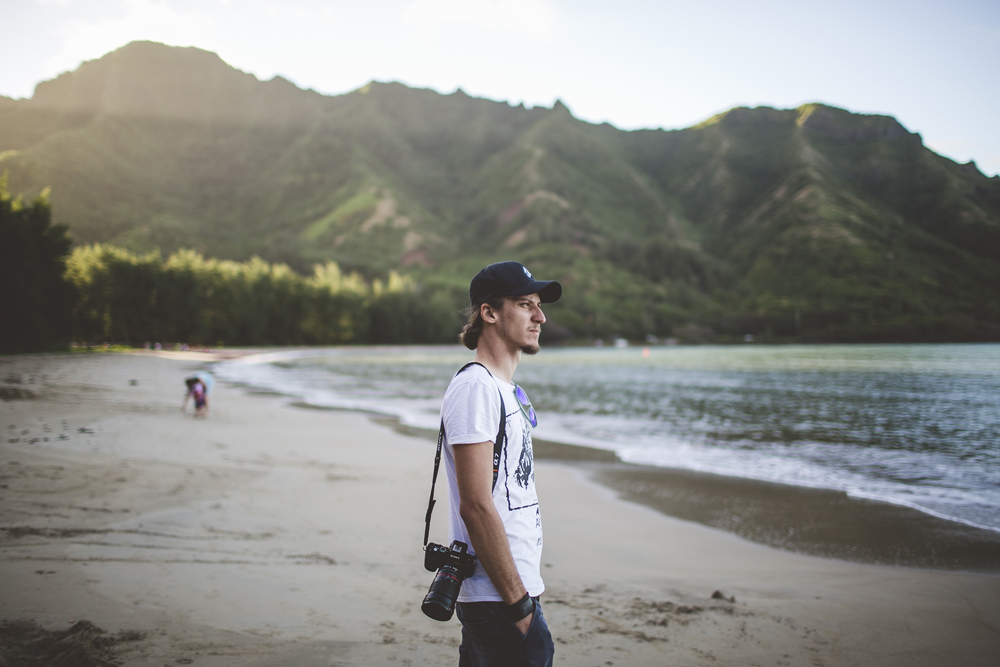
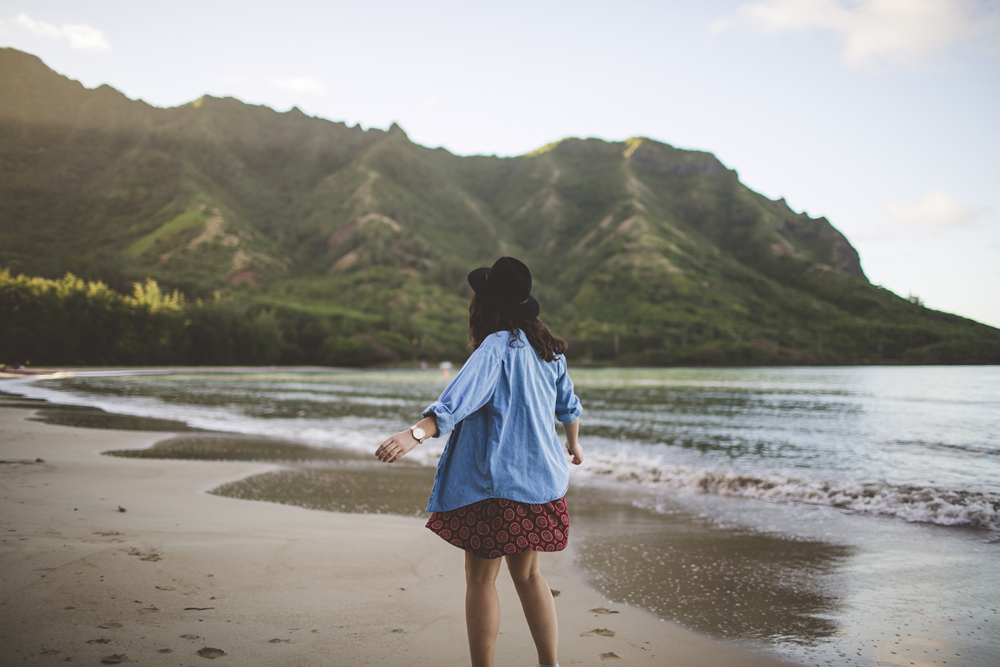
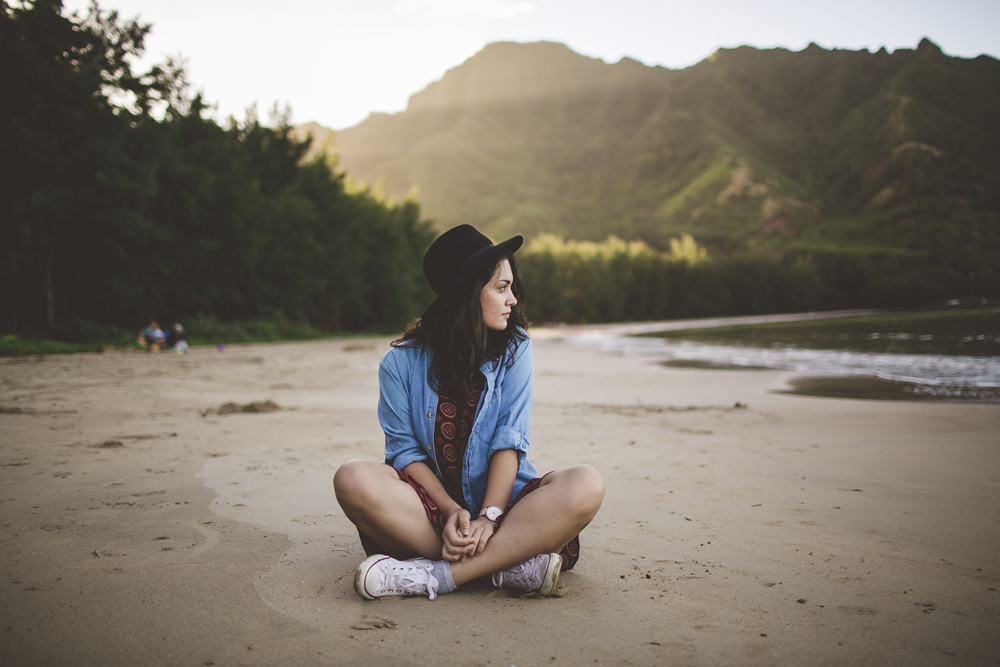
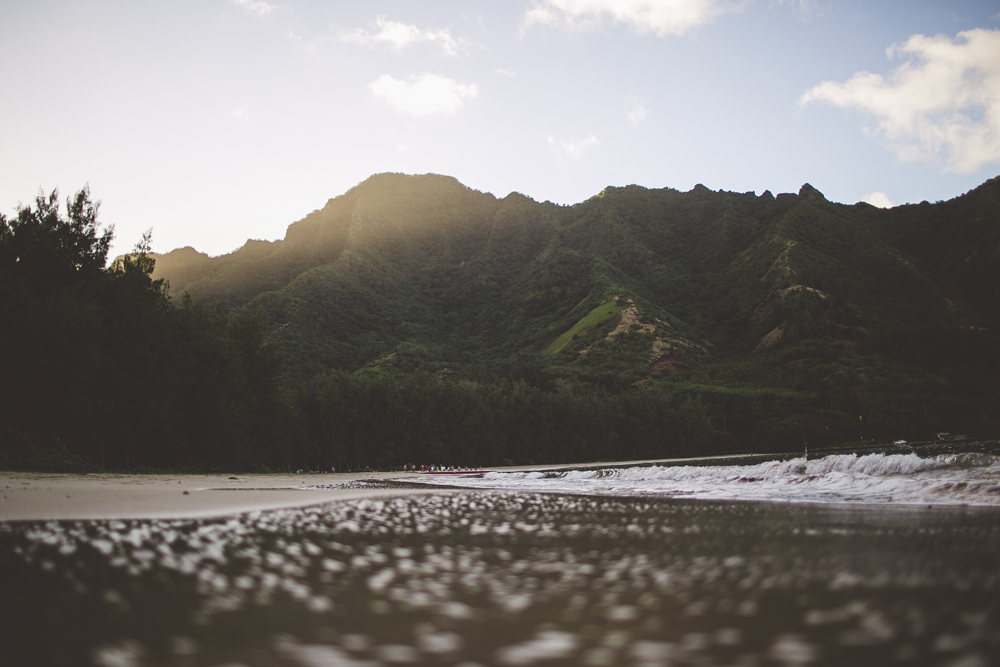
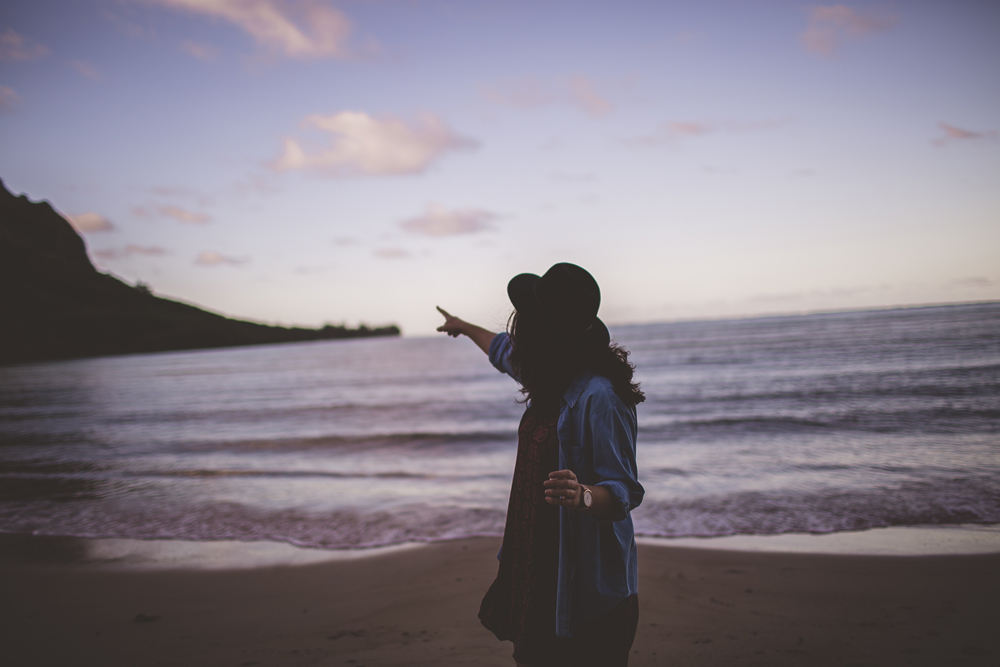
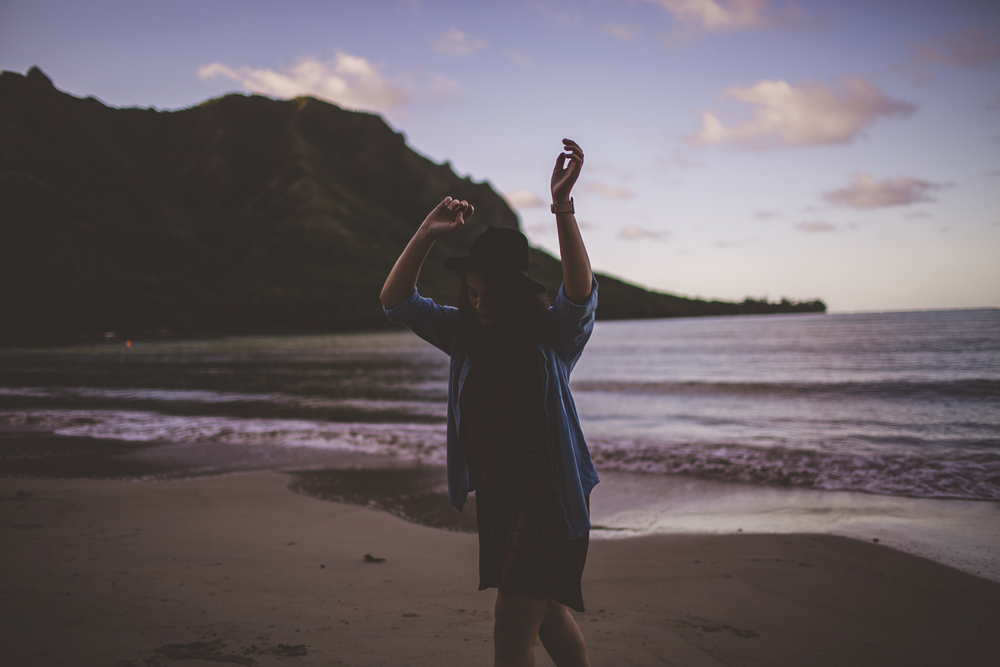
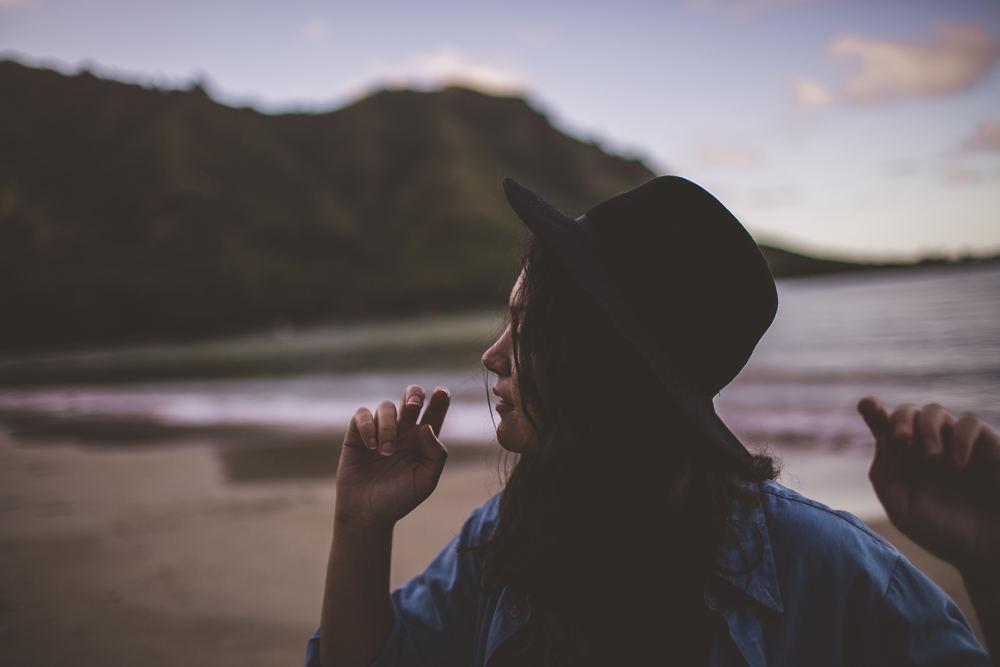
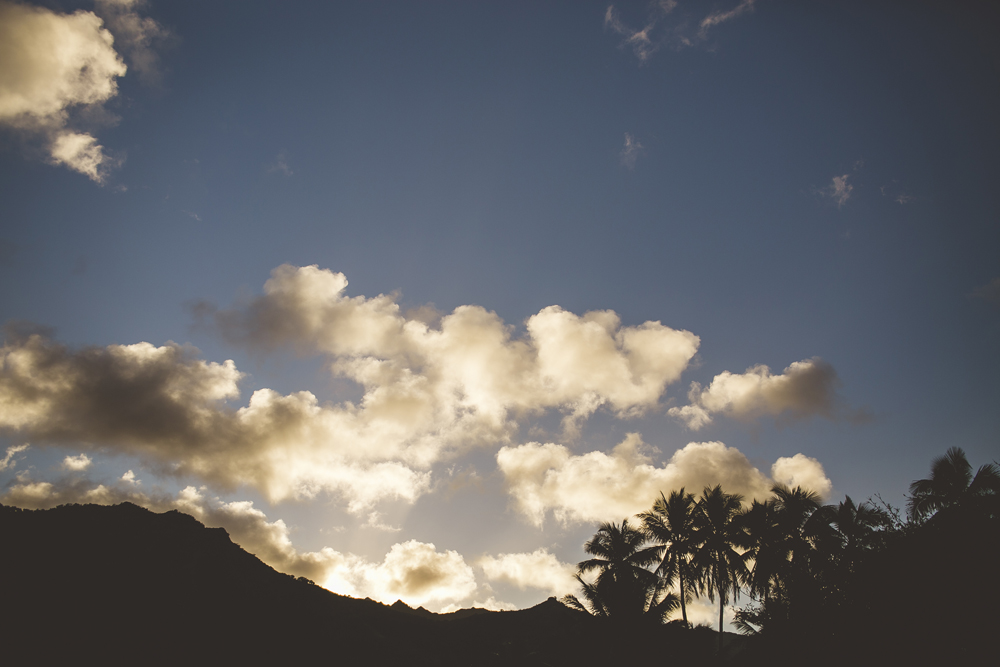
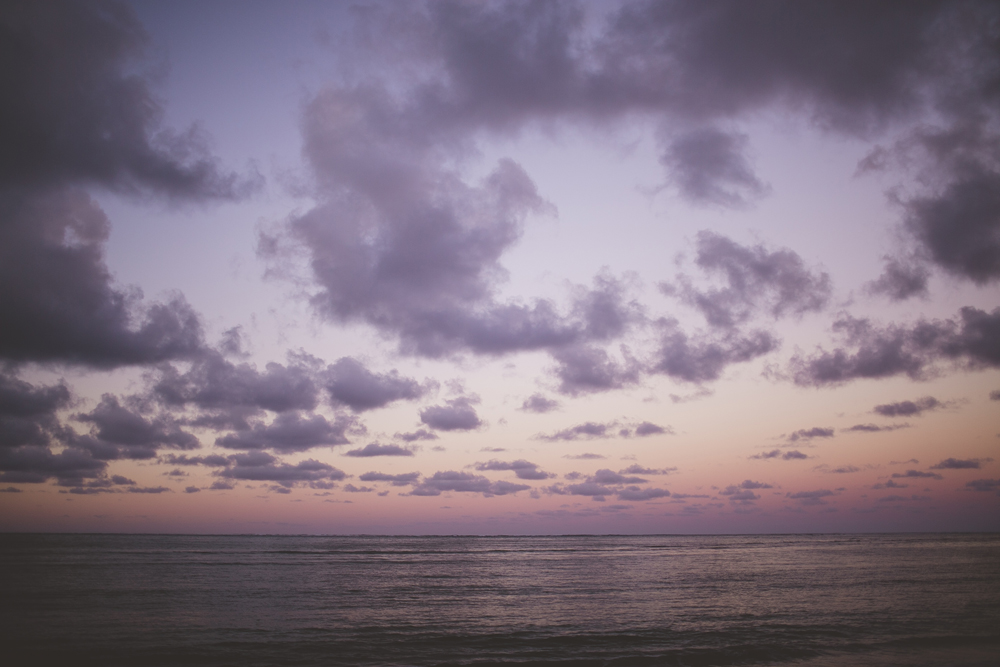
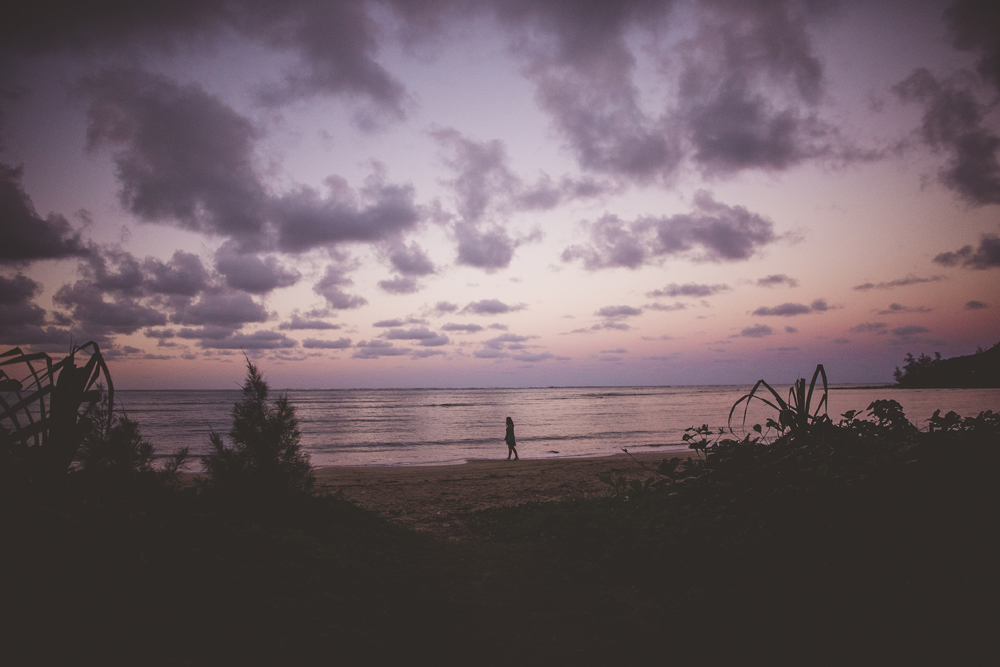
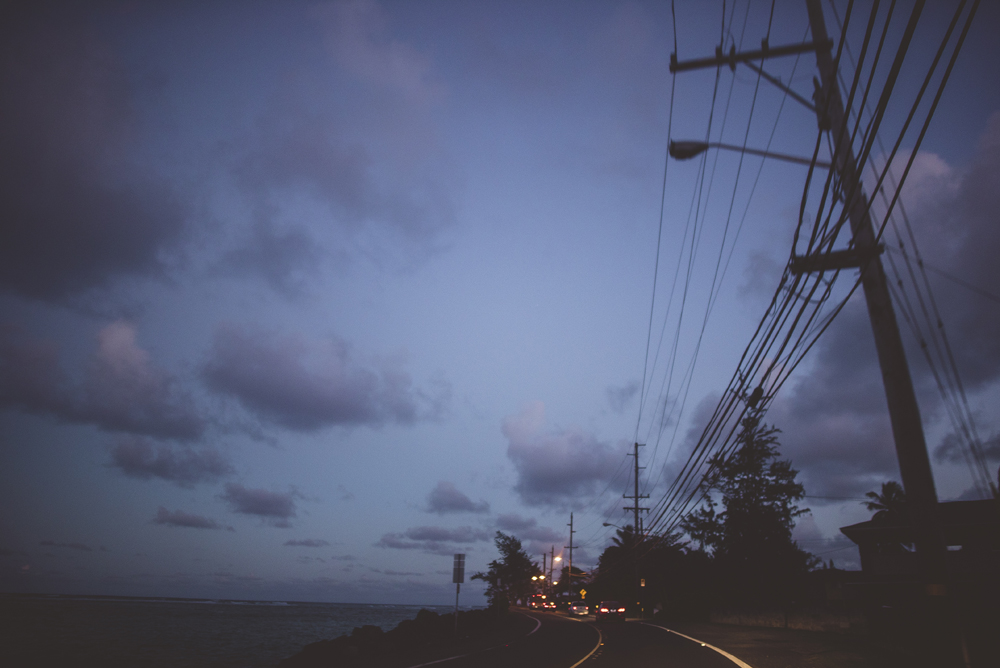
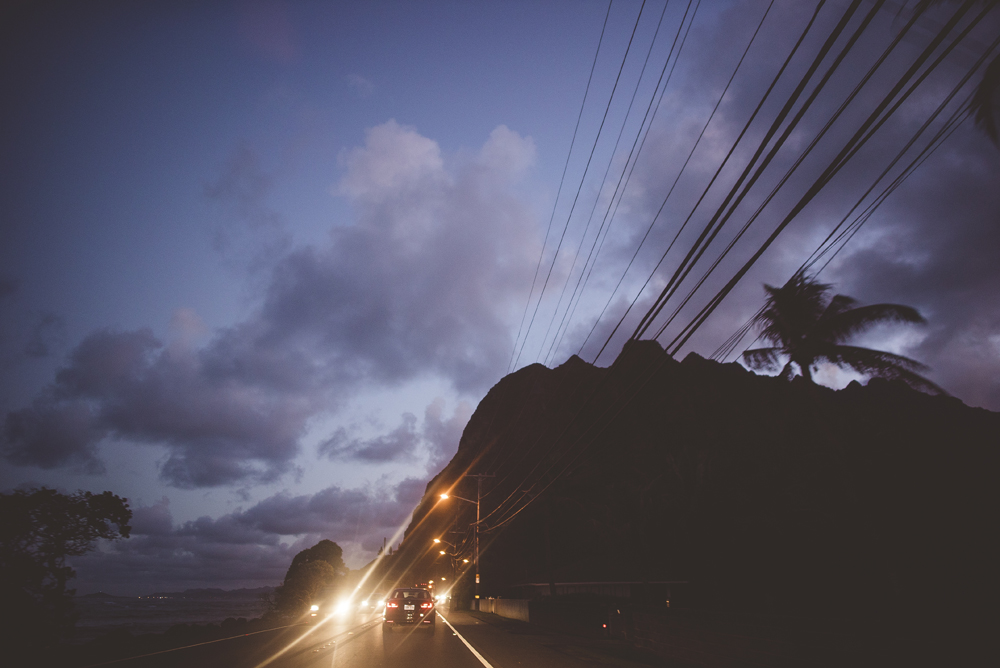
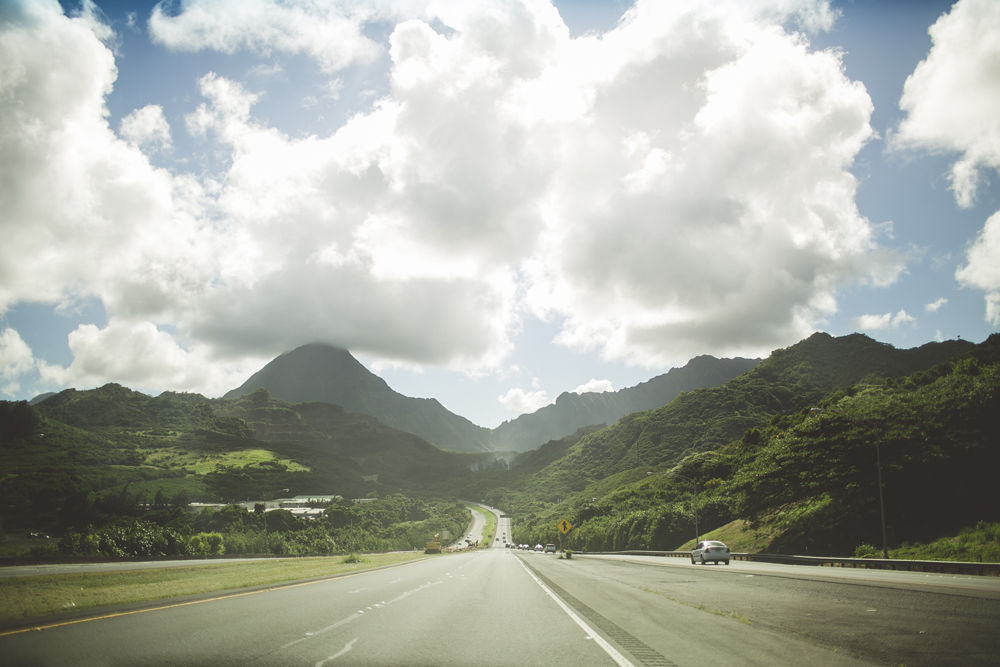
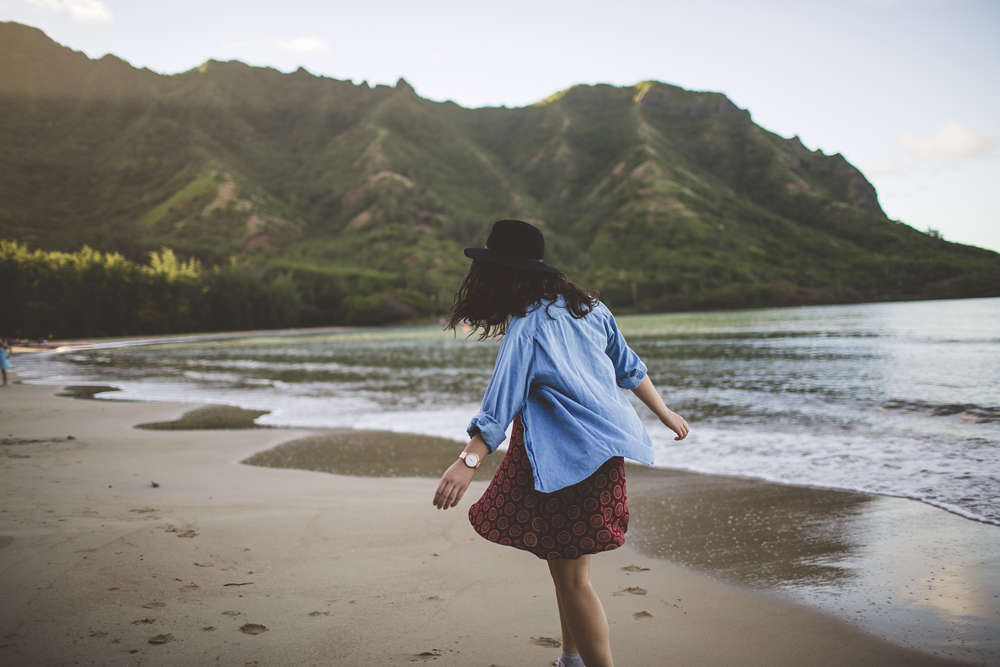
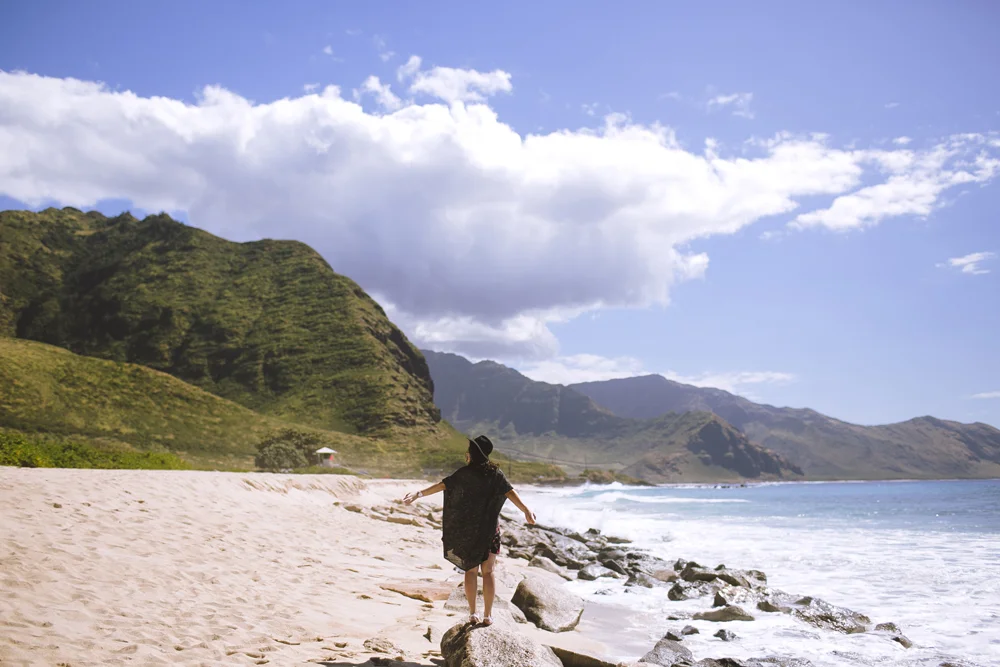
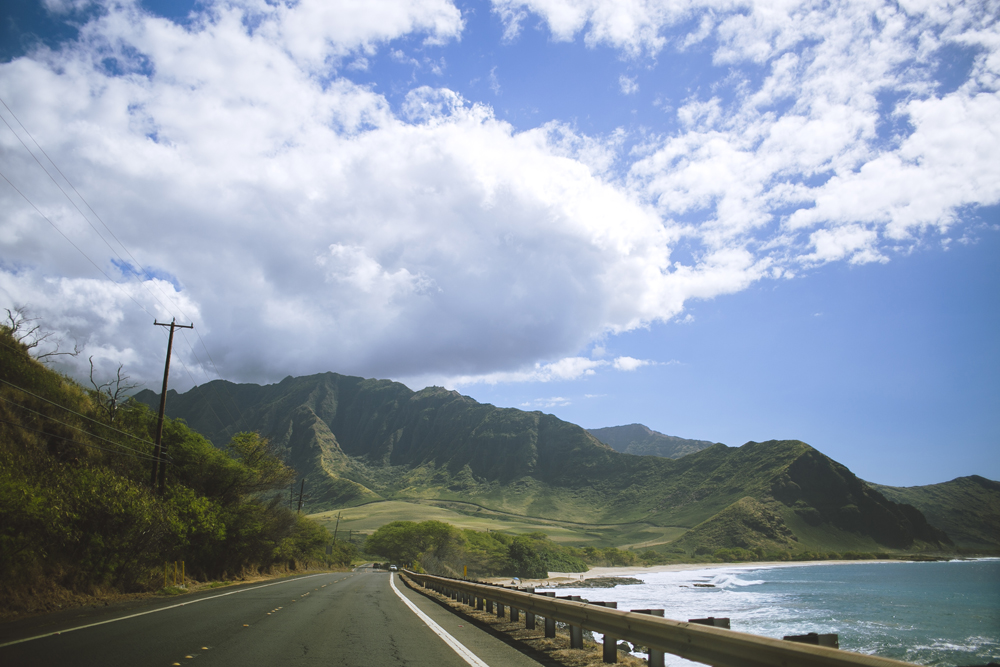
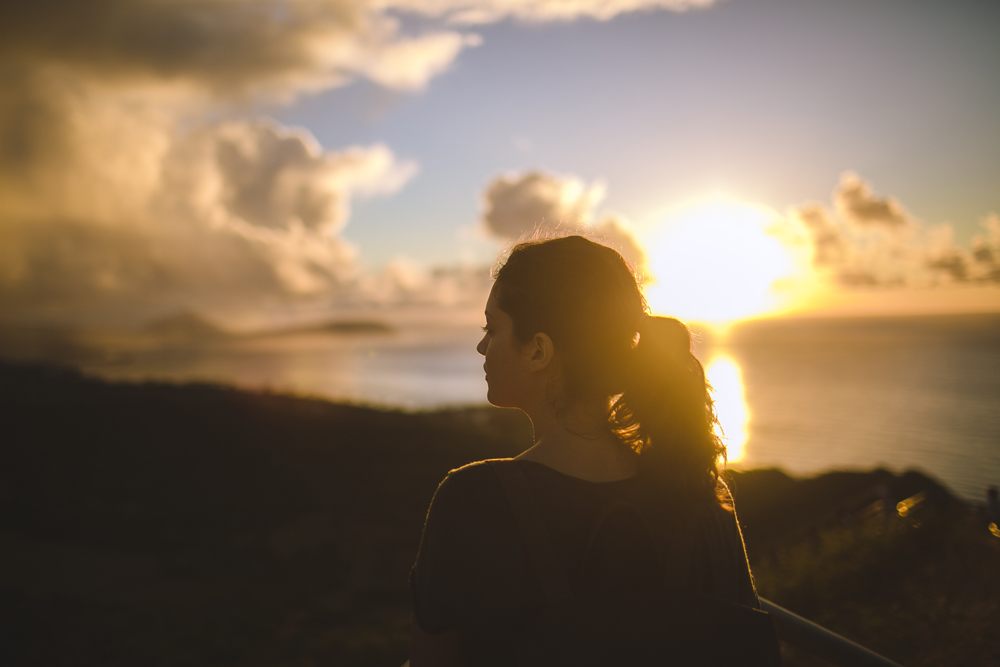
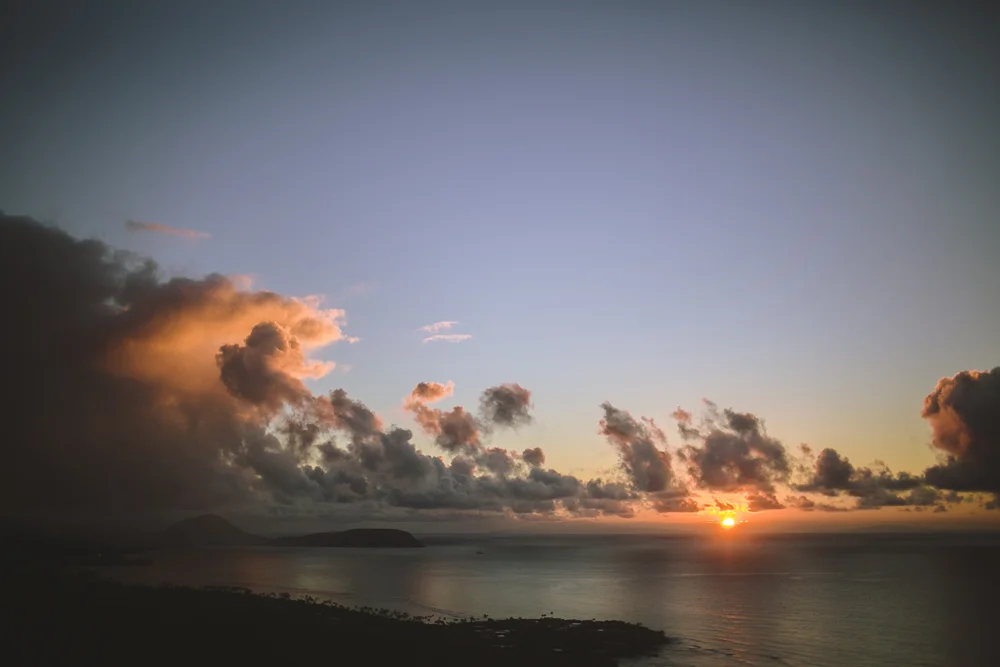
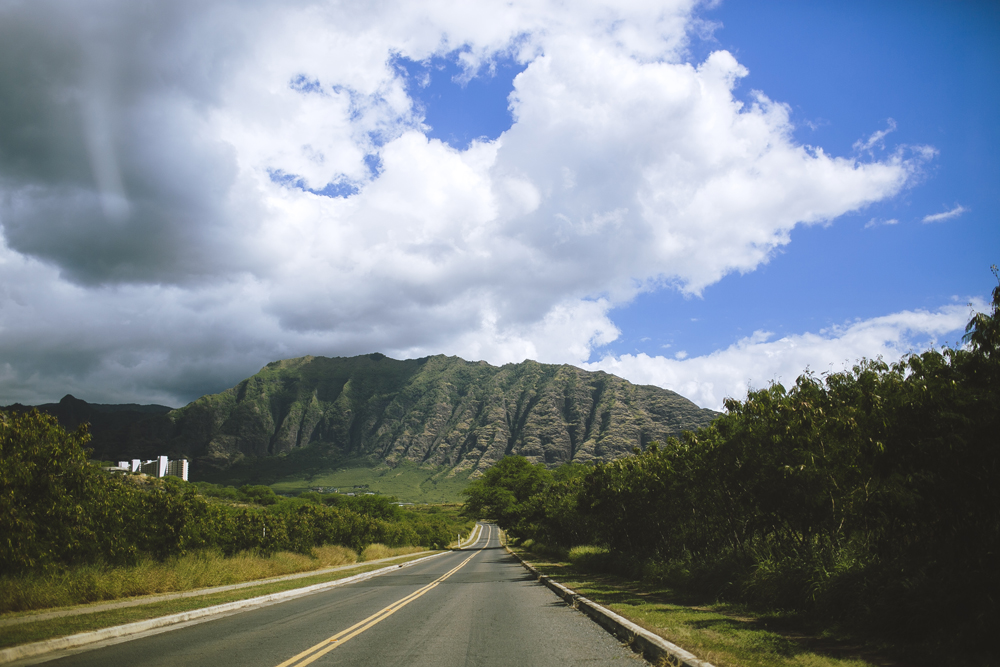
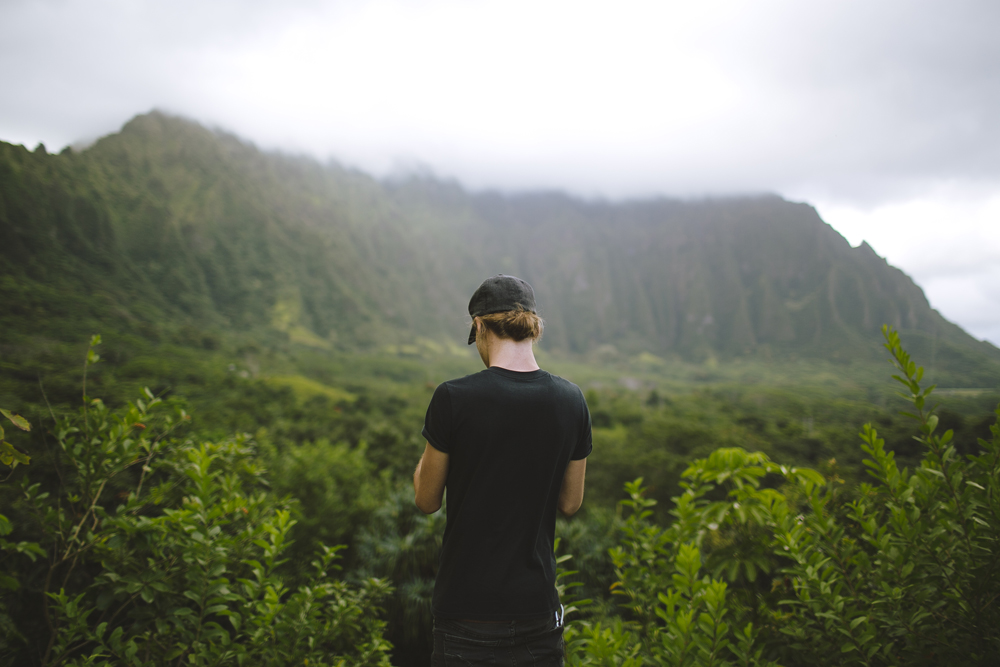
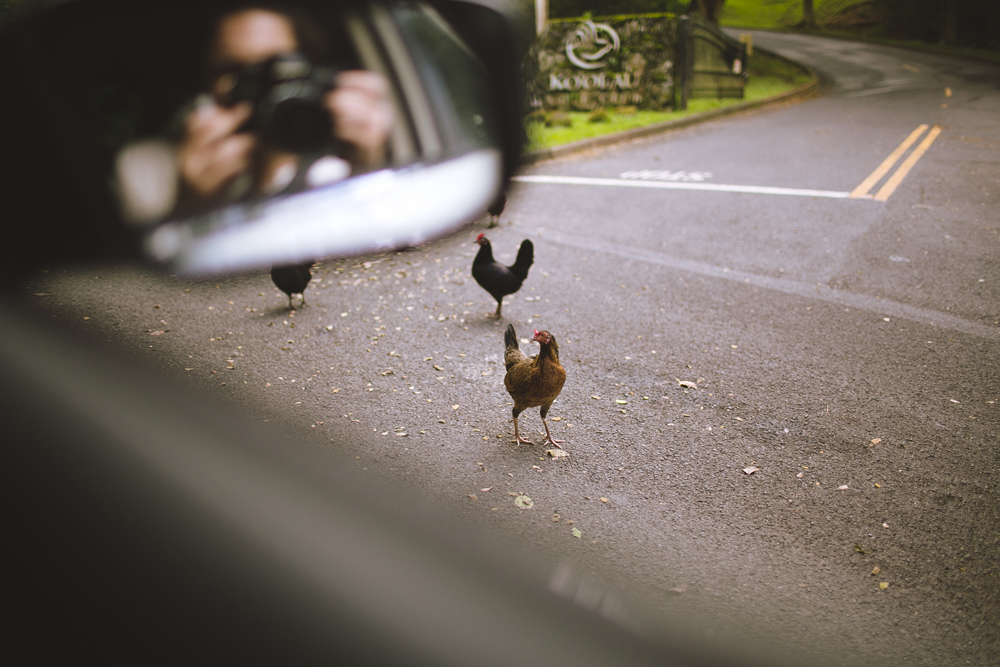
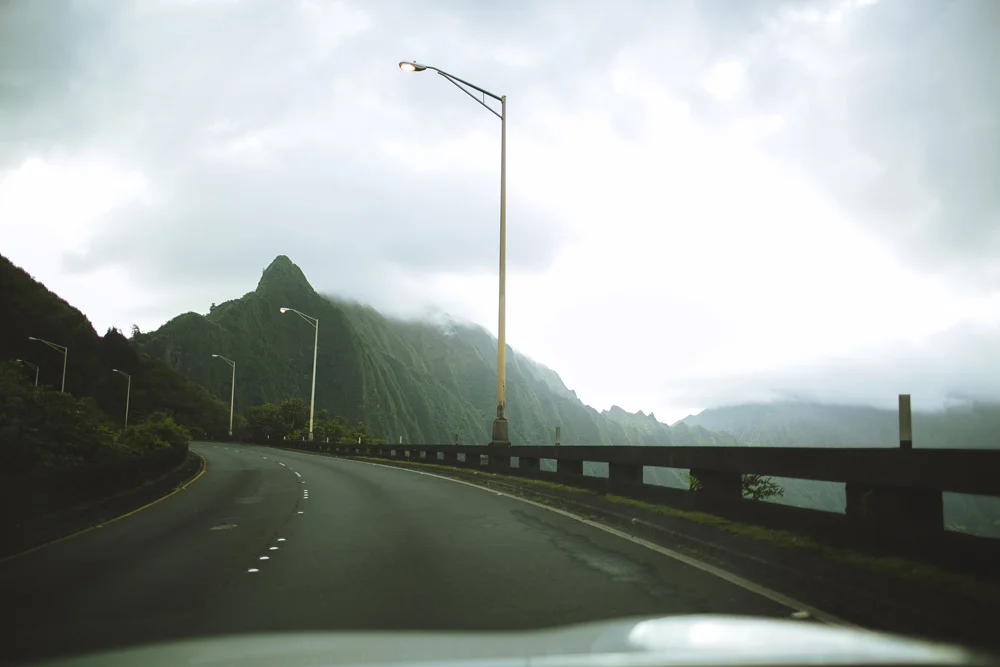
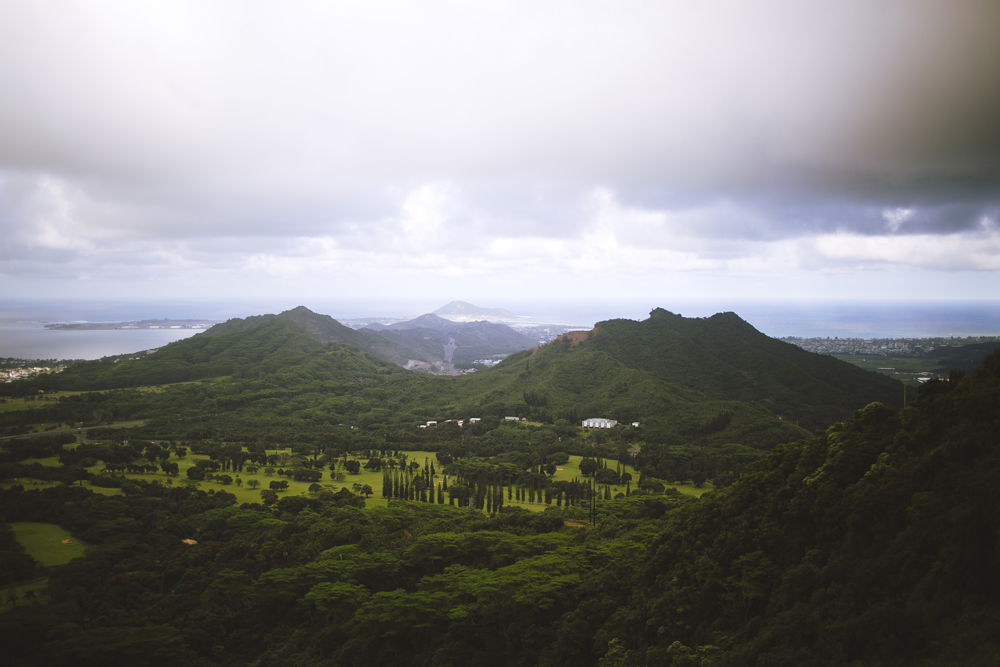
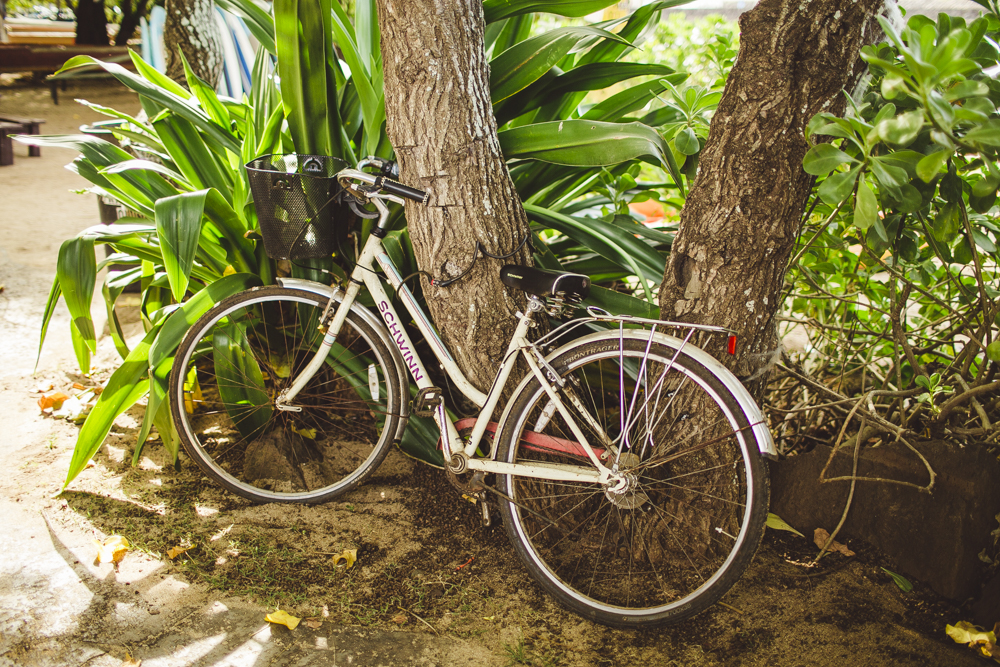
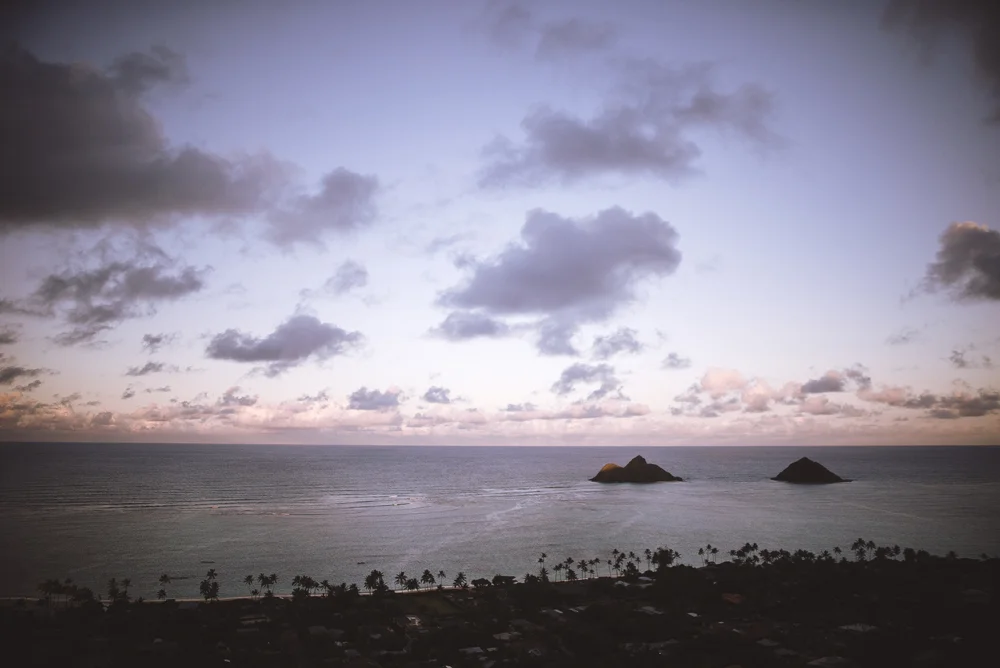
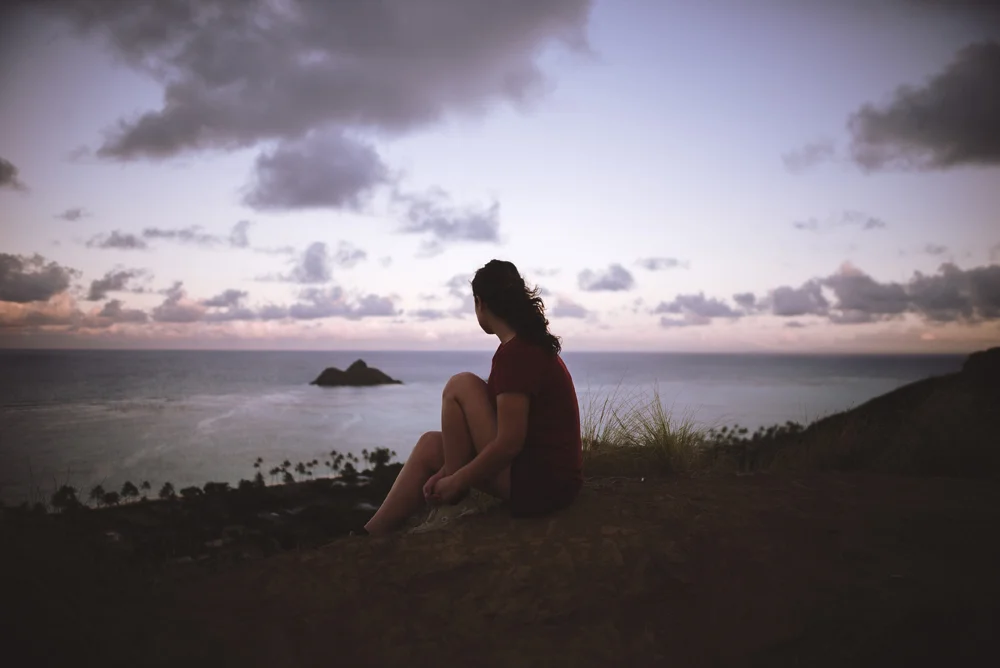
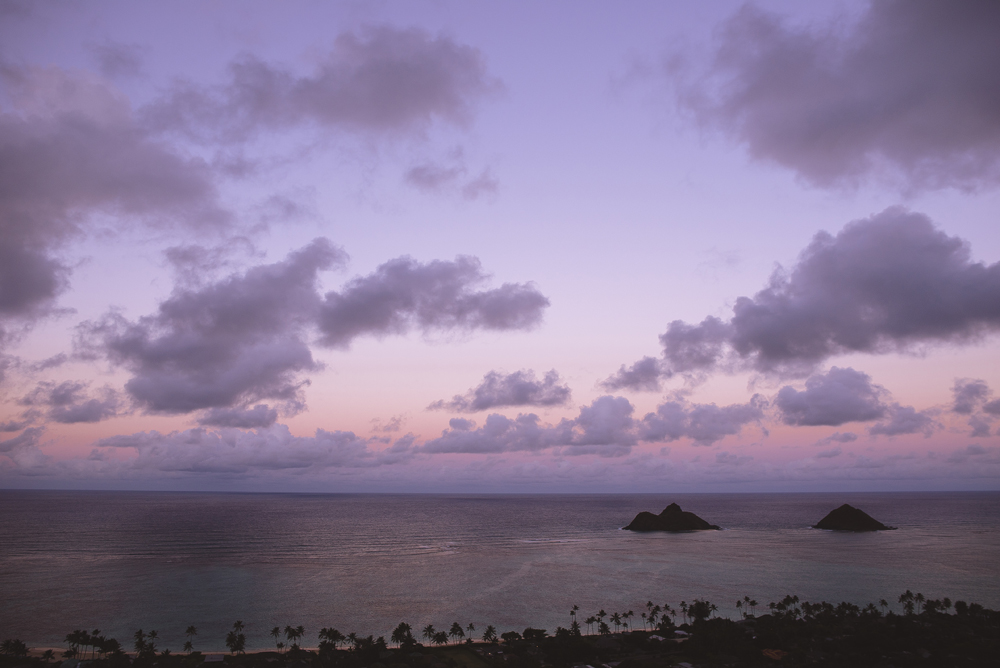
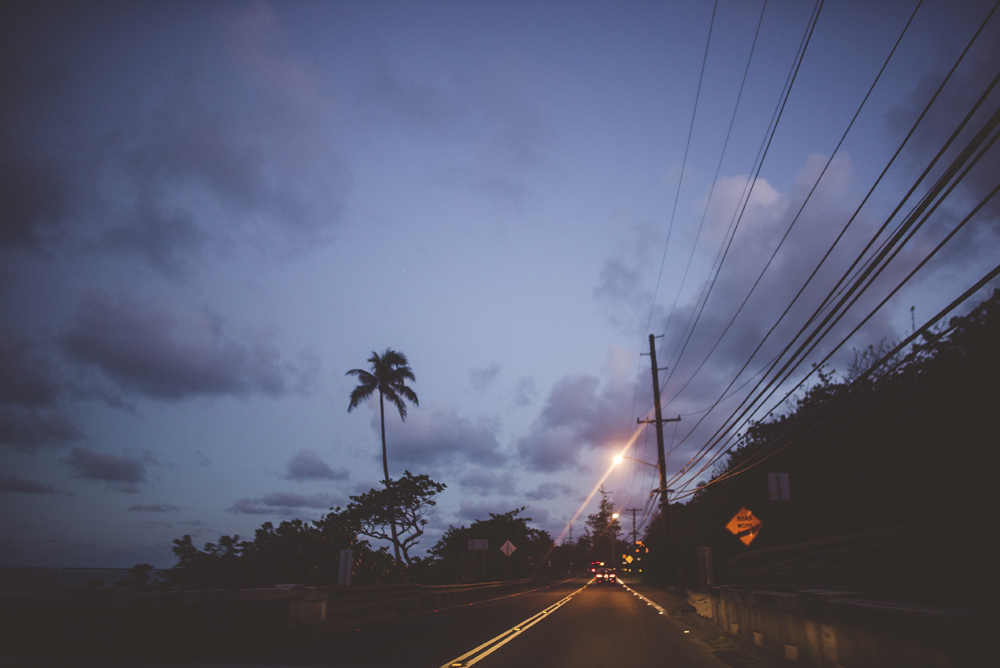
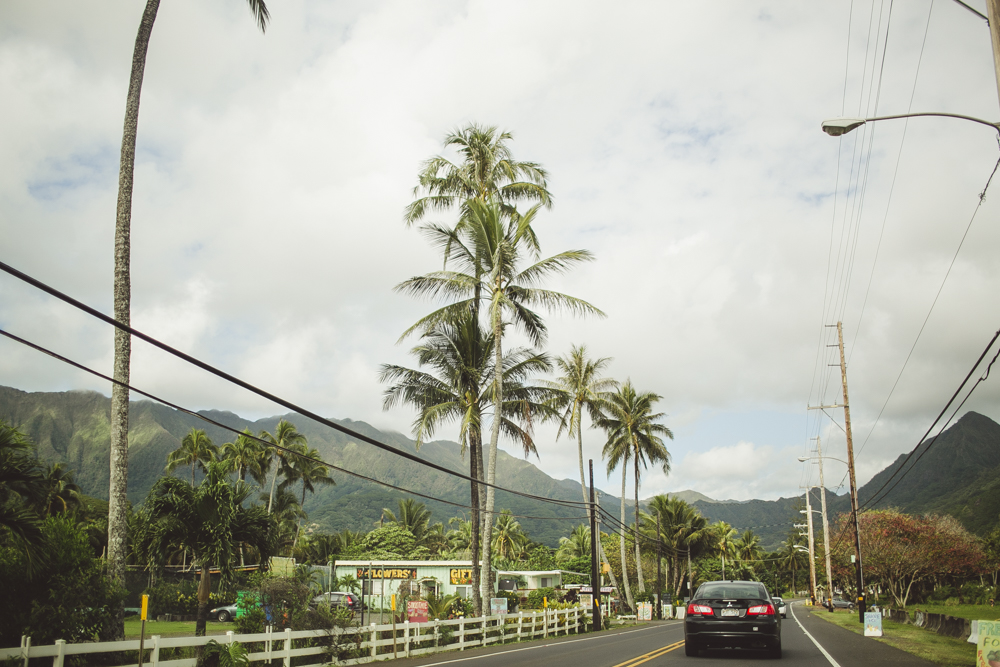
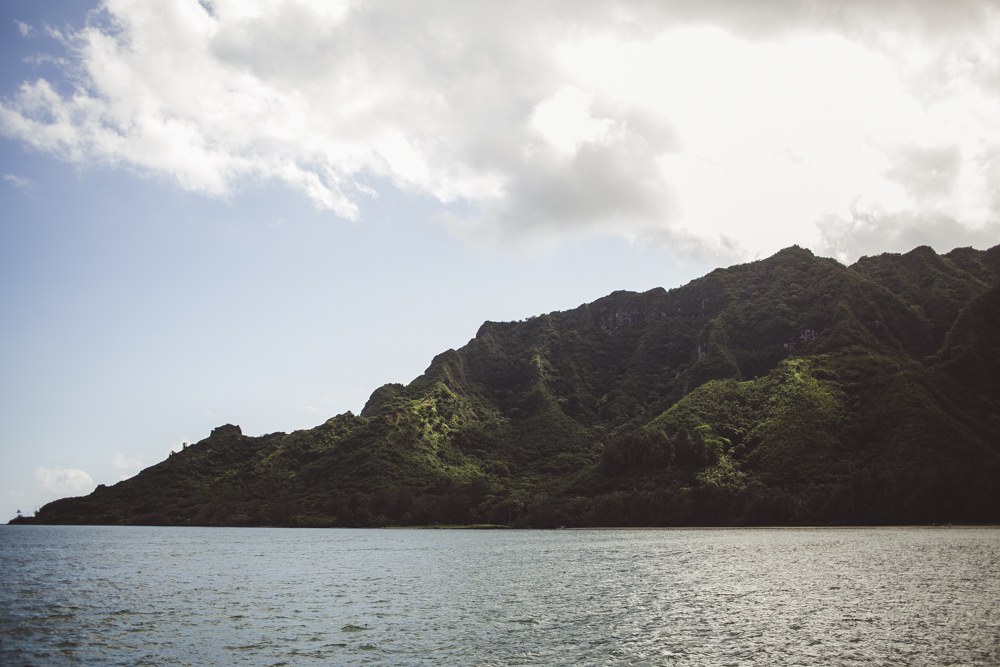
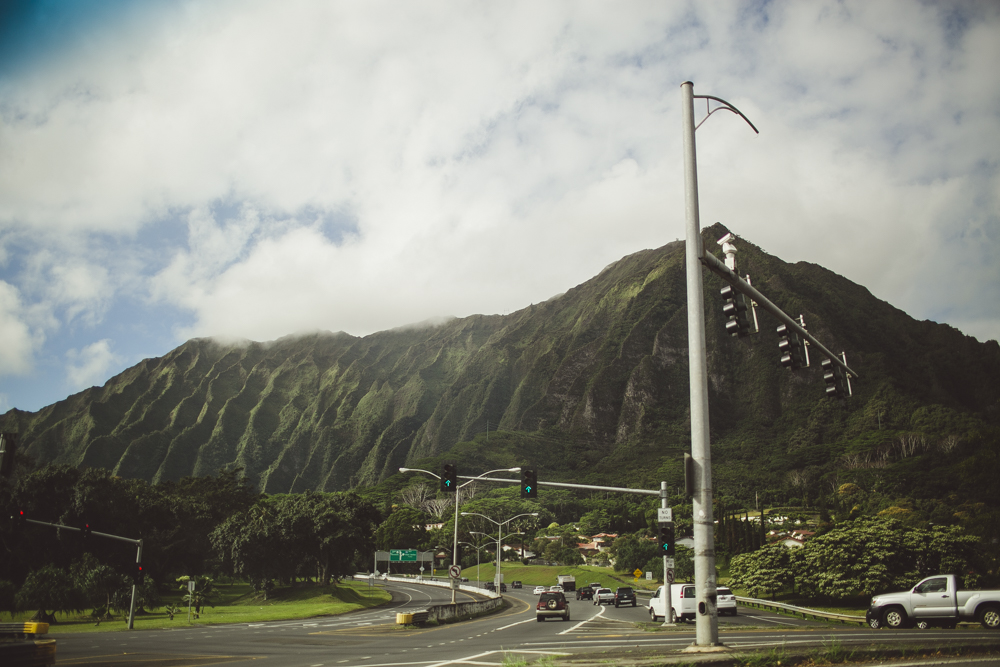
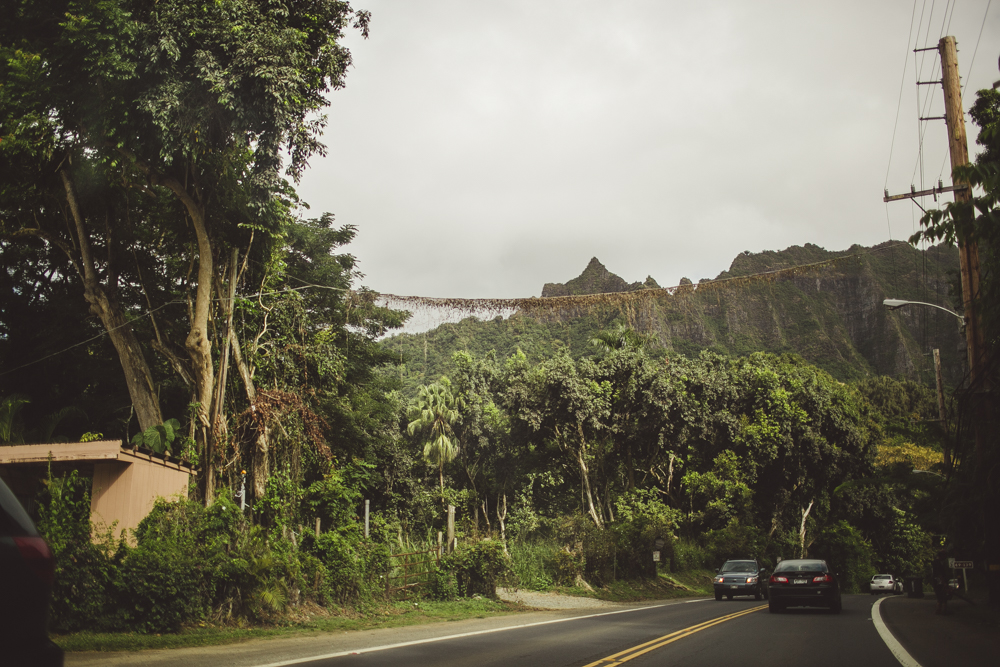
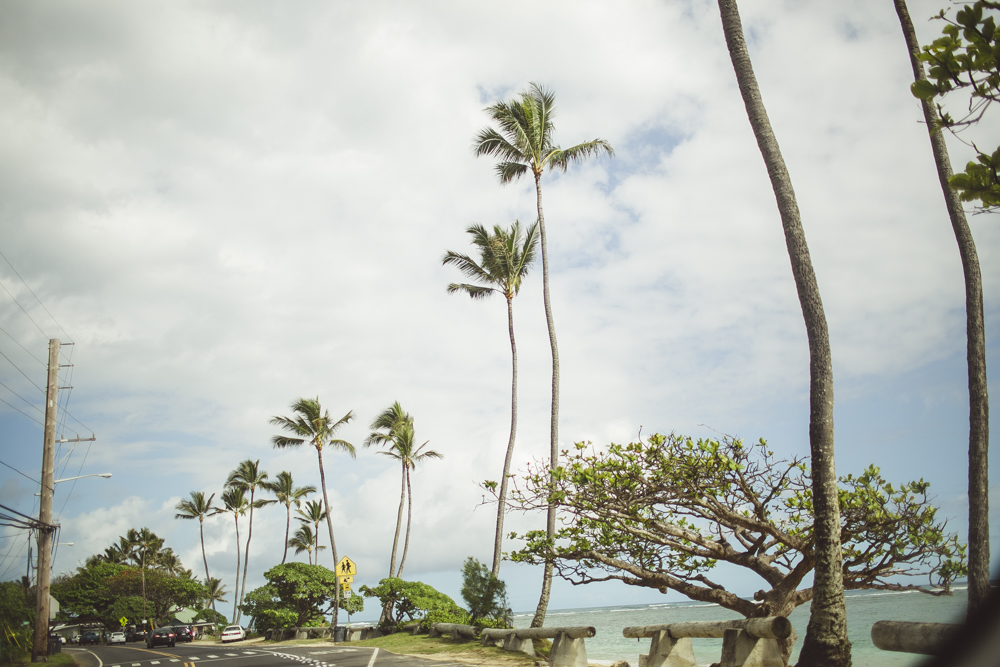
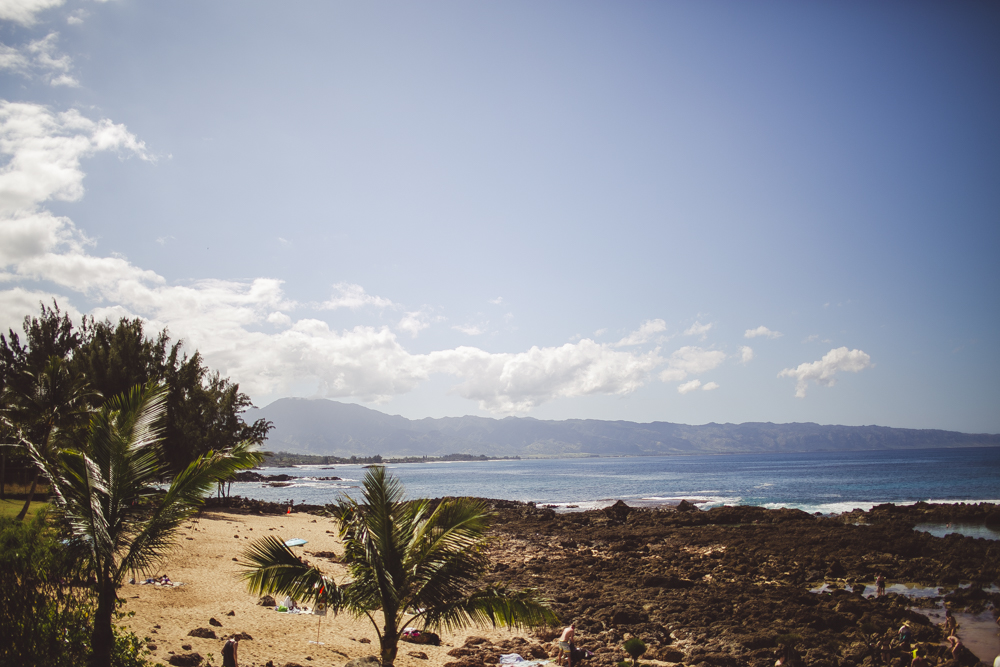
On our last day in Oahu, we spent it doing what we do best. Exploring. After a week of travelling around the island, I found that my favourite section was on the East side. So that's exactly where we spent our day! We started off our day swimming in the crystal clear waters of Lanikai Beach in the morning before getting ready and heading up North. We stopped on little side streets, lookouts and any beach we could. My favourite part of the East side of Oahu is how close the lush mountains are to the sea. Embracing all of that while I was there is something I will never forget.
I also have some exciting news because I've started sharing more fashion shoot behind the scenes videos + Lightroom & Photoshop Tutorials on my YouTube Channel! Be sure to subscribe as I upload 2 new videos every week x


all photos edited with The Wedding Collection Lightroom Presets + Light Leaks Lightroom Collection


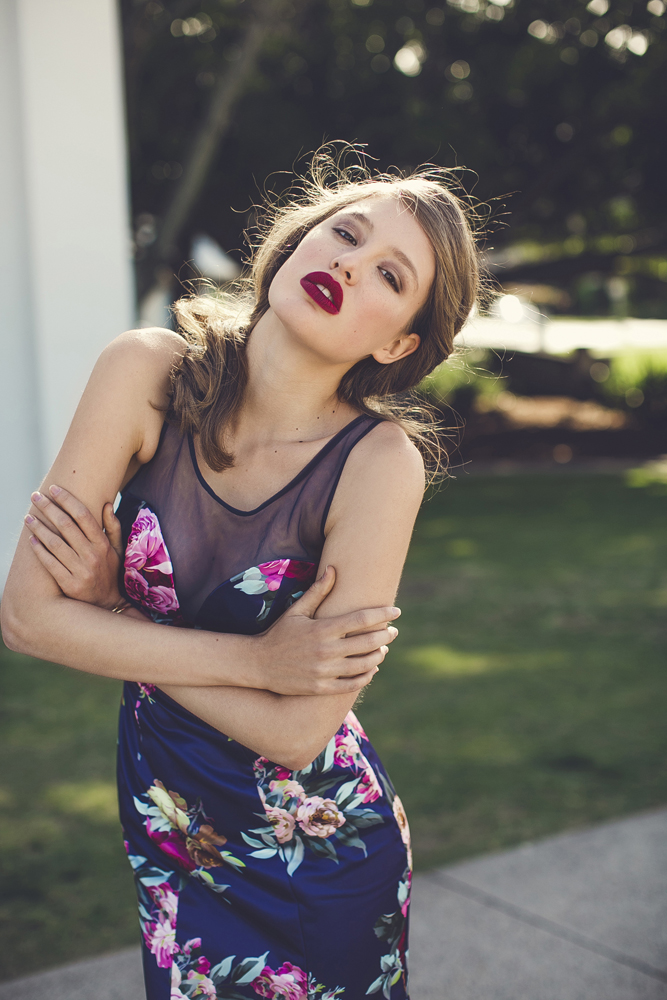
campaign for hello molly
hair + makeup lidija j
model michaela wain @ vivien's
I'm excited because I've started sharing more fashion shoot behind the scenes videos + Lightroom & Photoshop Tutorials on my YouTube Channel! Be sure to subscribe as I upload 2 new videos every week x

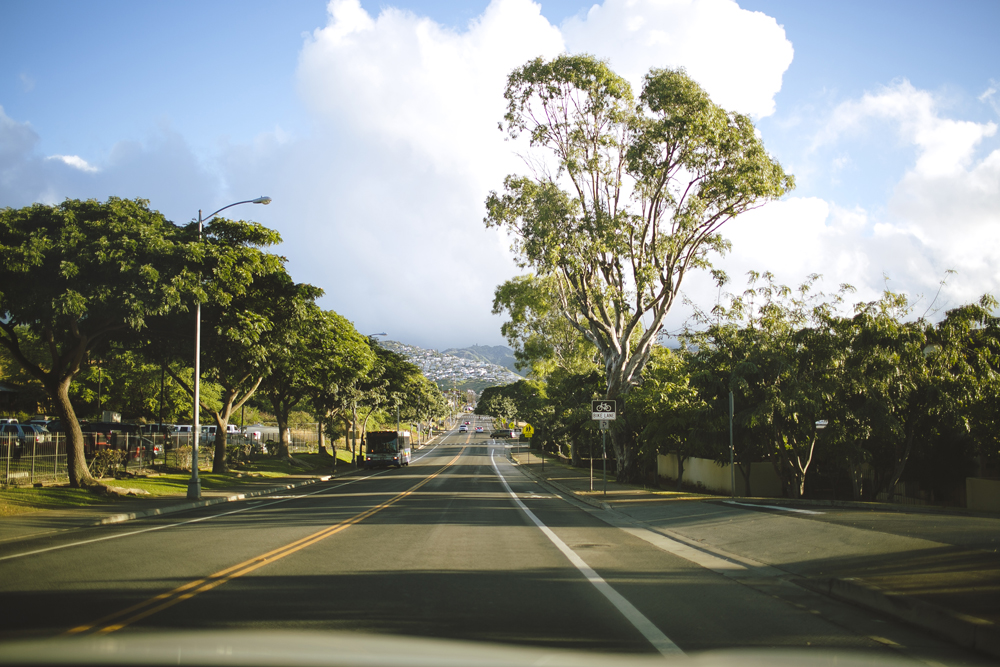
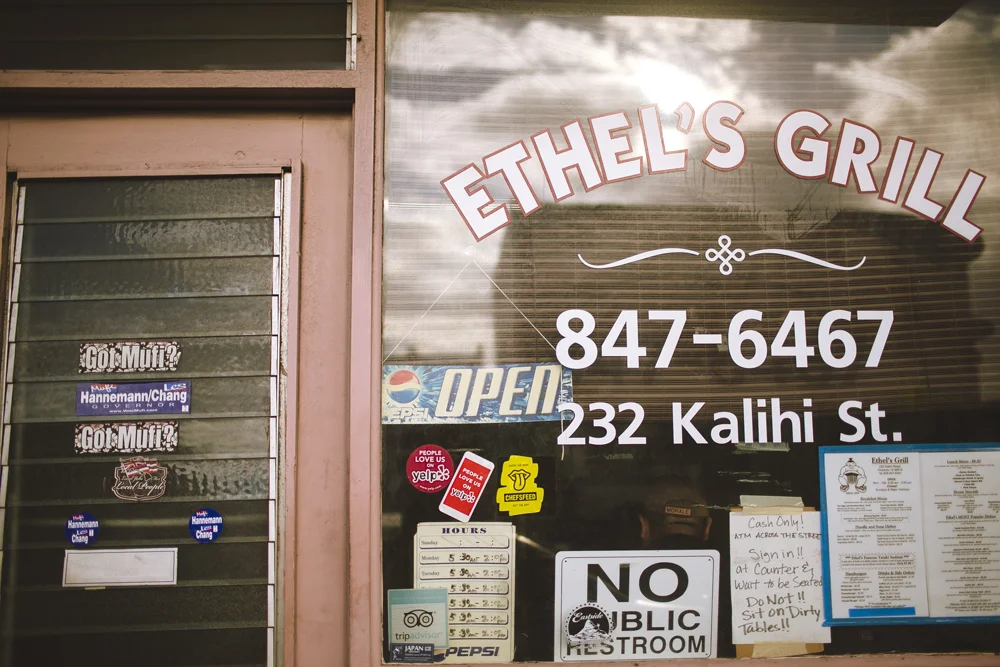
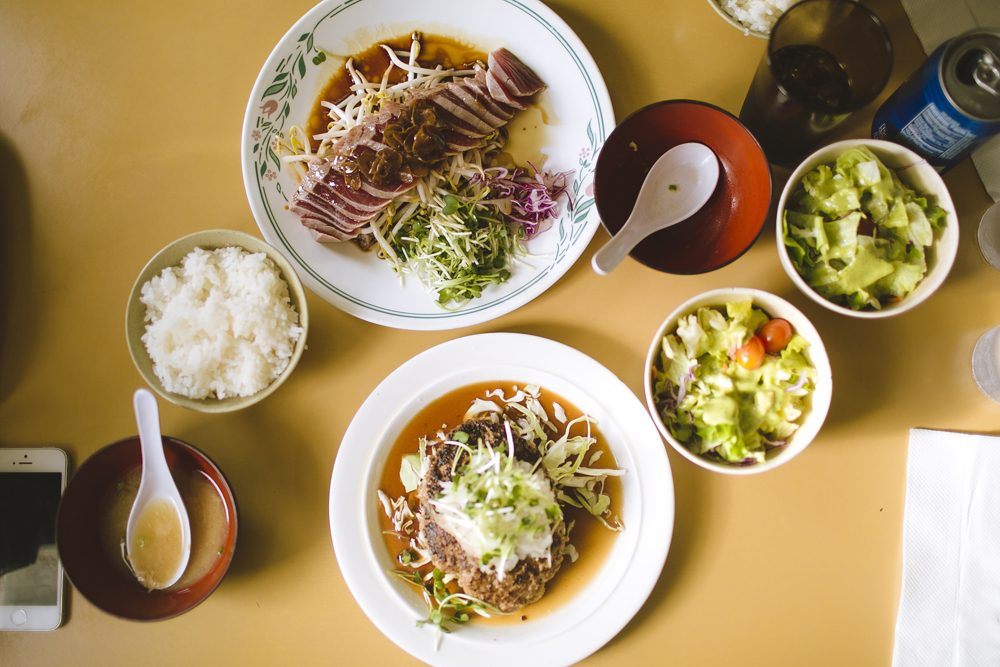
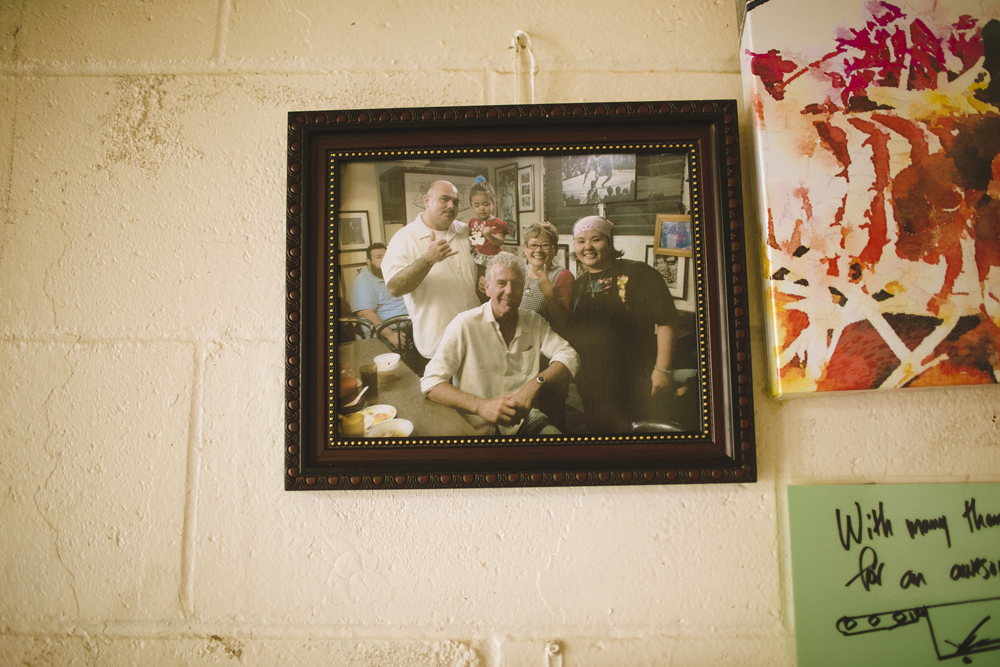
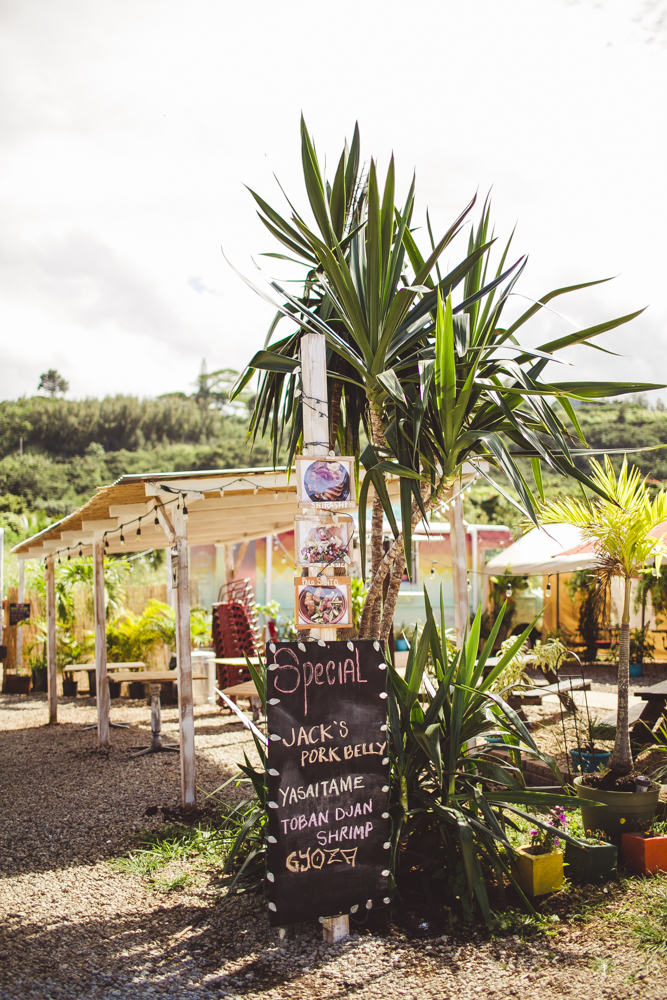
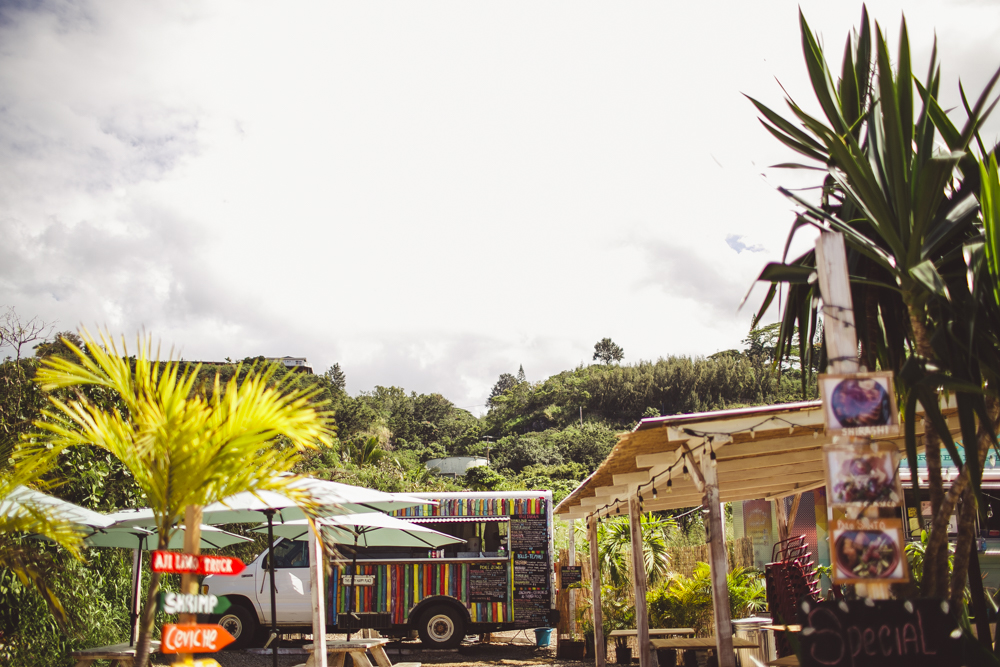
Every day I woke up in Oahu, Hawaii a new adventure awaited. Dan and I spent our week in Hawaii road tripping throughout the island, visiting as many places as we could. One morning we would be having breakfast at Ethel’s Grill (a must visit on our list as it’s one of the places Anthony Bourdain so highly recommended) and by the afternoon we were lazing on the white sand and crystal clear waters of Lanikai Beach. Oahu is a very small island and you can pretty much get to one side of the island to the other in about an hour by car. We loved having our hire car during our stay as it meant we could easily decide on a new destination and get to it without any hassles.
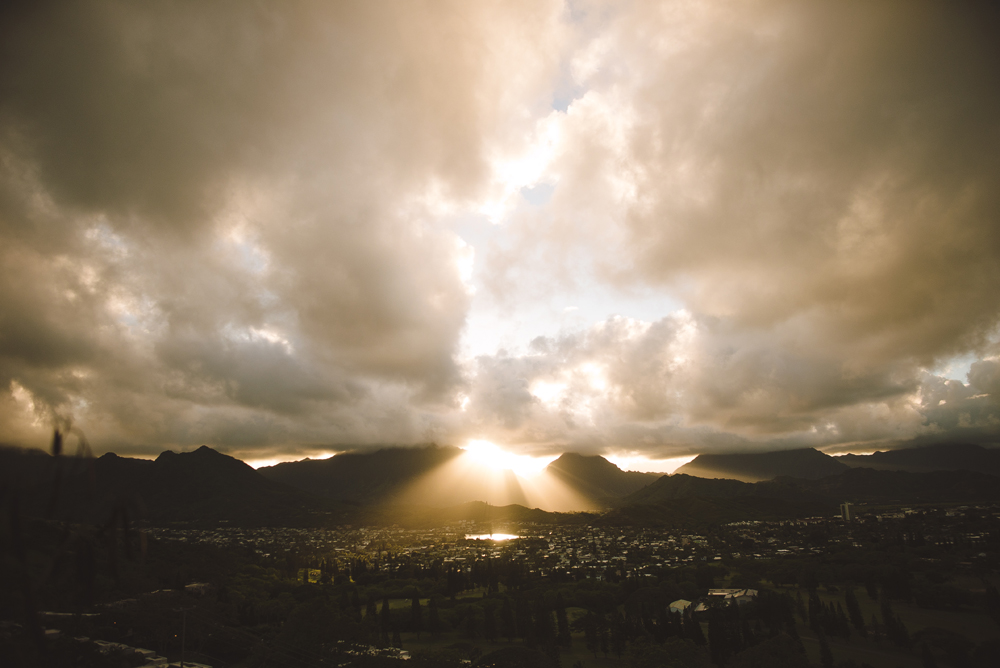
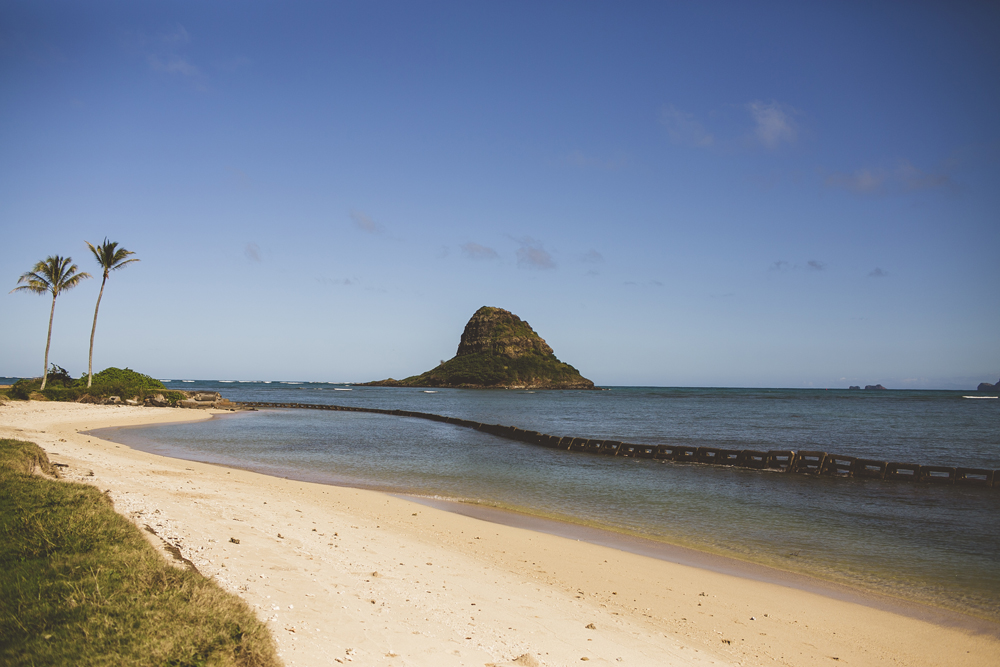
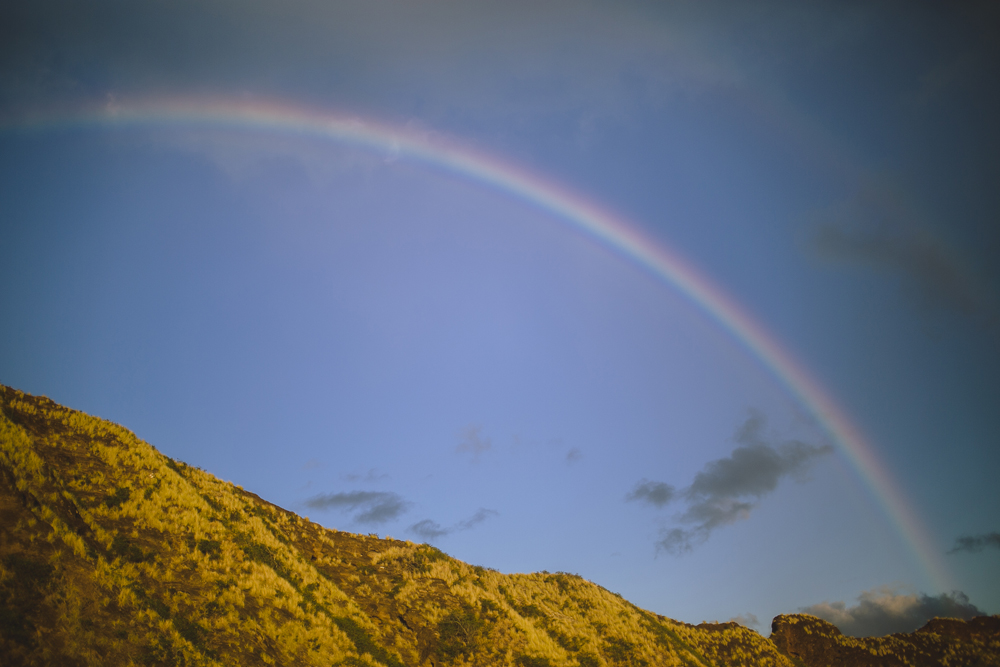
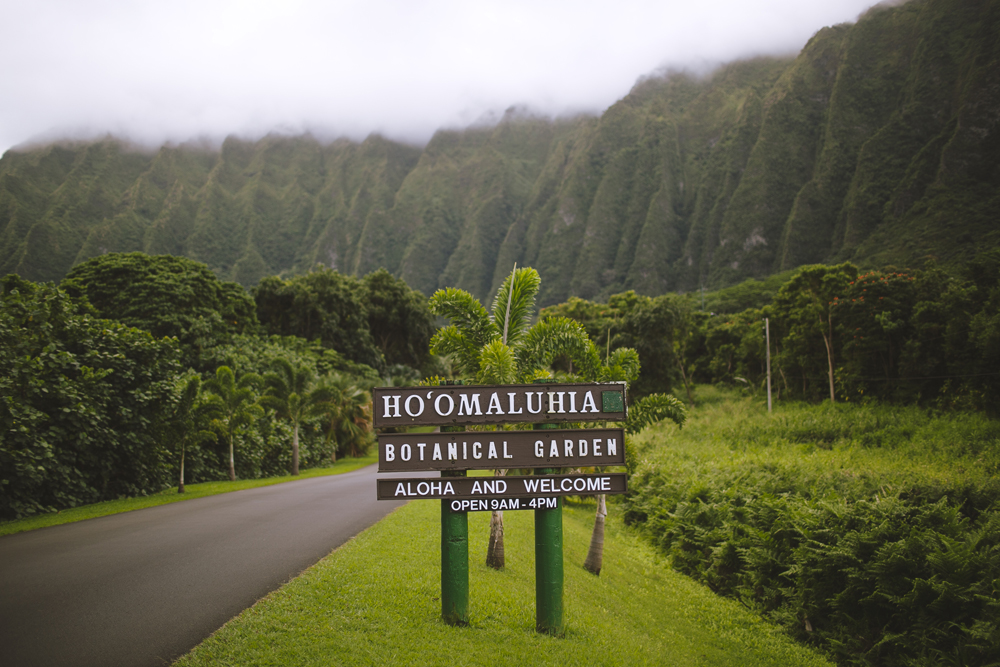
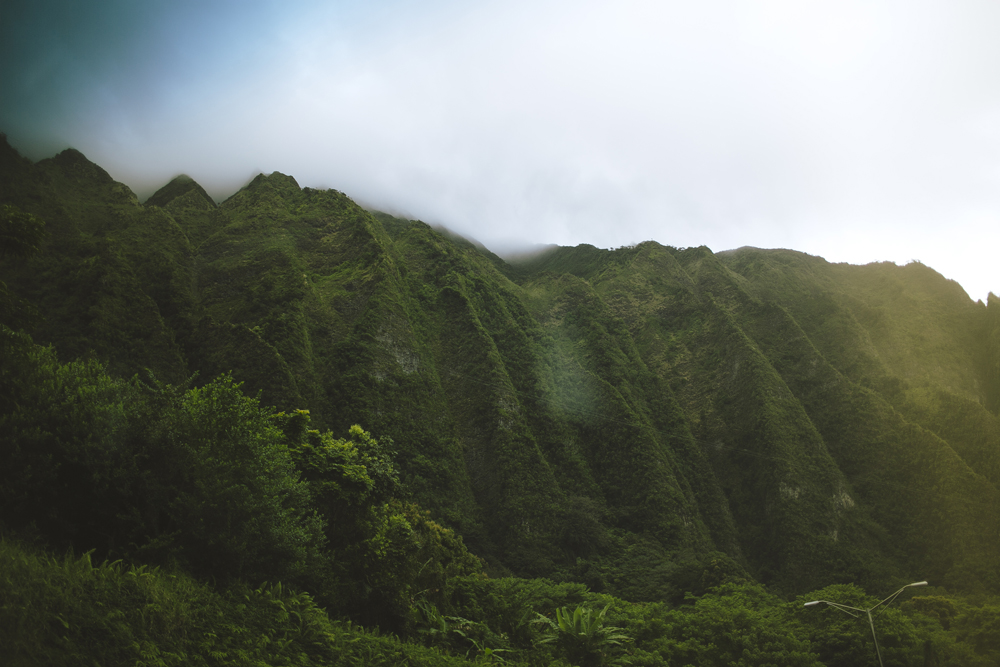
I will always remember the vividly vibrant sunrise at the top of Diamond Head and the way the lush tropical mountains would tower around you at Ho’omaluhia Botanical Gardens. I loved driving around the East side of the island, the way the ocean was so close to one side and the mountains just a quick glance to your other side. Some of my favourite beaches on Oahu included Kahana Bay Beach Park, Lanikai Beach, Waimanalo Beach, Yokohama Bay, Kualoa Beach Park and honestly the list could pretty much go on forever! Dan and I filled up our days with hikes to the top of mountains, trying all the delicious food truck stalls we could, taking pictures on the pristine beaches and just spending all the hours of daylight we could exploring.
I also have some exciting news because I've started sharing more fashion shoot behind the scenes videos + Lightroom & Photoshop Tutorials on my YouTube Channel! Be sure to subscribe as I upload 2 new videos every week x


all photos edited with hawaii lightroom preset (coming soon!) in combination with light leaks lightroom collection

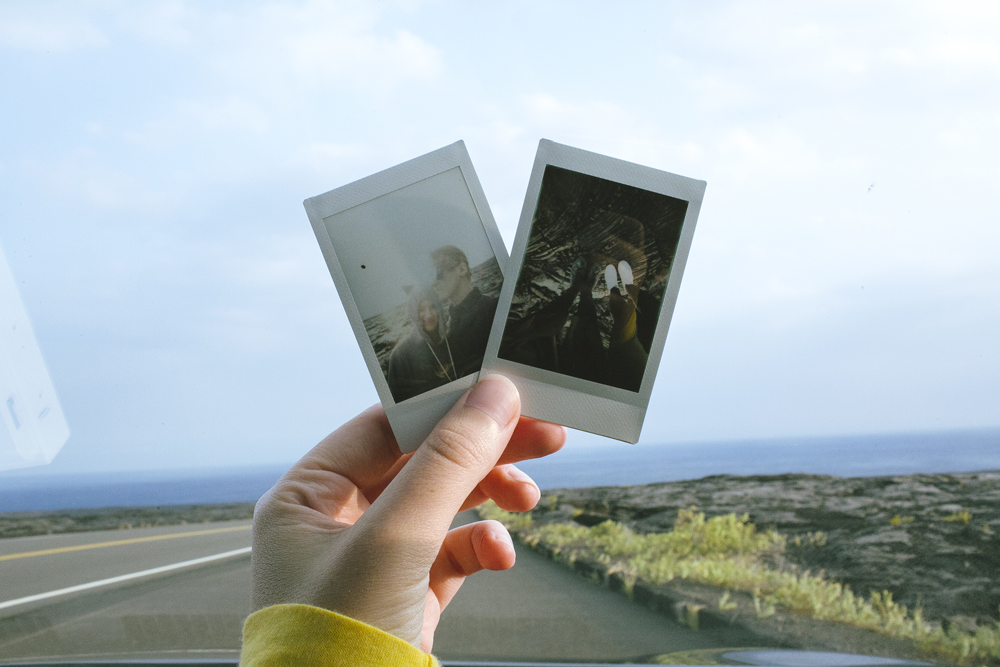
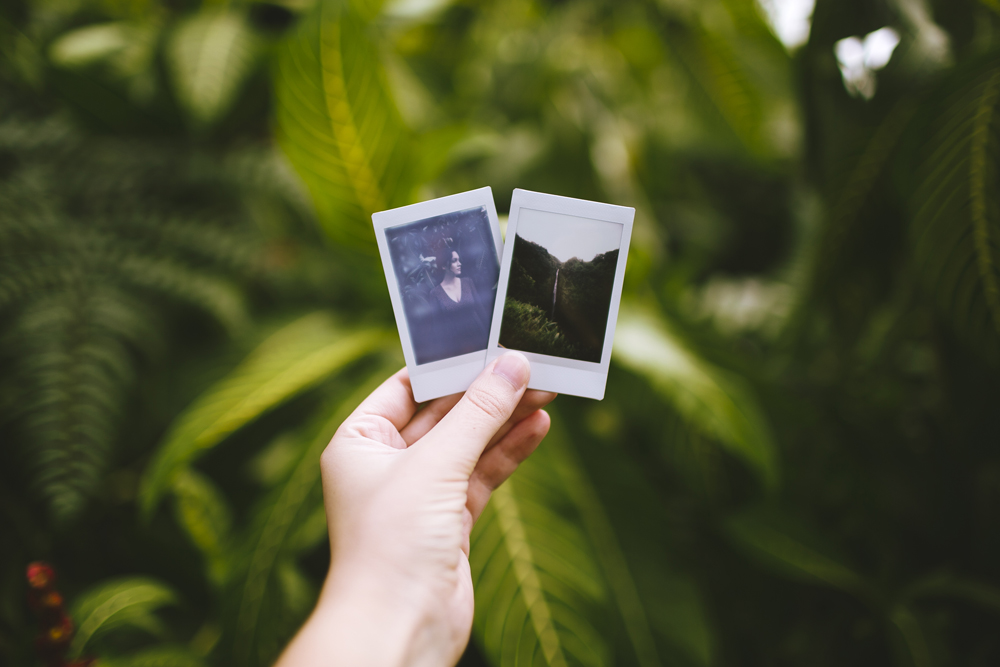
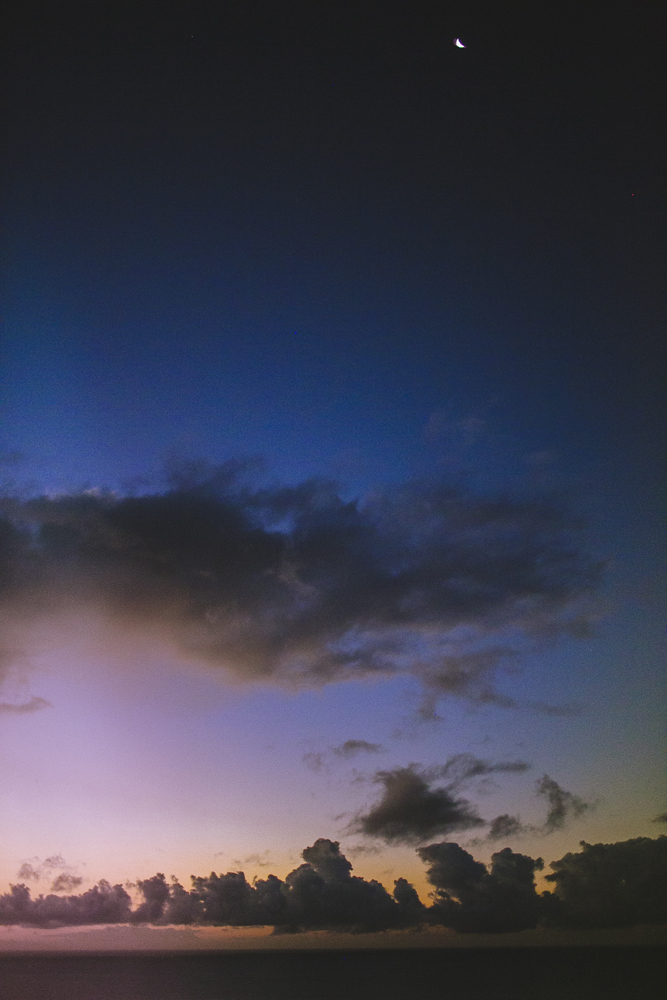
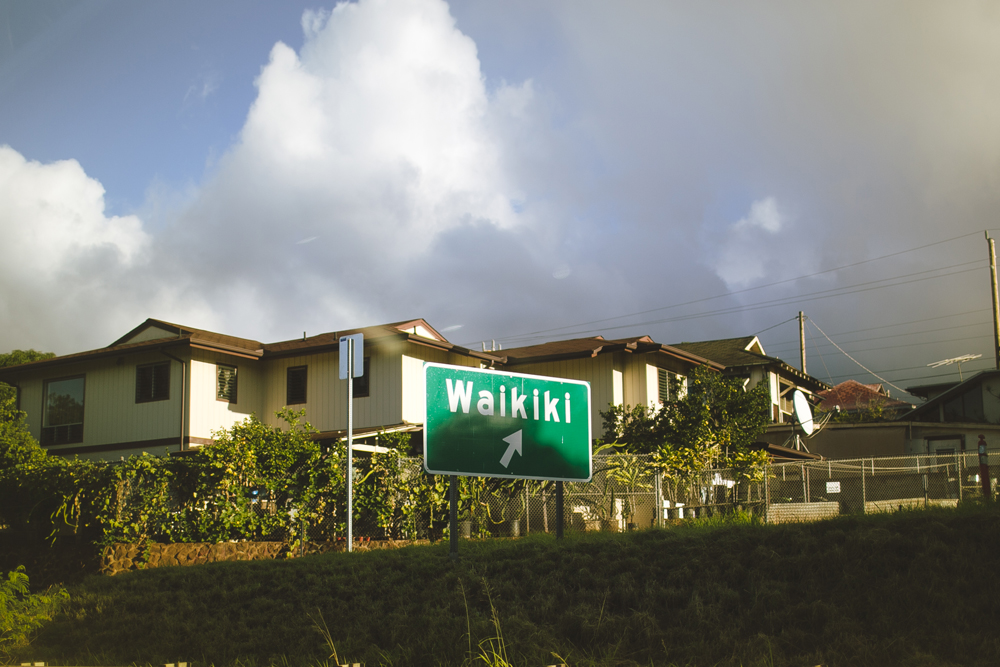
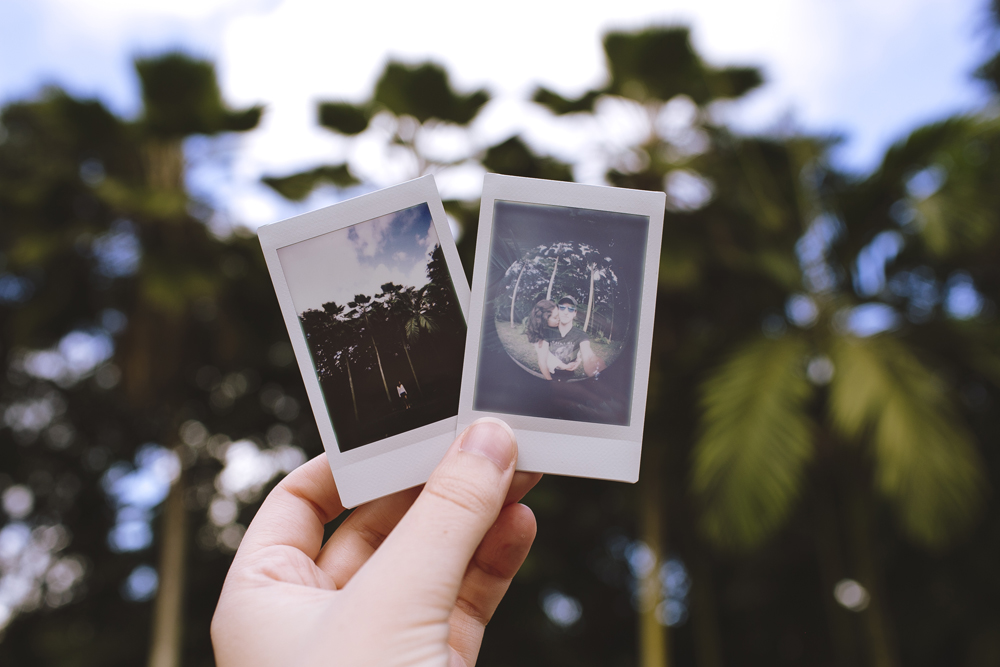
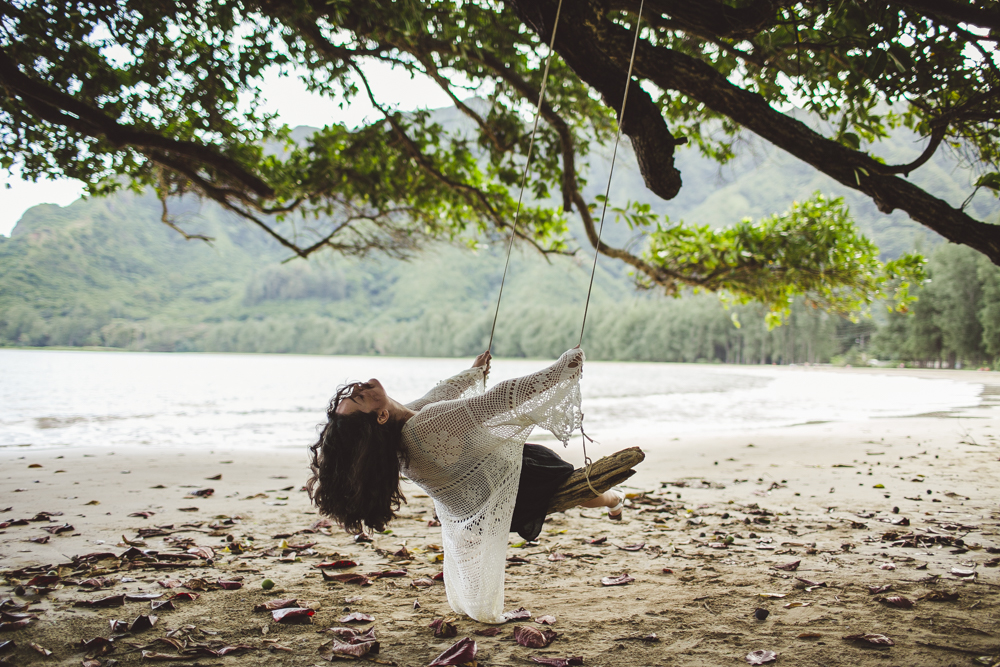
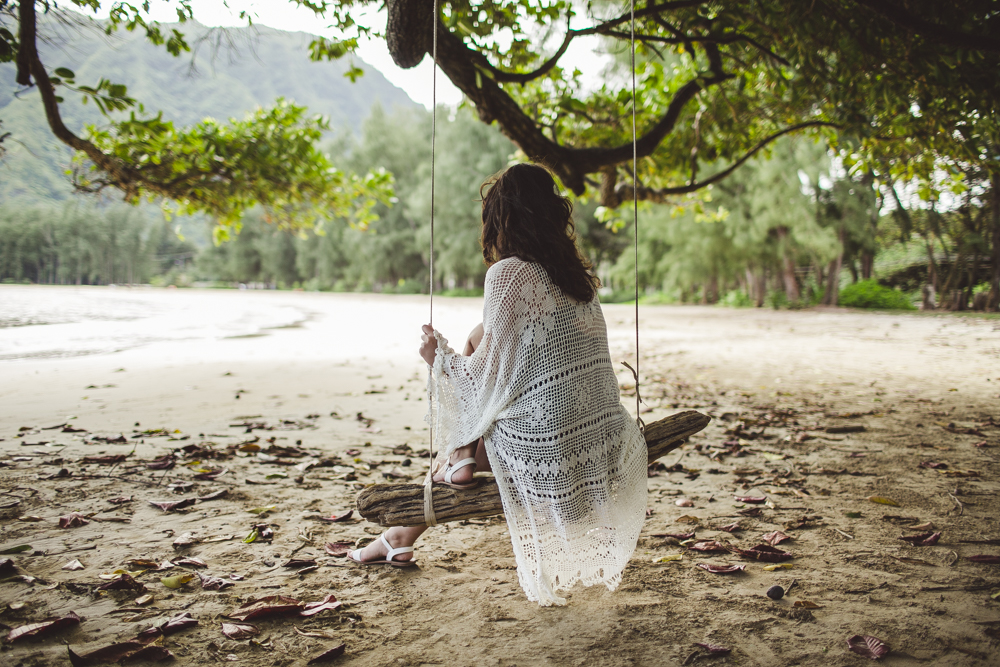
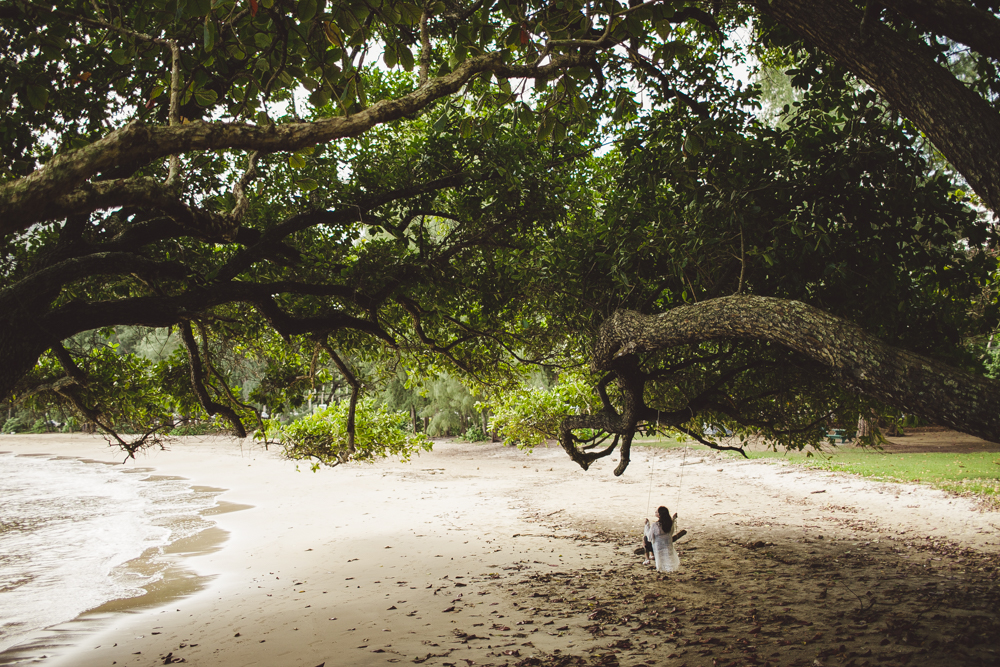
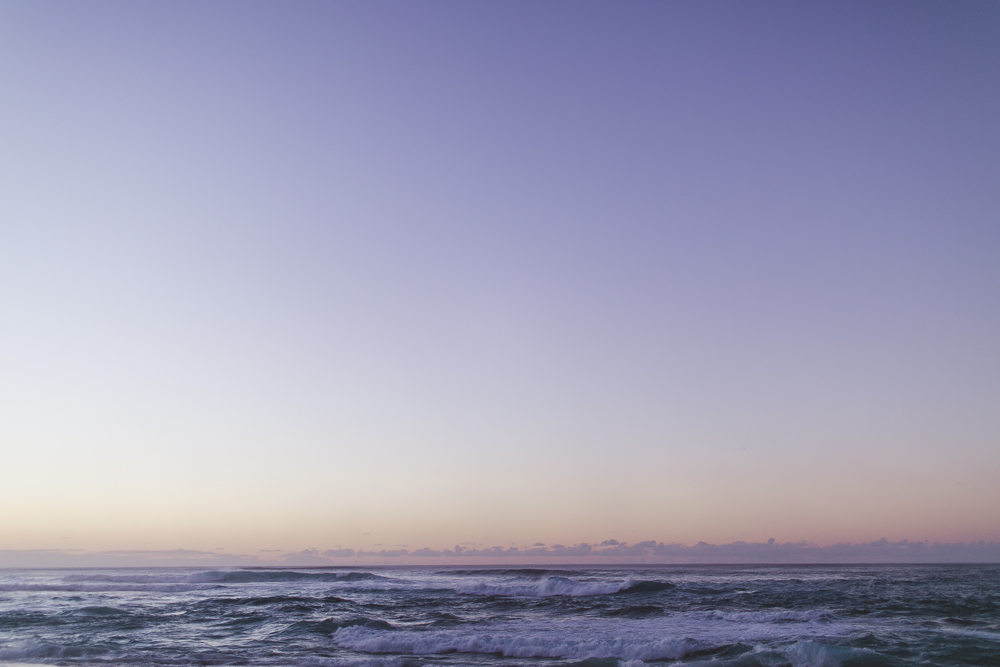
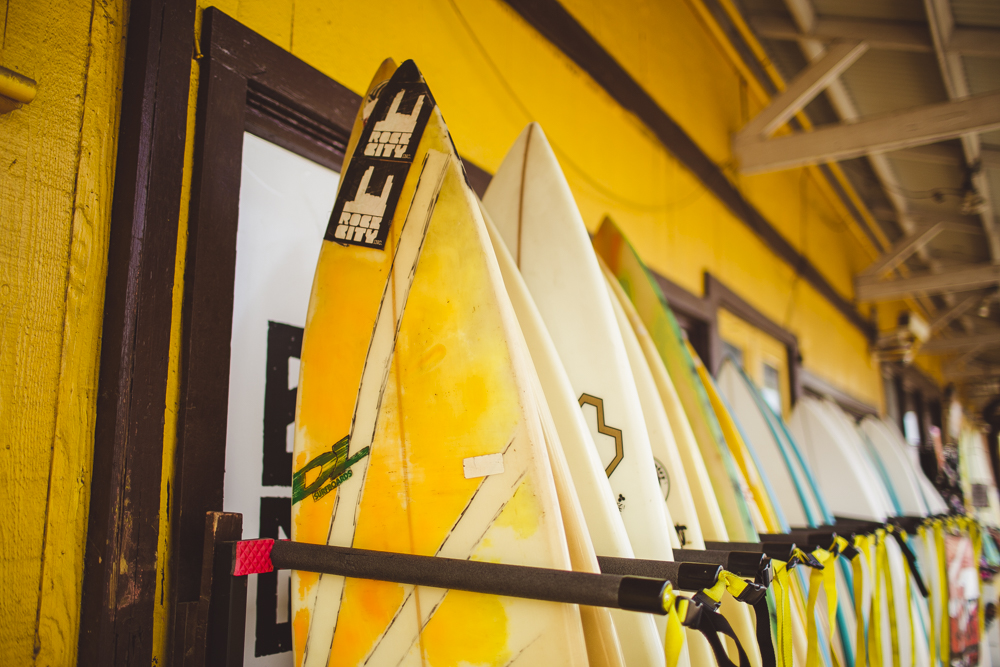
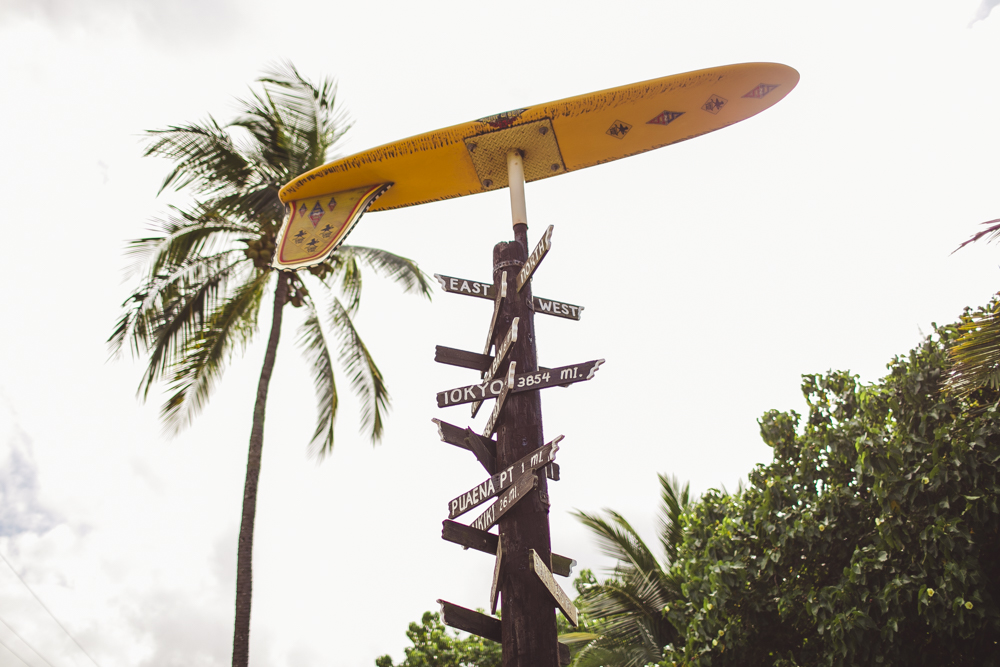
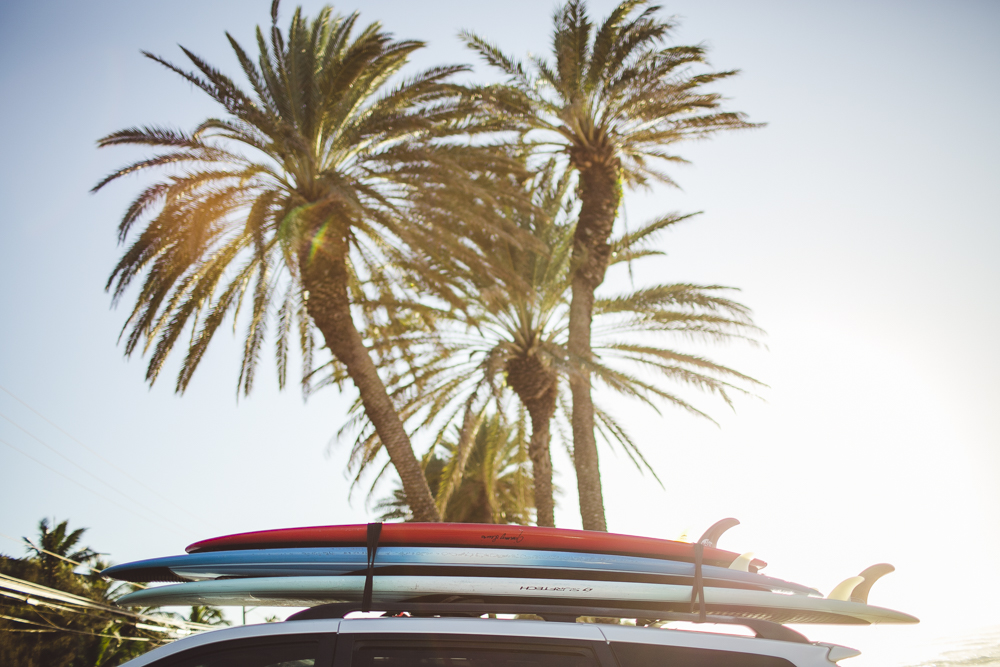
It was February when Dan and I hopped on a plane and headed towards a destination that I would soon find myself falling in love with. We landed early in the morning on Oahu, picked up our hire car and eagle set off to explore. Our first day in Waikiki was a lazy one. We wandered along the beach, bought a Polaroid camera and I saw my first sunset over the ocean - where everyone applauded as soon as the sun disappeared.
The rest of our days in Oahu were spent in the sunshine, going on sunrise hikes and road tripping around the small island. We found so many little nooks around every corner, lush green and beautiful that would make me fall in love with the island that little bit more.
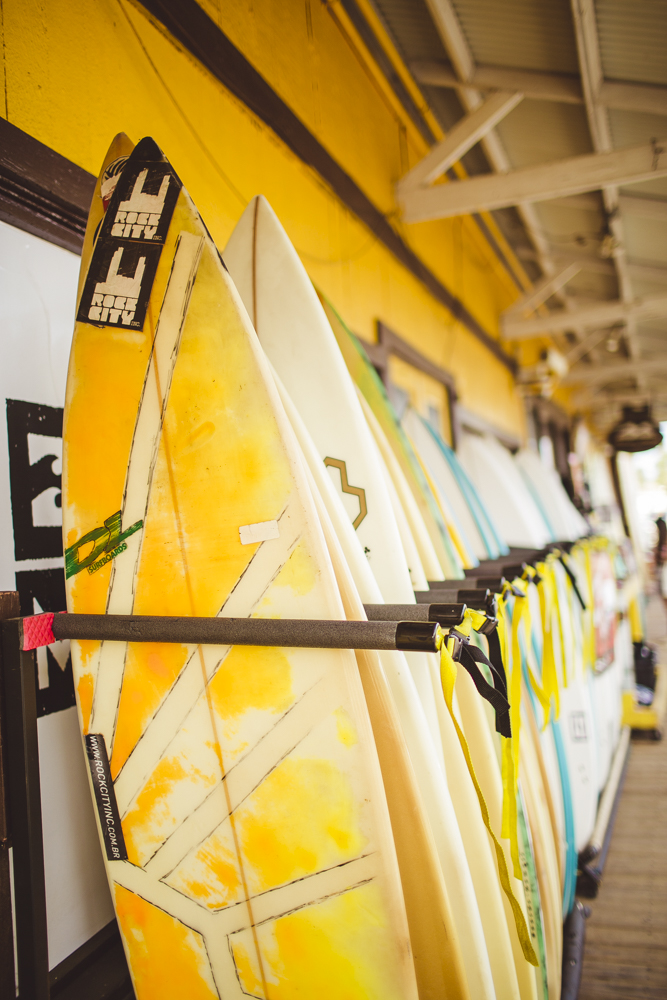
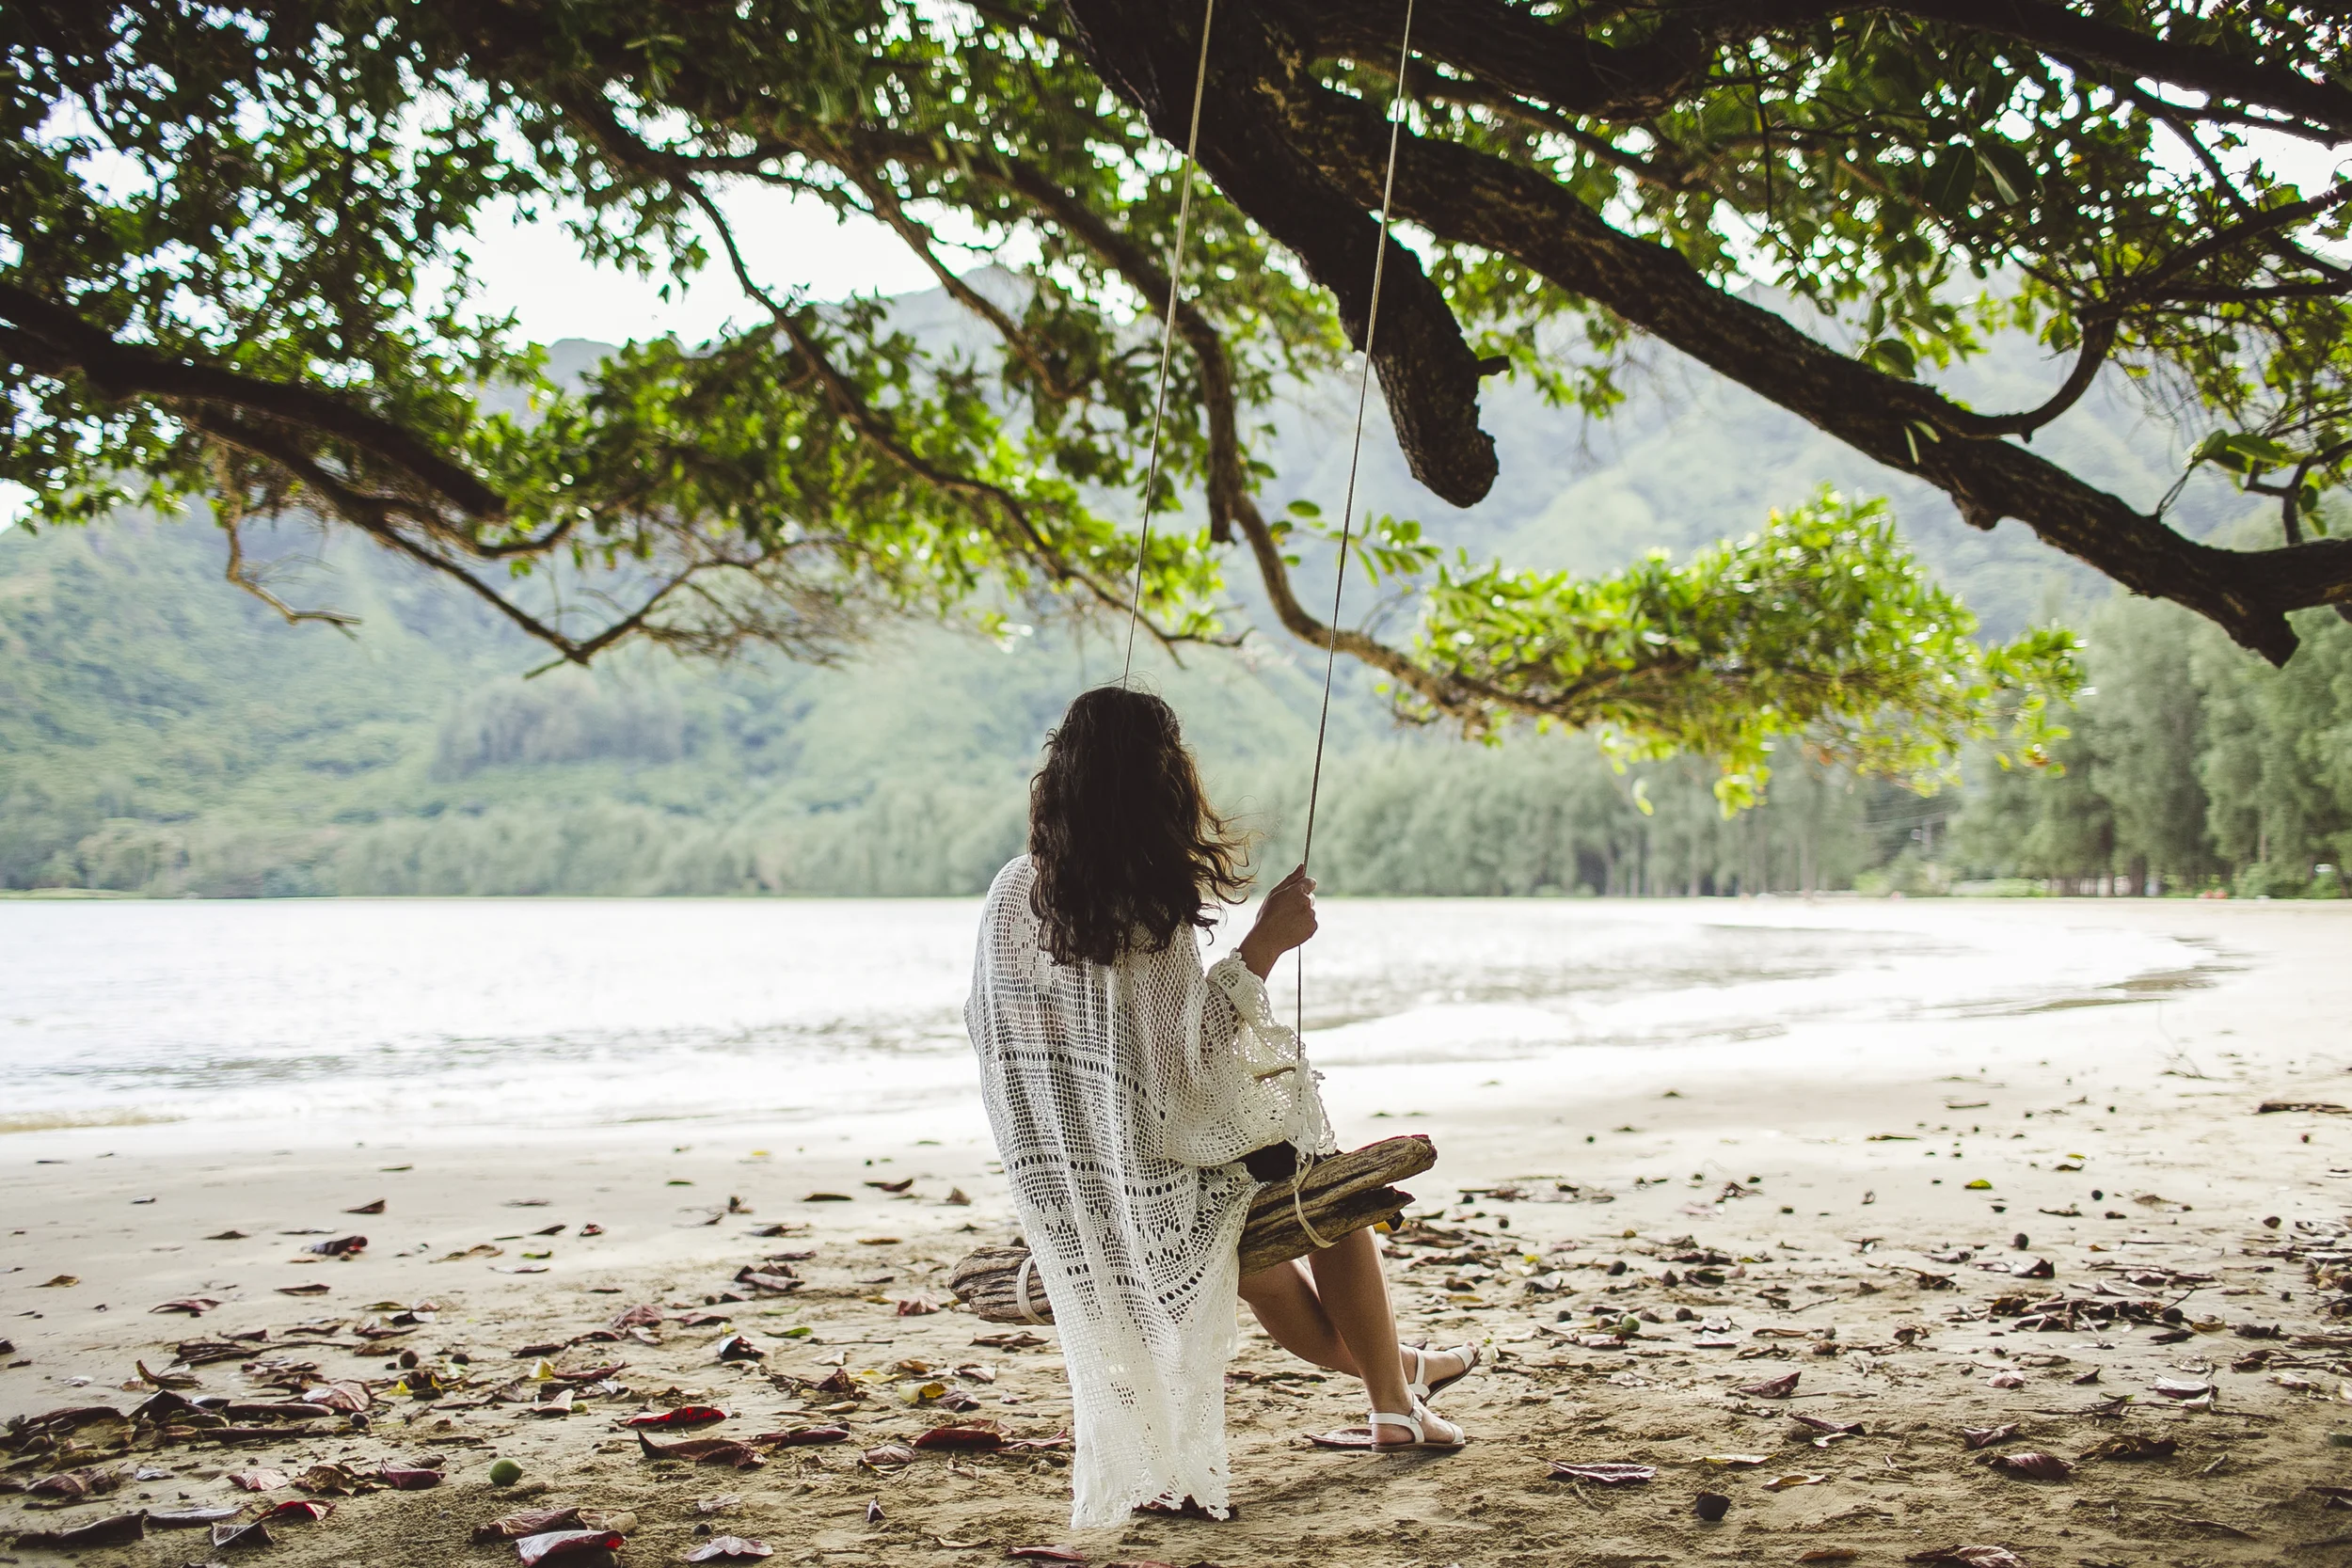
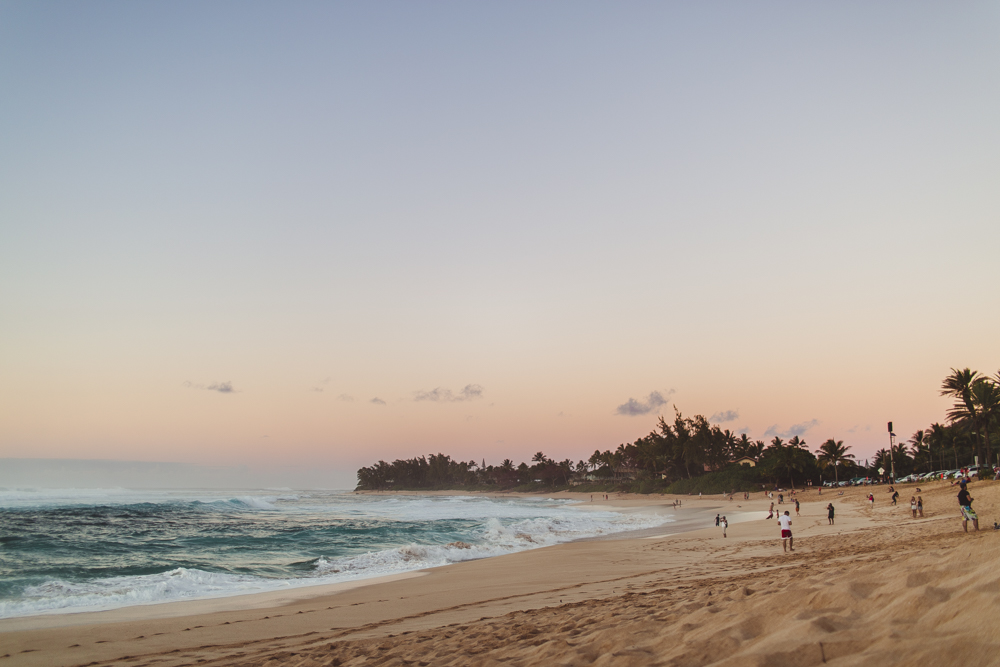
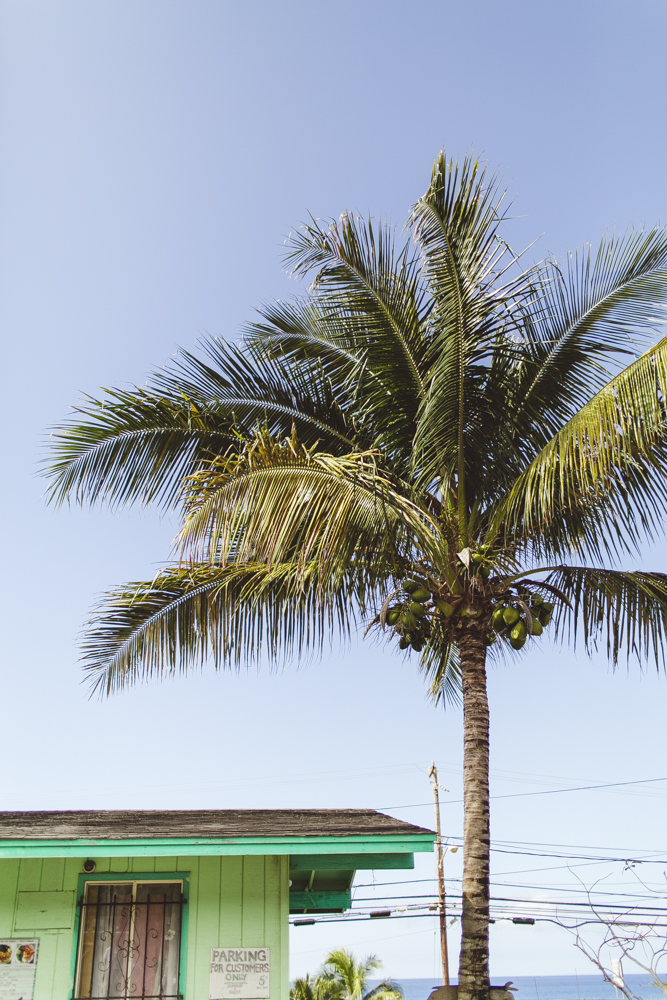
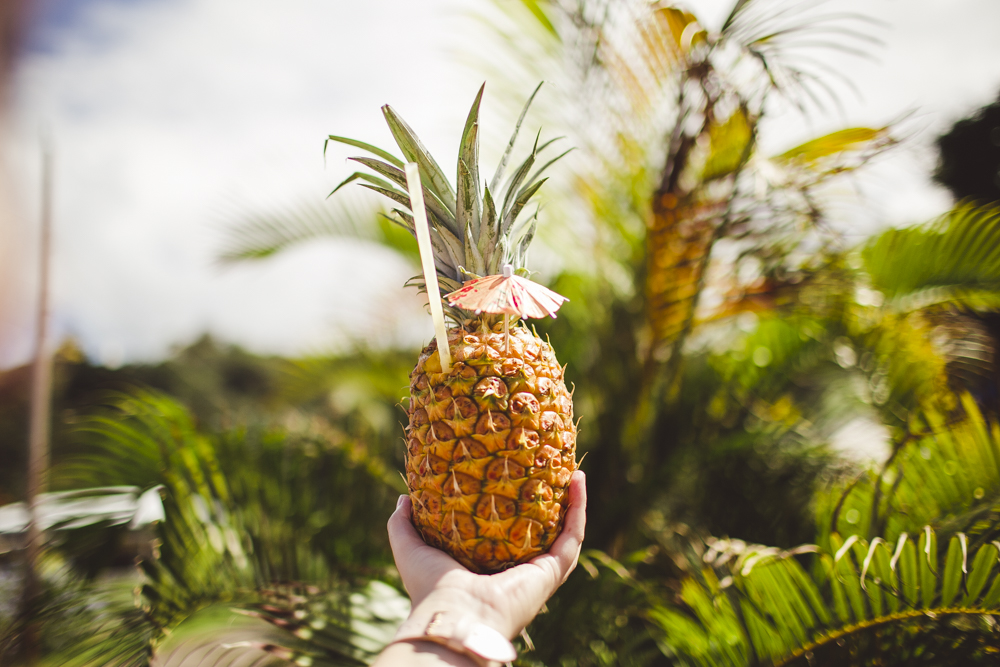
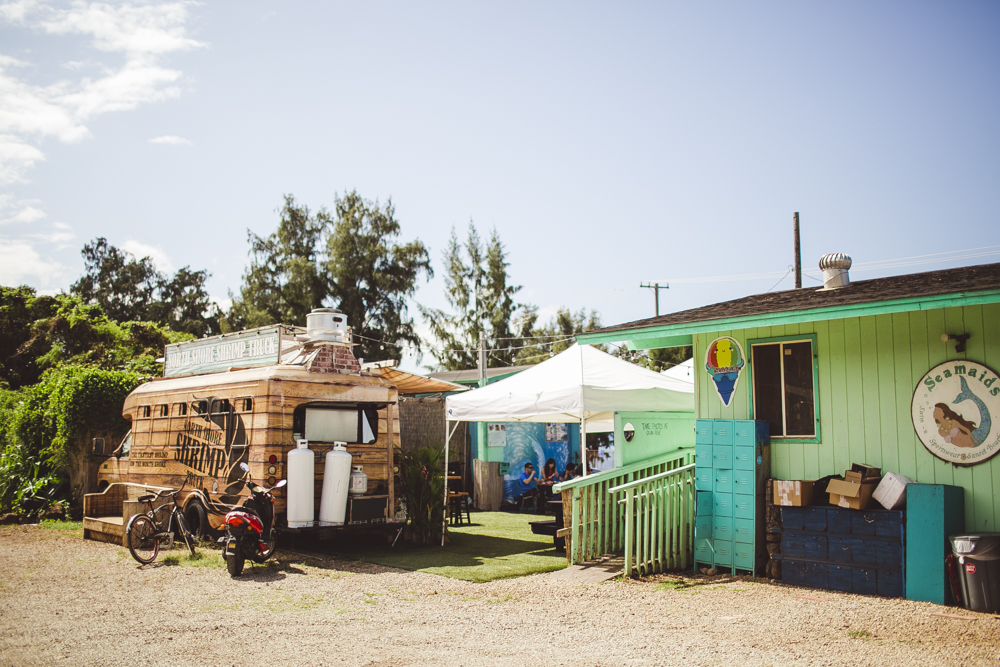
On this day we made our way to the North Shore, where we found swings hidden in the trees at the beach, drank pineapple juice out of an actual pineapple and sat down at the Pipeline for sunset to watch the mesmerising waves and tiny surfers all the way out in the ocean.
I also have some exciting news because I've started sharing more fashion shoot behind the scenes videos + Lightroom & Photoshop Tutorials on my YouTube Channel! Be sure to subscribe as I upload 2 new videos every week x


all photos edited with my L.A. lightroom preset
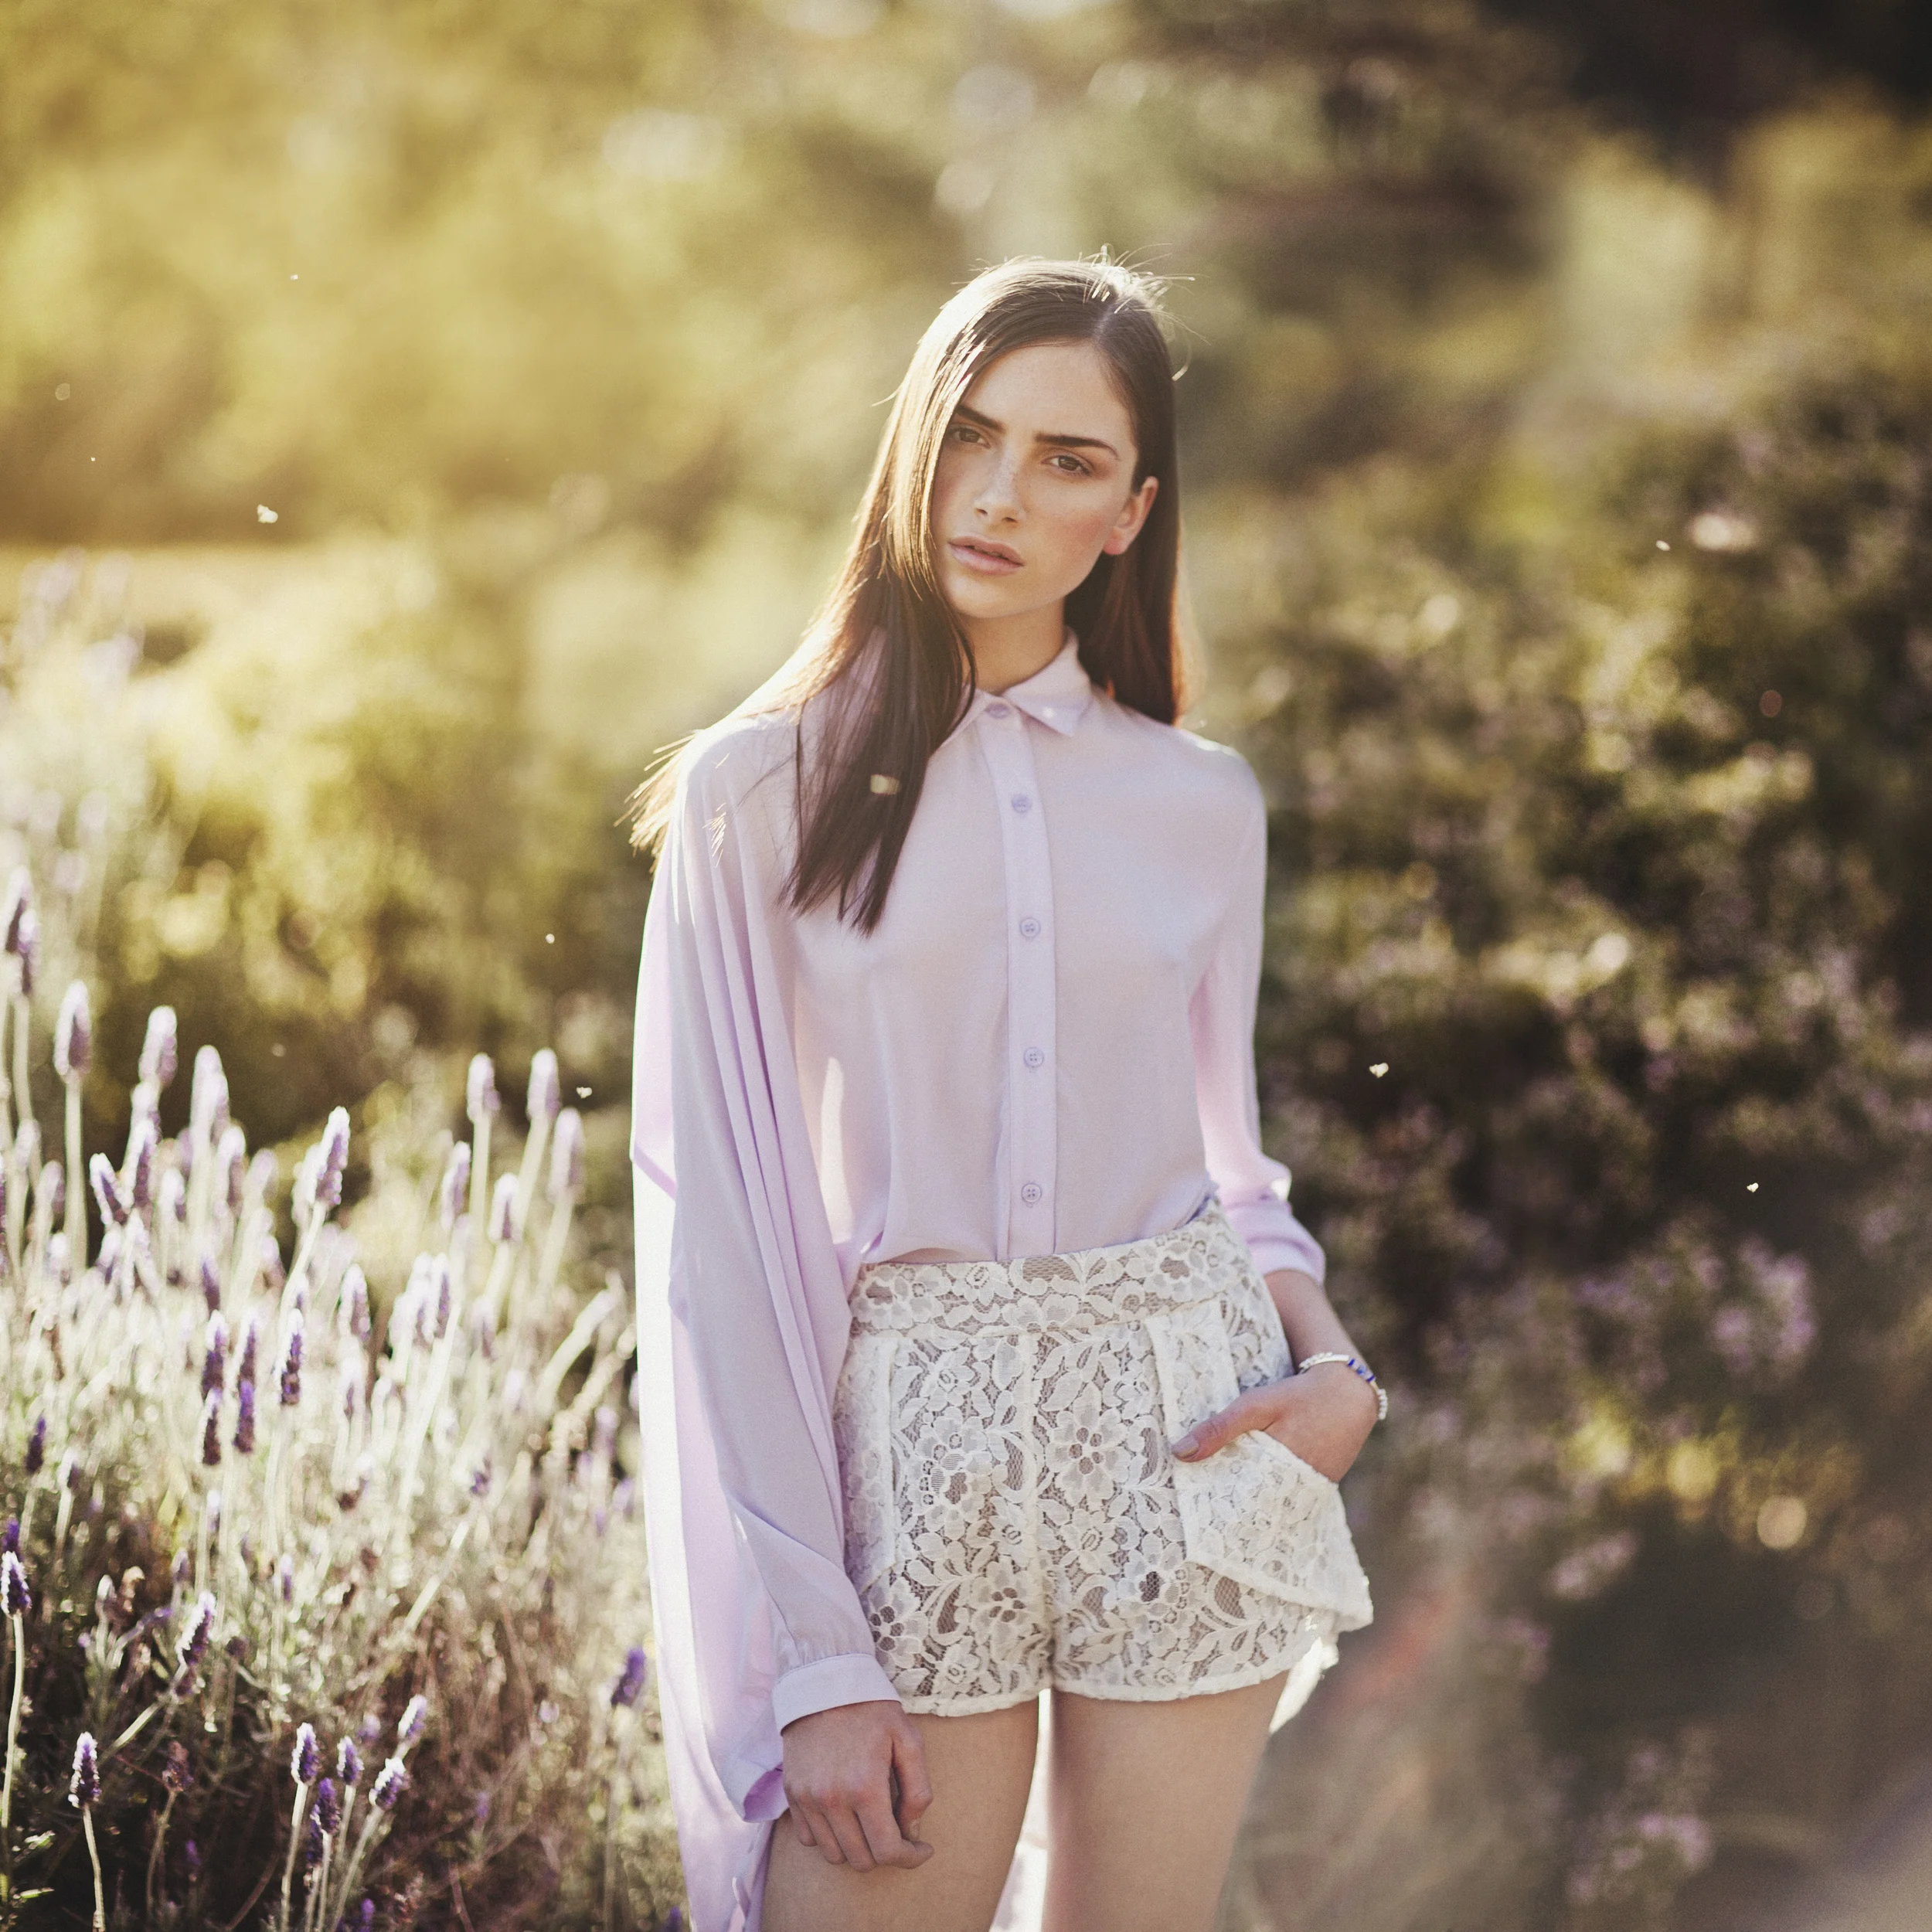

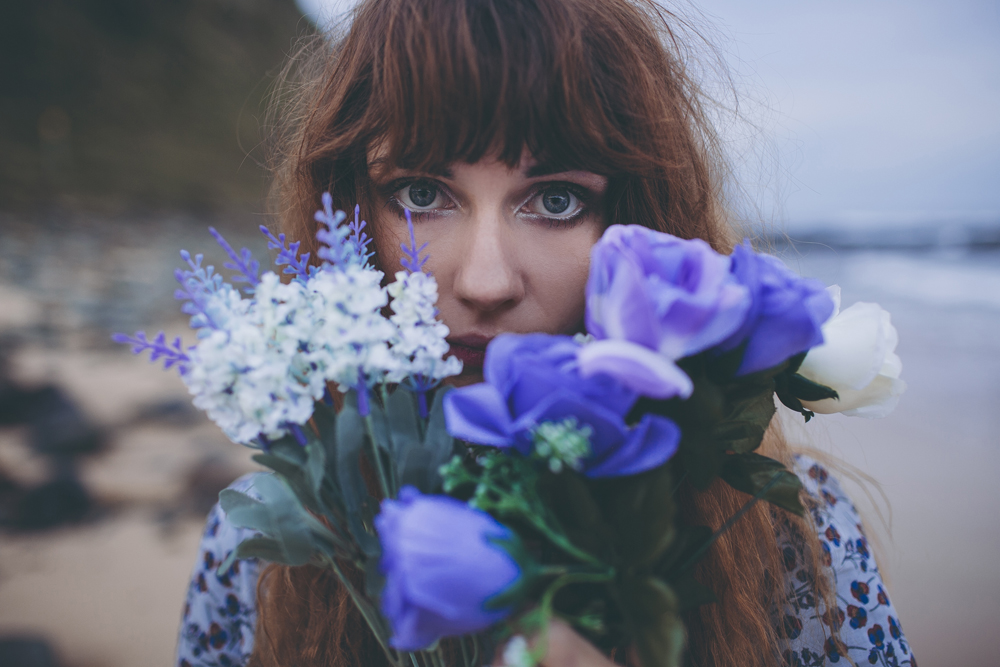
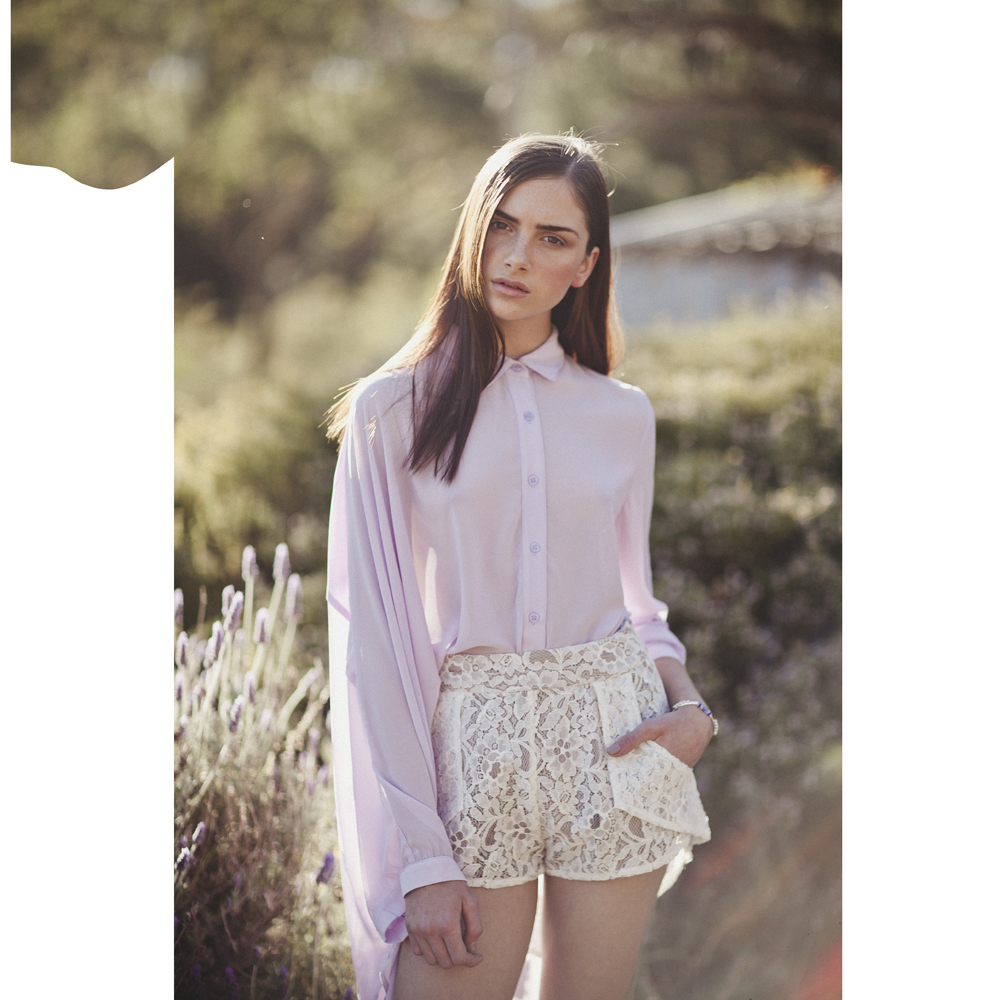
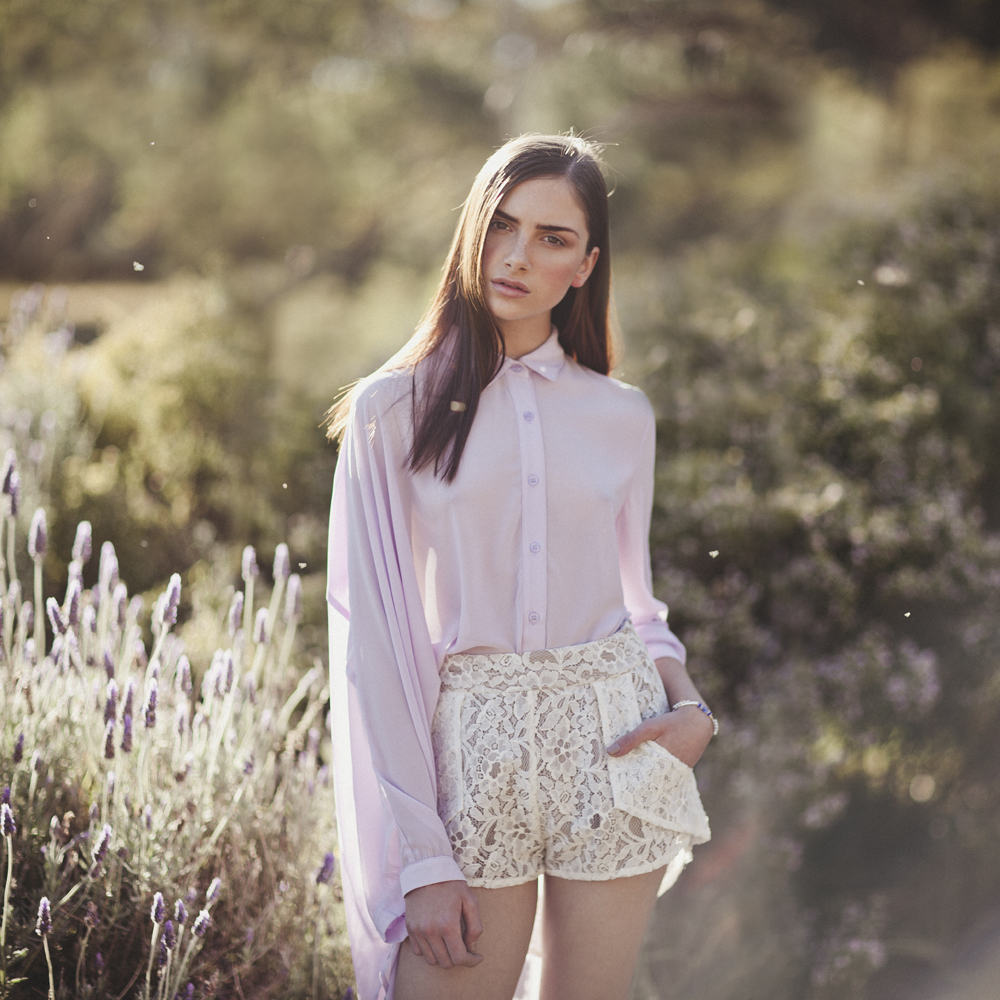
I uploaded this speed editing video to my youtube channel a long time ago, and I finally thought it was time to write up a tutorial to follow it! Above is the final image and below is the image I took straight out of the camera. You can watch the youtube speed editing video to see my process, and below I have finally written up the steps I took to create this image! Enjoy!
01. Lightroom Editing // This is the original image straight out of the camera, no editing done yet whatsoever. The first thing I do to any image is open it in Lightroom. In Lightroom I applied my Wild Bird Preset from Digital Film Action to colour my photo to work as a base for my expansion. I made a few minor tweaks to the exposure and white balance and opened up my image in Photoshop.
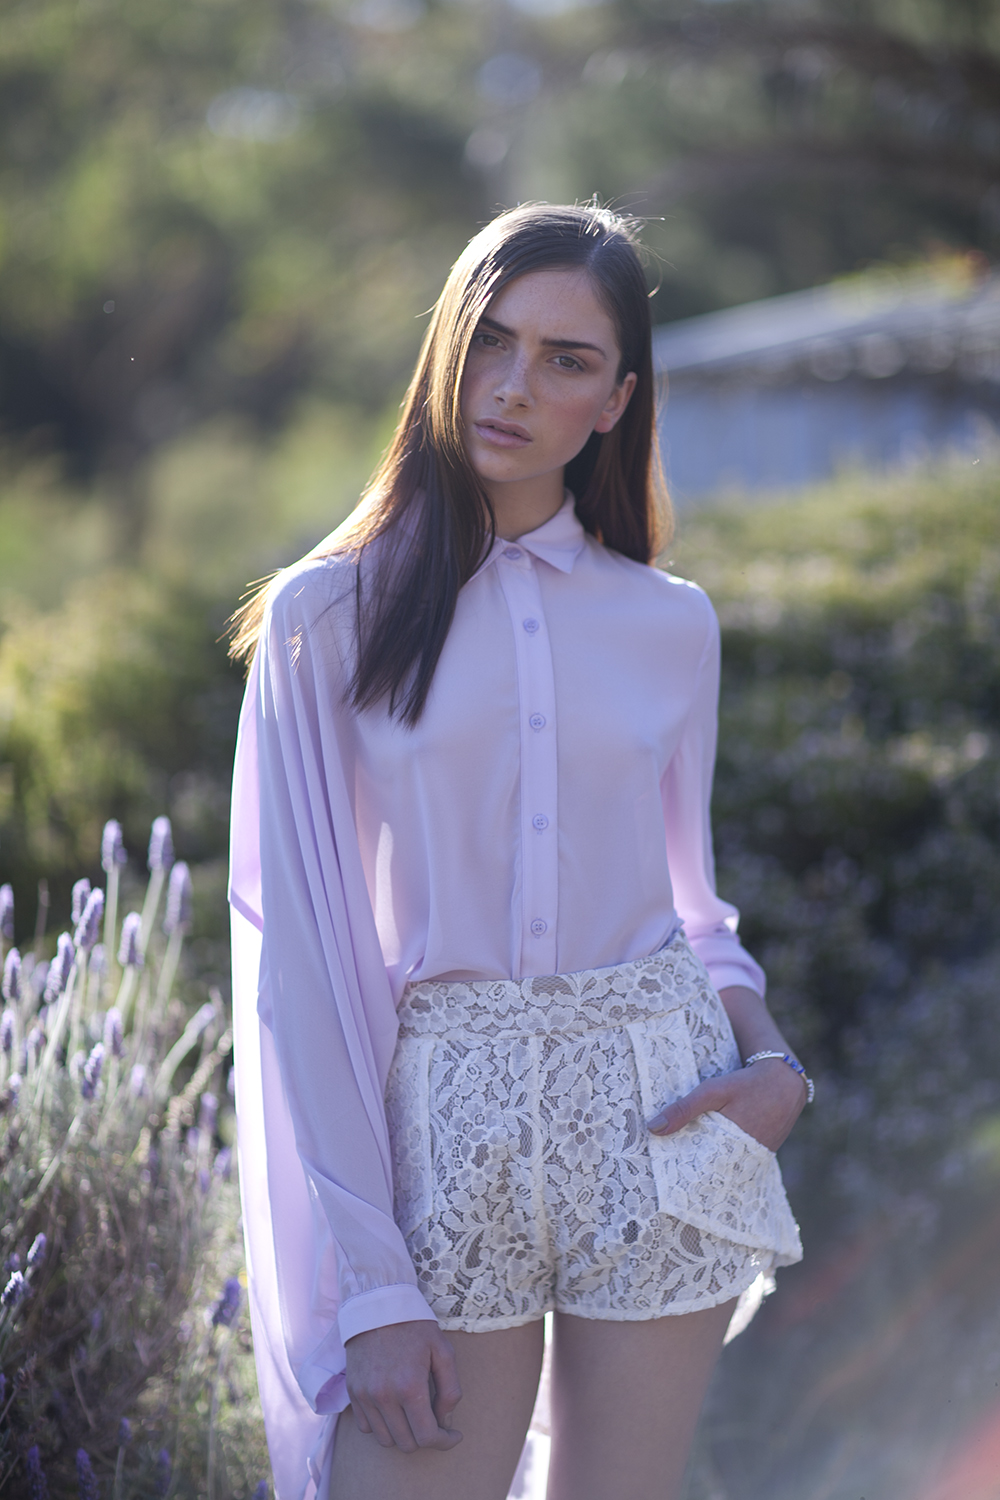
02. The Expansion Process // In Photoshop begins my expansion process. I didn't plan to create an expansion with this photo when I first took it, so it took a creative eye to find the right background to stitch to the photo from other photos I took on the day.
I went through all the photos I took around this one and picked out the ones I could use the background of to add to this image. I then imported all those photos to Lightroom and synced the edits so all the images would have the same colours and tones applied to them to make the stitching process easier.
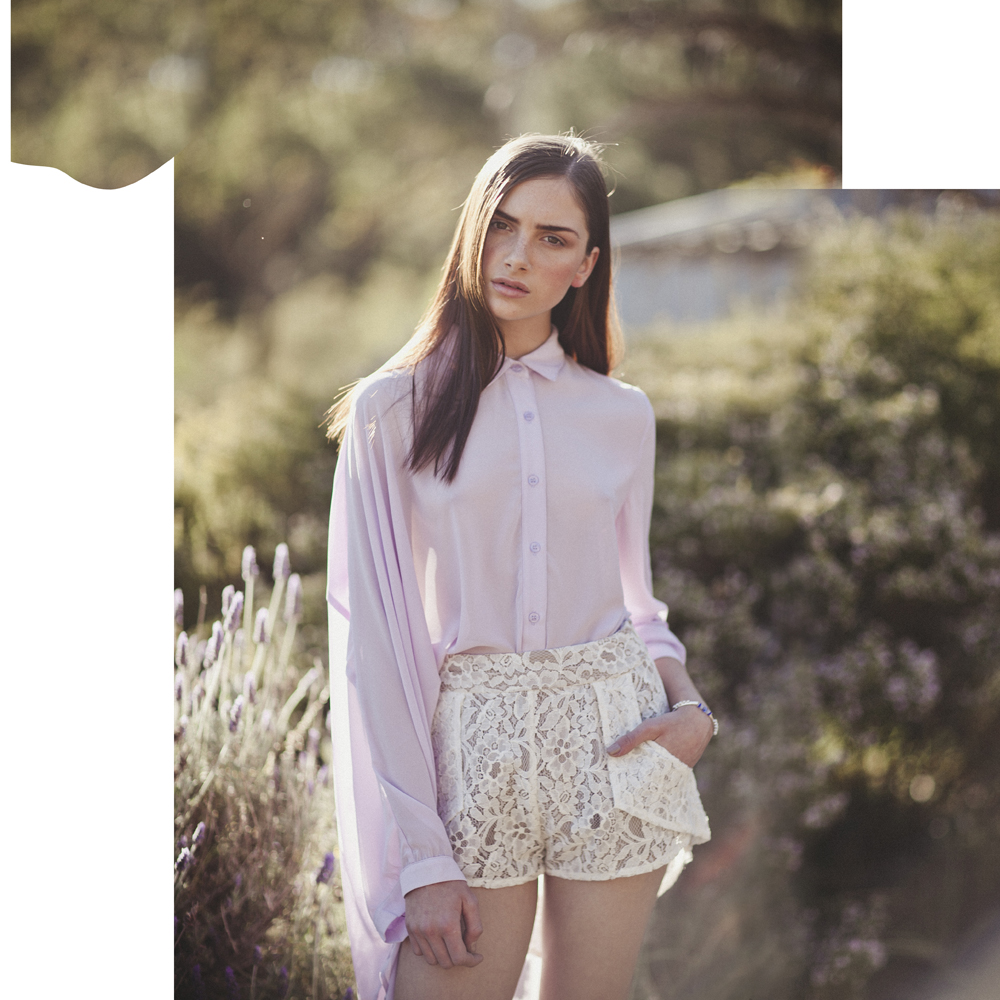
03. Stitching Images Together // When expanding a photo with a busy background, I aim to focus on particular areas and expand the image slowly rather than doing all of it at once. In this case, I started with the top left hand corner first as it was the easiest in my opinion - it was very blurred bokeh trees that were easy to blend together. I used the Lasso tool to select a similar looking area from another photo then dragged it into place on the image I am working on. I add a layer mask and use a low opacity (about 20%), soft brush to slowly blend in the edges.

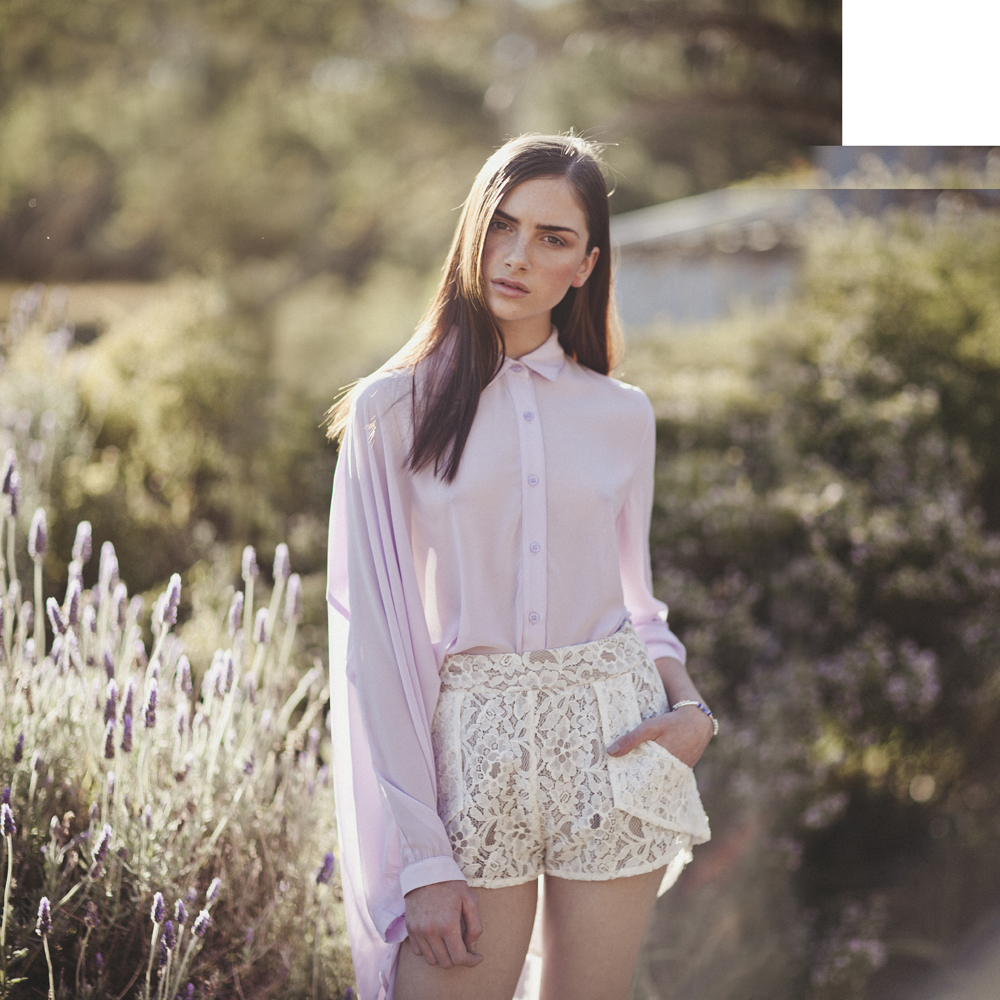
04. The Stitching Continues // I continue with the process on focusing on particular areas to expand my image. First I expanded the top left hand corner of blurred colour and texture, next I focused on the lavender field in the bottom left hand corner, then the blurred flower bush in the right corner. Finally I added some more blurred bokeh tree to cover the structure that was distracting in the background of the top right hand corner.
There are no real shortcuts to expanding images like this. It takes a lot of patience to find the right sections that you can copy from other pictures to blend into the one you're working on. After about an hours worth of work, I was finished!

05. Subtle Details // Once I saw my image expanded as a whole, I could start getting creative with the extra details. The first thing I added is very subtle but I thought added a nice touch. I used a large, soft brush at an opacity of about 5% and painted with a solid white colour in the bottom of the right hand corner. This was to add to the washed out back-lit look of the photo.
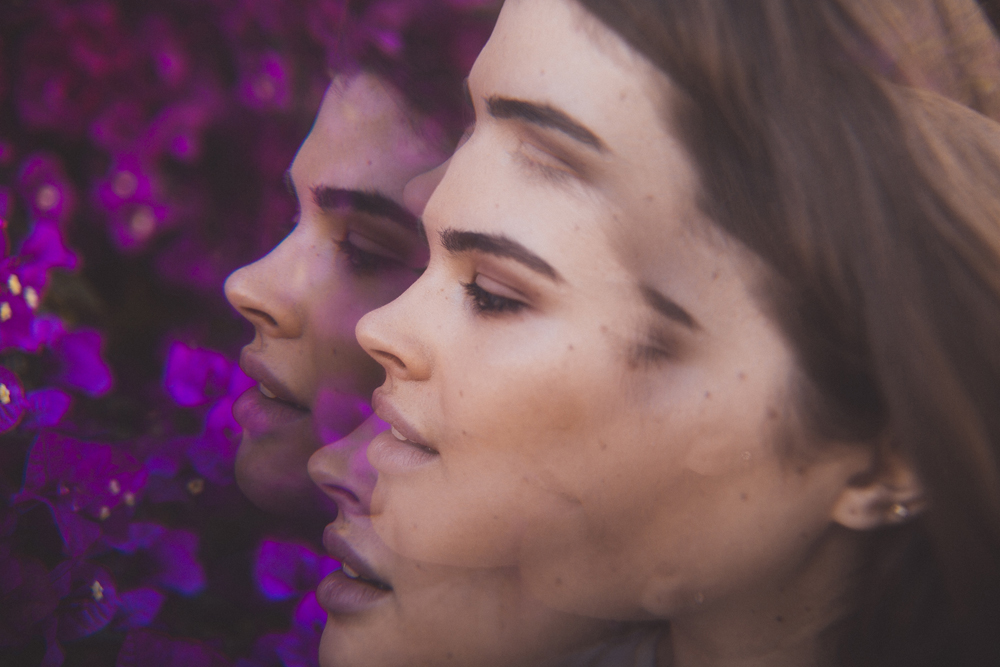
06. Adding the Bugs // During this shoot, I photographed some closeups of Elle in front of a lavender bush and there were hundreds of little bugs flying around catching the light around her which I thought was a lovely addition to the photo. I really wanted to add that aspect to this image I was working on, so I collected a few different bugs from those close up portraits and added them to this picture. I made sure to add a variety of these bugs - some are in focus, some are on her hair or over her clothes and some are blurred out from the depth of field.
Just like the background images I used for the expansion, I also applied the same Lightroom presets to the bug portraits to make sure they would fit in to the picture. I then selected the individual bugs with the Lasso tool and with a layer mask and a soft brush, painted out the background until they blended in and looked natural.

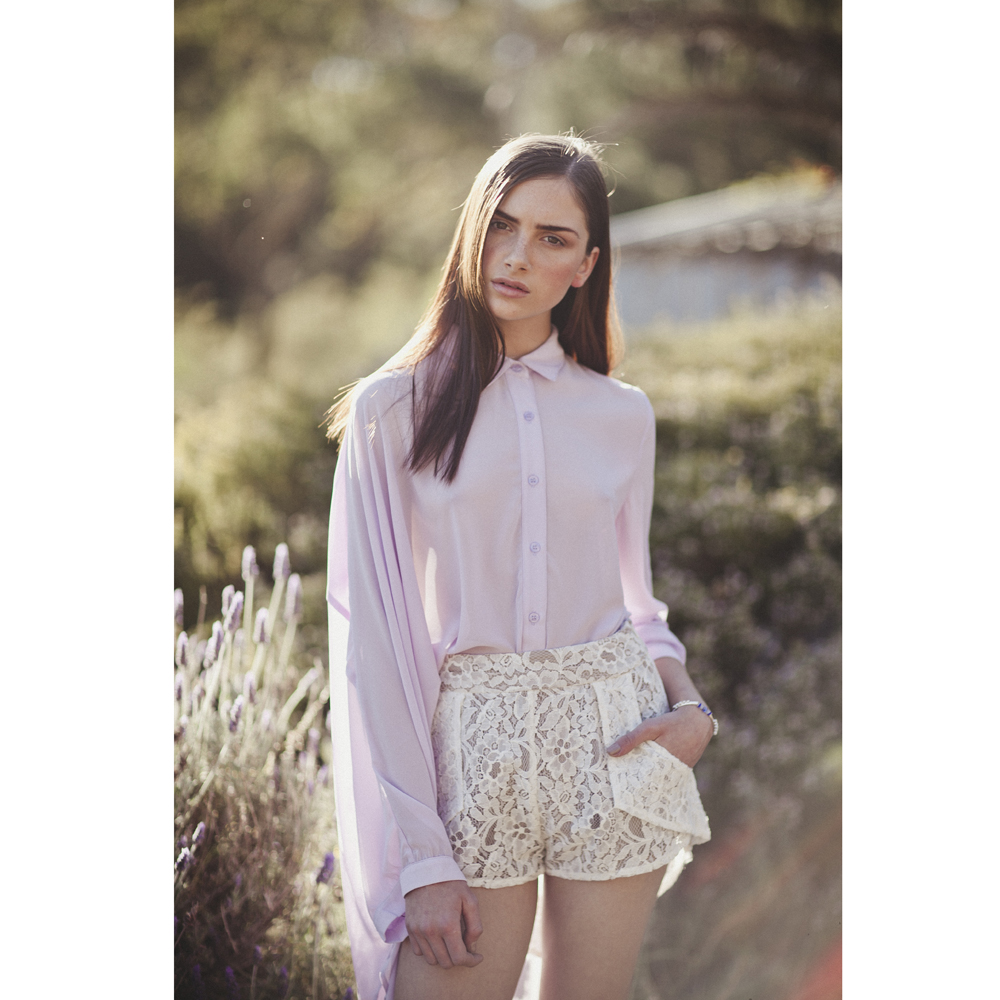
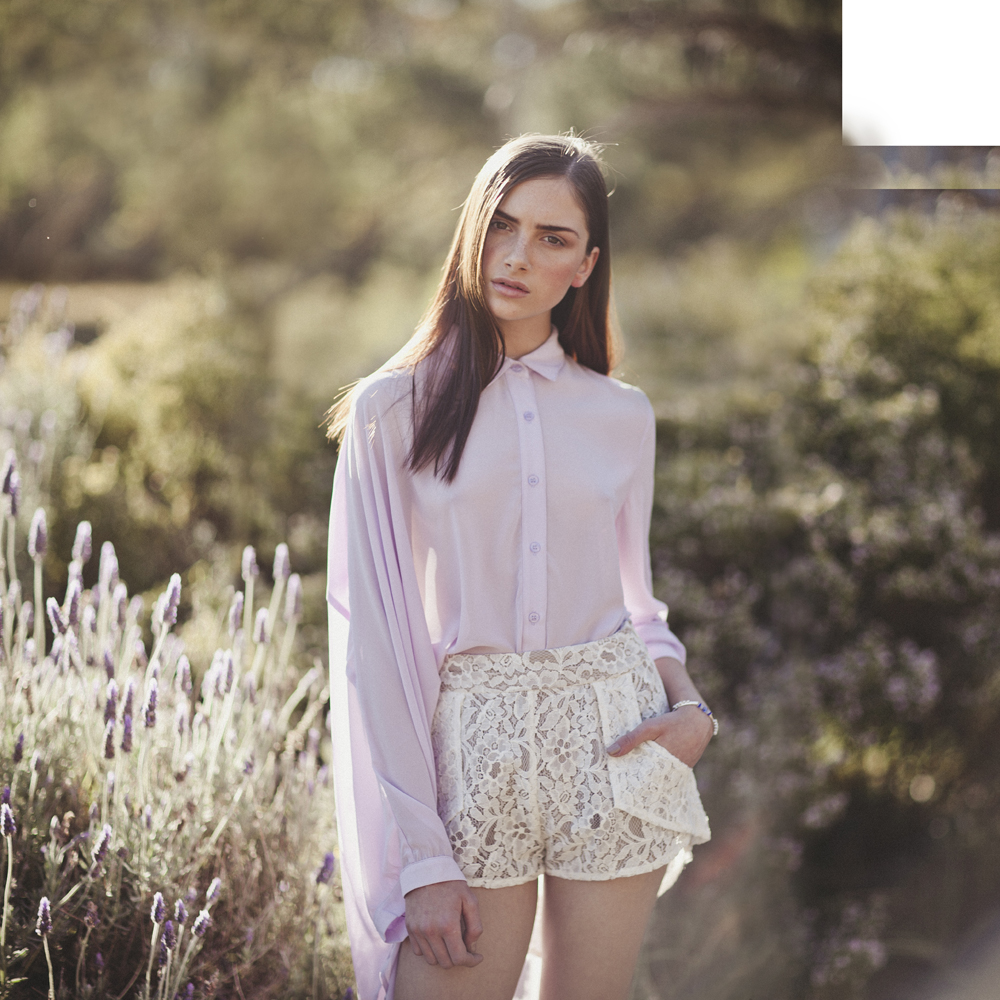
07. Adding Light Leaks & Final Colour Grading // One of the last details I want to add to the image is another light leak, this time opposite to the first one I added. I create a new layer, select a vibrant yellow/orange colour in my palette, then use the Gradient Tool set to a Radial Gradient to create a circle on the top left hand side of the image. I set the layer to Screen and lower the opacity until the light leak blends in.
The final step I take in editing an expansion is one last colour grade. I first colour grade the image in sections. I use the Lasso Tool to make a selection around Elle and set the feather to 200, then use the RGB Curves tool to increase the contrast and tweak the colours. I also colour the blurred flower bush to the right of the image on it's own as well as the lavender bush. I then create one last RGB Curve layer to colour the image overall and we're done!

And here's a little fun GIF I want to leave you with of all the process images I saved throughout my editing! Please leave a comment letting me know what you think and if you'd like to see more blog posts like this.

If you would like to see more tutorials, please check out my Digital Film Actions Blog which is updated twice a week, as well as my YouTube Channel - also updated weekly with tutorials and daily with vlogs!


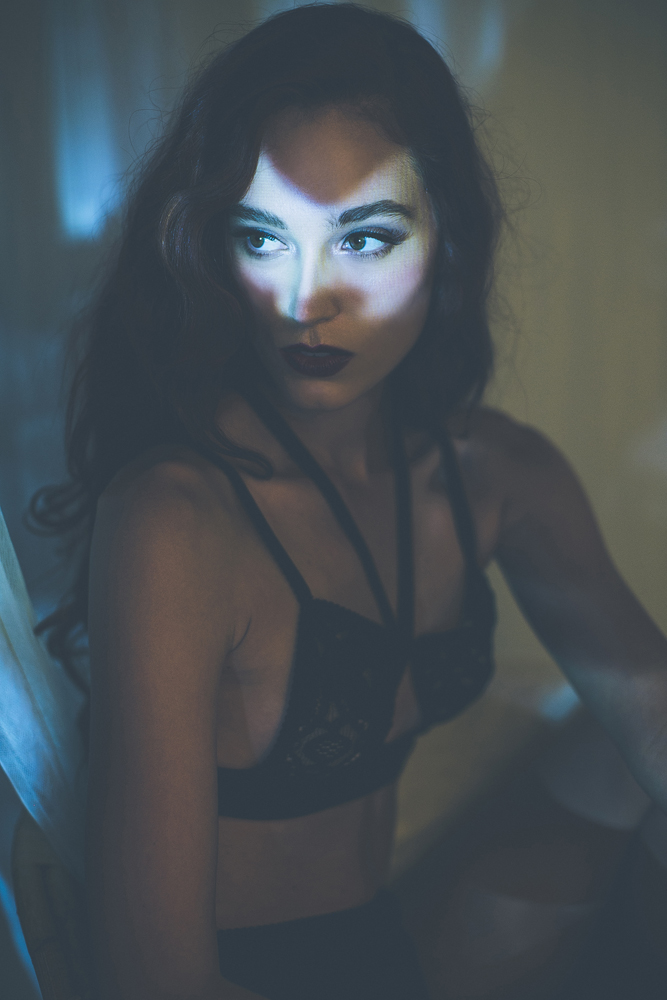
model jasmine @ brazen
makeup kellie stack
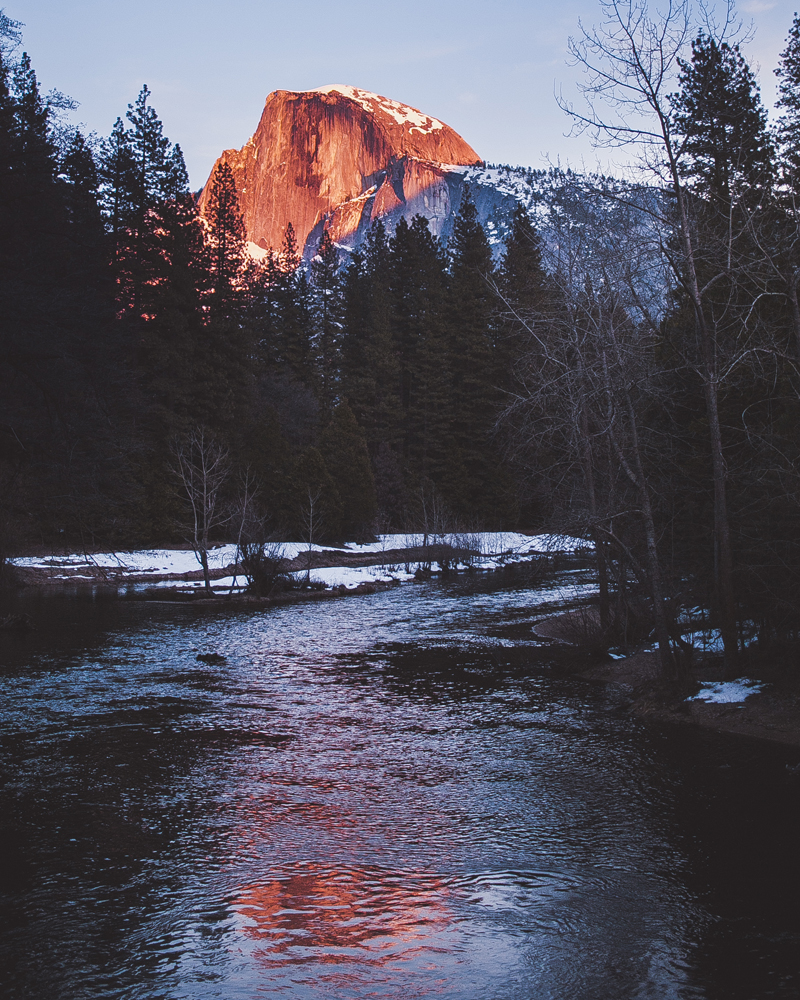
all photos edited with my yosemite lightroom preset - coming soon!