
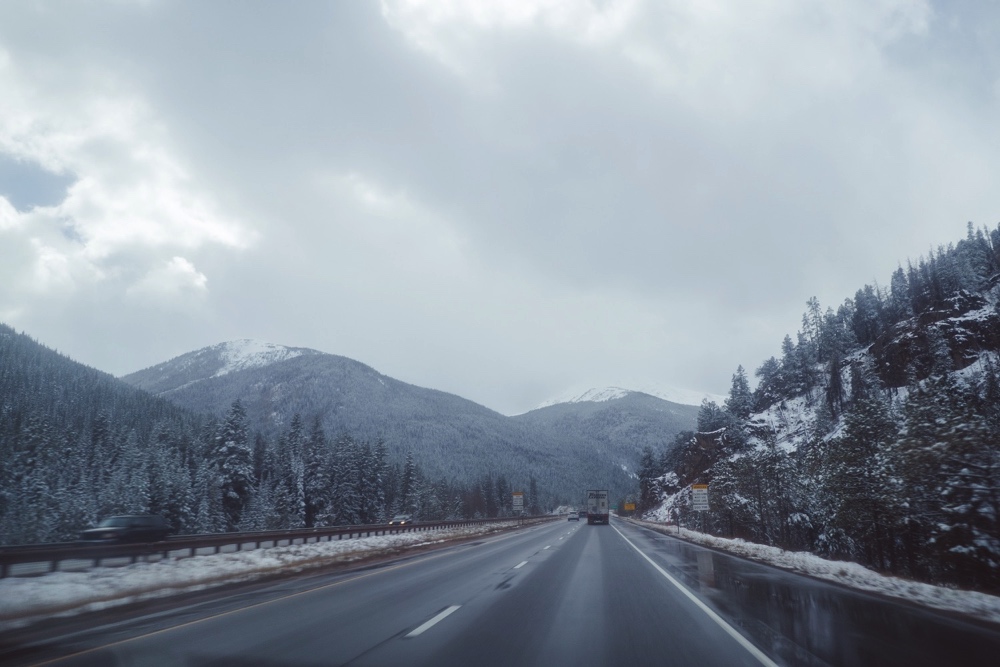
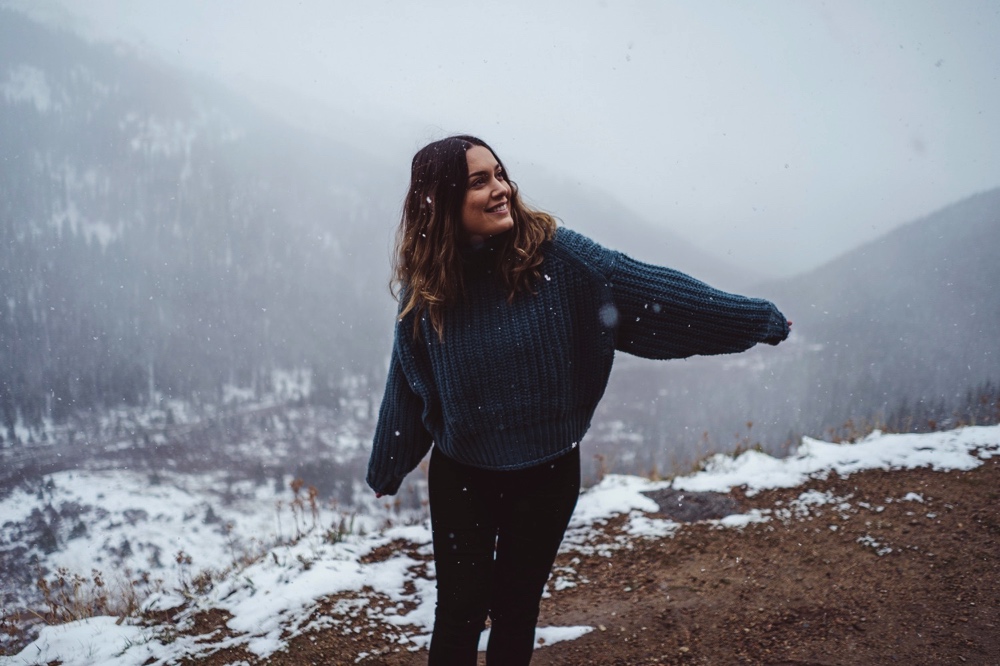
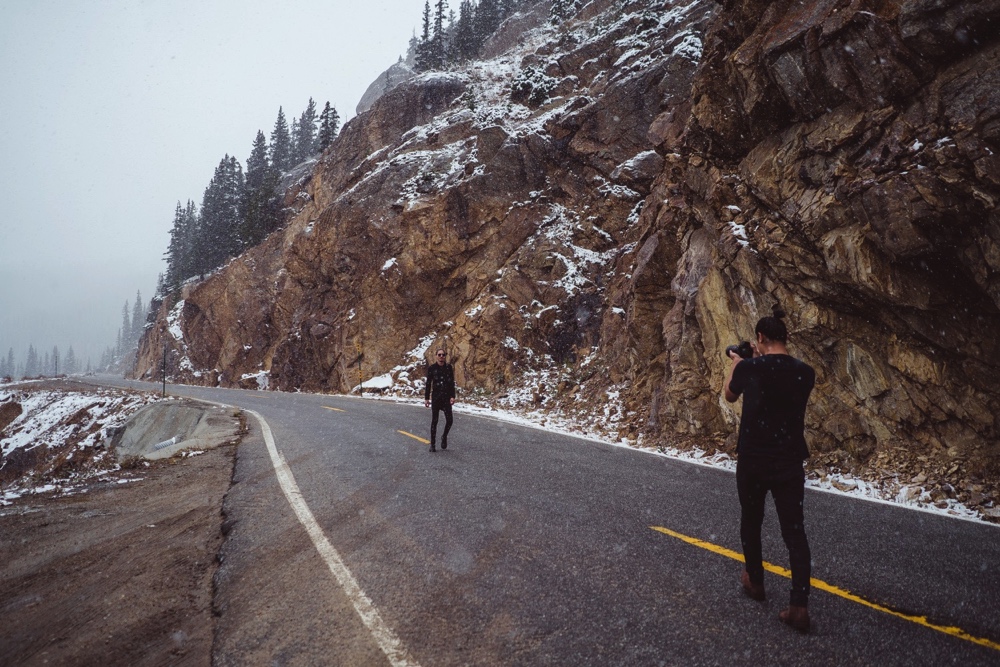
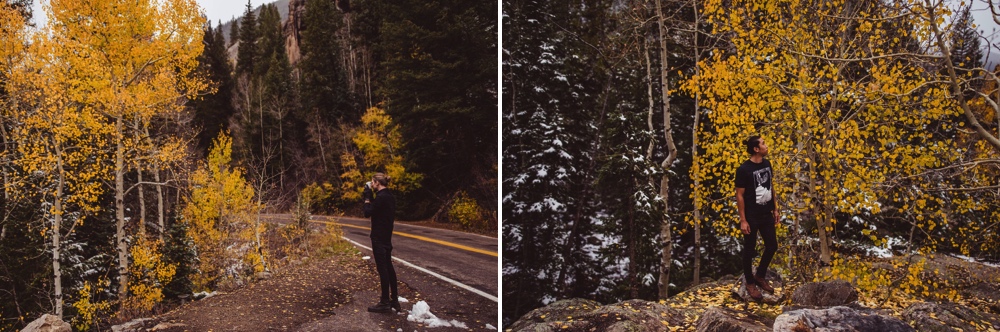
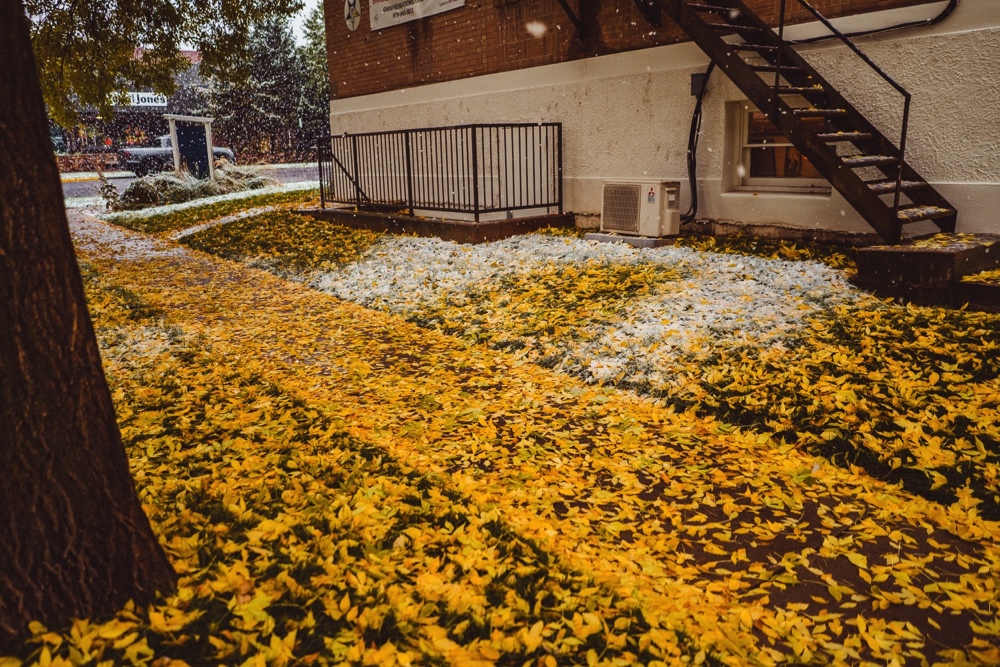
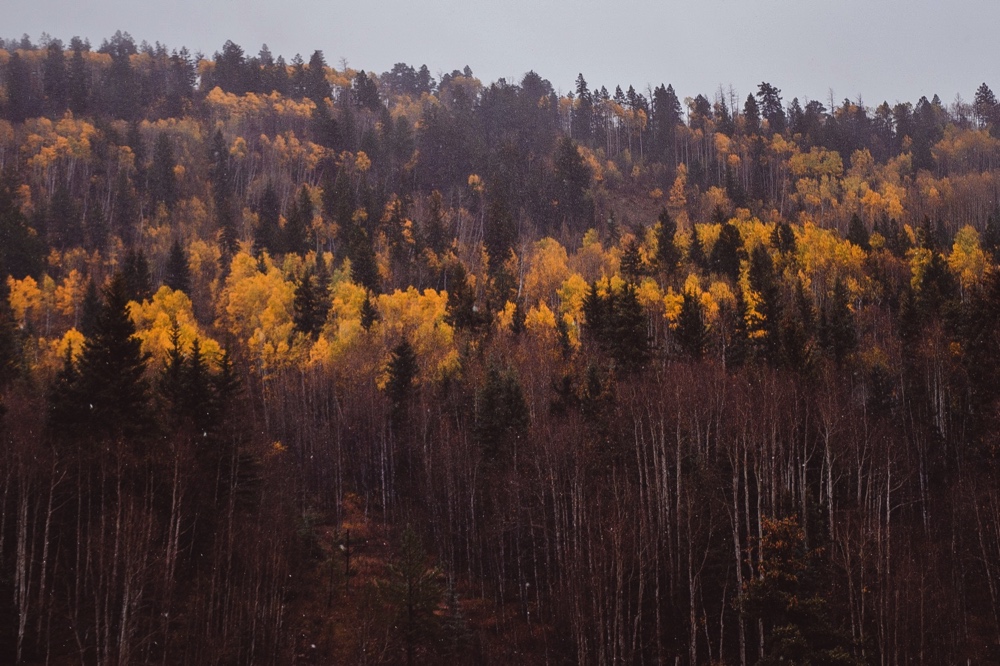
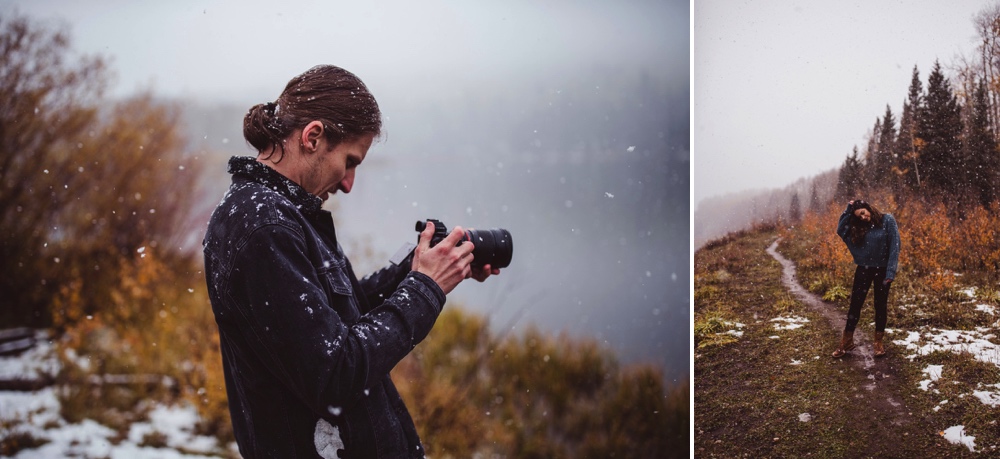
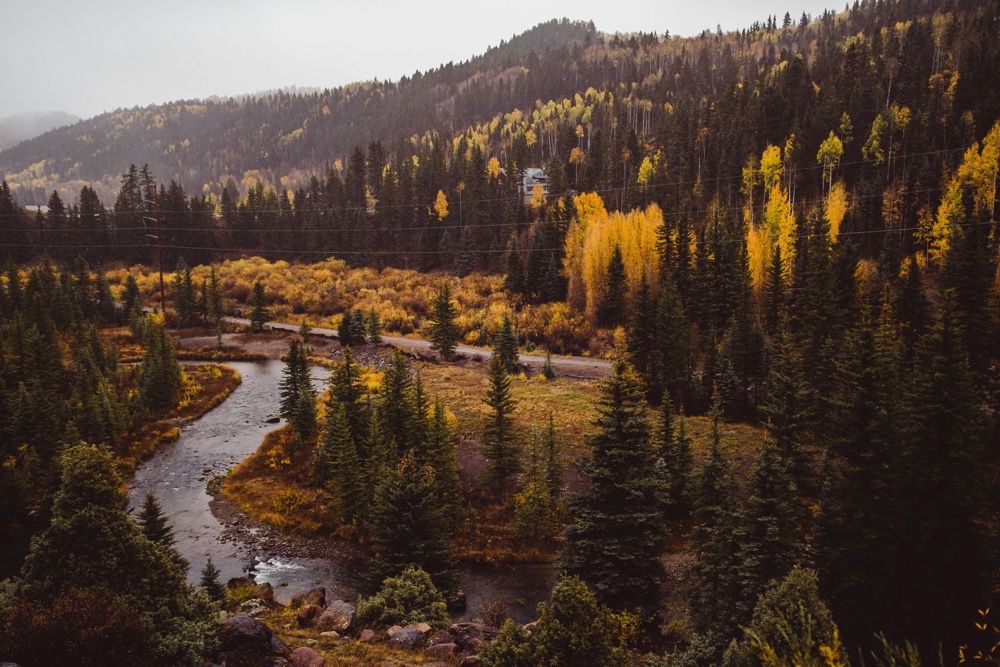
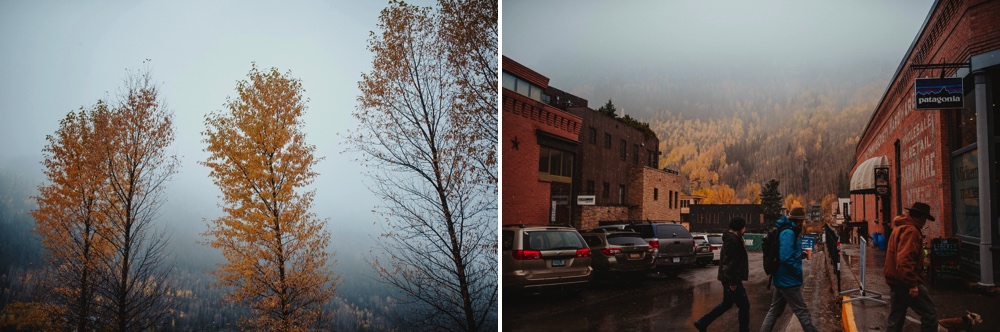
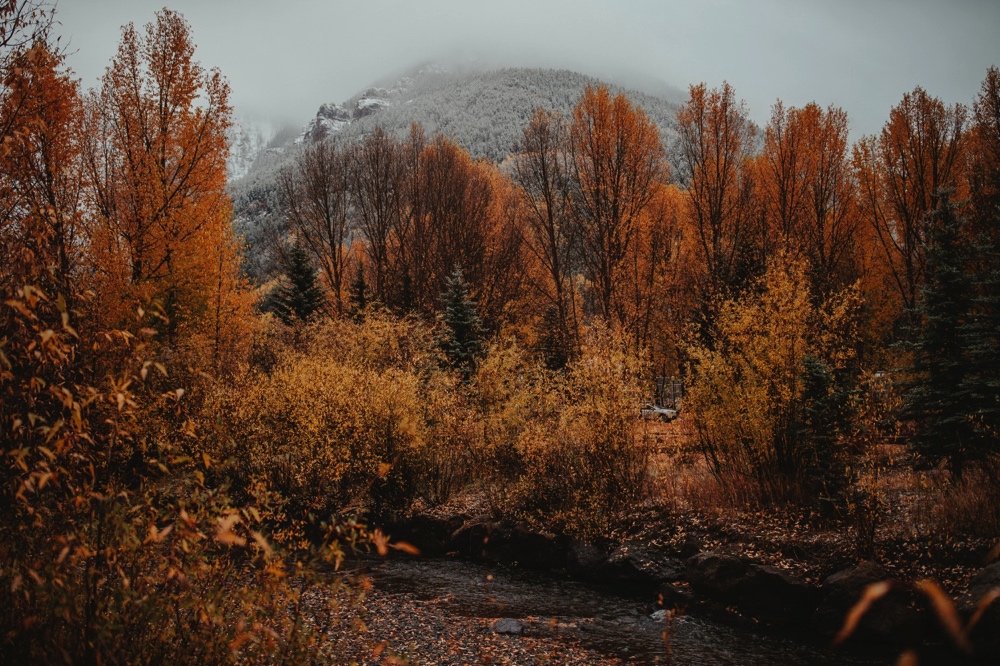
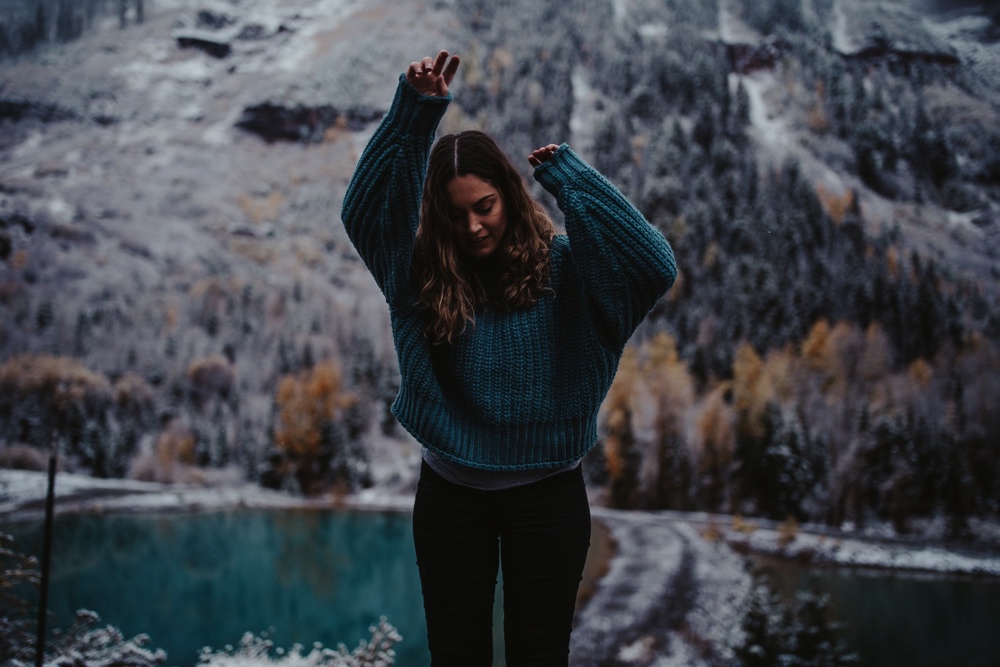
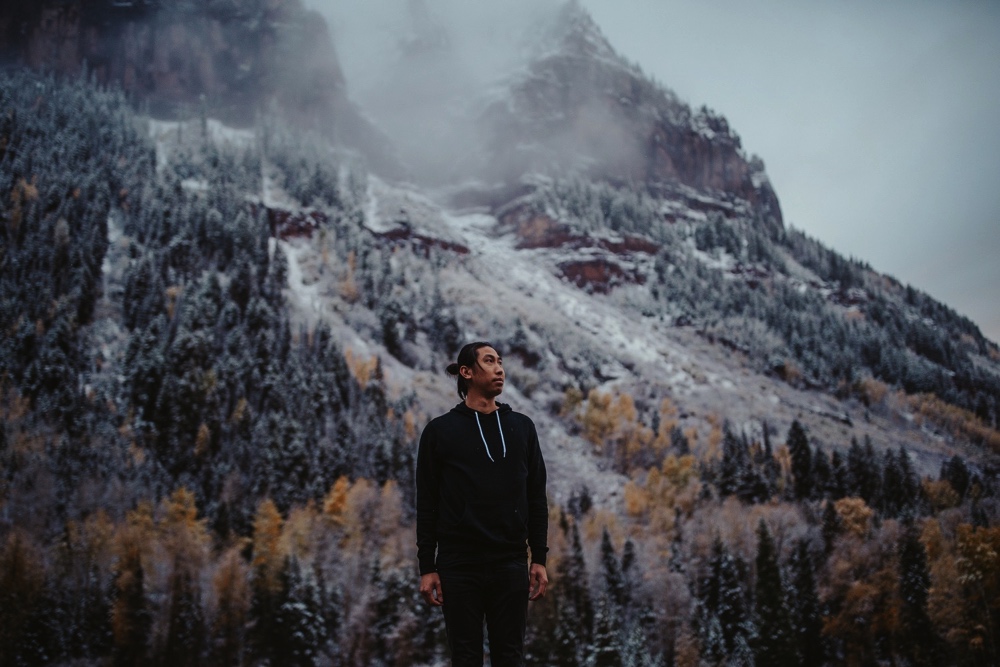
In October, I travelled to Colorado with Dan and our friend Cuong to visit Denver and road trip through the snowy and autumn coloured mountains. We visited Aspen, Telluride, Ouray and all the places in between. I took only my Sony A7III to be able to vlog and take photos throughout our trip + 2 lenses: the Sony 28mm f2 and Canon 35mm f1.4 (which I used with a Metabones iv adaptor on the Sony).
The reason I decided to take the Sony over my Canon 5D mkiv is because it is such an optimised camera for travelling. First up, it’s small and light weight which is perfect to vlog on and also doesn’t weigh me down while spending long days exploring, hiking and just walking around. Second, I see it on par with photo quality as my 5D, the images are crisp, RAW files are easy to manage and colour and focusing is actually pretty fine with the 35mm adapted.
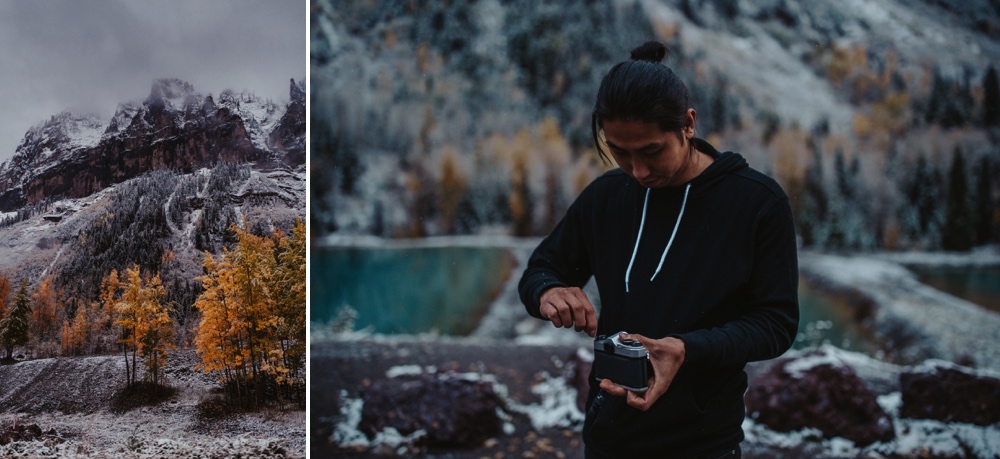
Lastly, since I also run a YouTube channel, filming video is just as important for me as taking photos! The Sony system is great for video, it has smaller file sizes than the Canon and again, the small and light weight nature of the camera means that I am able to vlog on it! I think we’ll all get sea sickness if I had to vlog on my 5D haha.
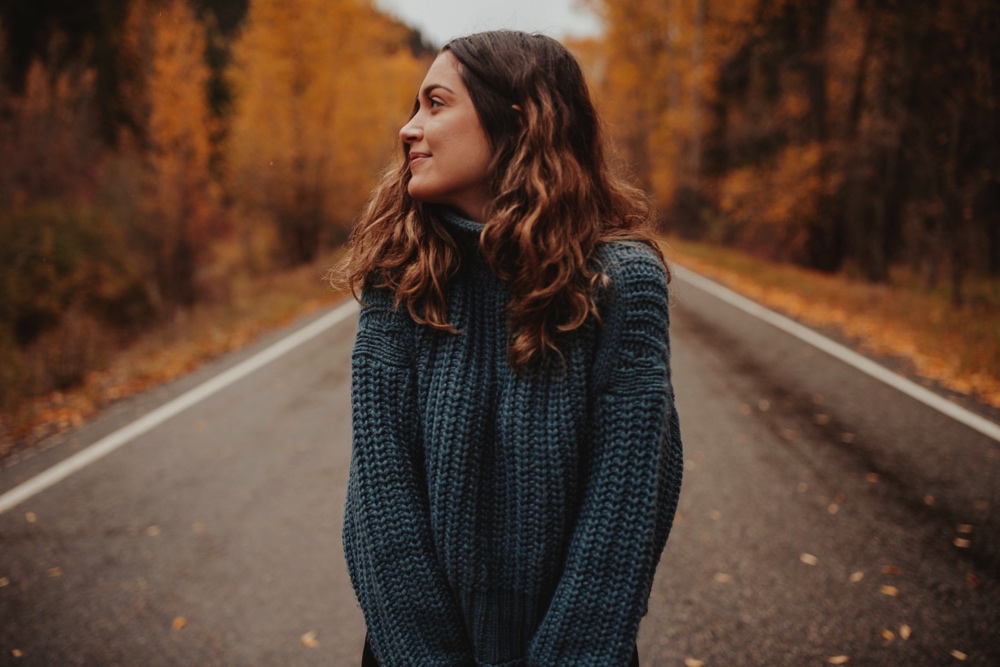
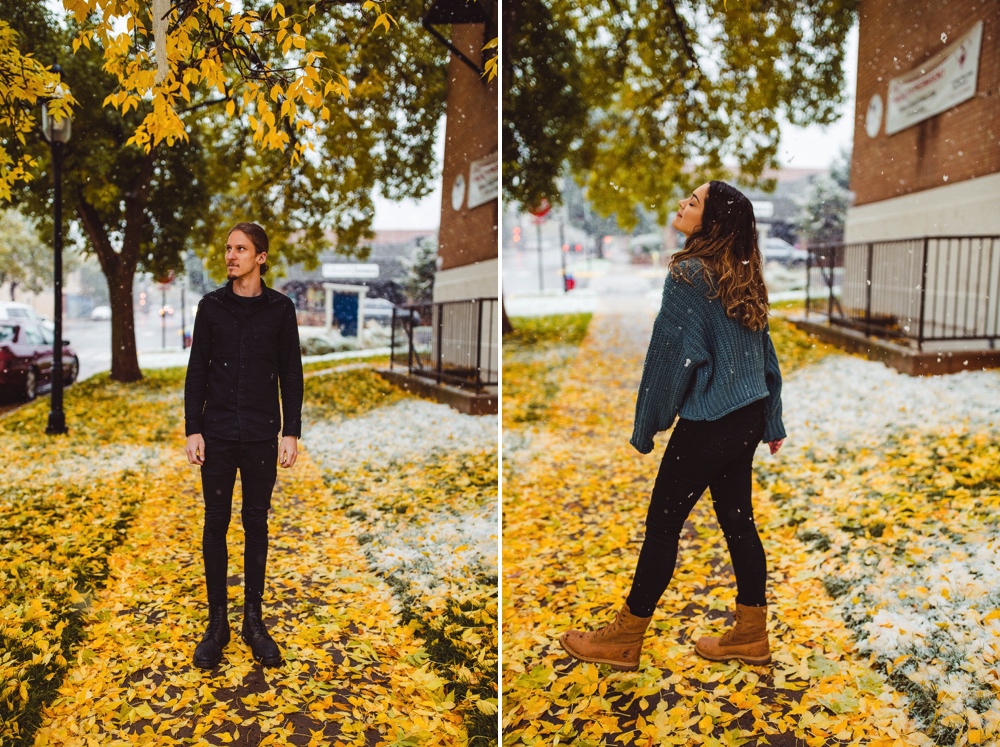
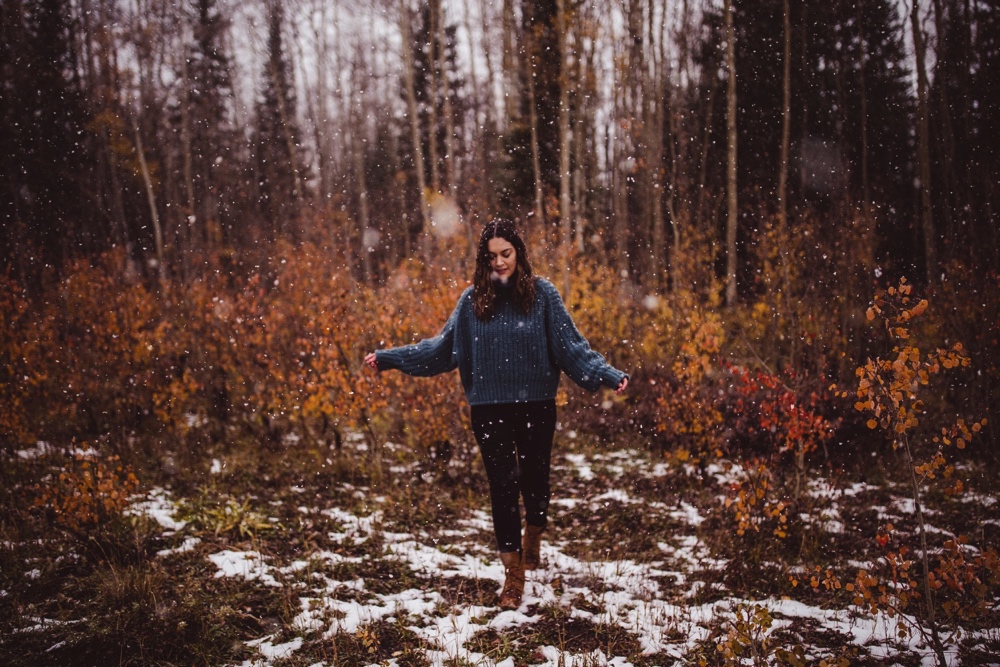
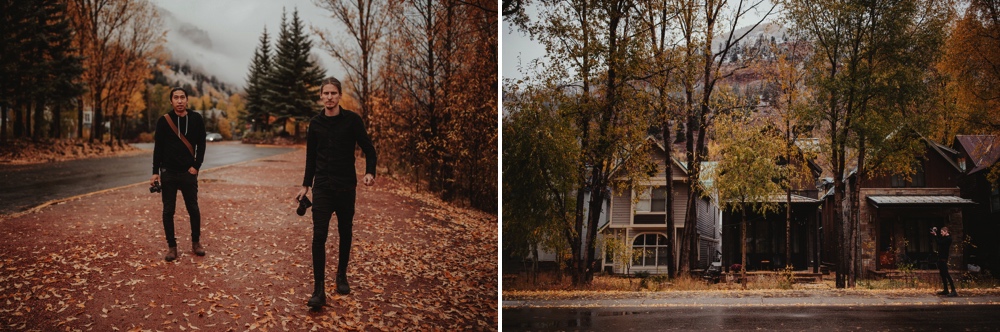
Check out the vlog from our trip below which has behind the scenes of us taking travel photos - portraits and landscapes as well as travel photography tips and SO many before and after photos!
Please subscribe to my YouTube channel, I release new videos every Wednesday and Saturday!
This blog was put together with Narrative. I love using Narrative as part of my photoshoot culling process to see which images from a shoot I should edit and I also use it to easily & quickly be able to put together these blog posts with different layouts of images side by side. I’m really excited to say I’ve teamed up with Narrative and have a 15% discount code for you guys using the code julia15 or just clicking this link! You can download a free trial to test it out for 7 days too :)
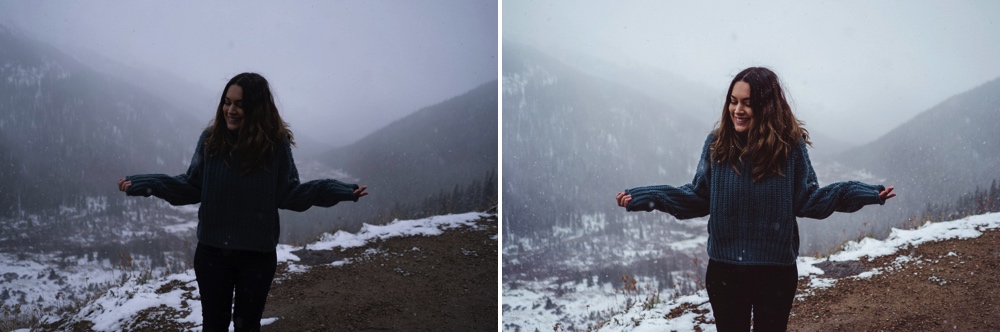
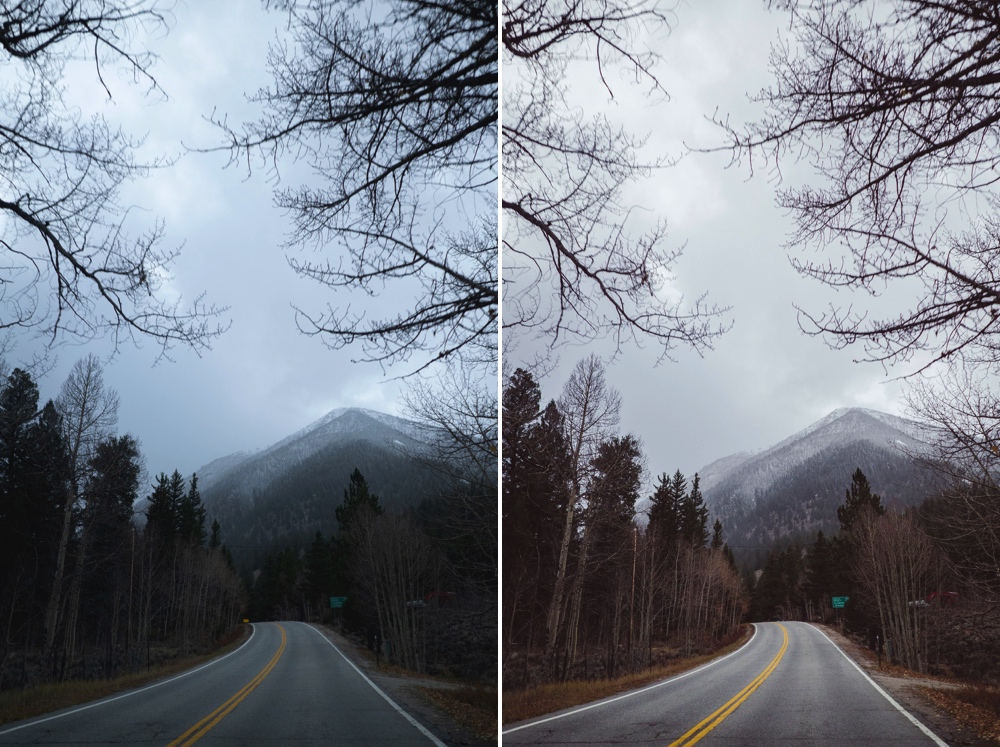
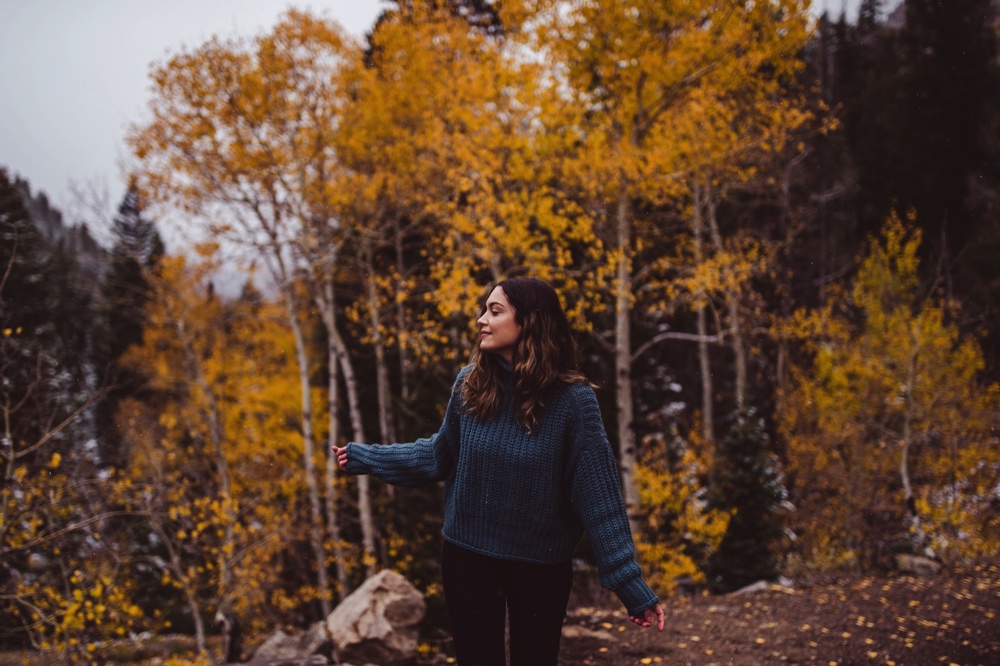
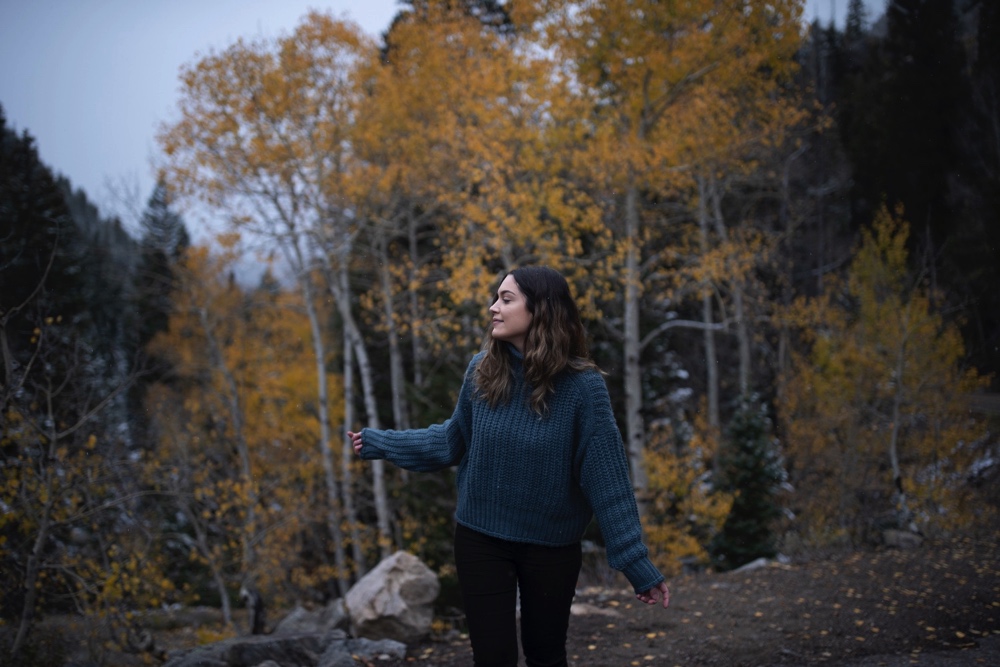
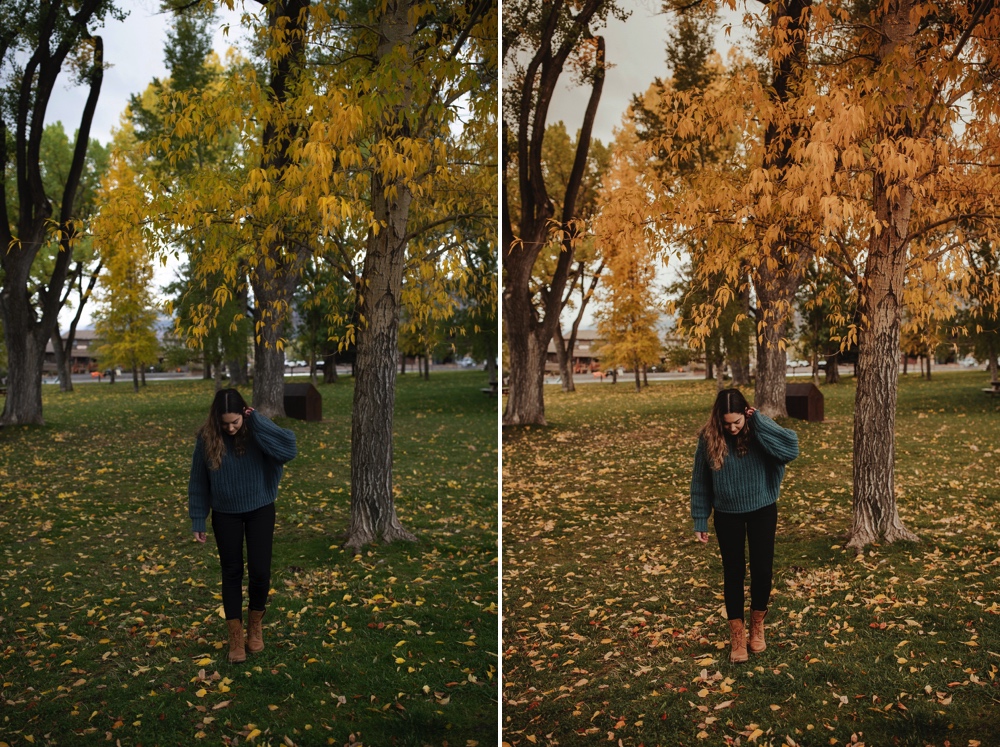
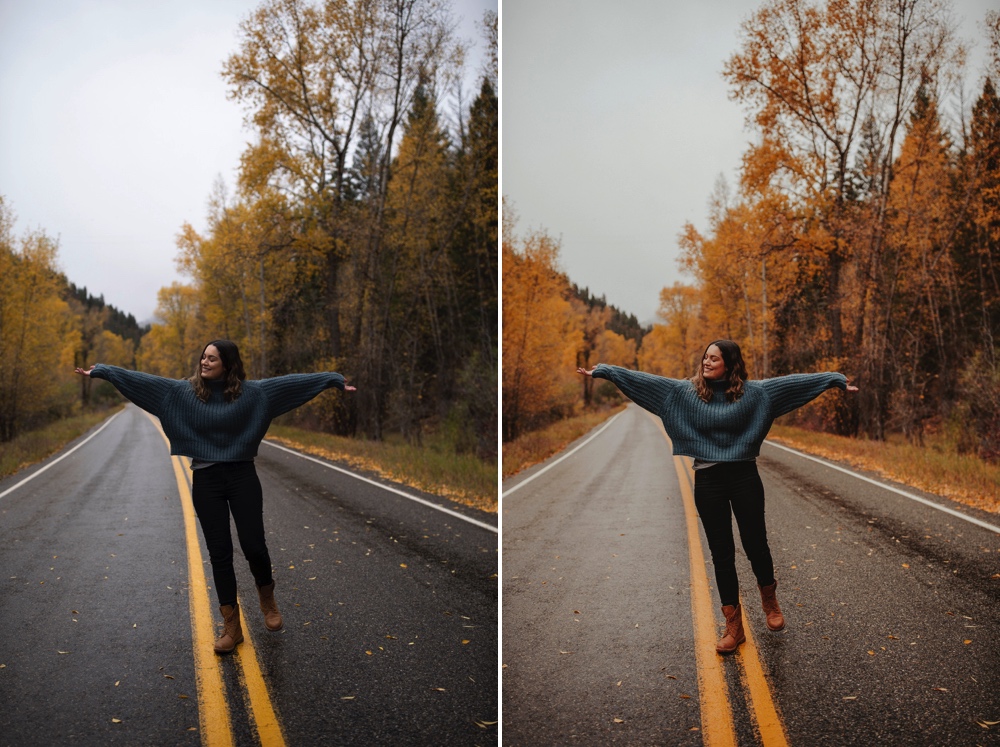
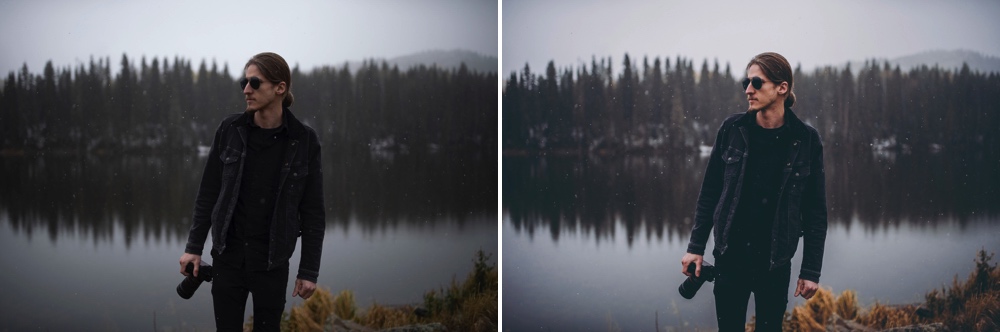
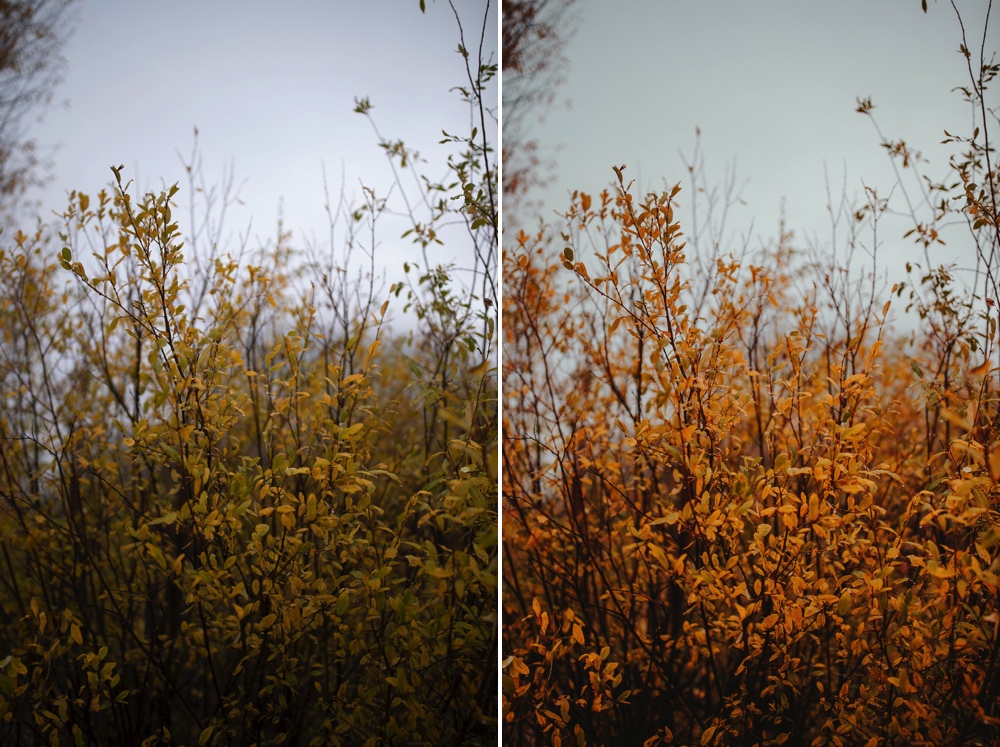
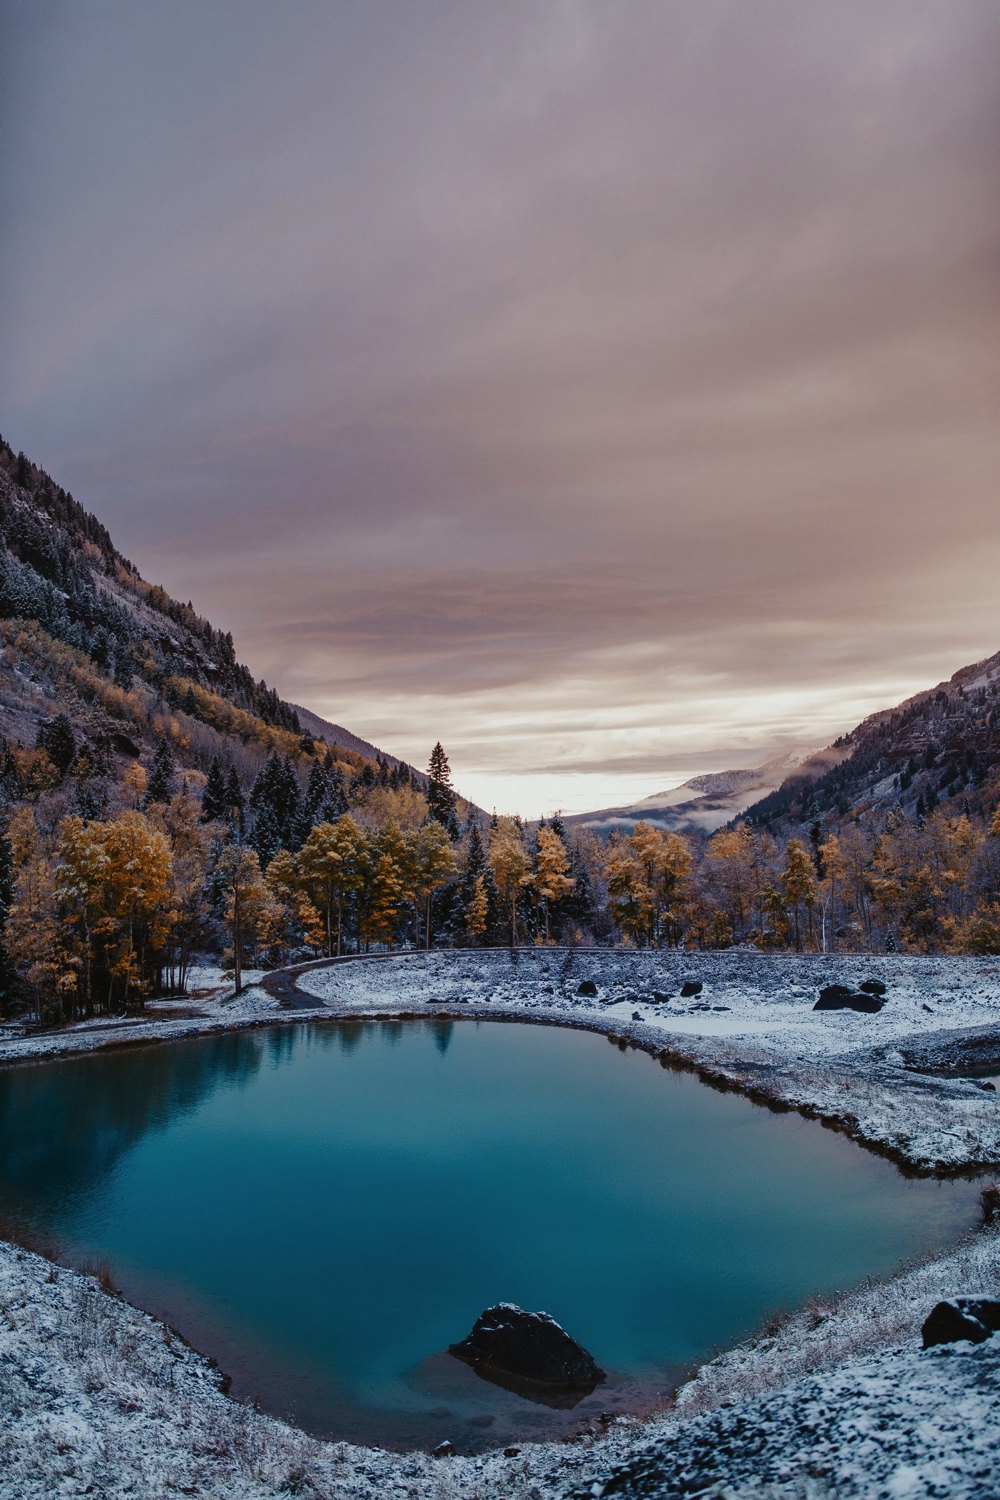
All photos are edited with my Lightroom Presets! I used a variety of presets to suite the look of the photo and the style I was going for with each of the shots I took. I used these presets:
San Francisco Lightroom Preset
There are before and after images throughout this blog post so you can see what each of these presets look like! And if you want to see more, I shared a before and after for every single image that I shot in the vlog :)

All photos are edited with my Lightroom Presets! I used a variety of presets to suite the look of the photo and the style I was going for with each of the shots I took. I used these presets:


